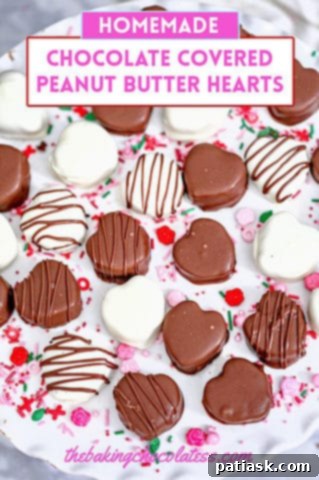
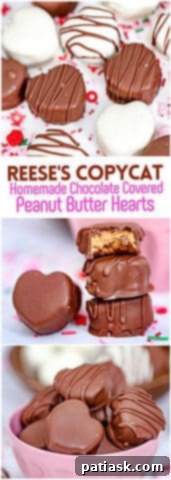
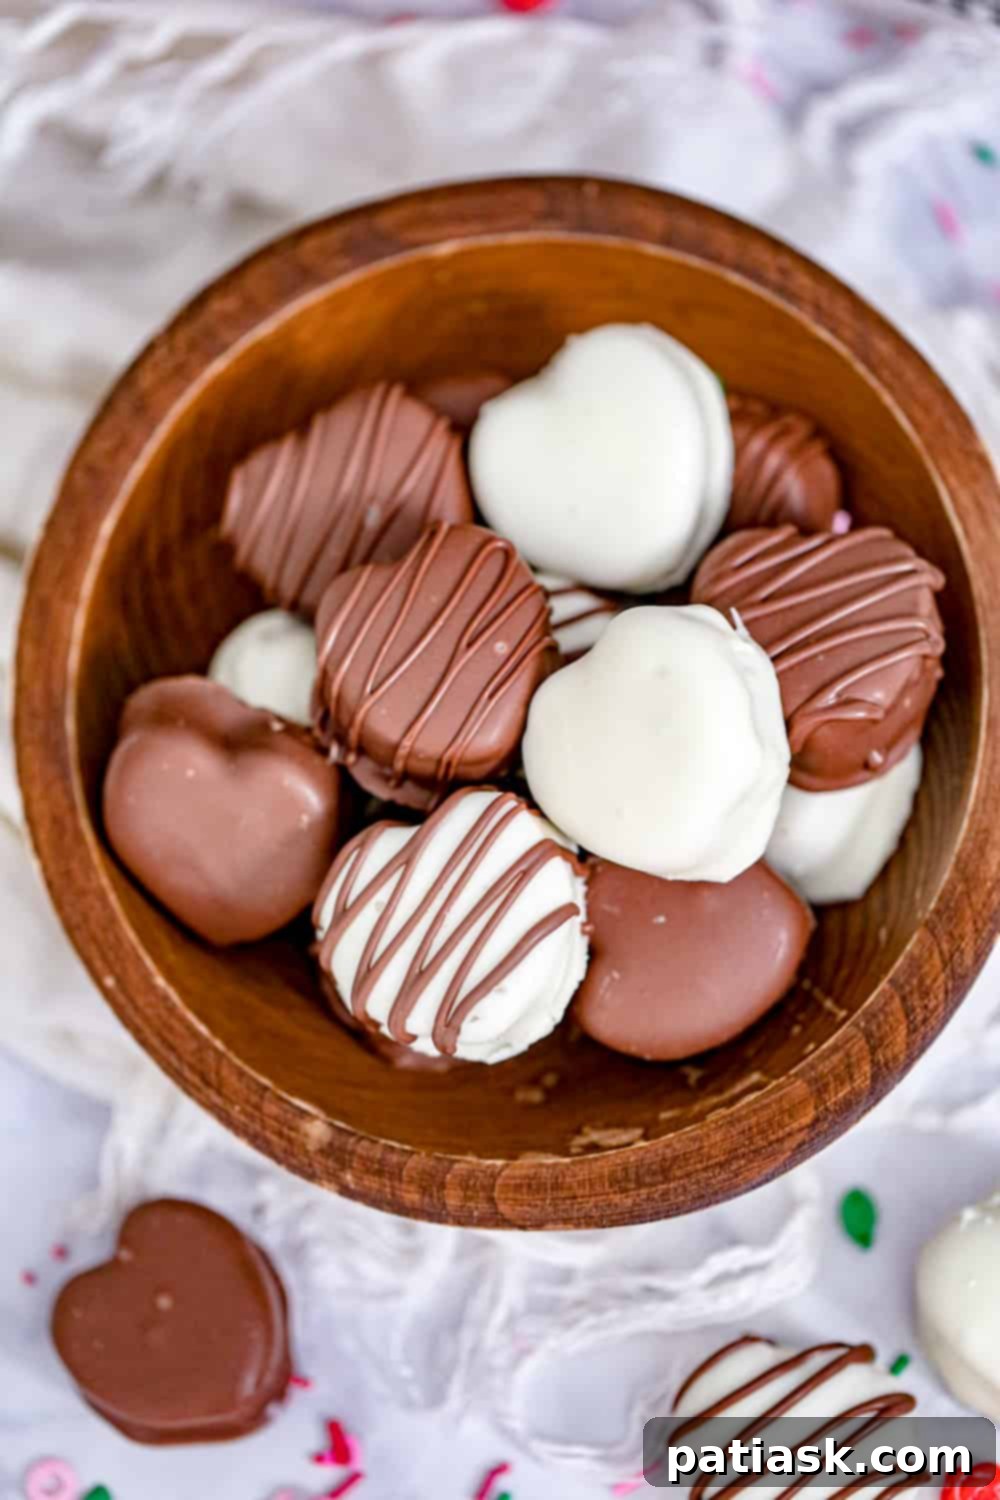
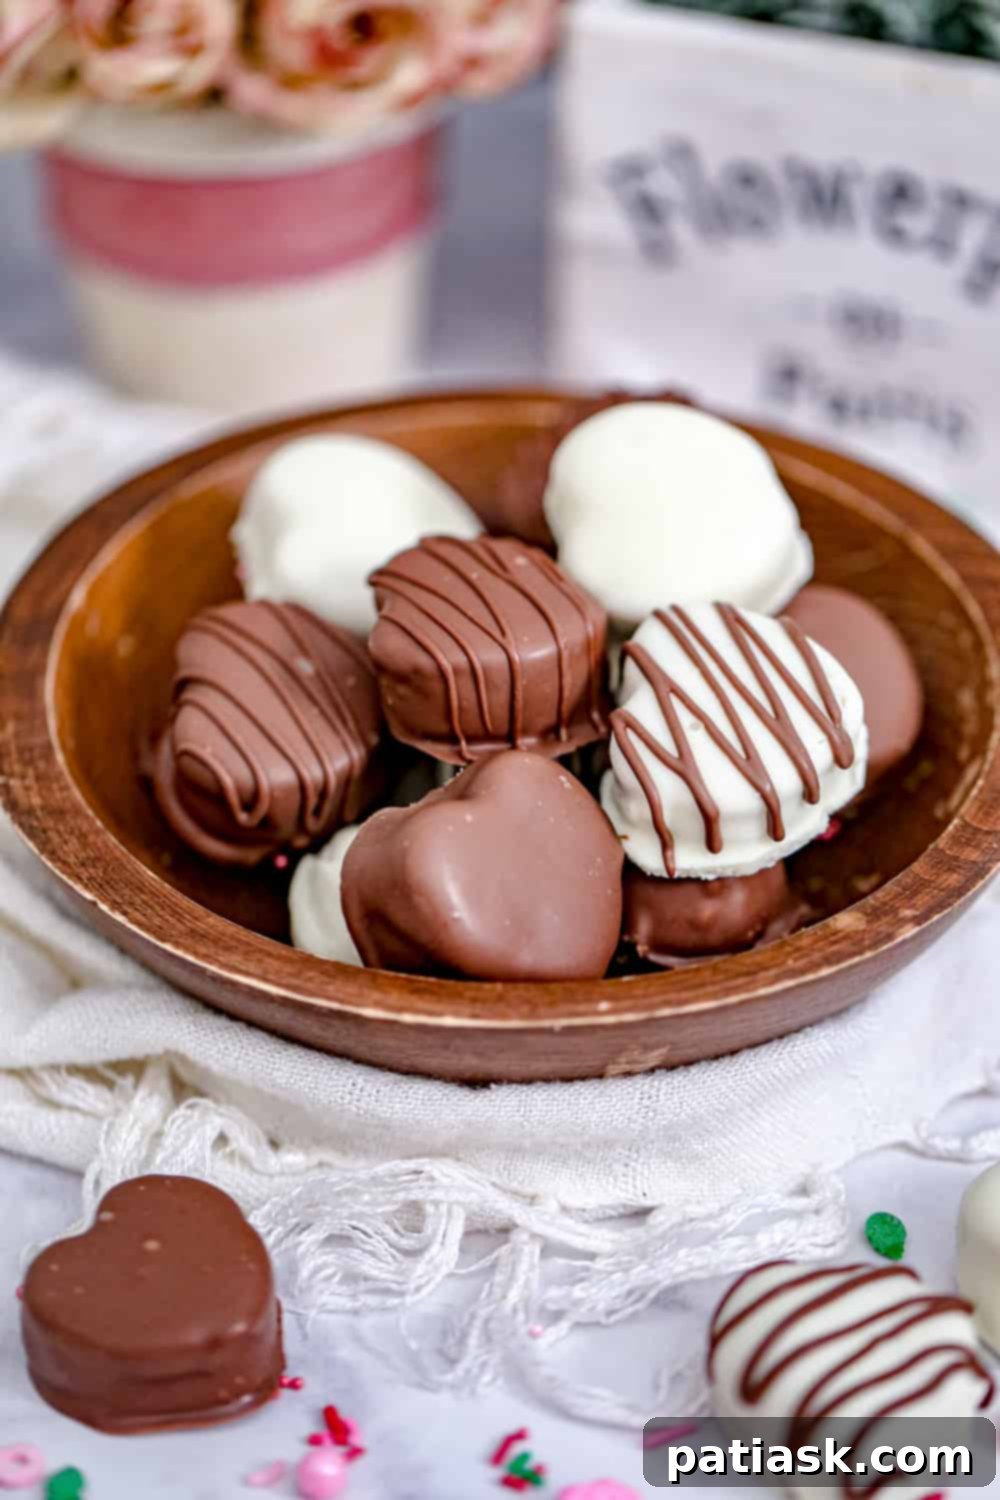
This Valentine’s Day, elevate your gifting game with something truly special and irresistibly delicious: homemade copycat Reese’s Chocolate Peanut Butter Candy Hearts! Forget store-bought chocolates; these decadent treats feature a rich, velvety peanut butter center, meticulously shaped into festive hearts, and generously enrobed in your choice of creamy milk chocolate or elegant white chocolate. For an extra touch of charm, a delicate chocolate drizzle can be added, transforming each heart into a mini masterpiece. Perfect for showing your affection, these confections are more than just candy – they’re a heartfelt gesture, brimming with love and flavor that will surely melt hearts.
Alongside these delightful candy hearts, explore other fantastic sweet treats that are perfect for any romantic occasion, such as this Easy Strawberry White Chocolate Fudge and these 15 Decadent Chocolate Covered Passions for Your Valentine’s Day, ensuring your holiday is filled with sweetness.
Why Choose Homemade Chocolate Peanut Butter Hearts?
There’s an undeniable charm and superior taste that comes with homemade treats, especially when compared to their mass-produced counterparts. Crafting your own chocolate peanut butter hearts allows for complete control over the quality of ingredients, ensuring a fresher, richer flavor profile that simply can’t be matched. You can adjust the sweetness, the saltiness, and even the type of chocolate to perfectly suit your preferences. Beyond the exquisite taste, the act of making these candies is a labor of love, imbuing each heart with a personal touch that makes them an incredibly thoughtful and unique gift. Imagine the delight on someone’s face when they receive a box of these beautifully crafted, perfectly balanced sweet and salty treats, knowing they were made just for them.
The Irresistible Combination: Peanut Butter and Chocolate
The pairing of peanut butter and chocolate is a culinary match made in heaven, a classic combination revered by candy lovers worldwide. The creamy, slightly salty notes of peanut butter perfectly complement the sweet, rich intensity of chocolate, creating a symphony of flavors and textures in every bite. This recipe captures that iconic harmony, delivering a decadent experience that is both familiar and wonderfully indulgent. The thick, rich peanut butter filling is the star, offering a satisfying bite that is perfectly encased in a smooth, snappy chocolate shell. Whether you prefer the classic allure of milk chocolate, the sweet creaminess of white chocolate, or even the bold intensity of dark chocolate, these hearts offer a versatile canvas for your chocolate peanut butter cravings, making them truly customizable and enjoyable for all.
Gifting and Displaying Your Homemade Candy Hearts
Once your exquisite chocolate peanut butter hearts are complete, presenting them beautifully adds to their homemade charm and makes them even more special. Showcase these delightful confections in a pretty gift box for a truly elegant presentation, making them an ideal Valentine’s Day gift for a loved one, a thoughtful host/hostess gift, or a delightful thank-you gesture. Alternatively, place a few hearts in clear cellophane bags, adorned with festive ribbons, to distribute as charming tokens of affection to friends, family, or colleagues. These yummy, tempting hearts are perfect for any occasion where ‘love is in the air!’ They also make a fantastic addition to party trays, adding a touch of homemade elegance and irresistible flavor to any special gathering, holiday party, or celebratory event. Their festive shape makes them particularly suitable for Valentine’s Day, anniversaries, or even just a cozy night in.
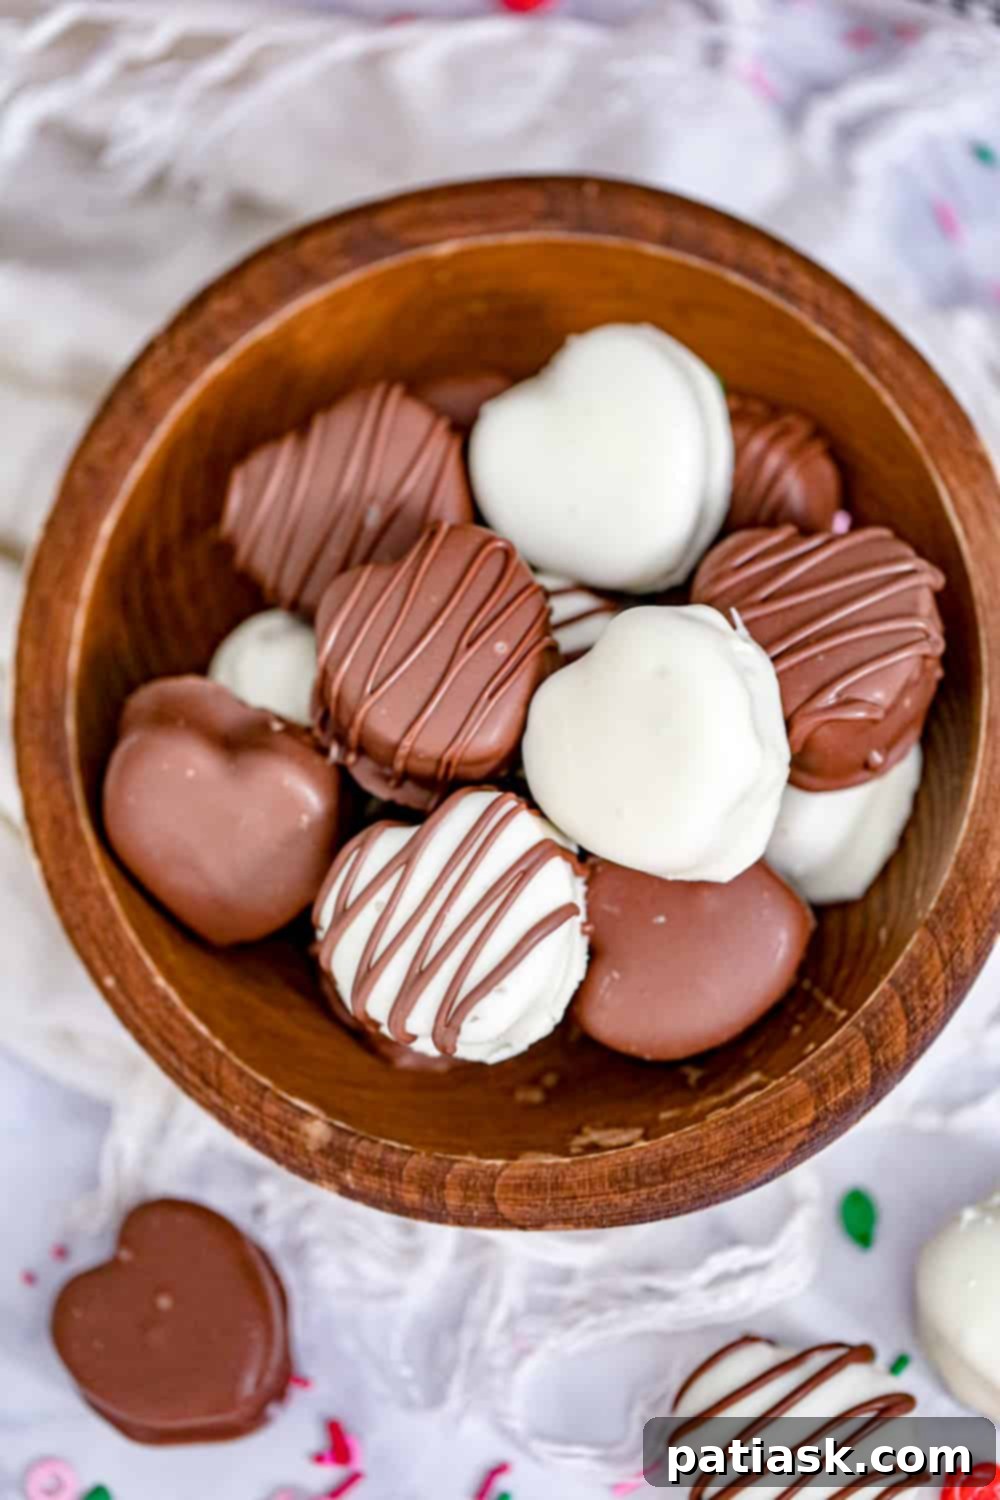
Ingredients You’ll Need to Create Decadent Chocolate Covered Peanut Butter Valentine Hearts
Crafting these homemade delights requires a few simple, accessible ingredients that you likely already have in your pantry. The key to their success lies in using quality components and understanding their role in achieving that perfect Reese’s-like texture and flavor combination.
For the Rich Peanut Butter Filling:
- Creamy Peanut Butter: A smooth, creamy variety is essential for that signature melt-in-your-mouth texture that mimics a Reese’s cup. Brands like Jif work wonderfully due to their consistent texture and balanced flavor. While natural peanut butter can be used, you might need to adjust the amount of powdered sugar as natural varieties tend to be oilier and less firm, requiring more sugar to achieve the desired consistency. Ensure it’s well-stirred if using natural peanut butter.
- Unsalted Butter, Melted: Butter adds a luxurious richness and helps bind all the filling ingredients together seamlessly. Using unsalted butter gives you precise control over the overall saltiness of your candy, allowing you to fine-tune the flavor balance.
- Light Brown Sugar: This ingredient is crucial for several reasons: it provides a deeper, more molasses-like sweetness compared to white sugar, and its slight moisture content helps contribute to the filling’s tender, slightly chewy consistency, preventing it from being too dry or crumbly.
- Powdered Sugar (Confectioners’ Sugar): Crucial for both sweetness and structure. Powdered sugar, with its fine texture, helps to firm up the peanut butter mixture, making it pliable enough to mold or cut into shapes. It also ensures a smooth, non-gritty texture. Start with the recommended amount and adjust as needed to achieve a firm, yet workable, dough-like consistency that isn’t too sticky or crumbly.
- Dash of Salt (Optional but Highly Recommended): A pinch of salt is a secret weapon in many sweet recipes! It beautifully counterbalances the intense sweetness of the peanut butter filling, enhancing all the other flavors and preventing the candy from being overly sugary. It truly brings out the best in the peanut butter and chocolate pairing.
For the Luscious Chocolate Shell:
- Milk Chocolate or White Chocolate Chips/Melts: The choice is yours for the outer coating! High-quality chocolate chips or melting wafers are recommended as they ensure a smooth, glossy finish and excellent flavor. Brands like Ghirardelli’s Chocolate Melts are often preferred for their easy melting properties and superior taste, making dipping a breeze. You can also experiment with semi-sweet or dark chocolate for a less sweet, more intense flavor, or even create a marbled effect with both milk and white chocolate.
- Vegetable Shortening or Coconut Oil: This is an optional but highly recommended ingredient, especially if your chocolate appears too thick after melting. A small amount helps to thin out the chocolate, creating a smoother, more fluid consistency perfect for dipping. This ensures a thin, even coating on your hearts that sets beautifully without being too cumbersome. If you’re using melting wafers specifically designed for dipping, you might find you don’t need this, as they are formulated to melt smoothly.
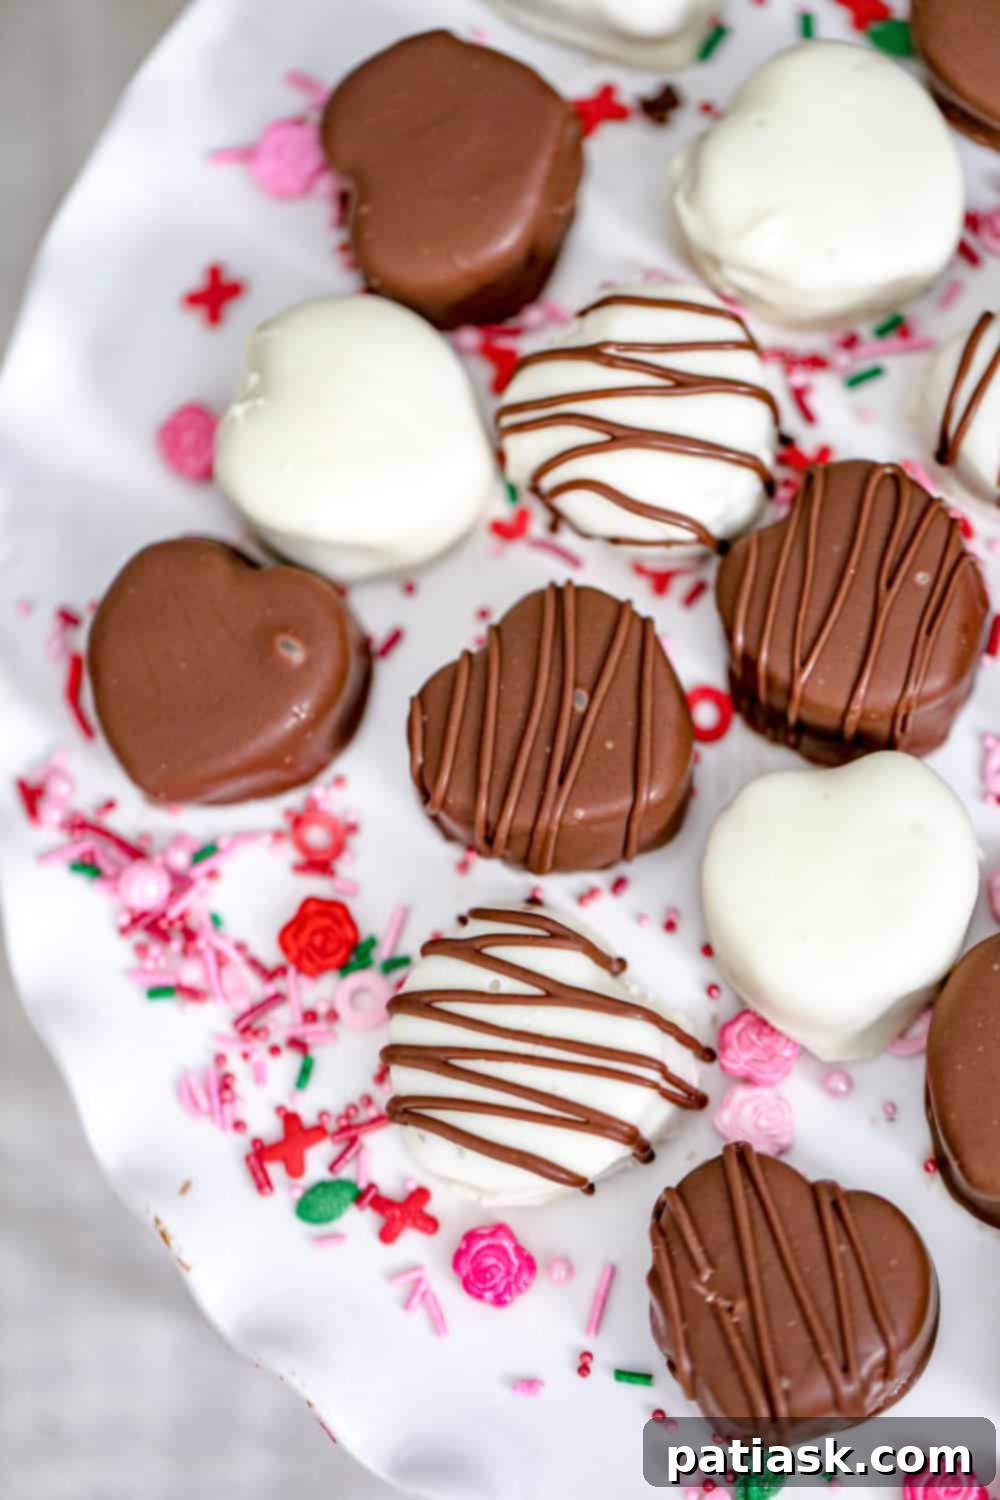
Step-by-Step Guide: How to Craft Your Own Valentine’s Day Chocolate Peanut Butter Hearts
Making these delightful candy hearts is a straightforward process, promising delicious results that will impress everyone. Follow these detailed steps to create your perfect batch, ensuring each heart is a bite of pure bliss.
- Prepare Your Workspace: Begin by lining a baking sheet with wax paper or parchment paper. This non-stick surface will be essential for placing your shaped peanut butter hearts and later, your chocolate-dipped candies, preventing them from sticking and making cleanup much easier. Set it aside for now, ready for use.
Method for Peanut Butter Filling: Choose Your Preference
Microwave Method (Quick & Easy):
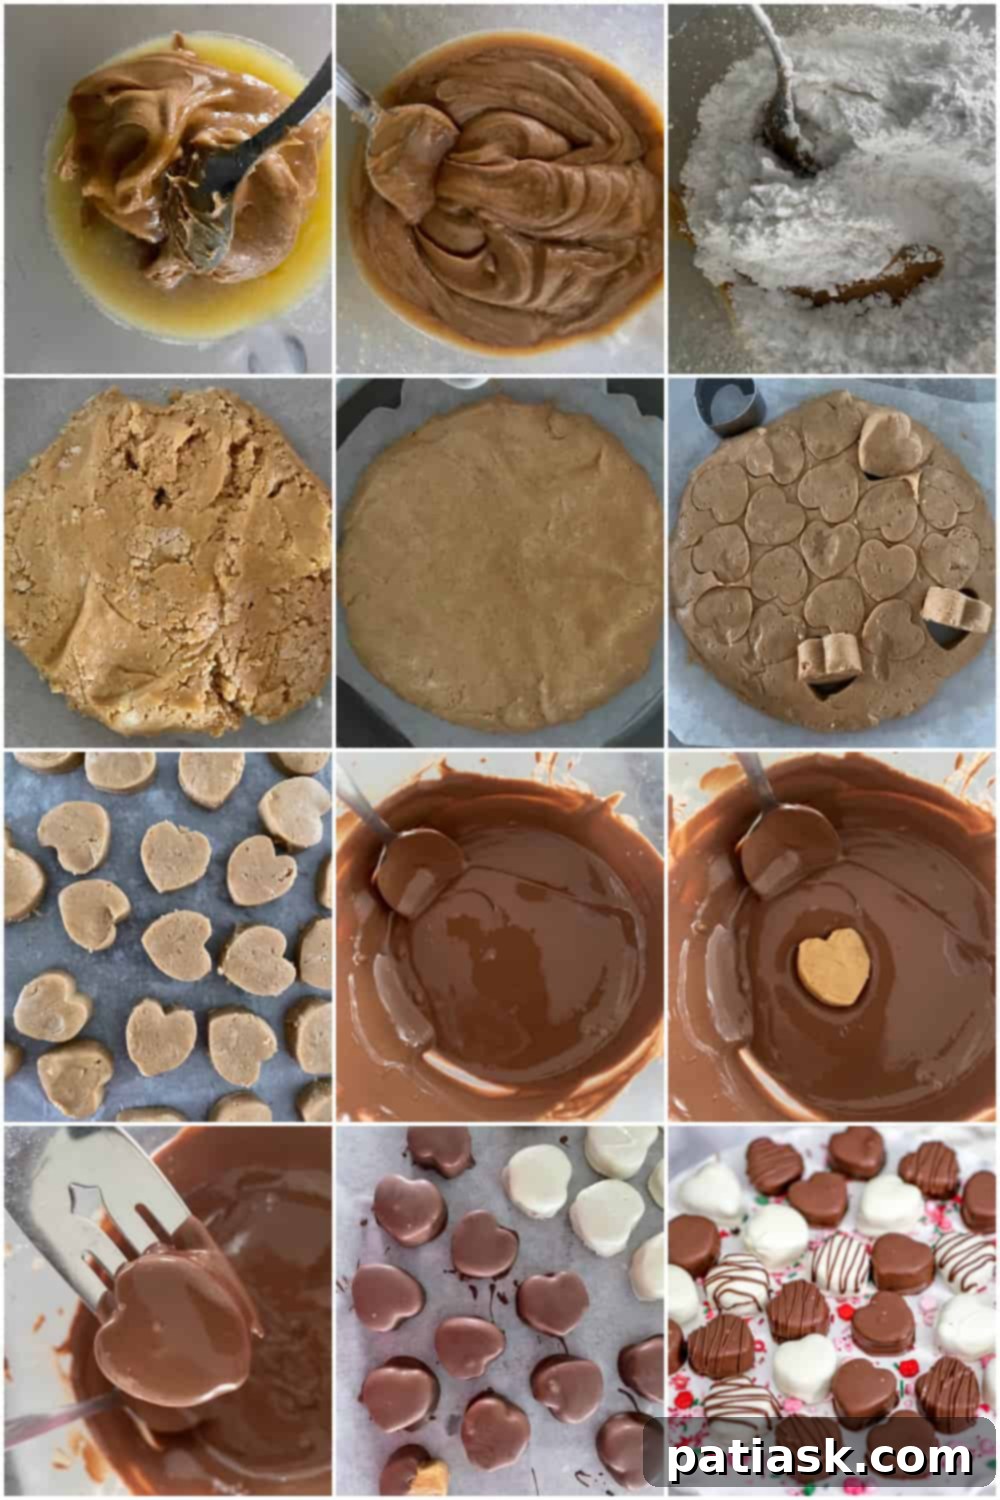
- Melt Butter and Sugar: In a medium microwave-safe bowl, combine the unsalted butter and brown sugar. Microwave in short bursts (15-30 seconds), stirring thoroughly after each interval, until the butter is fully melted and the sugar begins to dissolve into a cohesive, slightly syrupy mixture. Be careful not to overheat the mixture, as this can make the peanut butter oily later.
- Combine with Peanut Butter: Add the creamy peanut butter and the optional dash of salt to the melted butter-sugar mixture. Stir vigorously with a spoon or spatula until all ingredients are thoroughly combined and the mixture appears smooth and consistent.
- Incorporate Powdered Sugar: Gradually add the powdered sugar, about half a cup at a time, mixing continuously after each addition. Continue stirring until the mixture transforms into a thick, firm peanut butter dough that holds its shape well. It should resemble a soft, pliable cookie dough – not too sticky to handle and not too crumbly. Transfer this well-mixed dough to your prepared parchment-lined baking sheet or a clean, flat pan, spreading it slightly for easier cooling.
Stovetop Method (Classic & Controlled):
- Gentle Melting: In a medium saucepan, over medium-low heat, combine the creamy peanut butter, melted unsalted butter, light brown sugar, and the dash of salt. Heat gently, stirring constantly with a wooden spoon or heat-proof spatula, until all the ingredients are thoroughly melted and well combined. The mixture should be smooth and cohesive, but it’s crucial to avoid bringing it to a boil or overheating, which can cause the peanut butter oils to separate.
- Add Powdered Sugar: Once melted and combined, remove the saucepan from the heat. Gradually mix in the powdered sugar, adding it in small increments and stirring until it is completely incorporated into the peanut butter mixture. Continue mixing until you achieve a thick, firm peanut butter dough that is easy to handle and mold. Transfer the dough to your prepared baking sheet or pan.
Shaping Your Perfect Heart Candies:
- Roll and Cut: On your prepared baking sheet or a lightly powdered sugar-dusted surface (to prevent sticking), press or roll out the peanut butter dough to an even thickness of about ½ inch (or slightly thinner for smaller bites). Use a small heart-shaped cookie cutter to neatly cut out individual hearts. Gather any leftover dough scraps, gently knead them back together, and re-roll to cut out more hearts until all the dough is used up, minimizing waste.
- Chill to Set: Carefully place all the cut-out peanut butter hearts onto the baking sheet, ensuring they are not touching. Refrigerate them for at least 30 minutes to allow them to firm up significantly. This crucial chilling step ensures they will maintain their delicate heart shape and be sturdy enough to handle and dip in the melted chocolate without falling apart. If you’re pressed for time, you could place them in the freezer for 5-10 minutes, but keep a close eye on them to prevent them from freezing solid, which could lead to condensation issues later.
Melting Chocolate and Dipping Your Hearts:
- Melt the Chocolate: Once your peanut butter hearts are perfectly firm and thoroughly chilled, it’s time for the chocolate coating. In a clean, microwave-safe bowl, melt your chosen milk chocolate or white chocolate chips/melts. Microwave in 30-second intervals, stirring thoroughly and smoothly after each interval, until the chocolate is completely smooth, glossy, and fully melted. This usually takes approximately 1.5 to 2 minutes total, depending on your microwave’s power.
- Adjust Chocolate Consistency (If Needed): If, after melting, the chocolate appears too thick or sluggish for dipping, add a tablespoon of vegetable shortening or coconut oil and stir until it is fully incorporated and the chocolate reaches a desirable, fluid consistency. This will make dipping easier and ensure a thinner, more elegant coating. Repeat with another tablespoon if necessary, but avoid adding too much, as it can affect the chocolate’s setting time and snap.
- Dip and Coat: Using a long-tined fork, a candy dipping tool, or even a toothpick (for smaller hearts), carefully dip each chilled peanut butter heart into the melted chocolate, ensuring it is fully coated. Gently lift the heart and tap the fork against the side of the bowl to allow any excess chocolate to drip off. This helps create a smooth, even shell without thick puddles at the base.
- Place and Decorate: Carefully transfer the chocolate-covered hearts back onto your wax paper-lined baking sheet. While the chocolate is still wet, you can decorate them. For a simple yet elegant touch, drizzle leftover melted chocolate over the hearts using a ziplock bag with a tiny corner snipped off, moving it back and forth in a zigzag pattern. Alternatively, add festive sprinkles, edible glitter, or a delicate sprinkle of sea salt for an extra layer of flavor and texture.
- Final Chill: Once decorated, return the chocolate-covered peanut butter hearts to the refrigerator for about 30 minutes. This allows the chocolate shell to set completely, becoming firm, glossy, and ready to enjoy.
- Store Properly: Once the chocolate has fully set, carefully transfer your delicious homemade chocolate peanut butter hearts into an airtight container. Store them in the refrigerator until you are ready to serve them, ensuring maximum freshness and perfect texture.

Expert Tips for Perfect Peanut Butter Heart Candies
Achieving bakery-quality chocolate peanut butter hearts at home is entirely possible with a few insider tips. Pay attention to these details for the best results and to avoid common pitfalls:
- Butter Temperature Matters: When melting butter for the peanut butter filling, ensure it’s warm enough to blend but not scorching hot. If the butter is too hot, the entire dough mixture will become too warm and difficult to handle or shape, making it sticky and unmanageable. If you accidentally overheat it, simply let the mixture cool down to a more manageable room temperature before attempting to roll or cut your hearts. Patience here will pay off in a smooth, cooperative dough.
- Adjust Powdered Sugar for Perfect Consistency: The exact amount of powdered sugar needed can vary slightly depending on the brand and thickness of your peanut butter (e.g., natural vs. processed). Start with the recommended 1 ½ cups, but be prepared to add a little more (a tablespoon at a time) if the dough feels too sticky, or slightly less if it’s becoming too crumbly. The ideal consistency should be akin to a firm but pliable cookie dough that you can easily roll and cut without it falling apart or sticking excessively to your hands.
- The Sweet Spot for Creaminess: Finding the right balance of powdered sugar is key for that signature Reese’s-like texture. Adding too much powdered sugar will result in a drier, less creamy peanut butter center, diminishing that delightful melt-in-your-mouth experience. Conversely, not adding enough powdered sugar will leave your peanut butter filling too soft, making it challenging to dip and risking it losing its shape when coated in chocolate. Aim for a texture that is firm enough to hold its shape but still wonderfully creamy.
- Trimming for Perfection: Don’t despair if your chocolate-dipped hearts have a few unsightly “feet” (chocolate drips at the base) or uneven drizzles once the chocolate has set. You can gently trim the sides of your finished hearts using a sharp paring knife. Just be careful and use a light hand to avoid disturbing the delicate peanut butter filling inside. This small step can significantly enhance the professional, clean appearance of your homemade candies.
- Flavor Variations: Get creative with your filling! Consider adding a drop of pure vanilla extract or a hint of almond extract to the peanut butter mixture for an extra layer of aromatic flavor. For a sophisticated twist, a tiny pinch of flaky sea salt sprinkled on top of the wet chocolate before it sets can add an unexpected, delightful contrast. You could also mix in mini chocolate chips or finely chopped nuts into the peanut butter filling for added texture.
- Chocolate Tempering (Optional): For a truly professional, shiny, and snappy chocolate coating that resists melting at room temperature, consider tempering your chocolate. While not strictly necessary for this recipe (which provides a delicious result without it), it elevates the final product significantly. There are various simple methods for home tempering, like seed tempering or microwave tempering, that you can explore if you’re feeling adventurous and want to master the art of chocolate.
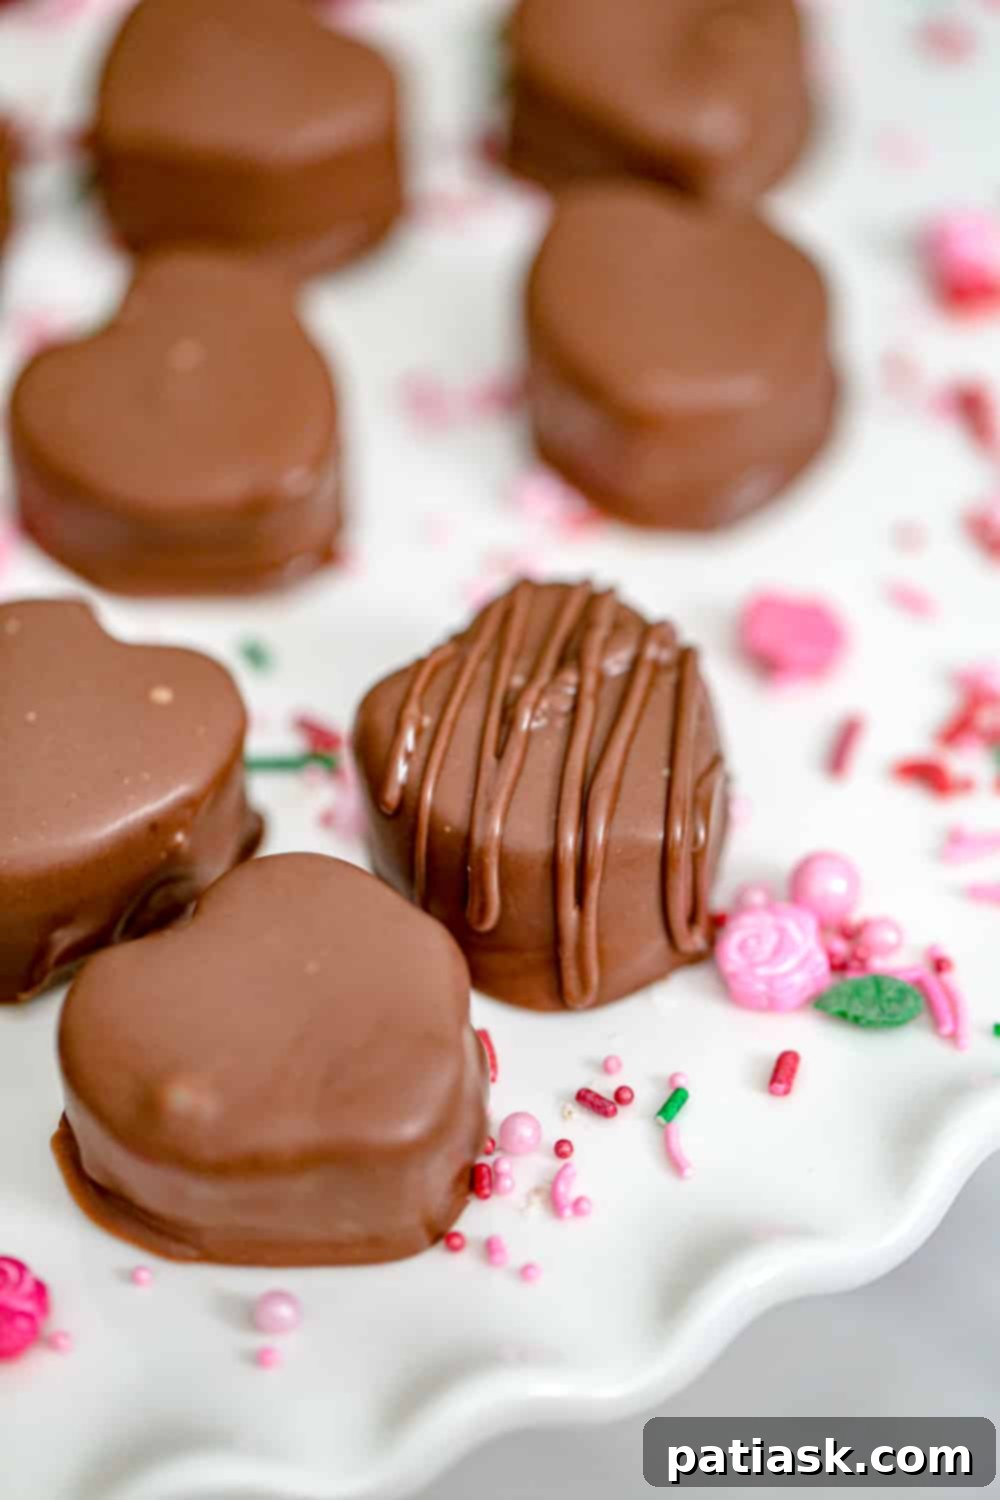

Storing Your Delicious Chocolate Peanut Butter Hearts for Freshness
Proper storage is key to maintaining the irresistible taste, creamy texture, and beautiful appearance of your homemade candy hearts. Here’s how to keep them fresh and delightful:
- Refrigeration: Once the chocolate-covered peanut butter candies have fully firmed up and the chocolate is completely set, transfer them to an airtight container. Storing them in the refrigerator is highly recommended as it helps maintain their shape, prevents the chocolate from becoming too soft or sticky, and extends their shelf life. When kept chilled, these homemade treats will last for several weeks. They taste wonderful straight from the fridge, offering a firmer bite, or you can allow them to come to room temperature for about 15-20 minutes before serving for a slightly softer, creamier filling, which is especially delightful for parties and gatherings.
- Room Temperature: If you plan to consume your chocolate peanut butter hearts within a few days (typically 3-5 days), you can store them at cool room temperature in an airtight container, away from direct sunlight, heat sources, or high humidity. However, for optimal freshness, texture, and to prevent the chocolate from blooming (a harmless but visually unappealing whitish film that can form due to temperature fluctuations), refrigeration is always the best option.
- Freezing for Longer Storage: For extended storage, these candy hearts freeze beautifully. To freeze, arrange the fully set chocolate hearts in a single layer on a baking sheet and flash freeze them for about an hour until solid. Then, transfer the frozen hearts to a freezer-safe, airtight container or a heavy-duty freezer bag. Optionally, you can separate layers with parchment paper to prevent sticking. They can be stored in the freezer for up to 3 months. While they freeze well, be aware that slight discoloration or a dulling of the chocolate’s sheen might occur due to temperature fluctuations during freezing and thawing, though this will not affect the taste or safety. Always defrost them slowly in the refrigerator overnight before serving to prevent condensation from forming on the chocolate.
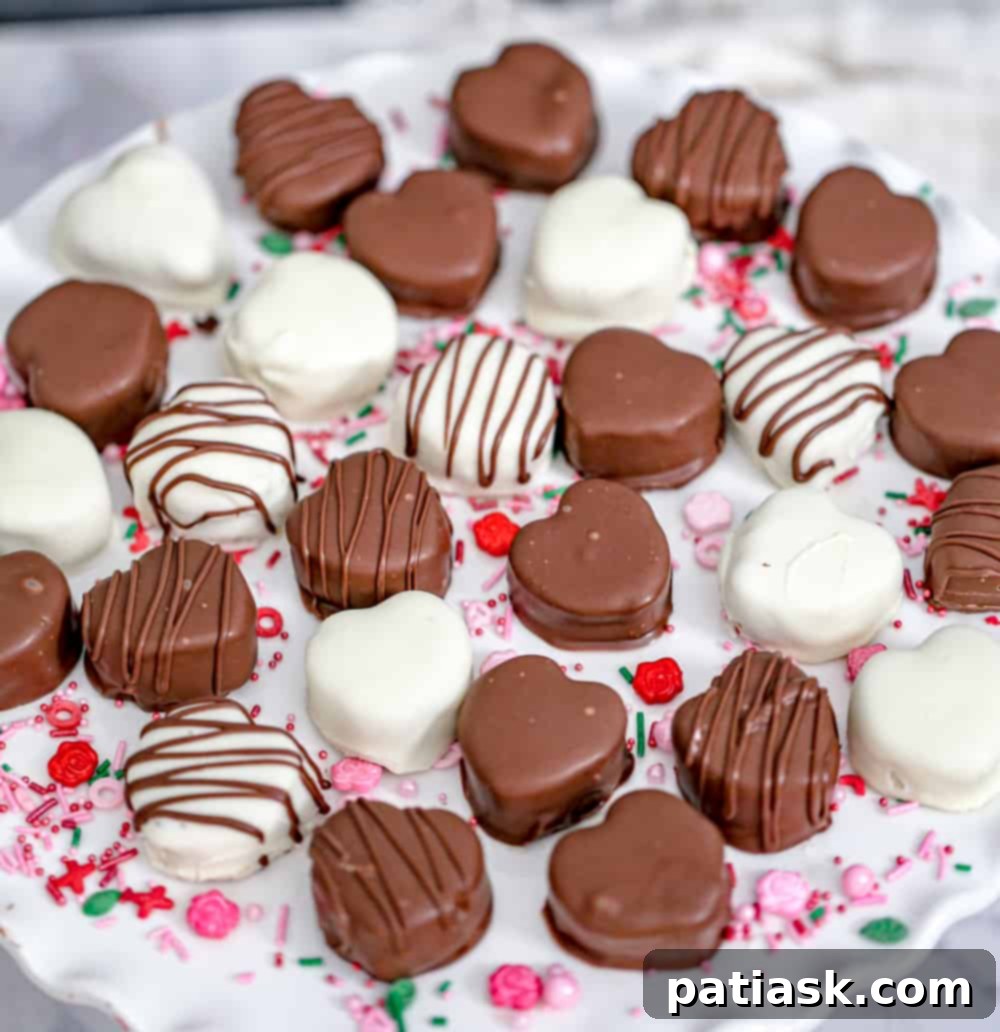
These homemade peanut butter hearts are not just delicious; they are the perfect snack-sized bites that are guaranteed to bring joy and smiles. The ultimate combination of sweet and salty, creamy and chocolatey, makes them irresistible. Who wouldn’t love these? YUM!
More Yummy Valentine’s Day Treats to Explore
If you’re still in the mood for baking, craving more delightful desserts, or simply looking for inspiration, check out these fantastic Valentine’s Day recipes from our collection:
- 17 Valentine Treats To Swoon Over!
- Chocolate Heart Peanut Butter Cookies
- 10 Dreamy Valentine Dessert Ideas
- Valentine Milk Chocolate Brownie Bites
- Homemade Oreo Heart Sandwich Cookies
- Soft Buttermilk {Cutout} Cookies & Icing!
- Valentine Sugar Cookies with Vanilla Icing
- Valentine Chocolate Bark
- How to Make a Heart-Shaped Valentine’s Day Cake
- Valentine Cupcakes with Brach’s Candies
- You’ll also love these fun Valentine Candy Strawberry Cream Jello Truffles for a unique and festive treat!
Chocolate Peanut Butter Hearts Recipe
Author: Kim Lange
Make Valentine’s Day gifting even more delicious with these homemade copycat Reese’s Chocolate Peanut Butter Candy Hearts! These decadent valentine hearts are coated in creamy milk chocolate or white chocolate filled with a thick, rich peanut butter center, and finished with a chocolate drizzle, if desired.
Recipe Details
- Prep Time: 15 mins
- Course: Dessert
Ingredients for Chocolate Peanut Butter Hearts
Peanut Butter Filling
- 1 cup creamy peanut butter (I used Jif for consistent texture)
- ¼ cup unsalted butter, melted
- ¼ cup light brown sugar
- 1 ½ cups powdered sugar (add more if needed for firmness)
- Dash of salt (optional, but highly recommended to balance sweetness)
Chocolate Shell
- 2 cups milk chocolate or white chocolate melts or chips
- 2 tablespoons vegetable shortening or coconut oil (optional, to thin chocolate if needed)
Instructions for Making Valentine’s Day Chocolate Peanut Butter Hearts
- Prepare Baking Sheet: Line a baking sheet with wax paper and set aside.
Microwave Method – Peanut Butter Filling
- Melt & Mix: Melt butter and brown sugar together in a microwave-safe bowl. Once melted, add peanut butter and salt, and mix until thoroughly combined.
- Add Powdered Sugar: Gradually add the powdered sugar, a little at a time, stirring until completely combined and the mixture forms a firm dough. Transfer to a parchment-lined baking sheet or pan.
Stovetop Method – Peanut Butter Filling
- Combine & Heat: In a medium saucepan over medium heat, combine the peanut butter, butter, brown sugar, and salt. Heat until thoroughly melted, stirring constantly, until just melted together and smooth.
- Add Powdered Sugar: Remove from heat and add the powdered sugar a little at a time, stirring until completely combined with the peanut butter mixture and it forms a firm dough. Transfer to a parchment-lined baking sheet or pan.
Making Heart Shapes
- Shape Hearts: Press or roll out your peanut butter dough to about ½ inch thick. Use a small heart cookie cutter to cut out your hearts. Continue making hearts with leftover dough until it’s all used up.
- Chill Hearts: Place the shaped hearts on the baking sheet and refrigerate them for about 30 minutes to set. If you’re in a hurry, you can place them in the freezer for 5-10 minutes. Ensure they are firm enough to handle for dipping.
Melting and Dipping Hearts
- Melt Chocolate: Once the hearts are set and firm, melt the chocolate chips/melts in the microwave in 30-second increments, stirring after each, until completely melted and smooth (approximately 1.5-2 minutes total).
- Thin Chocolate (If Needed): If the chocolate is too thick for dipping, stir in 1-2 tablespoons of vegetable shortening or coconut oil until it reaches a smooth, dippable consistency.
- Dip & Decorate: Use a long-tined fork to dip each peanut butter heart into the melted chocolate, covering it completely. Allow any excess chocolate to drip off, then place it back on the wax paper-lined baking sheet. Decorate immediately with sprinkles or by drizzling leftover melted chocolate on top (using a ziplock bag with a snipped corner for fine lines).
- Set Chocolate: Return the chocolate-covered peanut butter hearts to the refrigerator to allow the chocolate to set completely, which takes about 30 minutes.
- Store: Store the finished candies in an airtight container in the refrigerator until ready to serve.
Keywords:
candy, chocolate, peanut butter, truffles, valentine’s day, homemade reese’s, dessert, easy recipe, valentine treats
Tried This Recipe?
Let us know how it was by commenting below!
