This post has been sponsored by BUTTERFINGER®. All thoughts and opinions are my own.
Get ready for a hauntingly good time this Halloween! If you adore delightful and imaginative sweets, then these festive, show-stopping BUTTERFINGER® Peanut Butter Cup Skulls Tombstone Treats are precisely what you need. They are perfect for delighting all your ghoul-friends at your next spooky gathering or to simply celebrate the season with a delicious flourish!
Looking for more spine-chillingly good Halloween dessert ideas? Dive into our collection, including Easy Halloween Cereal Treats, classic Halloween Rice Krispie Treats, a comprehensive list of 10 Halloween Party Desserts, and these irresistible Halloween Reese’s Cookie Bars to kick off your spooky baking!
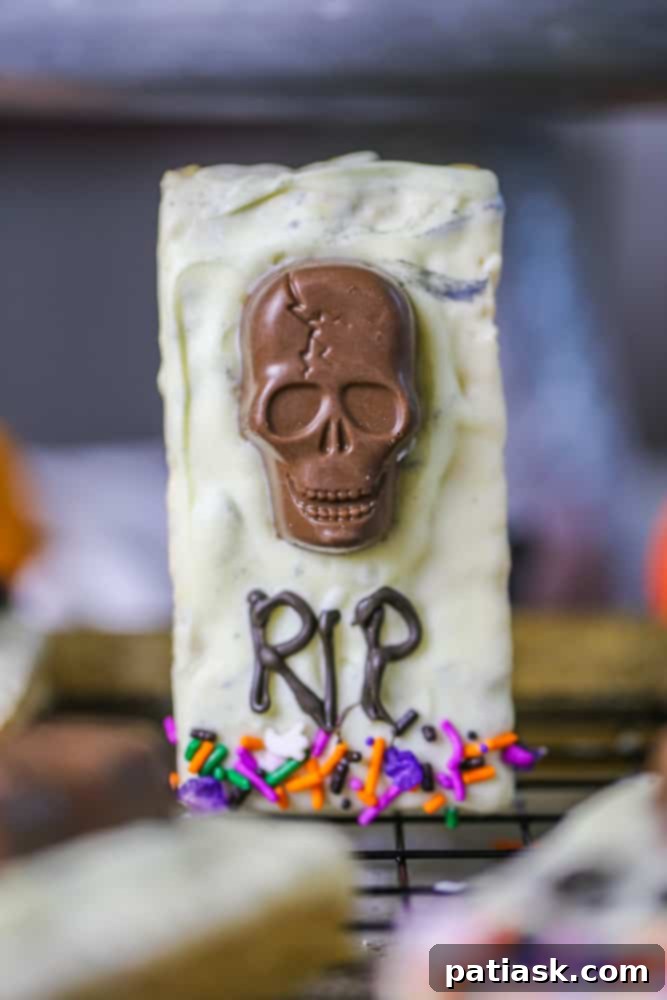
With these irresistibly spooky and scrumptious tombstone treats making an appearance, we’re confident that no ghosts, mummies, or zombies will be “resting in peace” (RIP) this Halloween! Expect a smashing, monstrously good time filled with laughter, costumes, and plenty of sugary delights. Halloween is truly our favorite time of the year! We eagerly anticipate the chance to dress up in creative costumes and celebrate with our dearest friends. Crafting unique and festive desserts is one of my greatest joys during this season, and these Butterfinger treats are always a highlight!
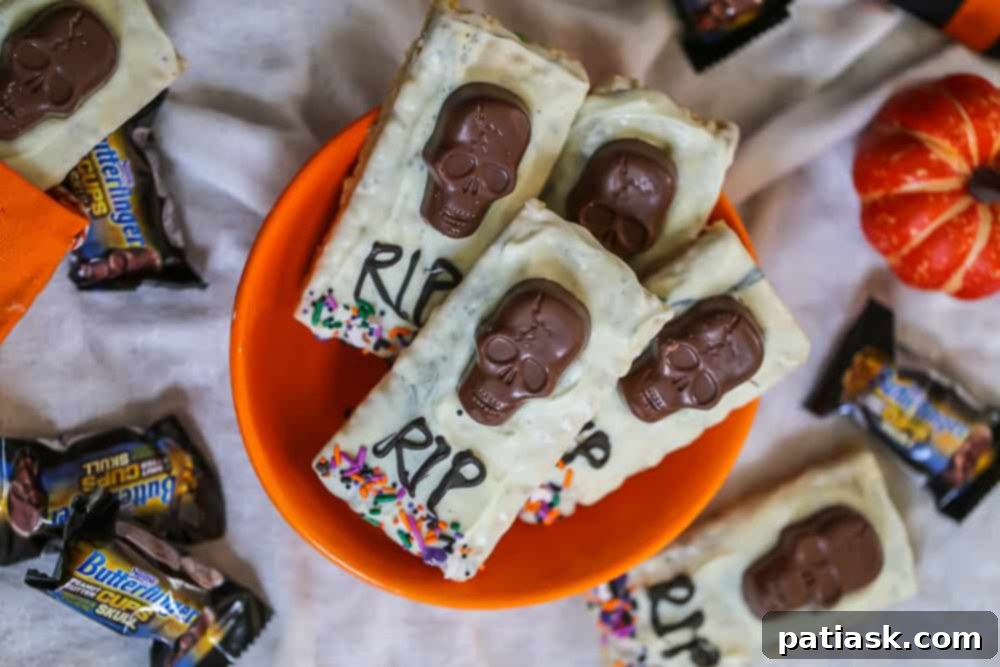
Unleash the Spooky Fun: Haunting Butterfinger Peanut Butter Treats!
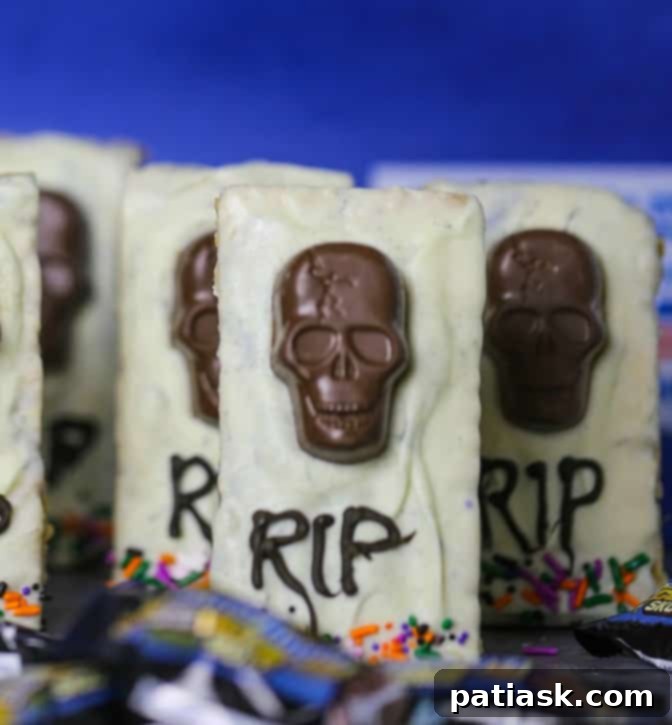
Kick off your Halloween festivities with these captivating Butterfinger Peanut Butter Treats! Each treat is meticulously designed to resemble graveyard-inspired tombstones, crafted from delectable, chewy peanut butter krispy treats. These “tombstones” are then dipped in luscious white chocolate, artfully swirled with gray for an authentic eerie effect. Embedded right into the chocolate are the star of the show: adorable BUTTERFINGER® Peanut Butter Cup Skulls. A scattering of decorative sprinkles at the base and carefully piped chocolate “RIP” letters complete the ghoulish scene, truly bringing the Halloween spirit to life on your dessert table!
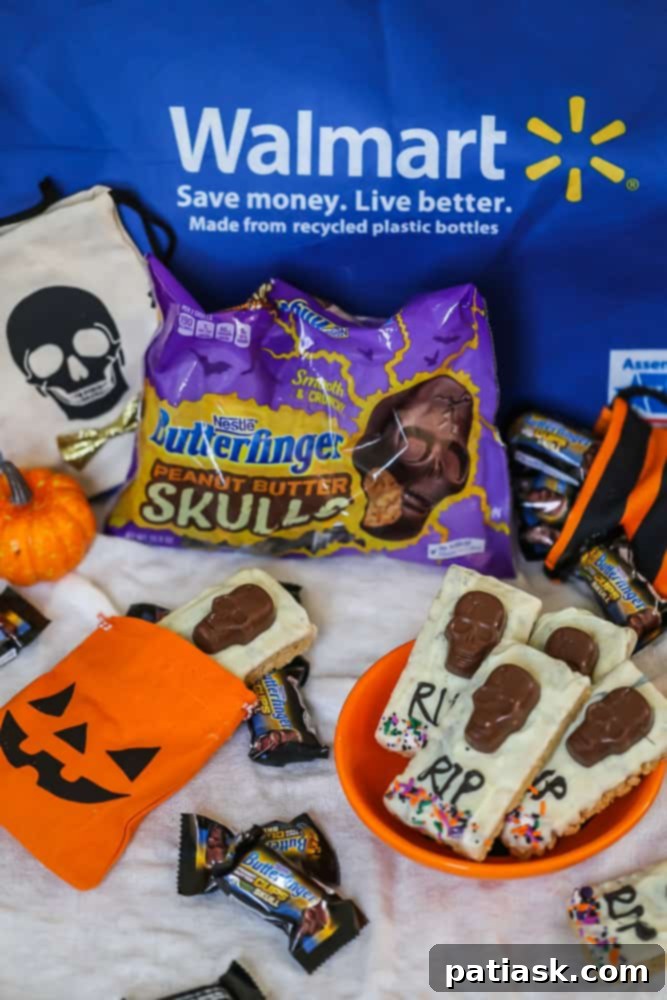
When BUTTERFINGER® reached out with the exciting opportunity to create a unique recipe featuring their fantastic BUTTERFINGER® Peanut Butter Cup Skulls, I was instantly inspired! The creative possibilities were endless, and I knew exactly how to get this Halloween party started: a trip to Walmart was in order to gather all my ingredients.
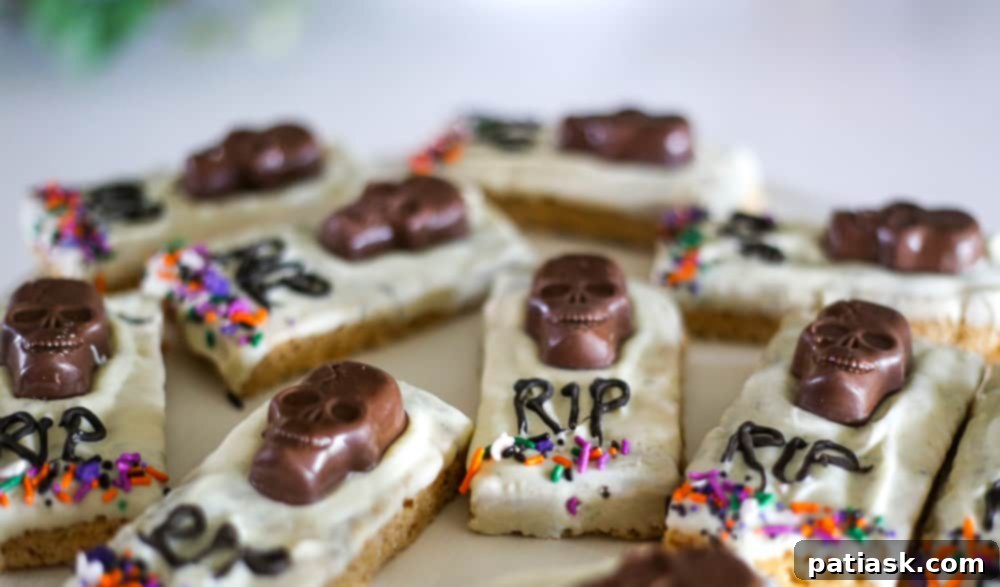
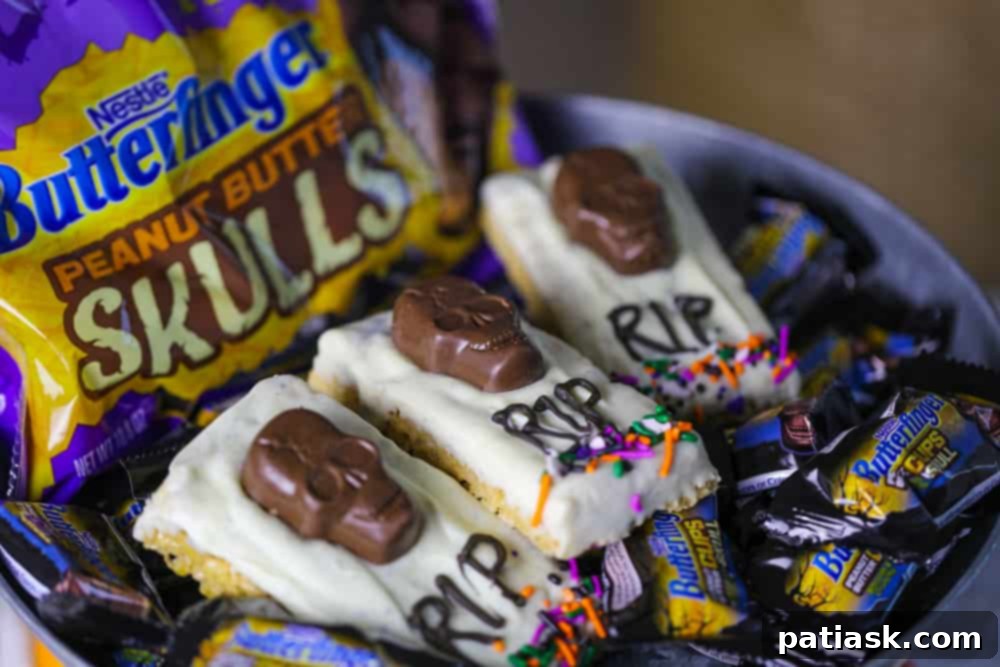
Among my usual shopping spree items, I made sure to snag four fang-tastic bags of BUTTERFINGER® Peanut Butter Cup Skulls. These were essential for crafting my spooky tombstone treats, and I confess, a few bags might have mysteriously disappeared into a secret stash for my personal enjoyment. I am, after all, a massive fan of these delightful candies! Have you had the pleasure of trying these yet? A little whisper… perhaps a visit to Walmart is in your near future? You won’t regret it!
As a devoted chocolate lover, it’s no surprise that I’m utterly captivated by these BUTTERFINGER® skulls. Each one is a symphony of crispety, crunchety, peanut-buttery goodness, all generously enrobed in a smooth, rich milk chocolate coating. And let’s be honest, that chocolate skull mold is undeniably the coolest Halloween design ever! If these don’t immediately scream “Halloween celebration,” then I’m not sure what does – perhaps only these very tombstones can rival their spooky charm!
Seriously, who doesn’t adore BUTTERFINGER® products? They are consistently delicious, boasting a bold, unmistakable peanut butter flavor that stands out from the rest. They are truly the perfect addition to any Halloween party, or as a standalone treat. In fact, they make fantastic additions to other recipes like these healthy peanut butter cup crispy treats. These skull-shaped candies are quite literally the ultimate party candy dessert for Halloween – *swoon*! And here’s an even more delightful fact: BUTTERFINGER® products are crafted without artificial flavors or colors, making them an even sweeter choice for your festivities.
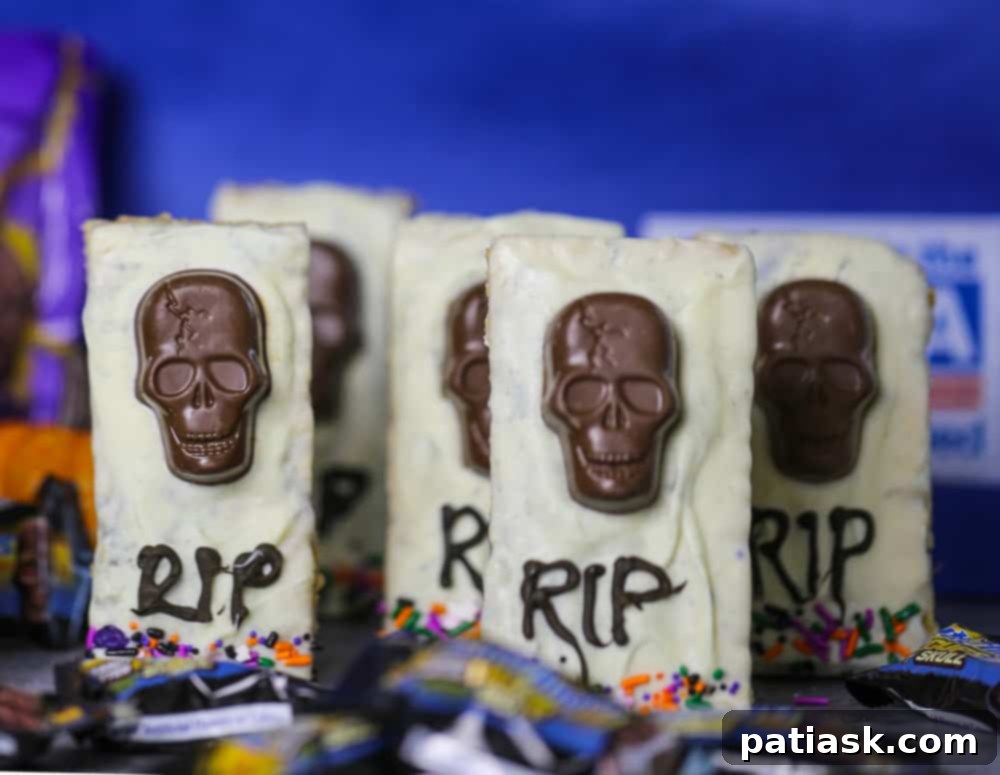
These versatile BUTTERFINGER® skulls aren’t just for tombstone treats! Imagine using them to decorate festive cupcakes, grand Halloween cakes, rich brownies, or simply handing them out to eager trick-or-treaters (which is, of course, a must-do!). The decorating options are practically endless, limited only by your imagination. Just remember one crucial tip: always squirrel away a few for yourself. You’ll thank me later, as these perfectly bite-sized sweet treats are far too delicious to miss out on!
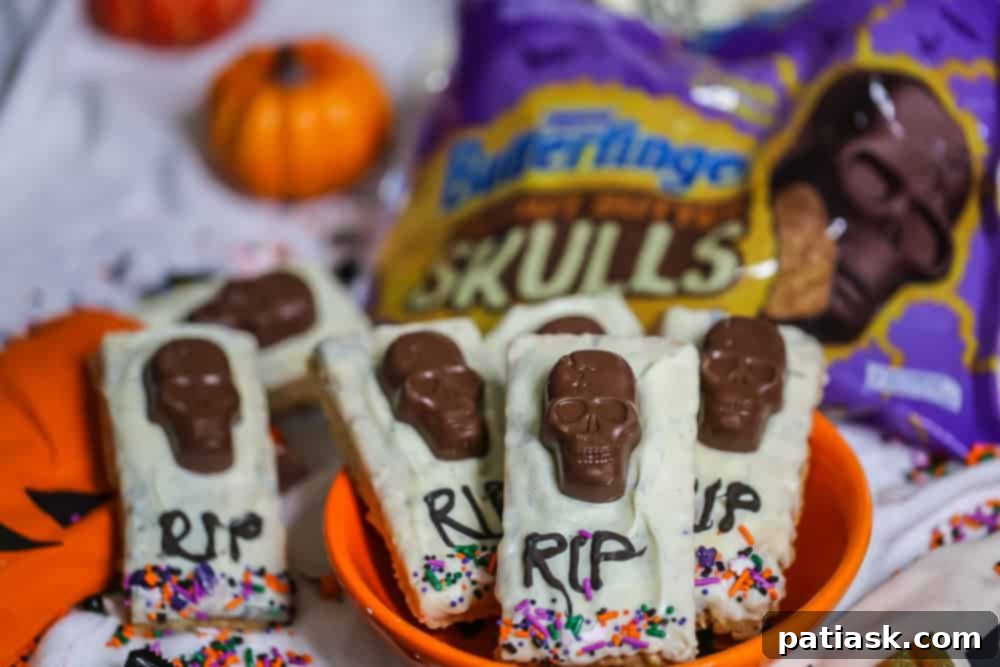
Serve them up in a spooky bowl and prepare to see them vanish as quickly as a ghost in the night! They won’t last long once those fangs get a taste!
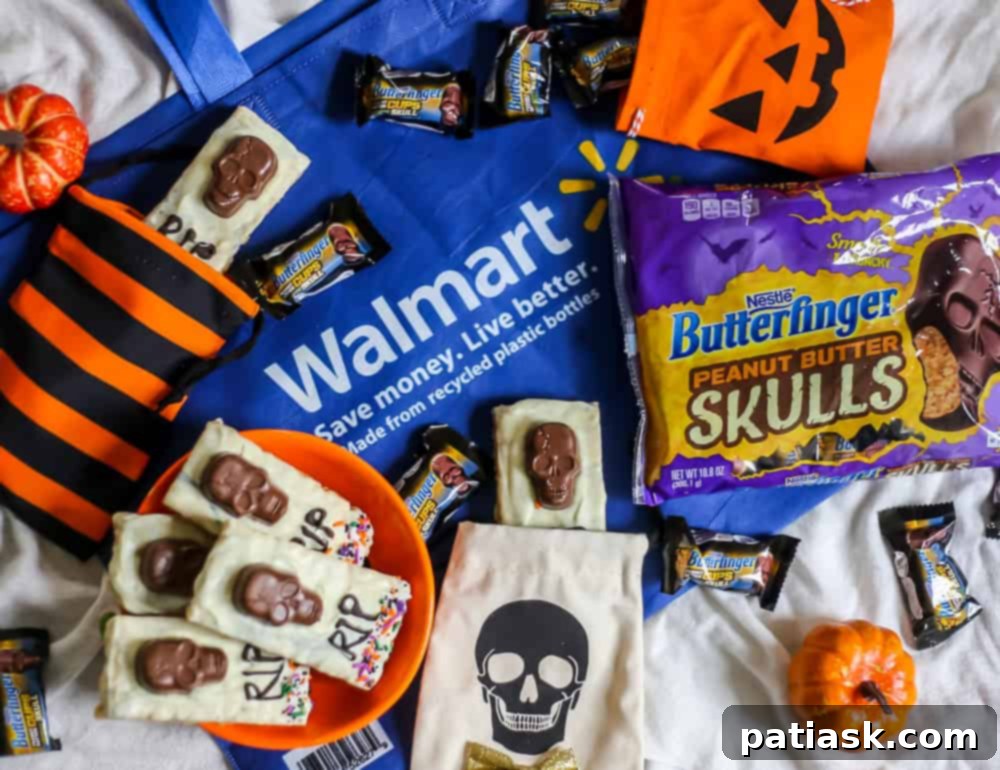
Your family and friends are guaranteed to fall in love with these utterly delicious and wonderfully festive Butterfinger Peanut Butter Treats. They are the ultimate crowd-pleaser for any Halloween gathering!
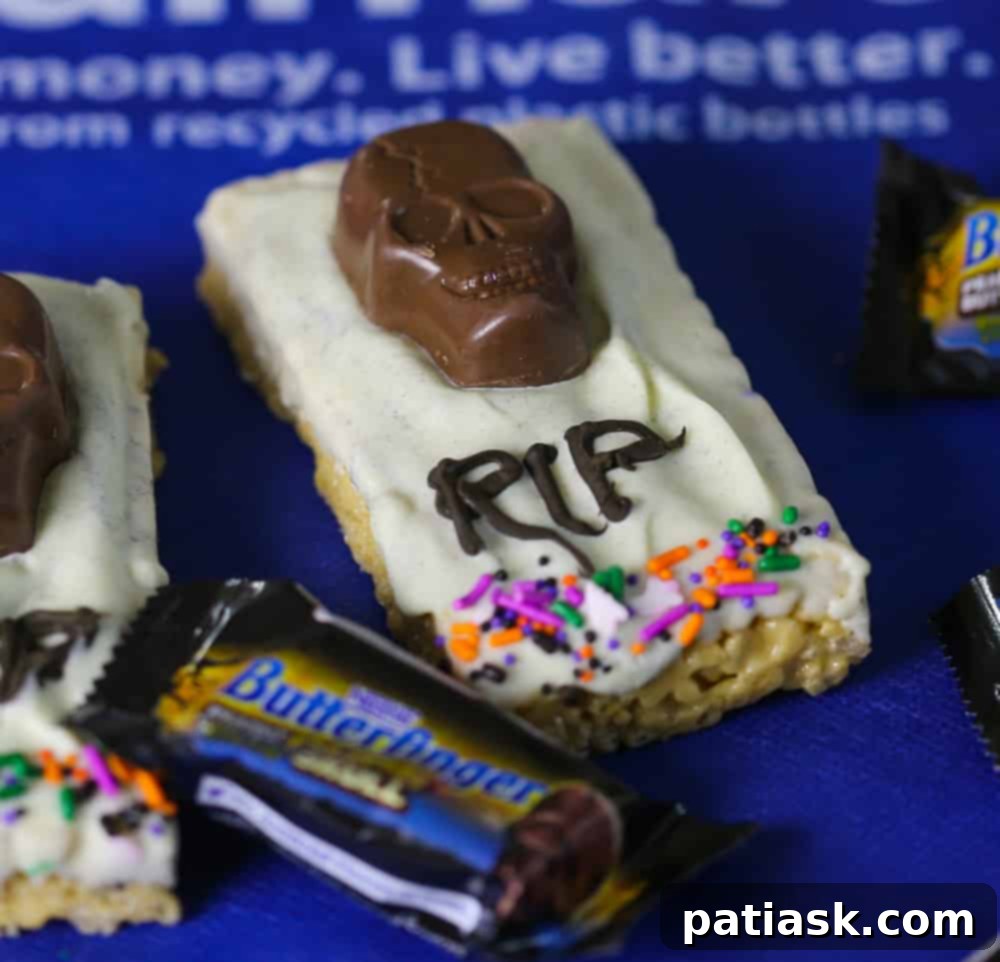
You can readily find BUTTERFINGER® Peanut Butter Cups Skull bite-sized fun-size bags at retailers nationwide. These delightful BUTTERFINGER® Peanut Butter Cups Skulls Fun-Size come conveniently individually wrapped in a 10.8oz bag, typically containing 18 skulls. Check for availability here. Not only are they superb for crafting spooktacular Halloween treats like these tombstone delights, but their perfect individual size also makes them an ideal handout for all the little trick-or-treaters at your door!
For more fantastic Halloween product ideas and inspiration, be sure to follow us on Facebook, Instagram, and Pinterest.
BUTTERFINGER® Peanut Butter Cup Skulls Tombstone Treats
By Kim Lange
One delicious way to kick off your Halloween party is with these haunting BUTTERFINGER® Peanut Butter Cup Skulls Tombstone Treats! They feature graveyard-inspired tombstones made of delicious chewy peanut butter krispy treats dipped in white chocolate with grayish swirls, embedded Butterfinger peanut butter cup skulls, decorative sprinkles, and chocolate RIP letters to bring the Halloween spirit to life!
Pin Recipe
Ingredients
- 4 tbsp butter
- 5 cups mini marshmallows
- ½ cup creamy peanut butter
- 5-¾ cups Rice Krispies
- 10 oz good quality white chocolate
- Optional: Black Color Gel (ensure it’s not water-based)
- Sprinkles or Cookie Crumbles for base of tombstone
Instructions
- Prepare a 9×13 inch pan by spraying it thoroughly with nonstick cooking spray. This will help prevent sticking.
- In a large saucepan, melt the butter over low heat, stirring gently until fully liquefied.
- Once the butter is melted, add the mini marshmallows to the saucepan. Continue to stir until the marshmallows begin to soften and melt. At this point, incorporate the creamy peanut butter, stirring constantly to ensure the peanut butter blends smoothly and does not burn.
- As soon as the mixture is fully combined and melted into a uniform consistency, remove the pan from the heat.
- Add the Rice Krispie cereal to the saucepan. Stir diligently until every piece of cereal is evenly coated with the marshmallow-peanut butter mixture. Be careful not to add more cereal than specified in the recipe, as this can result in dry, less chewy treats.
- Pour the entire mixture into the prepared 9×13 inch pan. To compact the treats firmly, place a piece of parchment paper over the mixture and press down evenly, or spray your hands with nonstick cooking spray and press down by hand. Allow the treats to set and firm up for 30-45 minutes before proceeding to cut them.
- Once the treats have firmed, cut them into 8 even rectangular bars, resembling tombstones.
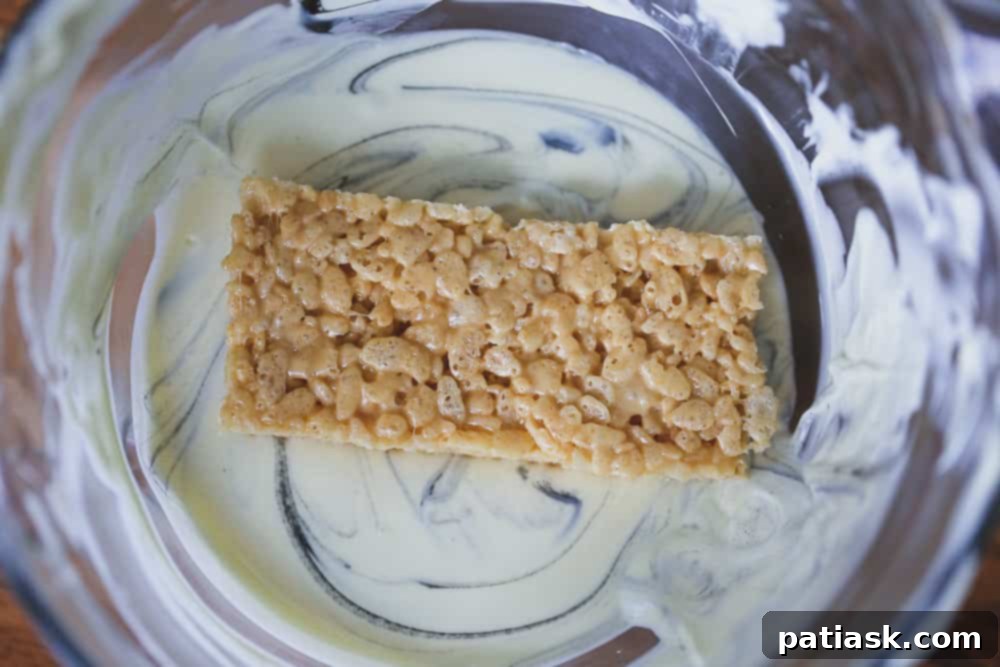
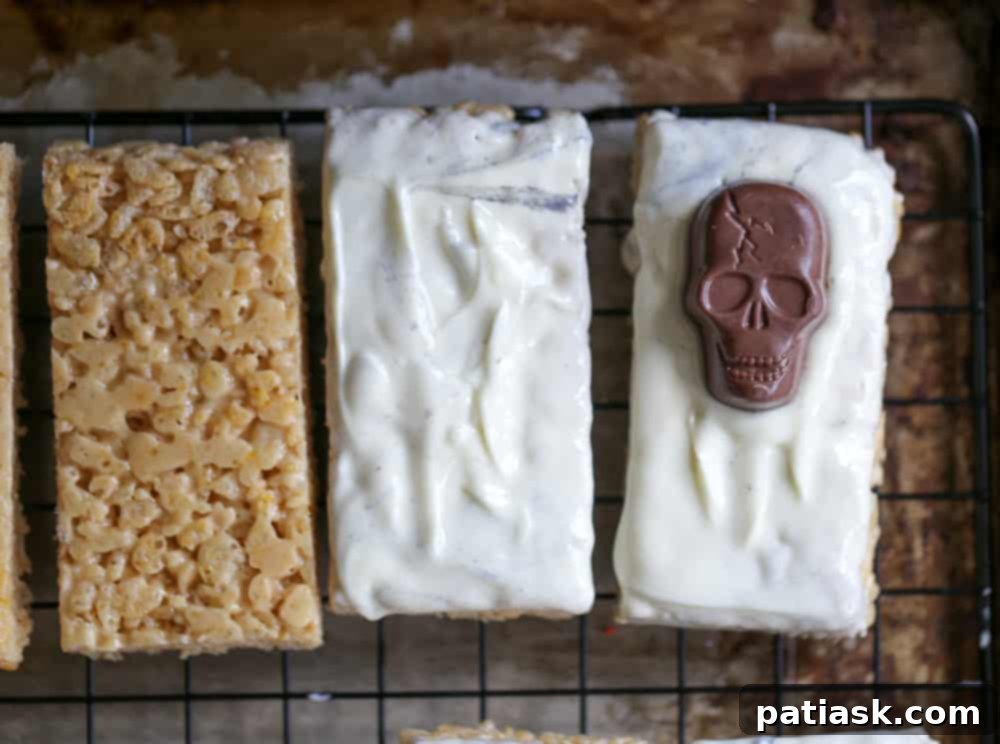
- Place the good quality white chocolate into a microwave-safe container. Microwave the chocolate in 15-second intervals, stirring after each, until it is completely smooth. Be cautious not to overheat, as this can cause the chocolate to burn or seize. For a granite-like effect, add a few drops of black color gel and swirl gently. Dip each tombstone treat into the chocolate, ensuring it’s fully coated, then place it on a wire rack to allow excess chocolate to drip off. Work one at a time.
- Carefully place the Nestlé Butterfinger Peanut Butter Cup Skulls onto the top portion of each chocolate-dipped tombstone before the chocolate sets completely.
- To enhance the graveyard aesthetic, add some decorative sprinkles or crushed cookie crumbles around the base of each tombstone, mimicking freshly turned earth.
- After all the tombstones are sprinkled and adorned with skulls, it’s time to add the iconic ‘RIP’ lettering.
- Melt some dark chocolate. For an even darker, more ominous vibe, you can optionally add a tiny amount of black color gel. Transfer the melted chocolate to a ziploc bag. Snip a very small tip off one corner of the bag to create a fine opening for piping. Before piping, use a toothpick to lightly mark the beginning and end points of where you want “RIP” to appear in a straight line on each tombstone.
- These toothpick markings will serve as your guide, helping you keep your letters centered and aligned when you pipe.
- Carefully trace the letters “R,” “I,” and “P” onto each tombstone using the melted chocolate from your piping bag.
- Allow the decorated treats to set completely before serving. This ensures the chocolate is firm and the decorations are secure.
- If you plan to package these treats to send to distant “little ghouls” or give them as gifts, it’s best to let them set overnight to ensure maximum firmness and stability.
Let us know how it was by commenting below!
