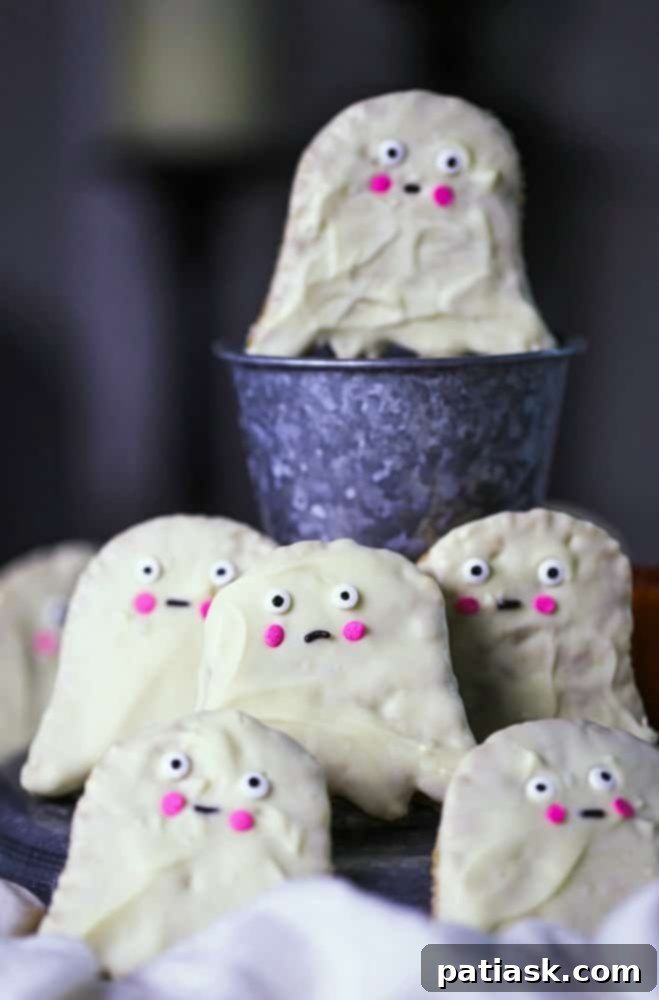
Spooktacularly Delicious: Easy Peanut Butter Halloween Ghost Rice Krispies Treats
Searching for a delightful, last-minute addition to your Halloween festivities? Look no further! These charming and utterly delicious peanut butter Halloween Ghost Rice Krispies treats are incredibly quick to prepare, surprisingly simple, and guaranteed to be a hit. Whether you’re hosting a ghoulish gathering or simply want a fun activity for the family, these no-bake wonders combine the irresistible flavors of creamy peanut butter and smooth white chocolate into a festive and memorable snack.
If you’re among those who cherish the magical combination of white chocolate and peanut butter, especially when paired with the satisfying crunch of Rice Krispies, then prepare for these treats to brighten your day and elevate your party spirit! They are the perfect complement to any Halloween spread, offering a sweet and playful alternative to the more eerie confections. You’ll find these ghosts a fantastic addition to your collection of Halloween party desserts!
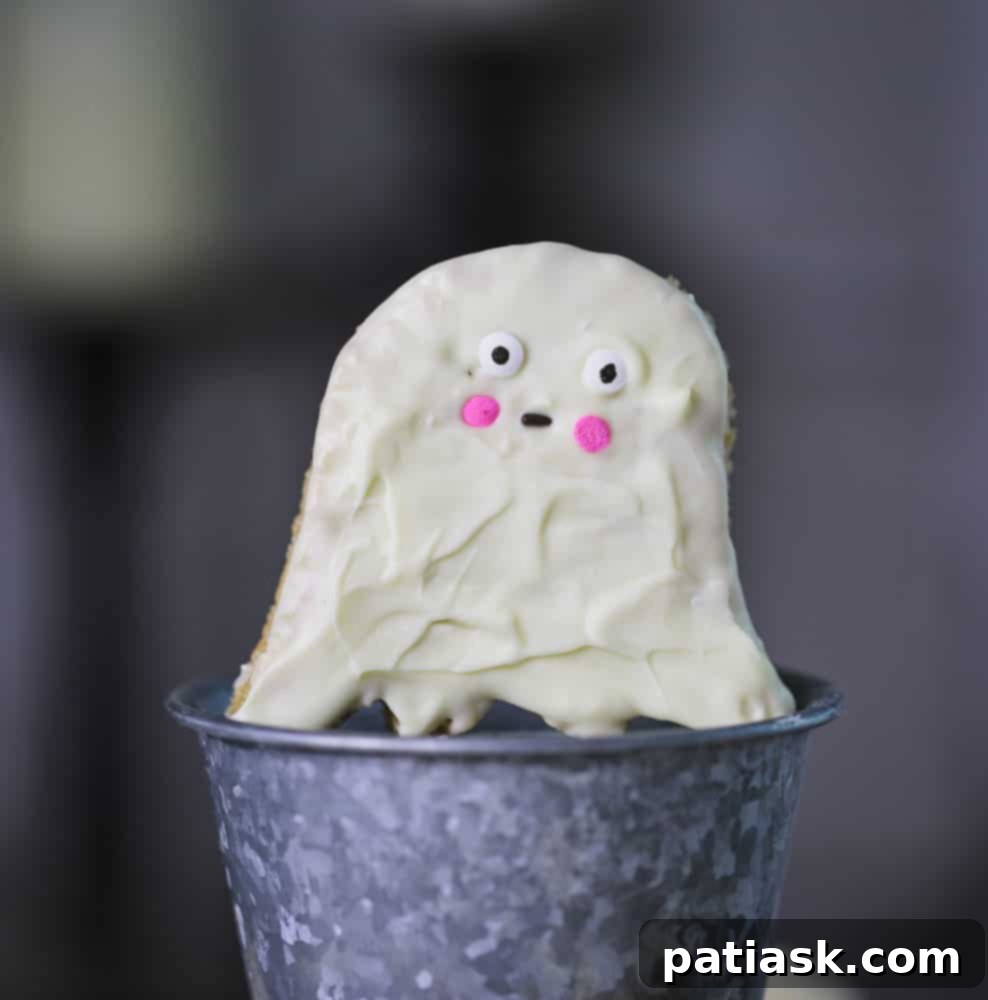
These peanut butter Ghost Rice Krispie treats are an outstanding choice for all your upcoming Halloween celebrations. For those of us who prefer our holiday munchies to be more “boo-tiful” than “blood-curdling,” these treats are a welcome relief. I, for one, struggle with Halloween foods that lean into the gory or scary aesthetic. I simply can’t bring myself to prepare or taste anything that looks too realistic or unsettling. The thought of consuming the bizarre concoctions seen on survival shows like “Naked & Afraid” or “Survivor” makes me shiver – definitely a polite “no thank you!” from my end!
That’s precisely why I always opt for cute, cheerful, and fun Halloween treats! And these adorable ghost Rice Krispies fit the bill perfectly. Fair warning, though: they are incredibly addictive! You might find yourself wanting to make an extra batch, especially if you have a party in mind, as they tend to disappear remarkably fast.
The kiddos will absolutely adore these sweet Rice Krispie ghosts, and parents can rest easy knowing there won’t be any nightmare-inducing food on the party table. Speaking from personal experience, I’m the biggest scaredy-cat when it comes to scary stories, paranormal phenomena, and anything remotely hellish. The last thing I want is to have nightmares because of a hair-raising finger food! Yikes!
Of course, I understand that some children and adults thoroughly enjoy the thrill of scary Halloween themes, and for them, the gorier, the better! It’s all part of embracing the mysterious Halloween spirit, and that’s perfectly fine. But for those of us who prefer a gentler, more charming approach to spooky season snacking, these ghosts are a delightful compromise.
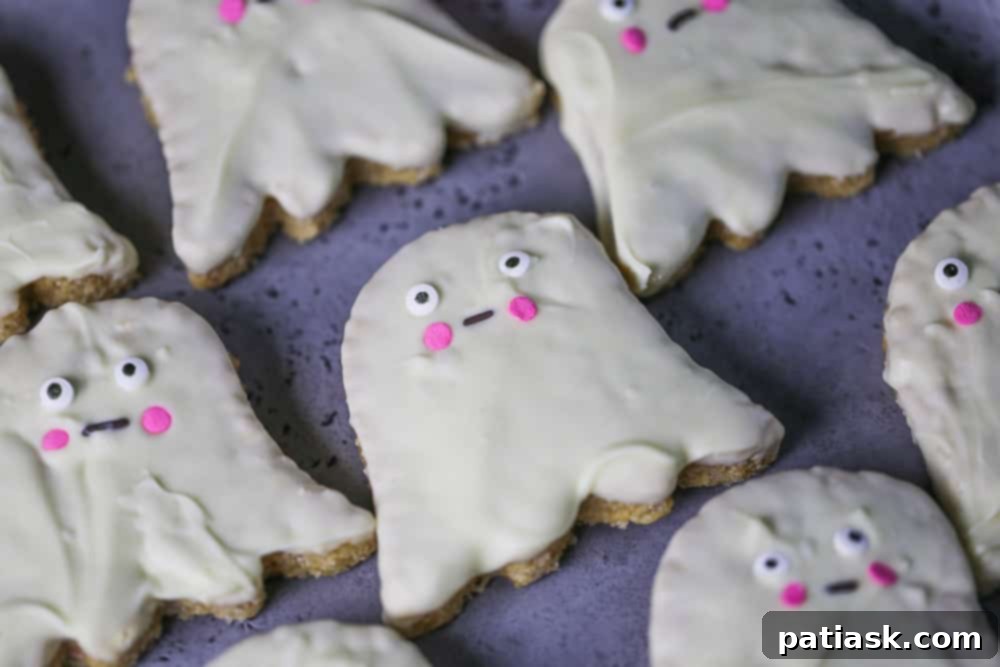
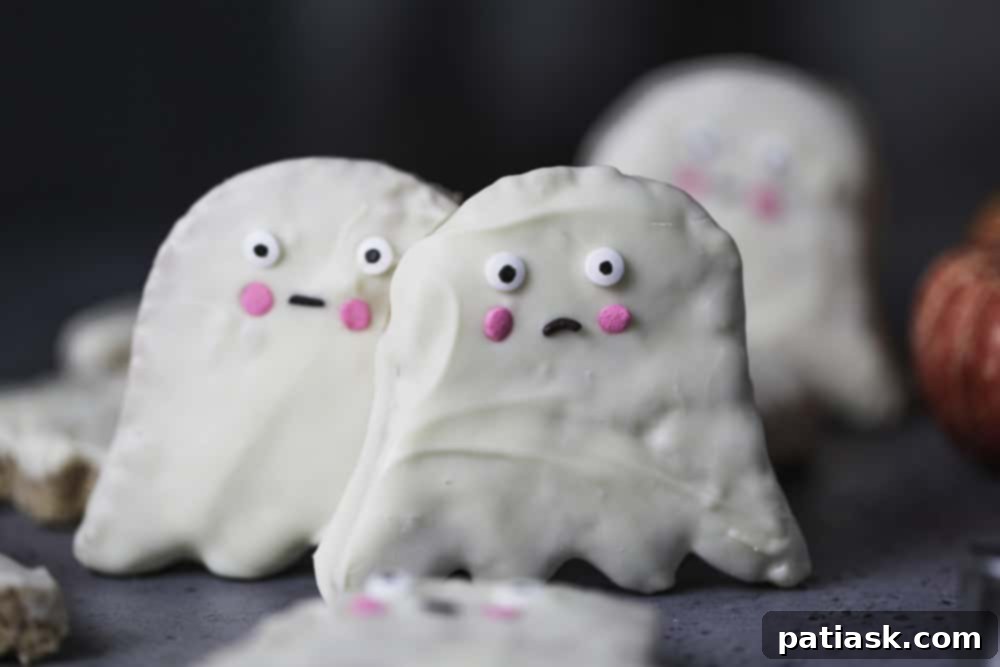
These enchanting Halloween Ghost Shaped Rice Krispies are crafted from wonderfully soft and chewy peanut butter Rice Krispies, then generously dipped in a rich, creamy white chocolate coating. A few strategically placed edible eyeballs, a playful mouth, and perhaps some rosy pink cheeks transform them into irresistibly cute characters that are almost too adorable to eat. Almost!
Essential Ingredients for Your Ghost Rice Krispies
Creating these delightful ghost treats requires just a few basic ingredients, most of which you probably already have in your pantry. The key to their amazing flavor and texture lies in the quality of these components and the careful balance between them. Here’s what you’ll need to gather:
- Butter: This forms the base of your gooey marshmallow mixture, ensuring a smooth and rich foundation.
- Mini Marshmallows: These are crucial for that signature sticky, chewy texture that makes Rice Krispies treats so beloved. Mini marshmallows melt more evenly and quickly, which is ideal for this recipe.
- Peanut Butter: The star of the show! Creamy peanut butter adds an incredible depth of flavor and contributes to the treat’s soft, pliable consistency. Choose your favorite brand for the best taste.
- Rice Krispies Cereal: The classic crisp cereal that provides the satisfying crunch. Ensure it’s fresh for optimal texture.
- Ghirardelli White Chocolate Melting Wafers or good quality white chocolate: For dipping your ghosts. Using high-quality melting wafers or white chocolate is vital for a smooth, glossy finish and excellent flavor. Inferior chocolate can seize or become grainy when melted.
- Decorations for ghost faces: Edible googly eyes, mini chocolate chips, food-safe markers, or colored frosting for bringing your ghosts to life!
Crafting Your Halloween Rice Krispies Ghosts: Step-by-Step Guide
Making these spooky-cute treats is a straightforward process that’s perfect for involving the whole family. Follow these simple steps to create your peanut butter ghost masterpieces:
- Prepare your pan: Lightly spray a 9×13 inch baking pan with nonstick cooking spray. This will prevent your Rice Krispies mixture from sticking and make it easier to remove later.
- Melt the butter: In a large saucepan, melt the butter over low heat. Low heat is crucial here to prevent the butter from browning or burning, which can affect the final flavor.
- Combine marshmallows and peanut butter: Once the butter is melted, add the mini marshmallows to the saucepan. Stir continuously until the marshmallows begin to soften and melt. As they become gooey, add the peanut butter and continue stirring diligently. Constant stirring is essential to ensure the peanut butter fully incorporates and doesn’t scorch at the bottom of the pan.
- Remove from heat: As soon as the mixture is fully combined and smoothly melted, turn off the heat and remove the pan from the stove. Overheating can make the treats hard.
- Add Rice Krispies cereal: Pour the Rice Krispies cereal into the saucepan with the marshmallow and peanut butter mixture. Gently stir until every piece of cereal is evenly coated. Be careful not to add more cereal than the recipe specifies, as this can result in dry, crumbly, and hard treats instead of the desired soft and chewy texture.
- Press into the pan and set: Transfer the mixture into your prepared 9×13 inch pan. To press it down firmly without sticking, you can either place a piece of parchment paper on top and gently press down, or lightly spray your hands with nonstick cooking spray and pat the mixture down evenly. This compaction is important for the treats to hold their shape. Allow the treats to set at room temperature for 30-45 minutes, or until firm.
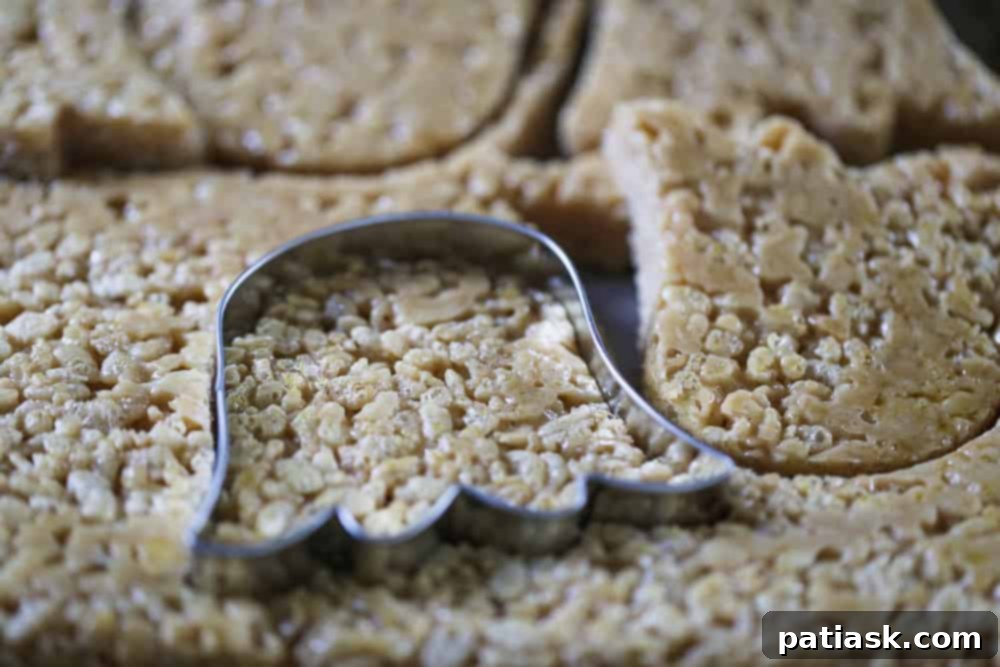
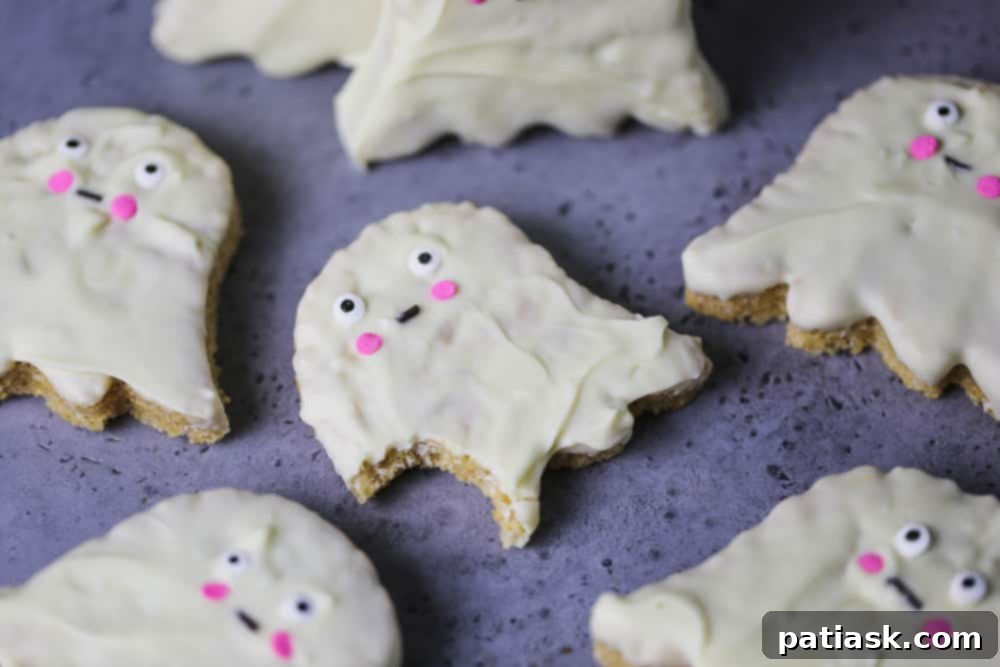
- Cut out the ghosts: Once set, use a ghost-shaped cookie cutter to cut out your ghost treats. If you don’t have a ghost cutter, you can cut the slab into squares and then use your hands to gently mold them into ghost-like shapes. The pliability of the peanut butter Rice Krispies makes this surprisingly easy.
- Melt the white chocolate: Place your Ghirardelli White Chocolate Melting Wafers (or other good quality white chocolate) into a microwave-safe container. Microwave for up to 2 minutes, but crucially, do so in 15-second intervals, stirring thoroughly after each interval. This method prevents the chocolate from overheating and burning or seizing, ensuring a smooth, dippable consistency.
- Dip and decorate: Dip each ghost-shaped Rice Krispie treat into the melted white chocolate, ensuring it’s fully coated. Let any excess chocolate drip off. Immediately after dipping, decorate your ghosts as desired with edible googly eyes, mini chocolate chips, or frosting to create their cute or mischievous faces.
Ghost Shaped Rice Krispies: Expert Tips for Success
Achieving perfectly shaped and delightfully chewy ghost Rice Krispies treats is all about a few key techniques. Here are some pro tips to help you:
- Yield and Shaping Options: From one 9×13 pan, I typically get about 8 good-sized ghost treats when using a standard ghost cookie cutter. However, don’t worry if you don’t have a specific cookie cutter! You can easily achieve ghost shapes by cutting the cooled Rice Krispies slab into 8 even squares. From there, gently mold each square by hand, pinching and shaping the edges to create charming little ghosts. The beauty of this recipe is how forgiving and pliable the mixture is.
- Recommended Cookie Cutter: If you are interested in using a cookie cutter for consistent shapes, consider one like the Cute Ghost/Tulip / Bell Flower Cookie Cutter – 3.5 Inch – Ann Clark – US Tin Plated Steel. It provides a lovely, clean edge for your ghostly figures.
- The Secret to Soft and Chewy: The peanut butter Rice Krispie mixture is inherently pliable and easy to work with for molding into various shapes, but only if you adhere to the correct ratio of ingredients. The most common mistake is adding too much Rice Krispies cereal. Resist the urge to add more than the recipe calls for, as this will result in hard, dry, and crumbly treats that lose their delightful chewiness. Who wants to bite into a tough Rice Krispie treat? No one!
- Flavor Harmony: These treats are celebrated for their soft, chewy texture and rich peanut butter flavor. The creamy white chocolate coating acts as the perfect counterpoint, bringing all the elements together for a truly haunting good time, in the best possible way!
Creative Ideas for Ghost Faces!
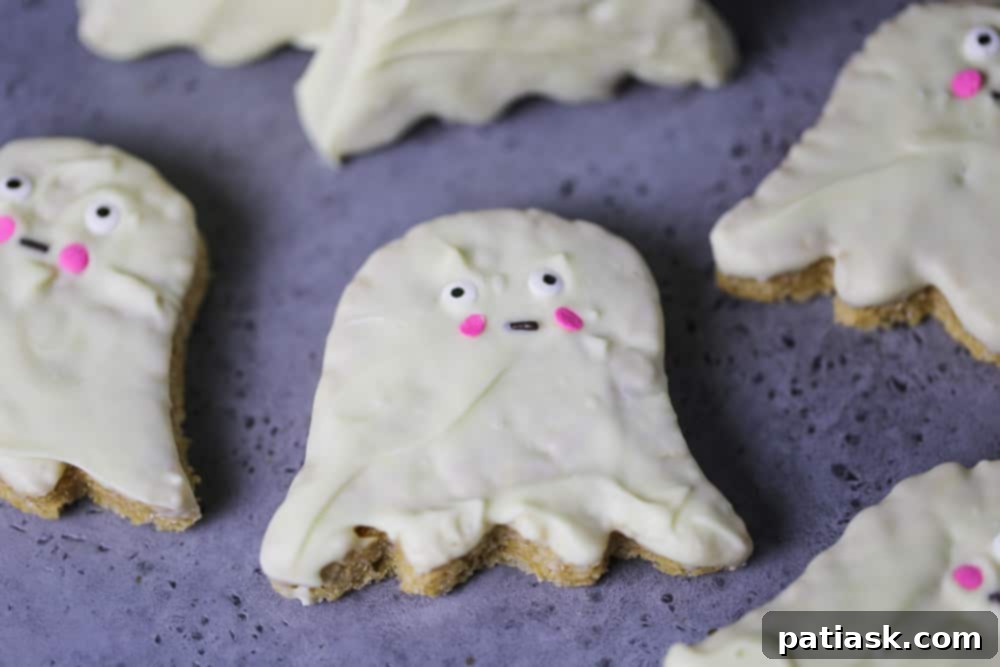
Decorating your ghost faces is where the real fun begins! You can personalize each treat, making them as friendly or as frightful as you desire. Here are some creative suggestions for bringing your ghosts to life:
- For a Fearful Effect: If you’re aiming for a slightly more sinister or “fearful” ghost, consider using mini M&M’s or red hots for vibrant, piercing red eyes. A jagged mouth drawn with black edible marker or frosting can complete the spooky look.
- Unleash Your Creativity: Don’t limit yourself! You can create a myriad of scary or cute faces using whatever edible decorations you have on hand. Think beyond the basics. Mini chocolate chips are perfect for eyes or mouths. Sprinkles can add a pop of color or texture. Different colored frostings can be used to draw intricate expressions or add rosy cheeks. Edible markers are fantastic for drawing fine details. You can even use small pieces of colored melting chocolate to create unique facial features. Let your imagination run wild – no two ghosts have to be exactly alike!
- Ensure Smooth Setting: Once you’ve finished decorating your ghosts, allow the white chocolate coating to firm up completely before storing them. This is crucial to prevent them from sticking to each other. You can place them on parchment paper on a baking sheet and refrigerate for about 10-15 minutes, or simply let them sit at room temperature for a bit longer.
- Storage Tips: Store your finished Halloween Ghost Rice Krispies treats in an airtight container or a resealable plastic bag at room temperature for up to 3-4 days. For optimal freshness and chewiness, consume them within the first couple of days.
- Serving Suggestions: Arrange these adorable treats on a festive Halloween party tray or platter. Their charming appearance makes them a fantastic centerpiece, and their delicious taste guarantees they’ll disappear in a flash, much like real ghosts! They are ideal for classroom parties, neighborhood gatherings, or as a special snack for trick-or-treaters.
These cute little Rice Krispie ghosts, transformed into charming characters for your Halloween party, are not only super yummy but also incredibly fun to make and share! So, get ready to party! And remember, absolutely no scary stuff required here. Just pure, unadulterated, delicious fun! Thank you. 🙂
More Unscary & Delish Treats!
- 20 Spooktacular Halloween Desserts Round-Up!
- 10 Halloween Party Desserts & Jello Shots!
- Ultimate Chocolate Peanut Butter Cup Stuffed Krispie Treats
- Halloween Black Magic Candy Cake! It’s Insane!
- Cream Filled ‘Ghosts In the Graveyard’ Cupcakes
- Butterfinger® Peanut Butter Cup Skulls Tombstone Treats
- Mini Pumpkin Pies are always a fun option as well!
- Cute Easter Bunny Sugar Cookies
Halloween Peanut Butter Rice Krispie Ghosts
By Kim Lange
Pin Recipe
Ingredients
- 4 tbsp butter
- 5 cups mini marshmallows
- ½ cup creamy peanut butter
- 5-¾ cups Rice Krispies
- 10 oz Ghirardelli White Chocolate Melting Wafers or good quality white chocolate
- Decorations for ghost face
Instructions
- Spray a 9 x 13 pan with nonstick cooking spray.
- Melt butter on low heat in a large saucepan.
- Add mini marshmallows and once marshmallows begin to soften and melt, add peanut butter and constantly stir the mixture so the peanut butter does not burn.
- Once, mixture is combined and melted, turn off heat and remove pan from stove.
- Add rice krispie cereal to sauce pan and stir until evenly coated with mixture. (Make sure not to add more rice krispie cereal than the recipe calls for or they won’t be soft and chewy)
- Pour mixture into 9 x13 pan, and pat down mixture with parchment paper, pressing it on top of the mixture and patting down or spray your hand with some nonstick cooking spray and pat down the mixture until firmly compacted. Allow 30-45 minutes for treats to set.
- Using cookie ghost cutter, cut out the ghosts and set aside. (Or you can cut into squares and mold them into ghosts)
- Place Ghirardelli Chocolate in microwave-safe container. Microwave up to 2 minutes, and within the 2 minutes, microwave at 15 second intervals and stir until smooth. Overheating will cause wafers to burn.
- Dip ghosts into chocolate and then decorate as you wish.
