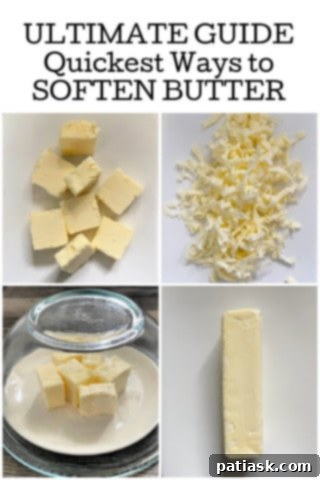
Hey there, fellow baking enthusiasts! Are you often caught in a bind with rock-hard butter when a recipe demands perfectly softened consistency? Don’t let cold butter derail your baking ambitions! This comprehensive guide is designed to transform your stubborn butter into a pliable dream in record time, ensuring your baked goods always achieve that ideal texture and flavor.
Discover an array of quick, reliable methods to soften butter fast, without accidentally melting it. From clever kitchen tricks to leveraging modern appliances, we’ll dive into life-saving techniques that will get your butter from firm to fluffy, ready for creaming with sugar or folding into delicate doughs, in no time at all. Say goodbye to frustrating delays and hello to baking bliss!

Why Softened Butter is a Baking Essential
Softened butter isn’t just a preference; it’s a fundamental requirement for countless baking recipes, especially those that call for “creaming butter and sugar.” The science behind this technique is fascinating and crucial for achieving light, airy, and tender baked goods. When butter is at the ideal room temperature – soft enough to yield to a gentle press but still holding its shape – it has a unique ability to incorporate air.
As you beat softened butter with sugar, the sharp edges of the sugar crystals create tiny air pockets within the butter. This process, known as aeration, is what gives cakes, cookies, and many pastries their characteristic fluffy texture. These air pockets expand during baking, contributing to a lighter crumb and a more tender bite. Without proper aeration, your baked goods can turn out dense, heavy, and less enjoyable.
Furthermore, room temperature butter emulsifies much more easily with other ingredients like eggs and liquids. This creates a smooth, homogenous batter or dough, which is essential for even baking and a consistent final product. Cold butter, on the other hand, resists blending, leading to lumps and an uneven distribution of ingredients. This can result in a patchy texture, with some parts of your treat being tough and others crumbly.
It’s important to remember that “softened butter” does not mean “melted butter.” Melted butter behaves entirely differently in a recipe. Once butter melts, its fat and water components separate, and it loses the crystalline structure necessary for trapping air. Using melted butter in a recipe that calls for softened butter will often lead to flat, greasy, and dense results. Similarly, cold butter is unsuitable for creaming as it won’t allow air to be incorporated efficiently. So, if your recipe specifies room-temperature butter, taking the extra step to soften it properly is key to your baking success. However, there are exceptions; cold butter is intentionally used in recipes like flaky pie crusts or biscuits, where its solid state creates pockets of steam that result in a wonderfully layered texture. But for most standard baked goods, a perfectly softened stick is your best friend. Ready to unlock the secrets to perfect butter?

Your Ultimate Guide to Quick Butter Softening Methods
Here are five ingenious methods to quickly soften butter, ensuring you’re always prepared for your next baking adventure, no matter how little time you have.
#1: The Slice and Spread Technique
This method leverages the power of increased surface area to bring your butter to temperature faster.
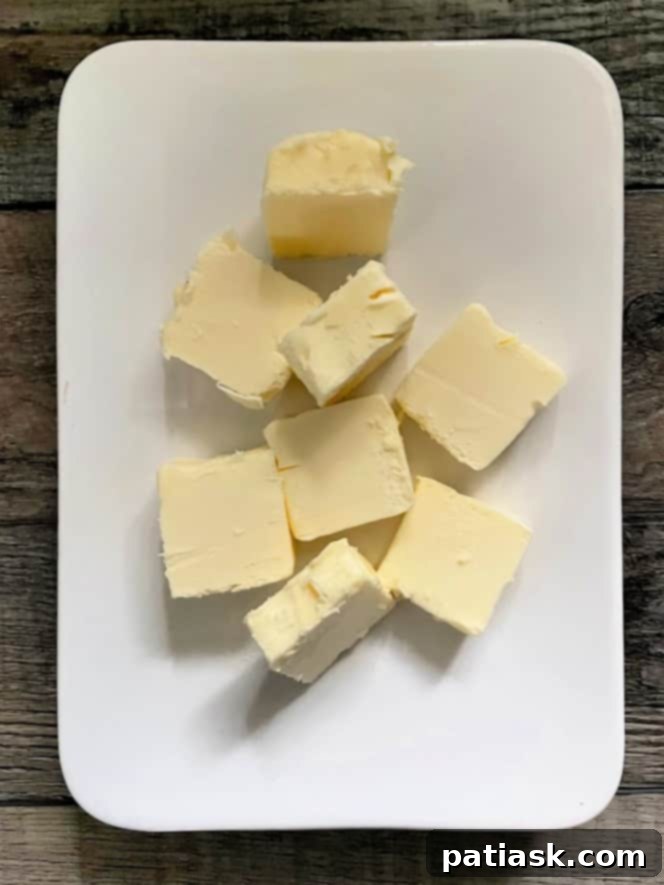
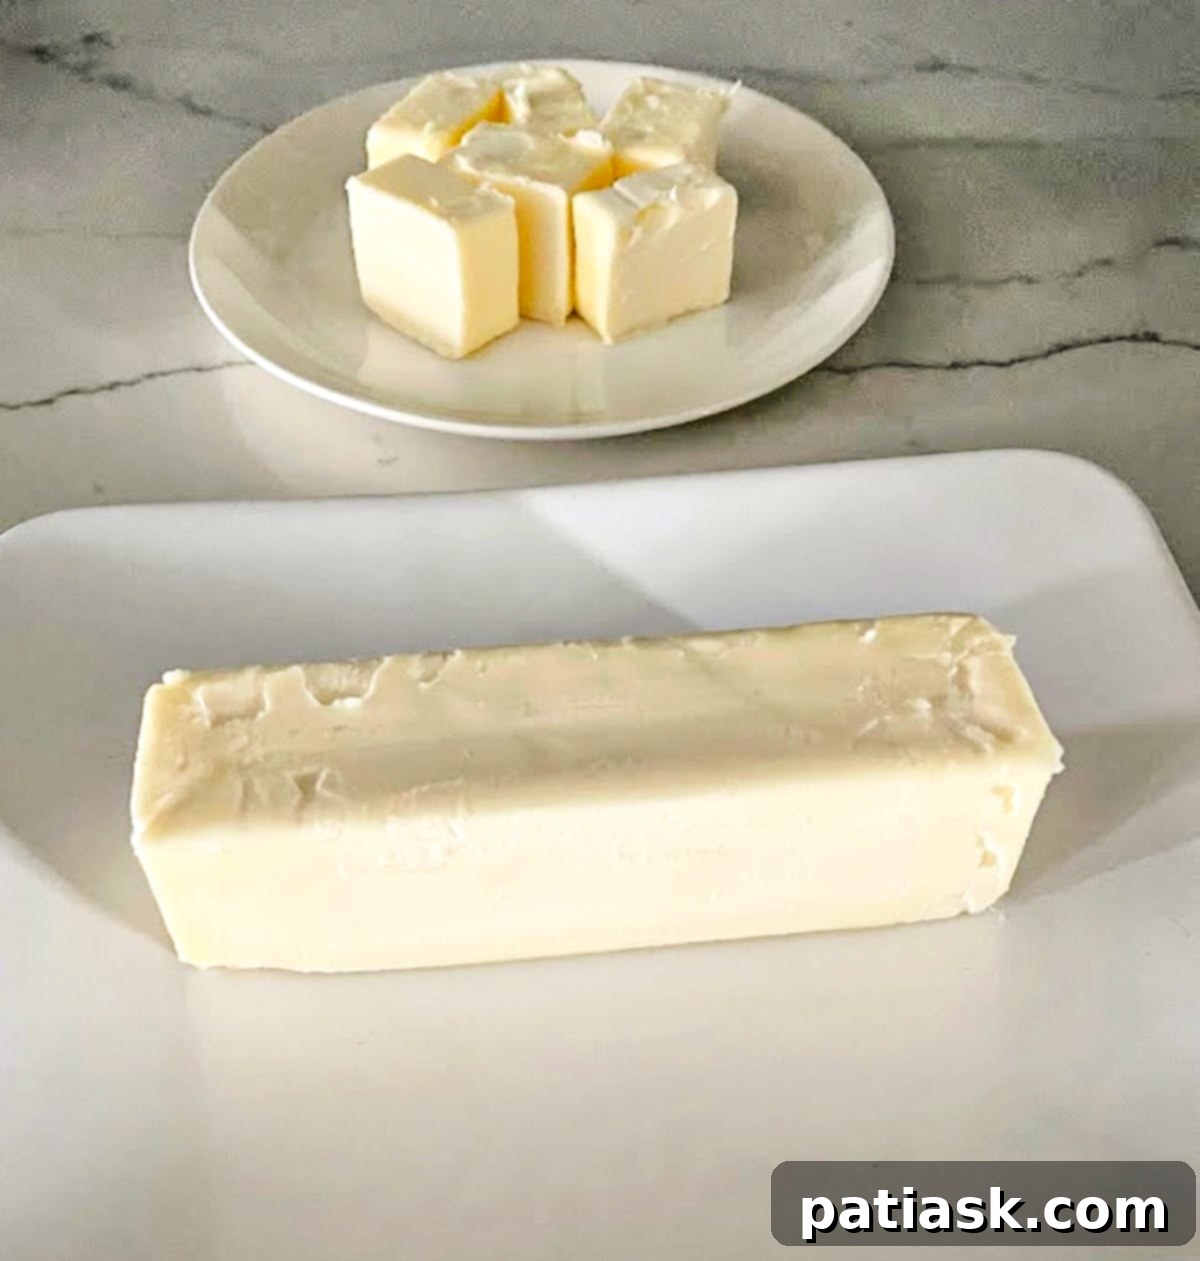
- Slice it Thin: Take your cold stick of butter and carefully slice it into very thin discs, about 1/4 to 1/2 inch thick. The goal here is to maximize the exposed surface area. Think of it like a deck of cards – the thinner the slices, the more surface is available to absorb room temperature air.
- Spread ‘Em Out: Arrange these thin slices on a wide plate or a piece of parchment paper. Ensure there’s a little space between each slice so air can circulate freely around them. Avoid stacking them, as this defeats the purpose of increasing surface area.
- Wait for Perfection: Let the butter slices sit at room temperature for approximately 10-15 minutes. In a moderately warm kitchen, this short wait is usually enough. The smaller, spread-out pieces will soften significantly faster than a whole stick. You’ll know it’s ready when it’s pliable and leaves a slight indentation when gently pressed, but doesn’t feel greasy or look shiny.
This technique is fantastic for situations where you’ve got about a quarter-hour to spare and want to avoid any risk of melting.
#2: Grating Butter for Instant Softness
When you truly need butter softened in a flash, grating is your secret weapon. This method is incredibly effective because it creates an immense amount of surface area almost instantly.
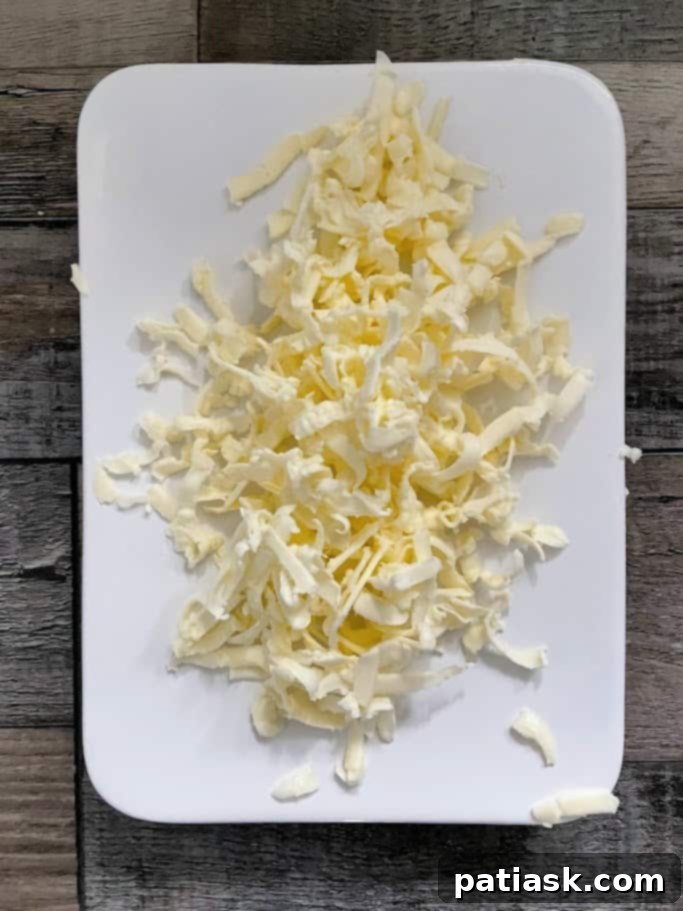
- Shred with Ease: Grab a standard box grater (the kind you use for cheese) and carefully shred your cold butter onto a plate or into your mixing bowl. Use the larger holes for quicker results. You’ll notice immediately that the butter transforms into delicate, airy strands.
- Quick Warm-Up: Due to the dramatically increased surface area, these butter shreds will come to room temperature in a mere 5 to 7 minutes. The thin strands quickly absorb the warmth from the surrounding air.
- Ready to Bake: Gently toss the grated butter to ensure even warming. It will be soft, malleable, and ready to be creamed with sugar or incorporated into your recipe. This method is particularly useful for tasks like making cookie bars where time is of the essence.
Pro Tip: For even easier grating, you can lightly dust the butter block with flour (if your recipe allows for it) or wrap it in parchment paper while grating to prevent it from sticking to your hands and the grater.
#3: The Warm Glass Trick (Mini Greenhouse Method)
This clever technique uses trapped warmth to gently bring your butter to the perfect temperature, mimicking a mini greenhouse effect.
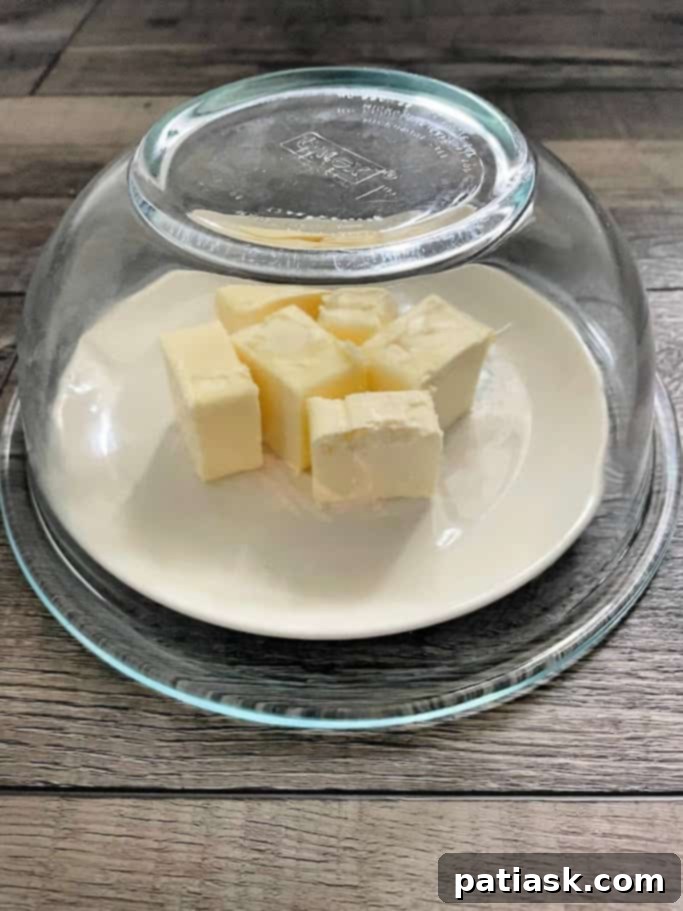
- Prepare Your Butter: Unwrap the stick of butter and place it on a small, heat-safe plate. For quicker softening, you can cut the butter into a few chunks, but it’s not strictly necessary with this method.
- Heat Your Glass: Select a glass bowl or a tall drinking glass that is large enough to completely cover the butter without touching it. Fill this glass with very hot tap water (or boiled water, carefully). Let the hot water sit in the glass for about a minute to thoroughly warm the glass itself.
- Create the Dome: Carefully empty the hot water from the glass and quickly dry the inside and outside to prevent condensation from dripping onto the butter. Immediately invert the warm glass over the butter on the plate, creating a warm, enclosed dome. The trapped warmth will gently radiate, softening the butter without any direct heat.
- Check for Softness: Allow the glass to sit over the butter for 5-10 minutes. The time will vary based on how cold your butter was and how warm your glass got. Check the butter by gently pressing on it; it should be soft and yielding. This method is wonderfully controlled and ideal for delicate recipes like chocolate peanut butter saltine toffee where consistency is key.
Pro Tip: For extra efficiency, you can heat several glasses if you need to soften multiple sticks of butter at once. Just ensure each stick has its own warm dome.
#4: Microwave to Soften Butter (Use with Caution!)
The microwave is undoubtedly the fastest method, but it’s also the trickiest. One wrong move, and you’ll end up with melted butter, which can ruin your recipe. Precision and patience are paramount here.
- Portion Your Butter: Cut your stick of cold butter into 4-8 smaller, uniform chunks. Place these chunks on a microwave-safe plate, spacing them apart. Smaller pieces warm more evenly and quickly.
- Employ Low Power: This is the most crucial step. Set your microwave to a very low power setting, typically 20-30% of its full power. Many microwaves have a “Defrost” setting which is often suitable. This gentle approach ensures the butter softens gradually from the inside out, rather than melting rapidly from the edges.
- Short Bursts are Key: Microwave the butter in extremely short intervals – think 5-10 seconds at a time. After each burst, immediately check the butter’s consistency. You’re aiming for butter that is soft enough to indent with your finger but still completely holds its original shape and doesn’t look shiny or greasy. It should not be warm to the touch, just pliable. For instance, making cashew peanut butter fudge demands this precise texture.
- Repeat, Monitor, and Flip: If the butter isn’t soft enough after the first burst, gently flip the pieces over to promote even heating, and microwave for another 5-10 seconds. Continue this process, checking carefully after each interval, until the desired softness is achieved. Microwaves vary significantly in wattage and heating patterns, so constant vigilance is required.
Pro Tip: If you accidentally melt a small corner or edge, don’t panic. You can sometimes salvage it by placing the plate in the refrigerator for a minute or two to firm up the melted parts, then gently scrape them away if necessary. However, if a significant portion melts, it’s best to use that butter for a recipe that calls for melted butter, such as a quick bread or a sauce, and start fresh with a new stick for your original recipe.
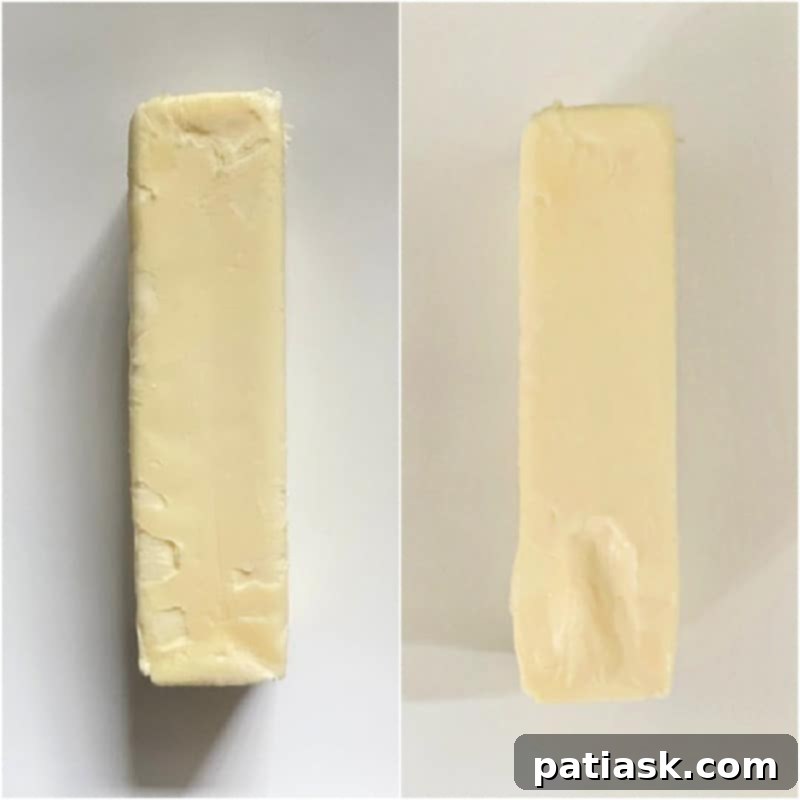
#5: The Old-Fashioned Way to Soften Butter
Sometimes, the simplest approach is the best, especially if you have the luxury of planning ahead. The classic method of bringing butter to room temperature relies on ambient air. This is the most foolproof way to avoid any risk of melting or uneven softening, though it requires foresight.
- Plan Ahead: The easiest way to achieve perfectly softened butter is to simply remove it from the refrigerator a few hours before you intend to bake. For a standard stick of butter, it typically takes about an hour to reach an ideal room temperature in an average kitchen.
- Adjust for Temperature: The actual time needed will significantly depend on your kitchen’s temperature. On a warm summer day, butter might soften in as little as 30-40 minutes. Conversely, during a cold winter, it could take two hours or even more to reach the right consistency. If you’re starting with frozen butter, plan for at least 2-3 hours, or consider using one of the quicker methods above to speed things up.
- Ideal Softness: The butter should be yielding and easily indented with a finger, yet still cool to the touch and hold its shape. It should not look greasy or shiny. This method is perfect for those who enjoy a leisurely baking process and value precision over speed.
Pro Tip: To maintain its freshness while softening on the counter, you can place the butter stick in a covered butter dish or simply leave it in its original wrapper. This protects it from odors and light, ensuring it’s ready for your recipe.
Frequently Asked Questions About Softening Butter
Q: How can I tell if my butter is perfectly softened?
A: The ideal consistency for softened butter is often described as “cool to the touch but easily dented.” When you press your finger gently into the butter, it should leave an indentation without your finger sinking all the way through or the butter feeling oily. It should also retain its shape and not look shiny or melted. If it’s too warm, it will look greasy and may melt when creamed; if it’s too cold, it will be hard and crumbly.
Q: How long does it typically take to soften butter using these quick methods?
A: The time varies significantly by method:
- Slice and Spread Technique: Approximately 10-15 minutes.
- Grating Butter: A super-fast 5-7 minutes.
- Warm Glass Trick: Usually 5-10 minutes, depending on the initial butter temperature and glass warmth.
- Microwave Method: The quickest, often 30-60 seconds in short 5-10 second bursts. Requires constant monitoring to prevent melting.
- Old-Fashioned Way (Countertop): Generally 1 hour, but can range from 30 minutes to 2+ hours depending on kitchen temperature and butter’s initial state.
Q: Can I use these methods for margarine or plant-based butter alternatives?
A: Yes, absolutely! These techniques work just as effectively for softening margarine or most stick-form plant-based butter alternatives. The principles of increasing surface area or applying gentle, indirect heat remain the same, helping them reach a pliable consistency suitable for baking.
Q: What if I accidentally melt the butter? Can I still use it?
A: If your butter has fully melted, it’s generally not suitable for recipes that specifically call for “softened” or “room temperature” butter, as it loses its ability to emulsify and trap air. This will likely result in dense or flat baked goods. However, don’t throw it away! Melted butter is perfect for other recipes like quick breads, some types of cookies, or any recipe that explicitly asks for melted butter, such as a simple chocolate chip cookie recipe or a brownie batter. If only a small portion is slightly melted, you can try chilling it in the fridge for a few minutes to firm it up, but proceed with caution.
Q: Should I use salted or unsalted butter for baking?
A: Most baking recipes specify unsalted butter. This is because the amount of salt in salted butter can vary significantly between brands, making it harder to control the overall saltiness of your baked goods. Using unsalted butter allows you to precisely control the salt content in your recipe by adding it separately. If you only have salted butter, you can use it, but reduce the amount of added salt in your recipe by about 1/4 teaspoon per 1/2 cup (1 stick) of butter.
Q: Can I soften butter in a stand mixer?
A: While a stand mixer is excellent for creaming already softened butter, it’s not the most efficient tool for *softening* rock-hard butter. Beating cold butter in a mixer can strain the motor, potentially leading to uneven chunks, and won’t significantly speed up the softening process beyond breaking it into smaller pieces. It’s better to use one of the quick methods above first, then transfer the softened butter to your stand mixer for creaming.

There you have it, my baking buddies! No more waiting around for hours or dealing with frustrating clumps in your dough. With these proven and quick methods, you’re now equipped to tackle any recipe that calls for softened butter with confidence and ease. Achieving that perfect, pliable butter consistency is a fundamental step towards consistently delicious results, from airy cakes to chewy cookies. Embrace these tips and watch your baking reach new heights!
Happy baking, and remember, every little butter-mishap is just another step in your wonderful baking adventure! You’re ready to create masterpieces.
You may also enjoy these delicious recipes and helpful baking tips:
- Chocolate Chip Cookie Dough Frosted Brownies
- Peanut Butter Cup Chocolate Cookies
- Chocolate Fudge White Chocolate Chip Cookies
Don’t forget to Share your creations and tips on Pinterest, Instagram, and Facebook!
More Essential Baking Tips!
- Freezing & Thawing Bananas for Baking Bliss
- Ultimate Fluffy Homemade Whipped Cream
- 5 Expert Tips: How to Tell Your Cake Is Done
- How to Make Homemade Vanilla Extract
- How To – Baking Perfect Cookie Tips!
- How to Properly Measure Flour Correctly
- The Ultimate Graham Cracker Crust – 3 Ingredients
- Delicious & Easy Oreo Pie Crust Recipe
- The Ultimate Cream Cheese Frosting Recipe
Quick Ways to Soften Butter Method
Author: Kim Lange
Are you in a bit of a bind with rock-hard butter and a recipe that screams for something softer? Fear not, because I’ve been there, and I’ve got the ultimate guide for you to conquer cold butter challenges.
Ingredients
- Unsalted butter (as much as you need for your recipe)
Instructions
Quick Ways To Soften Butter Method
- Follow one of the detailed methods below to achieve perfectly softened butter for your baking needs.
#1: The Slice and Spread Technique
- Slice it Thin: Cut your cold butter into very thin slices (approx. 1/4 to 1/2 inch thick) to increase its surface area significantly.
- Spread ‘Em Out: Lay the slices on a plate or parchment paper, ensuring they don’t touch each other.
- Let it Sit: Allow the butter to sit for about 10-15 minutes at room temperature. Smaller, spread-out chunks will soften much quicker.
#2: Grating Butter
- Shred Butter: Use a box grater to shred the cold butter onto a plate, just like you would grate cheese. This creates fine strands that warm up rapidly.
- Quick Warm-Up: The grated butter will come to room temperature in just 5 to 7 minutes due to its increased surface area.
- Pro Tip: This method is perfect when you’re in a pinch and need softened butter almost instantly!
#3: The Warm Glass Trick
- Place Your Butter: Unwrap the butter, cutting it into a few chunks if desired, and place it on a plate.
- Heat a Glass: Fill a glass or baking dish with very hot water and let it sit for about a minute. Empty the water and quickly dry the glass.
- Cover the Butter: Invert the warm glass over the butter on the plate, creating a dome without touching the butter. The trapped warmth will gently soften it.
- Pro Tip: This method acts like a mini greenhouse for your butter – gentle and highly effective for controlled softening.
#4: Microwave to Soften Butter (Carefully!)
- Portion Your Butter: Cut the butter into small, uniform chunks and arrange them on a microwave-safe plate, spaced apart.
- Use Low Power: Set your microwave to a low power setting (e.g., 20-30% power or defrost setting) to prevent accidental melting.
- Short Bursts are Key: Microwave the butter in very short bursts of 5-10 seconds. After each burst, check the consistency; it should be soft to the touch but still hold its shape.
- Repeat if Necessary: If not soft enough, continue with short bursts, flipping the butter pieces between bursts for even heating. Be extremely careful not to overdo it to avoid a buttery puddle!
- Pro Tip: Keep a close eye on your butter during this process, as microwave power varies. Patience is crucial here to achieve perfect softness without melting.
#5: The Old-Fashioned Way to Soften Butter
- Set Out Early: Simply place the stick(s) of butter on your kitchen counter a few hours before you plan to start baking. For butter to reach room temperature, it typically takes about an hour.
- Frozen Butter: If starting with frozen butter, it will take longer – at least two hours or more.
- Pro Tip: The softening time largely depends on your kitchen’s ambient temperature. On a warm day, it could be ready in 30 minutes, but in a cold kitchen during winter, it might take twice as long.
