Decadent No-Bake Pumpkin Oreo Truffles: Your Ultimate Fall & Halloween Treat Guide
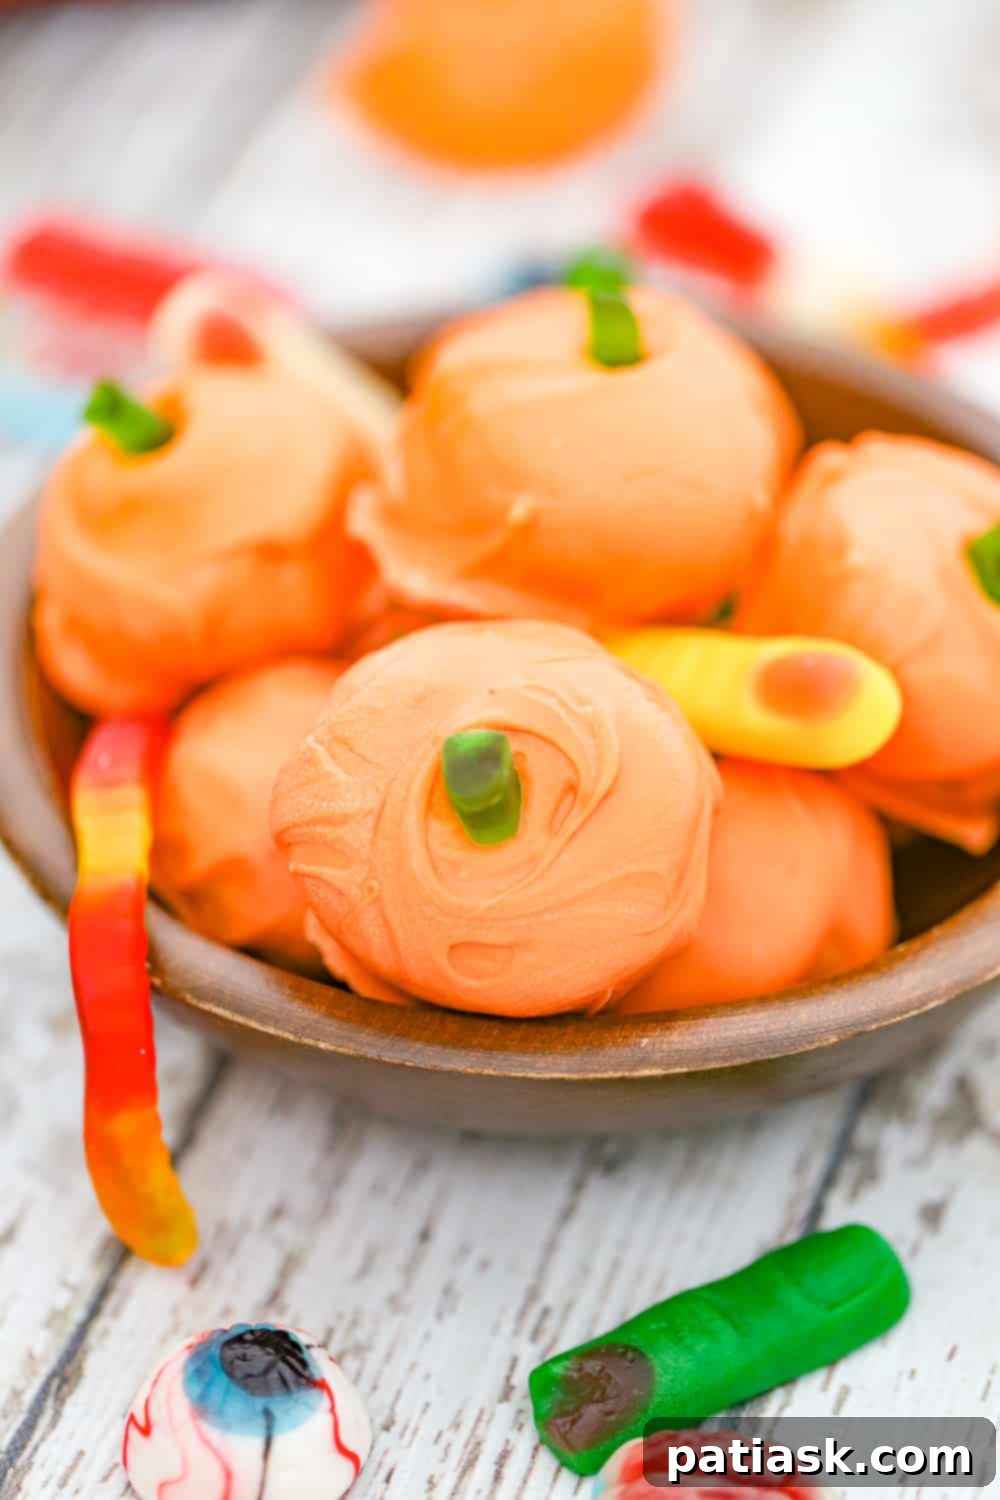
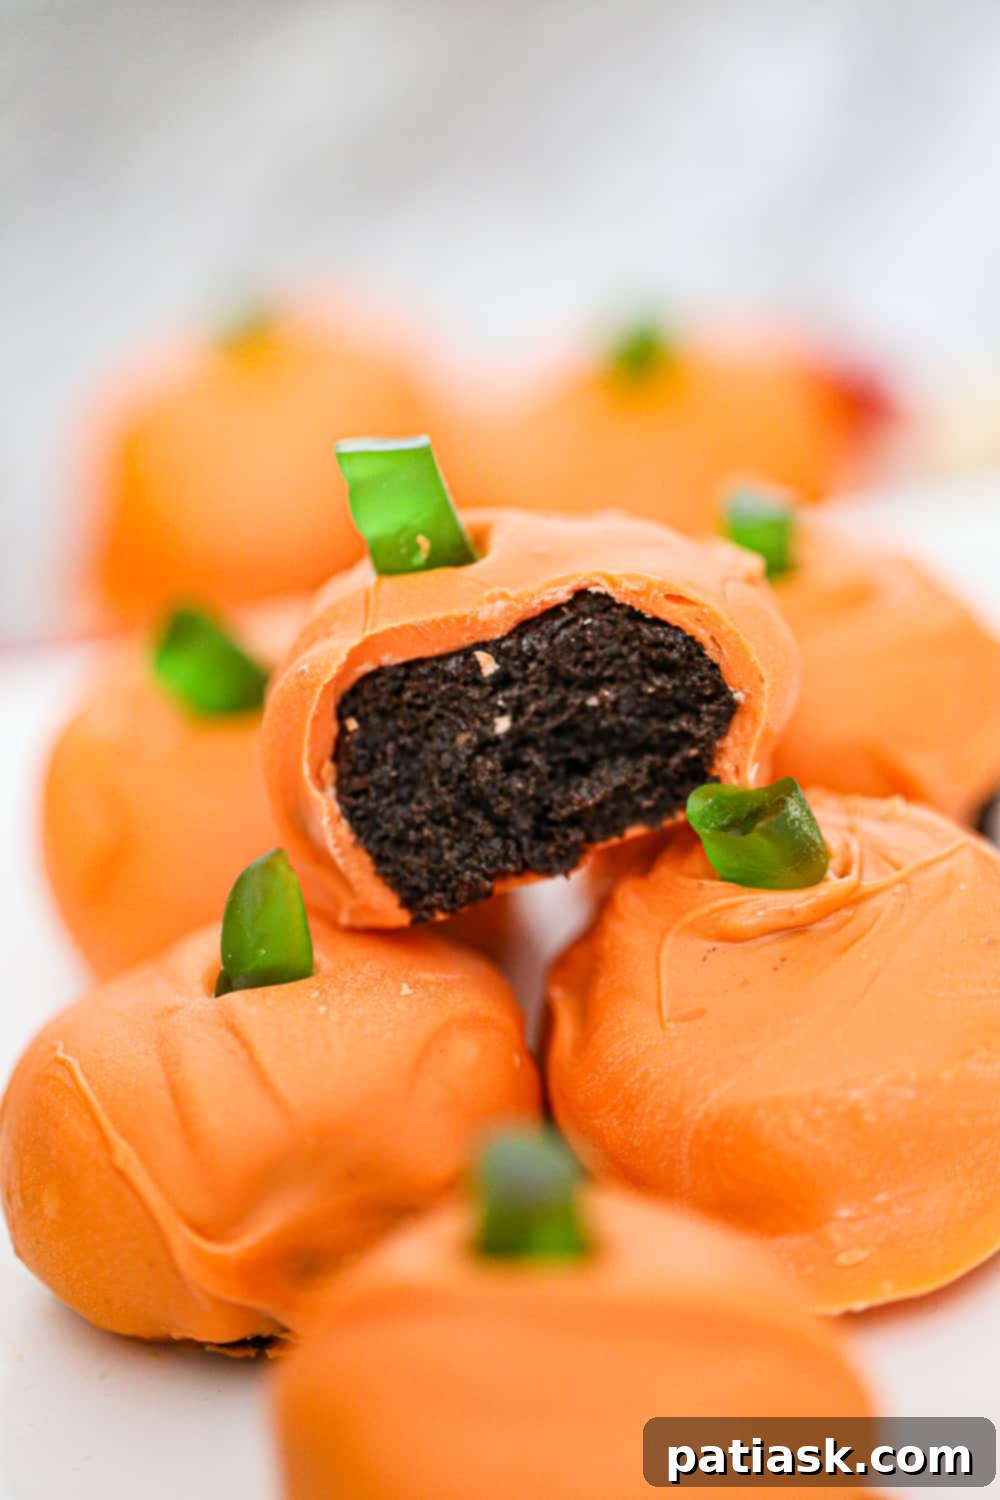
Embrace the enchanting flavors of autumn and the spooky fun of Halloween with these absolutely decadent Pumpkin Oreo Truffles! A true celebration of the season, these delightful no-bake pumpkin truffle balls are incredibly simple to make, yet impressive enough for any party or as a thoughtful homemade gift. Imagine a rich, creamy center made from crushed Oreos and softened cream cheese, expertly rolled into perfect bite-sized spheres, and then lovingly coated in a vibrant, smooth layer of chocolate. These irresistible treats capture the essence of fall in every bite, offering a harmonious blend of classic cookie crunch, creamy richness, and a hint of seasonal magic.
Who could possibly resist these addictive chocolate truffles, bursting with a soft, sweet Oreo cookie filling? They offer a melt-in-your-mouth experience that is both comforting and exciting, making them a guaranteed crowd-pleaser for all ages. If you’re a fan of luscious truffle treats, you’ll also adore our Chocolate Coconut Truffles, these Easy Brownie Truffles, and our sophisticated Chocolate Maple Cream Truffles!
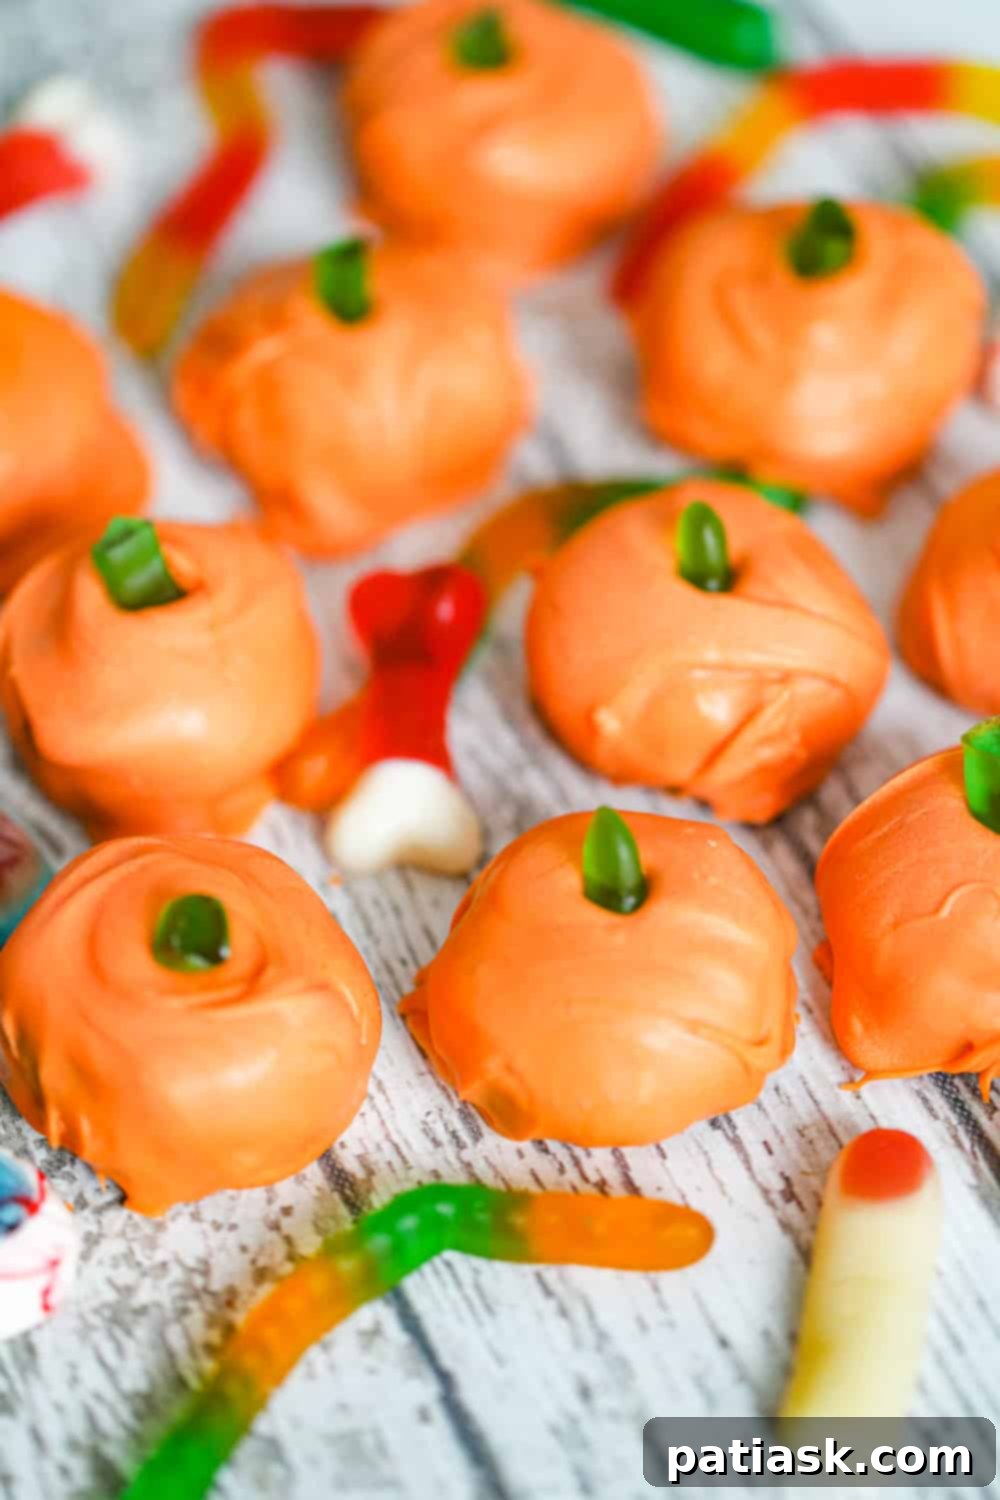
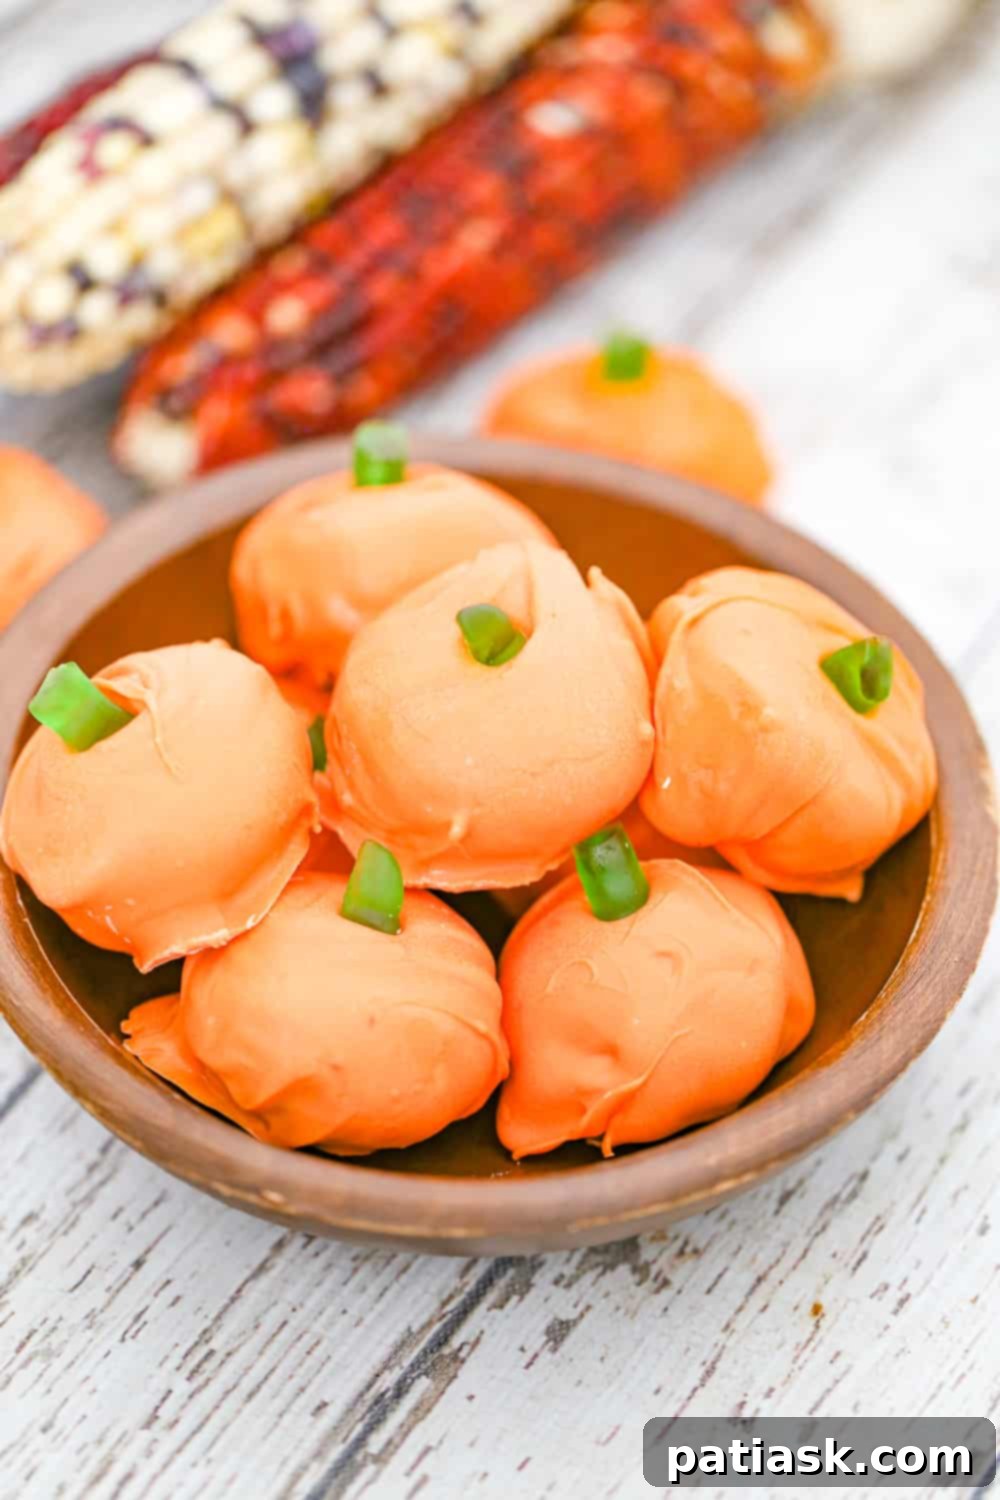
These pumpkin-themed delights are not just incredibly tasty; they’re also wonderfully versatile. Whether you’re planning a ghoulish Halloween gathering, a cozy Thanksgiving feast, or simply craving a sweet snack to brighten a crisp fall day, these truffles fit the bill perfectly. Their festive appearance, especially when adorned with a charming “pumpkin stem,” makes them a delightful addition to any seasonal spread. Make a generous batch of these pumpkin truffles, and watch them disappear! The secret to their universal appeal lies in their incredibly simple core: crushed Oreos mixed with cream cheese, all enveloped in a glorious chocolate shell. That’s truly all it takes to create such an extraordinary dessert!
Why These No-Bake Pumpkin Oreo Truffles Are a Must-Make This Season
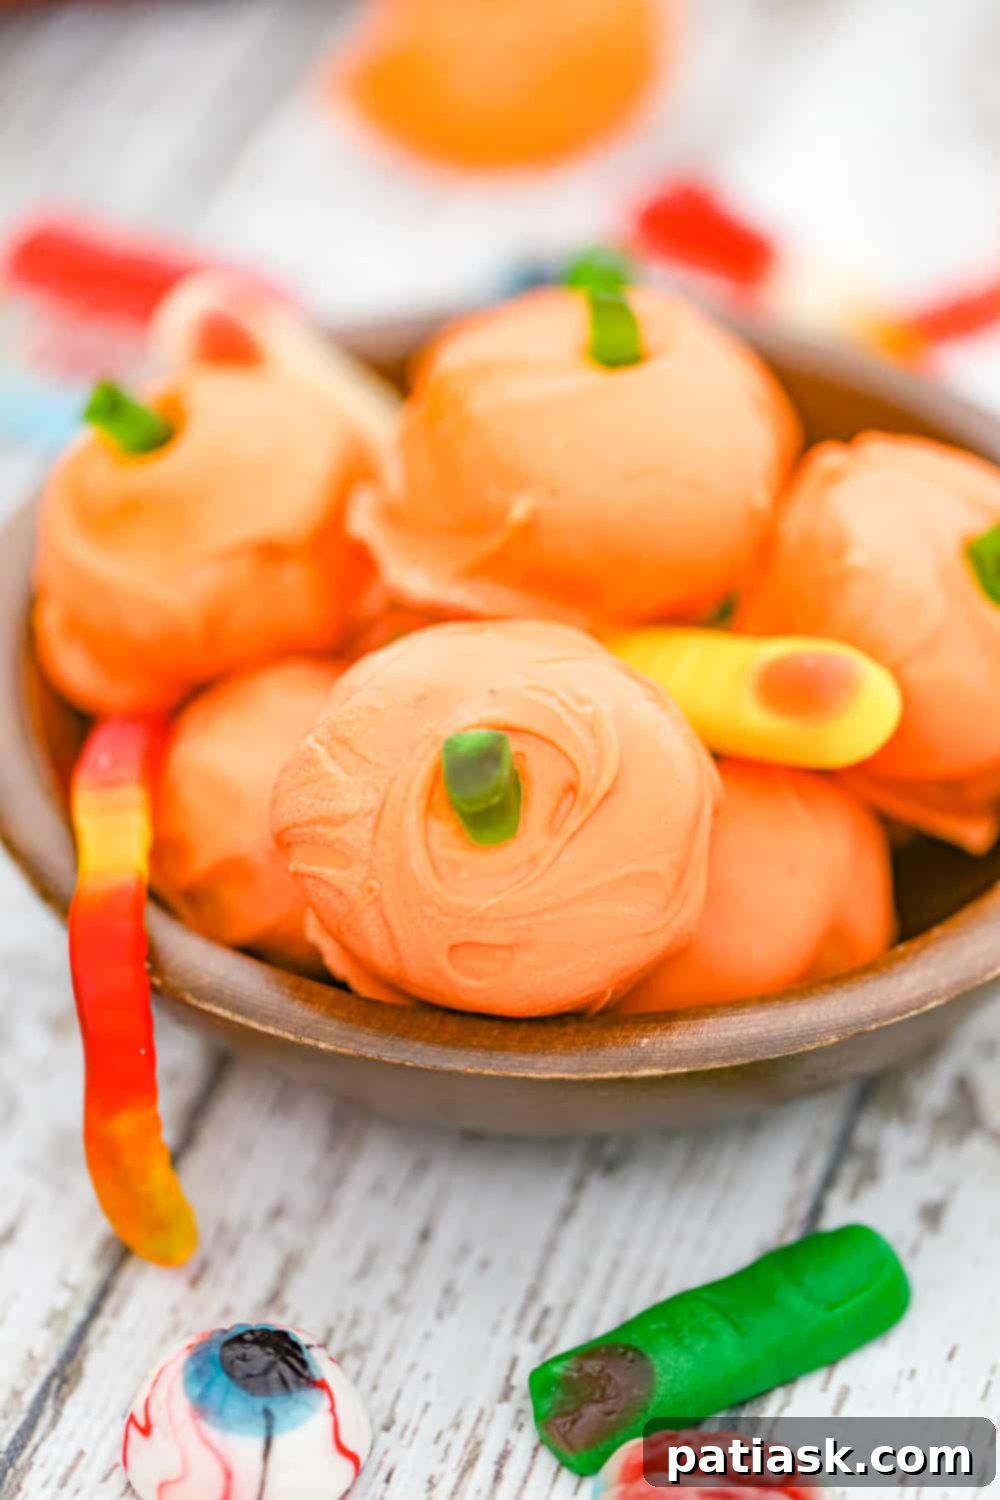
There’s something inherently magical about no-bake desserts, and these Pumpkin Oreo Truffles are no exception. They offer the indulgence of a gourmet treat without the hassle of baking, making them accessible to even novice home cooks. The combination of classic Oreo cookies with the tang of cream cheese creates a rich, smooth filling that perfectly complements the sweet chocolate coating. But beyond their deliciousness, their ease of preparation and festive appeal truly set them apart. Imagine whipping up a batch of these vibrant orange delights in under an hour of active prep time – perfect for last-minute party contributions or a spontaneous sweet craving.
Halloween and Thanksgiving are undoubtedly the most wonderful times of the year to enjoy these delectable treats! Their bright orange hue and the option to add a creative “stem” instantly transform them into miniature edible pumpkins, bringing a touch of whimsy to your holiday table. Serve them alongside our Halloween Oreos and a bowl of Halloween Party Puppy Chow for an impressive assortment of fun and festive holiday snacks. These truffles are not just food; they are an experience, inviting warmth, joy, and a playful spirit to your seasonal celebrations.
Gather Your Simple Ingredients for Pumpkin Truffle Oreos
A straightforward recipe for your Halloween & Thanksgiving celebrations!
- 36 Oreos of choice (standard, Pumpkin Spice, or Golden)
- 8 oz cream cheese, softened (full-fat for best results)
- 2 – 12 oz. packages of Orange Melting Wafers (Wilton’s brand is highly recommended for smooth melting and vibrant color)
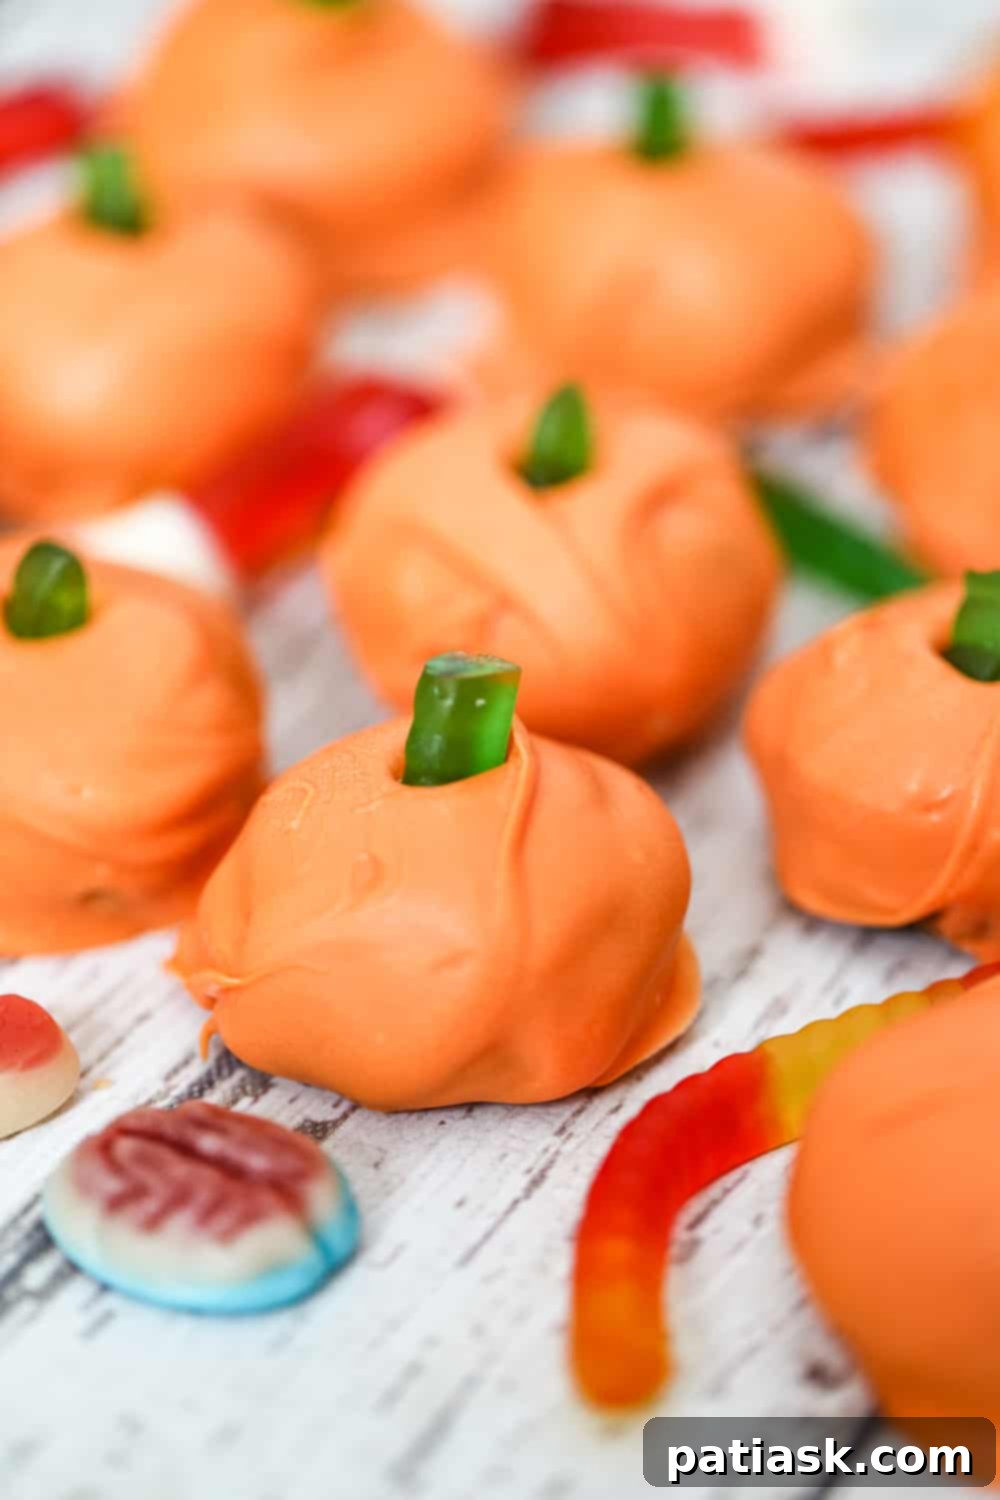
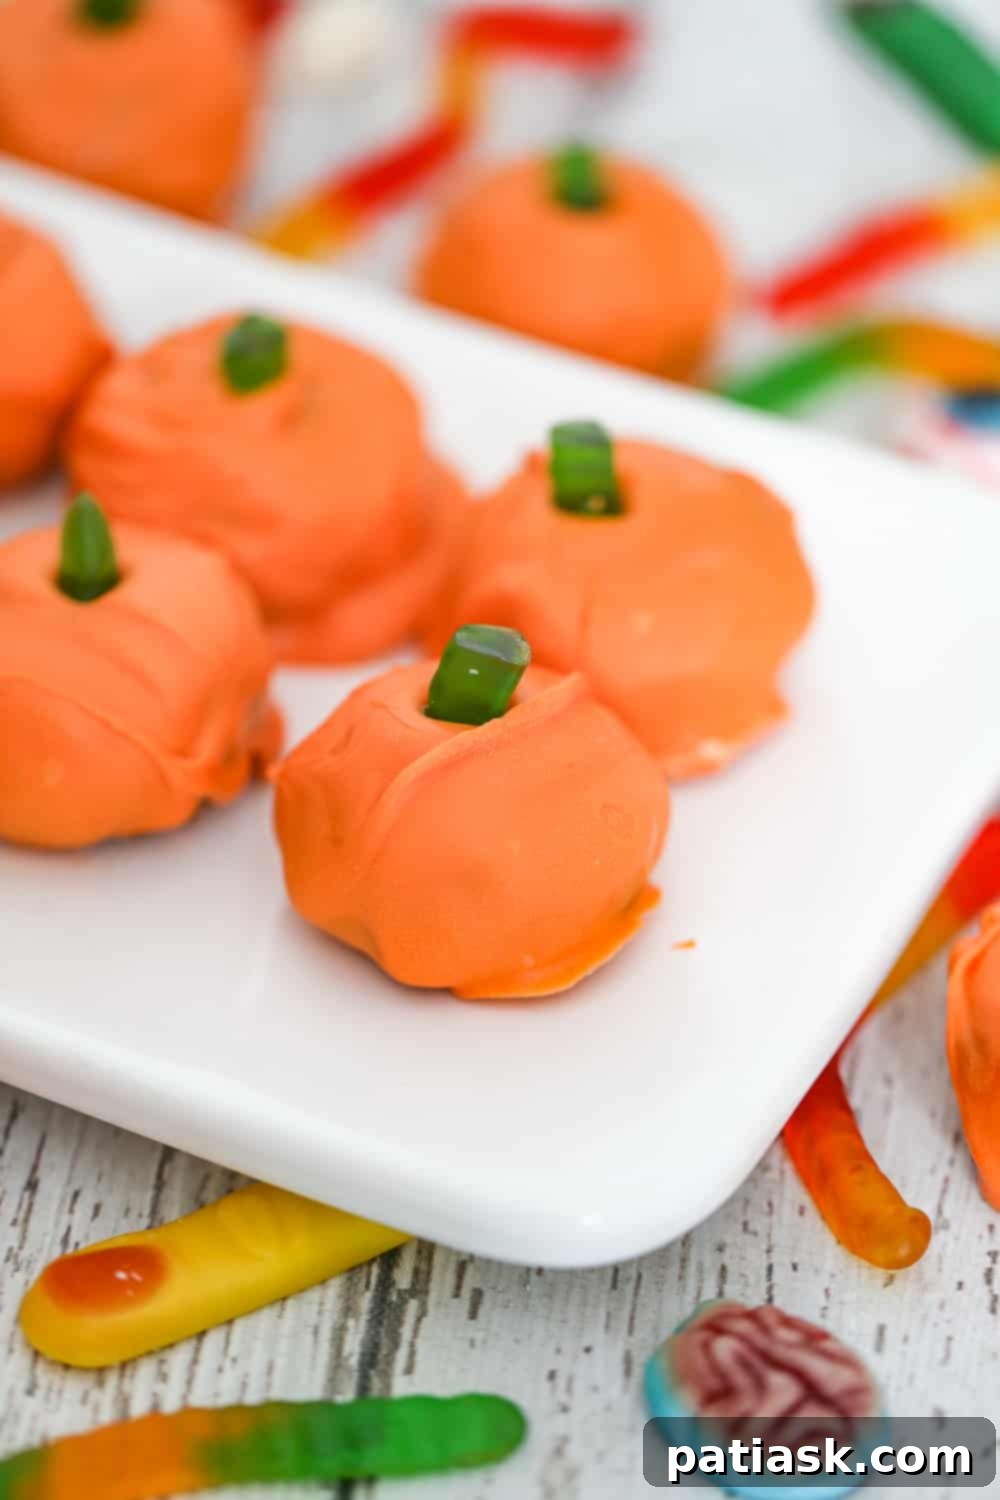
- Stem options: Get creative! Use green gummy worms, small pretzel ends, Rolos candies, or even green or brown M&M’s for the perfect pumpkin top.
Explore Your Oreo Choices for Ultimate Customization
While classic Oreos provide a timeless chocolate flavor base, the world of Oreo offers exciting possibilities to truly elevate your Pumpkin Oreo Truffles. Imagine crafting delightful Pumpkin Spice Oreo Truffles using seasonal Pumpkin Spice Oreos, infusing every bite with the warm, comforting notes of fall. Or perhaps, for a slightly different flavor profile and a lighter aesthetic, try Pumpkin Golden Oreo Truffles made with crisp Golden Oreos. The market is brimming with fantastic Oreo varieties, each offering a unique twist for these festive Thanksgiving Oreo truffles or fun Halloween-inspired Oreo truffles. Don’t be afraid to experiment and discover your favorite combination!
Step-by-Step: How to Make Irresistible Pumpkin Oreo Truffles
Creating these delightful truffles is a rewarding and straightforward process. Follow these simple steps to ensure perfect results every time.
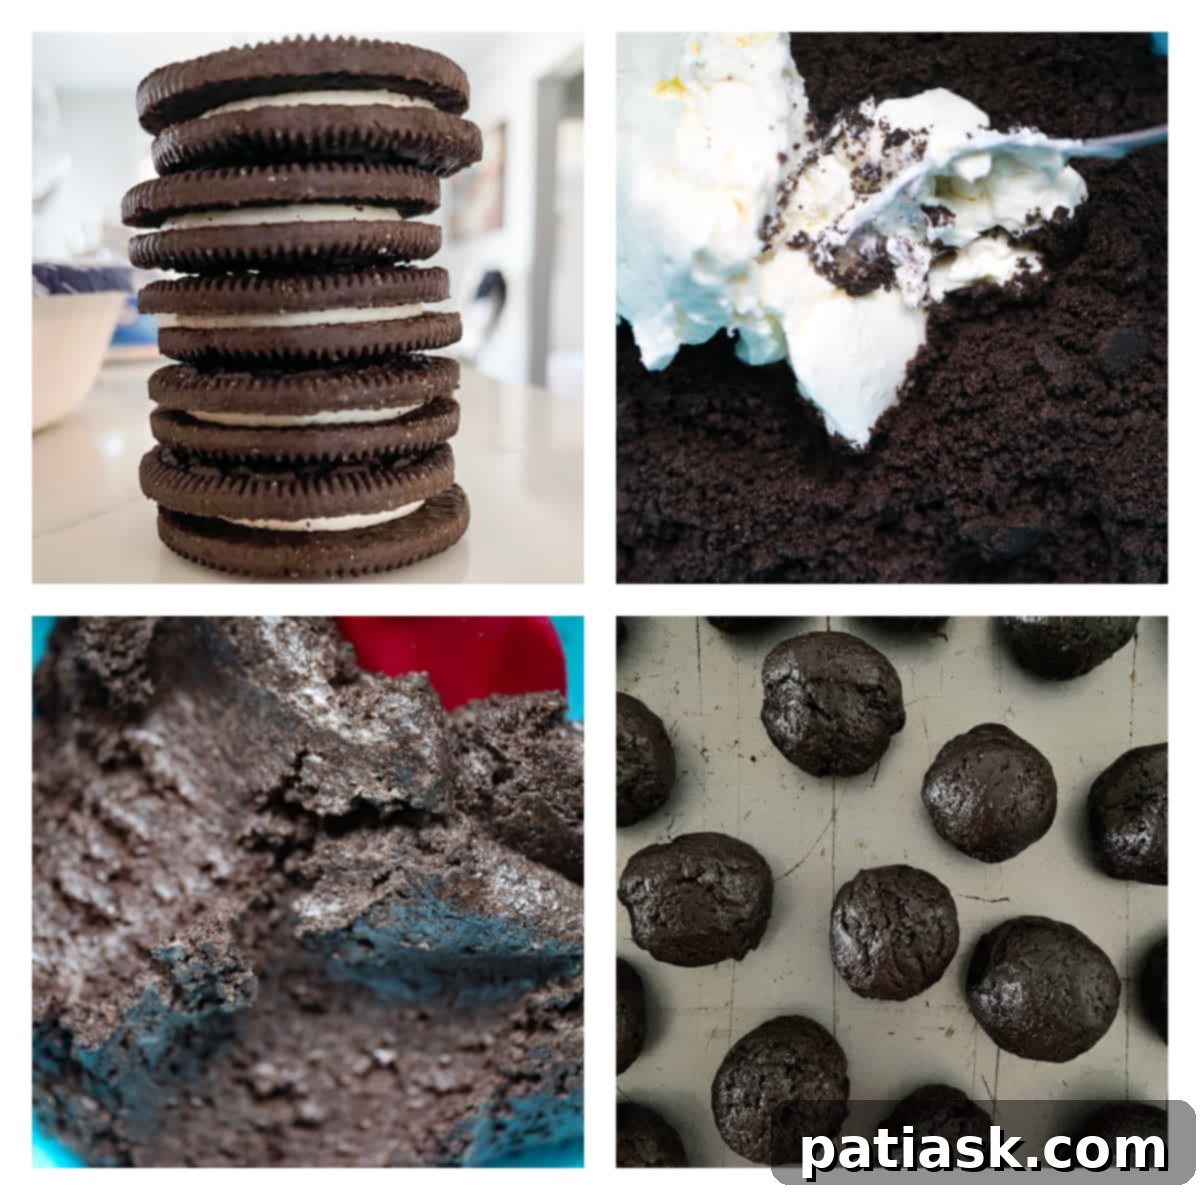
- Crush the Oreos: Begin by crushing your chosen Oreos, including their creamy filling. The quickest method is using a food processor until you achieve fine crumbs. Alternatively, place the cookies in a sturdy zip-top bag, seal it, and crush them with a rolling pin until uniformly fine. This step is crucial for a smooth truffle base.
- Combine with Cream Cheese: Add the softened cream cheese to the crushed Oreos. If using a food processor, pulse until the mixture is thoroughly combined and smooth. If mixing by hand, use a rubber spatula to fold and press the ingredients together until no streaks of cream cheese remain and the mixture forms a cohesive, pliable dough.
- Prepare Baking Sheet: Line a rimmed baking sheet with parchment paper. This will prevent the truffles from sticking and make cleanup a breeze, especially after dipping.
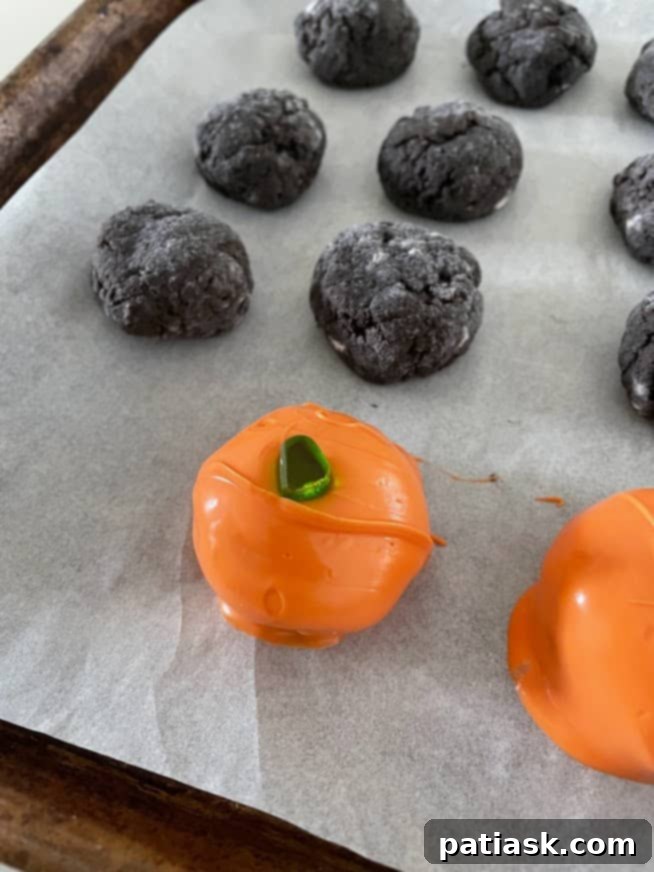
- Scoop and Shape: Scoop the mixture into balls approximately 1-inch in diameter. A small cookie scoop works wonders for consistent sizing. For that authentic pumpkin look, gently flatten the tops and bottoms of the balls slightly, creating a squat, rounded pumpkin shape.
- Chill Thoroughly: Place the shaped cookie balls in the freezer until they are well chilled and firm, which typically takes at least 15 minutes to an hour. This chilling process is essential; it helps the truffles hold their shape and prevents them from falling apart during the dipping process.
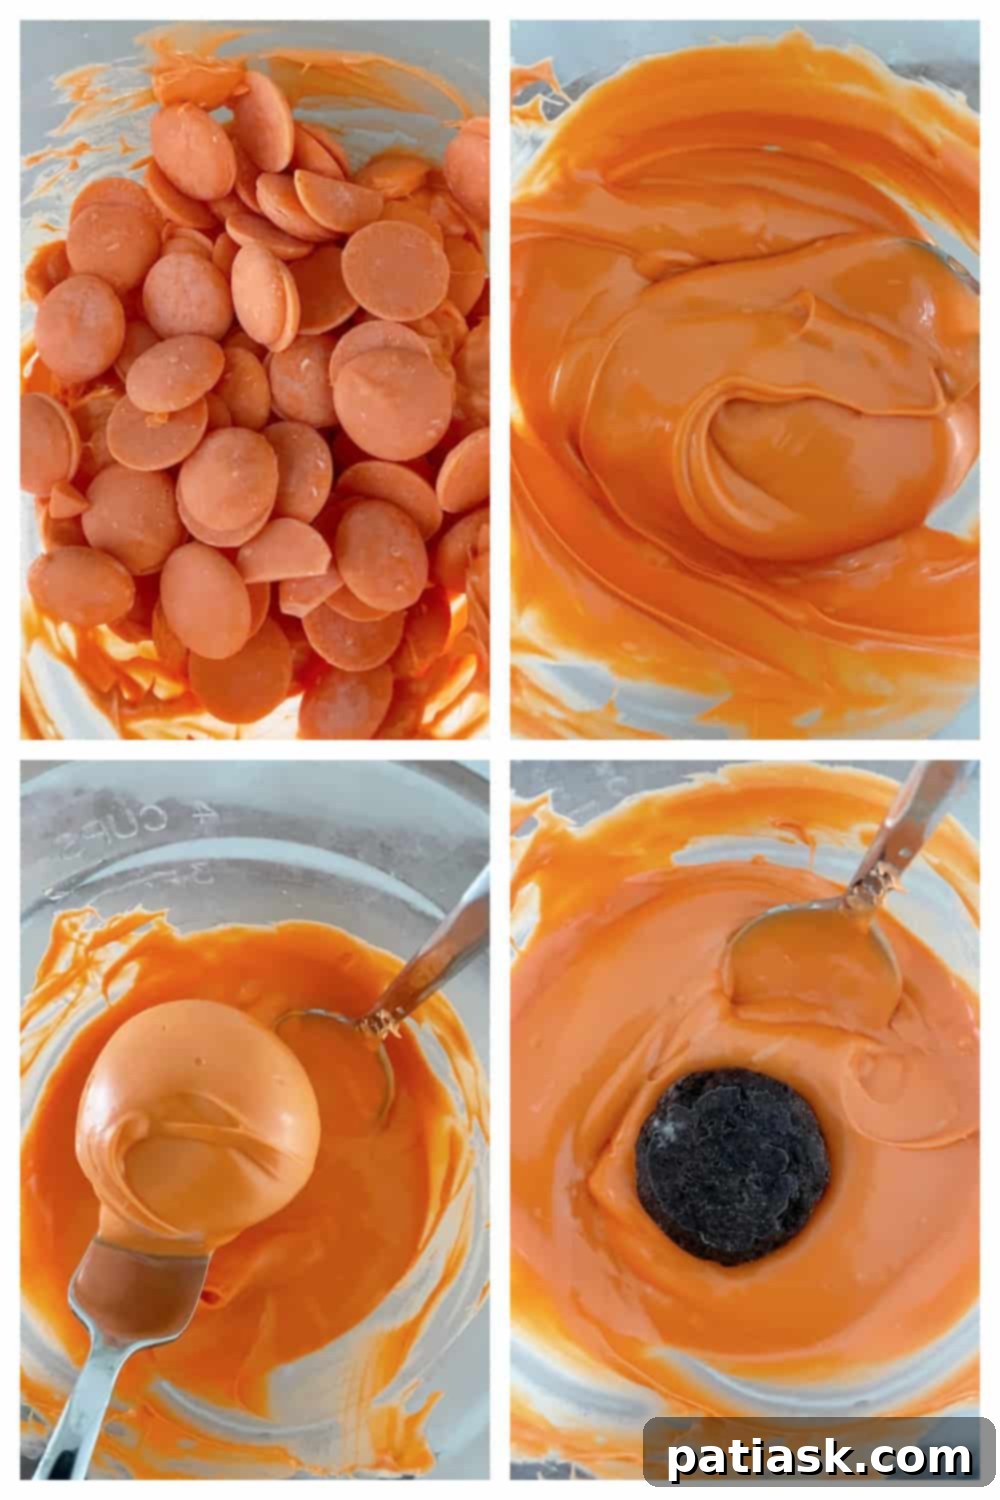
- Melt Orange Candy Melts: Place your orange candy melts in a microwave-safe bowl. Microwave for 1 minute, then stir well. Continue to microwave in 30-second intervals, stirring vigorously after each interval, until the melts are completely smooth and creamy. Be careful not to overheat the chocolate, as it can seize. If the melted chocolate seems too thick for dipping, you can stir in a teaspoon of vegetable oil to achieve a smoother consistency.
- Dip and Add Stems: Remove the chilled truffles from the freezer. Using a fork or a dipping tool, gently lower each truffle into the melted orange candy melts, ensuring it’s fully coated. Lift the truffle, allowing excess chocolate to drip off. Immediately place the dipped truffle onto the parchment-lined baking sheet and quickly add your chosen pumpkin stem (gummy worm, pretzel piece, Rolo, or M&M) before the chocolate sets.
- Allow to Set and Enjoy: Let the chocolate coating set completely at room temperature or by refrigerating for a quicker set. Once firm, refrigerate the truffles until you’re ready to serve. Then, indulge in your delicious homemade Pumpkin Oreo Truffles!
Expert Tips for Dipping Your Pumpkin Oreo Truffle Balls
Dipping truffles can seem daunting, but with a few simple techniques, you’ll achieve a professional-looking finish every time. The key is working efficiently and ensuring your truffles are adequately chilled.
- Use the Right Tools: For best results, use a sturdy fork or a specialized chocolate dipping tool. This allows excess chocolate to drain easily, preventing a thick, uneven coating.
- Complete Coverage: Set the chilled Oreo ball gently on the tines of your fork. Lower it completely into the melted chocolate. Use a second fork or a spoon to gently spoon melted chocolate over any uncovered spots, ensuring the entire ball is encased.
- Tap Off Excess: Lift the truffle from the chocolate and gently tap the fork against the side of the bowl. This helps remove any excess chocolate, resulting in a thin, even coating and preventing puddles at the base of your truffle. Work quickly, as the cold truffle will cause the chocolate to set rapidly.
- Place and Decorate: Once the excess has dripped off, carefully slide the dipped truffle off the fork onto your parchment paper-lined baking sheet. Immediately add your chosen “pumpkin stem” to the top before the chocolate hardens completely.
Storing Your Delightful Oreo Truffles
Proper storage ensures your Pumpkin Oreo Truffles remain fresh, delicious, and ready to enjoy or gift.
- Fridge Storage: Keep your candy truffles in an airtight container in the refrigerator. Stored this way, Oreo truffles will maintain their quality and freshness for 2-3 weeks. The cool temperature helps maintain the firmness of the truffle and the chocolate coating.
- Freezer Storage: These festive Thanksgiving Oreo truffle treats are excellent for making ahead! They can be frozen for up to three months. Simply place them in a single layer on a baking sheet to freeze solid, then transfer them to an airtight, freezer-safe container or a heavy-duty freezer bag. When ready to enjoy, transfer them to the refrigerator to thaw for a few hours, or enjoy them directly from the freezer for a firmer, chewy treat.
Top Tips for Pumpkin Oreo Truffle Success
To ensure your no-bake Pumpkin Oreo Truffles turn out perfectly every time, keep these expert tips in mind:
- Cookie Variety Matters: This easy no-bake pumpkin truffle recipe is incredibly forgiving and adaptable. It works beautifully with classic regular Oreos, but don’t hesitate to experiment with seasonal Pumpkin Spice Oreos for an extra fall kick, or Golden Oreos for a vanilla-based truffle. You can also use any variety of generic sandwich cookies if you prefer.
- Keep Them Chilled: Always store your finished truffles in the refrigerator. This is vital to prevent the candy coating from becoming too warm or soft, ensuring they maintain their firm texture and appealing shape until you’re ready to serve or present them as gifts.
- Freeze Before Coating: This is a non-negotiable step! Make sure to freeze your truffle centers for at least 15-30 minutes before coating them with chocolate. If the truffle balls are not sufficiently chilled, they will be too gooey and soft, making them difficult to dip and increasing the likelihood of them falling apart in the warm melted chocolate.
- Melting Chocolate Mastery: When melting your orange candy melts, microwave them for 1 minute initially, then stir thoroughly. Continue microwaving in short 30-second intervals, stirring vigorously between each, until the melts are perfectly smooth and creamy. If you find the chocolate is too thick for a smooth dip, add a tiny amount (about a teaspoon) of vegetable oil or paramount crystals and stir until you reach the desired consistency. Avoid adding water, which will seize the chocolate.
- Efficient Dipping Technique: For effortless dipping, place an Oreo ball on a fork. Submerge it completely into the melted chocolate. Use a second fork or a spoon to ensure full coverage and gently tap the fork against the side of the bowl to let any excess chocolate drip back in. This creates a thin, even coating. Promptly transfer the dipped truffle onto your parchment paper-lined baking sheet and add the stem before the chocolate sets.
Creative Variations & Customizations
While these Pumpkin Oreo Truffles are perfect as they are, there are endless ways to customize them and make them truly your own:
- Spice It Up: For an extra autumnal flair, add a pinch of pumpkin pie spice or ground cinnamon to your crushed Oreos before mixing with cream cheese.
- Different Coatings: Instead of orange candy melts, consider using white chocolate dyed orange with food coloring, milk chocolate, or dark chocolate for a contrasting color and flavor. You could even drizzle a second color of chocolate over the set orange coating.
- Toppings Galore: Before the chocolate coating sets, sprinkle your truffles with festive Halloween sprinkles, chopped nuts, a dash of flaky sea salt, or even a light dusting of cocoa powder.
- Extracts for Flavor: A few drops of vanilla extract, almond extract, or even a touch of orange extract can enhance the flavor profile of the truffle filling.
- Mini Pumpkins: Use smaller scoops for miniature truffles, perfect for sampling multiple flavors or for a delicate presentation.
Serving and Gifting Your Pumpkin Oreo Truffles
These no-bake pumpkin truffles are not just a joy to make, but also a delight to serve and gift! For a party, arrange them artfully on a platter with other fall-themed treats. Their vibrant color makes them a standout. If you’re planning to gift them, consider placing a few truffles in small decorative boxes lined with parchment paper, tied with a festive ribbon. They make wonderful hostess gifts, teacher appreciation presents, or thoughtful tokens for friends and family during the holiday season. Everyone appreciates a delicious, homemade treat, especially one as charming and flavorful as these!
These easy, no-bake pumpkin truffles are truly so much fun for the holidays! Let’s indulge in some delightful Oreo truffle fun and make this fall season extra special with every delicious bite!
Discover More Yummy Treats!
- Milk Chocolate Peanut Butter Truffles
- 4th of July Oreo Truffles
- No-Bake Snickers Caramel Truffle Chocolate Cheesecake Pie
- Outrageous Peanut Butter Caramel Truffle Cookies
- Brown Sugar Brownie Bars
- Hocus Pocus Brownie Bites
- Ultimate Trash Brownies
- Easy Mississippi Mud Oreo Brownies
- Pumpkin Cheesecake Pie
- Cookie Butter Truffles
- Chocolate Cake Cheesecake Truffles
- White Chocolate Truffles
Pumpkin Oreo Truffles Recipe
These decadent Pumpkin Oreo Truffles are so much fun to party or gift this fall and Halloween season! Easy and cute no-bake pumpkin truffles consist of crushed Oreos combined with softened cream cheese, rolled into balls and then they are covered with a coating of chocolate!
Ingredients
- 36 Oreos (use regular Oreos, Pumpkin Spice or Golden Oreos)
- 8 oz cream cheese, softened
- 16 oz. Orange Melting Wafers (Wilton’s recommended)
- Stem options: green gummy worms, pretzel ends, Rolos, green or brown m&m’s
Instructions
How to Make Pumpkin Oreo Truffles
- Crush the Oreos (with filling) in a food processor or place in a zip-lock bag and crush with a rolling pin until fine crumbs are achieved.
- Add the softened cream cheese and pulse or mix with a rubber spatula until the mixture is well combined and smooth, forming a cohesive dough.
- Line a rimmed baking sheet with parchment paper for easy handling.
- Scoop the mixture into balls about 1-inch in diameter (a cookie scoop works great). Gently flatten them slightly to resemble pumpkins.
- Place the cookie balls in the freezer until well chilled and firm, at least 15 minutes to an hour. This prevents them from falling apart during dipping.
- Melt orange candy melts in a microwave-safe bowl. Microwave for 1 minute, stir, then continue microwaving in 30-second intervals, stirring in between each, until the melts are smooth and creamy. If too thick, add a teaspoon of vegetable oil.
- Remove truffles from the freezer and dip each into the melted orange melts. Place on the parchment-lined baking sheet and immediately add your chosen pumpkin stem.
- Let the chocolate set completely, then refrigerate until ready to serve. Enjoy!
How to Dip the Oreo Pumpkin Truffles (Detailed)
- Set a chilled Oreo ball on a fork and lower it completely into the melted chocolate.
- Use a second fork or spoon to ensure the ball is entirely coated with chocolate.
- Allow the excess chocolate to drip back into the bowl by gently tapping the fork against the edge.
- Carefully place the dipped truffle onto the parchment paper-lined baking sheet. Promptly add the stem. Let the chocolate set, then refrigerate and enjoy!
Notes
Storing Oreo Truffles
- Fridge: Keep candy truffles in an airtight container in the refrigerator. Oreo truffles will keep in the fridge for 2-3 weeks in an airtight container.
- Freezer: These Oreo treats can be frozen for up to three months sealed in an airtight container. Thaw in the refrigerator before serving.
