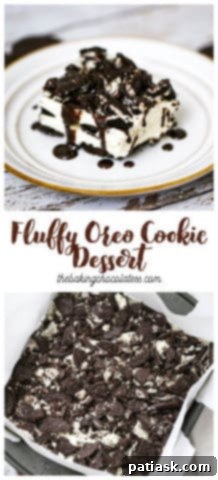
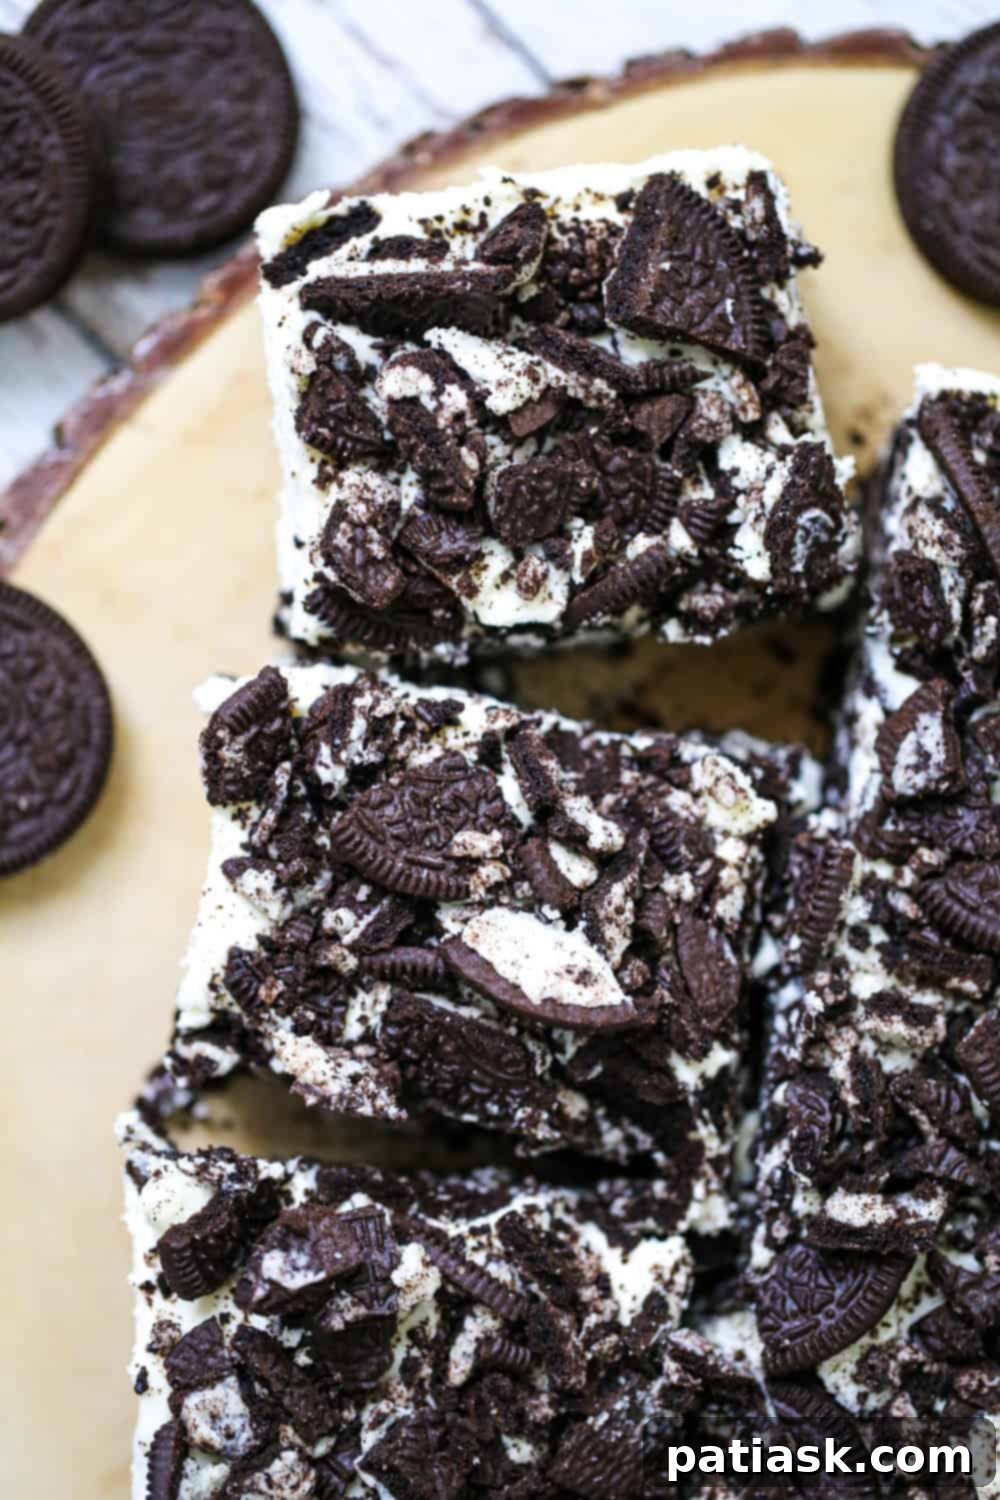
Deliciously Easy 4-Ingredient No-Bake Oreo Lasagna Dessert
Prepare to amaze everyone with this incredibly simple yet irresistibly decadent 4-Ingredient No-Bake Oreo Lasagna Dessert. Light, fluffy, and absolutely loaded with crunchy Oreo cookies, this dessert is a guaranteed showstopper that requires minimal effort in the kitchen. It’s the perfect treat for any occasion, from casual potlucks and lively BBQs to festive holiday gatherings, or simply when you crave something sweet and satisfying.
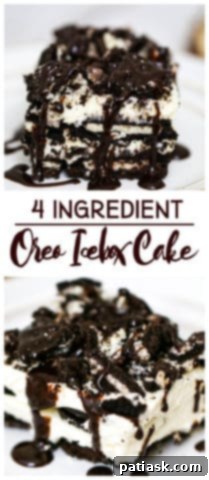
Often referred to as Oreo Icebox Cake or simply Oreo Lasagna, this dessert features luxurious layers of creamy cheesecake-like filling perfectly complemented by the iconic chocolate and creaminess of Oreo cookies. Its “no-bake” nature makes it an ideal choice for busy schedules or hot summer days when turning on the oven is out of the question. You’ll be delighted by how quickly it comes together, and even better, it’s a dessert you can prepare in advance, allowing you to focus on other tasks while it chills to perfection.
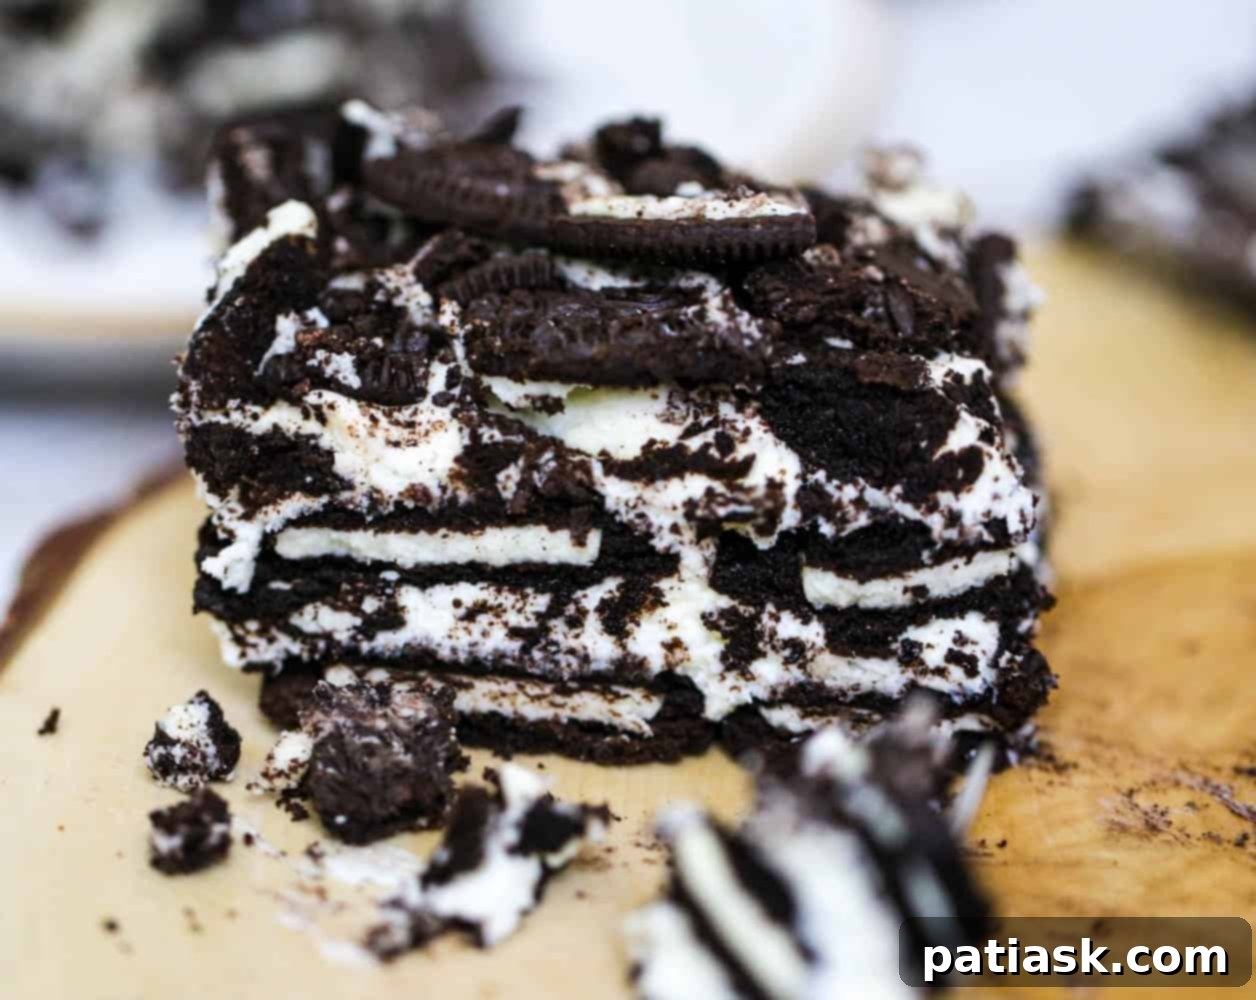
The beauty of this dessert lies in its simplicity and the harmonious blend of textures and flavors. Each spoonful offers a delightful contrast between the creamy, airy filling and the crunchy, rich chocolate cookie layers. It’s pure comfort and indulgence, all in one easy-to-make package.
If you’re a fan of layered desserts, you’ll adore this Oreo creation. And if you’re looking for more inspiration, be sure to explore other delightful lasagna-style desserts like our Blueberry Cream Cheesecake Lasagna, a rich Chocolate Lasagna Layered Dessert, the refreshing No Bake Strawberry Cheesecake Lasagna Dessert, a zesty No-Bake Lemon Lasagna Dessert, a fun Chocolate Chip Cookie Lasagna Dessert, and a seasonal Pumpkin Lasagna Dessert. Each offers a unique flavor profile while maintaining the beloved layered structure.
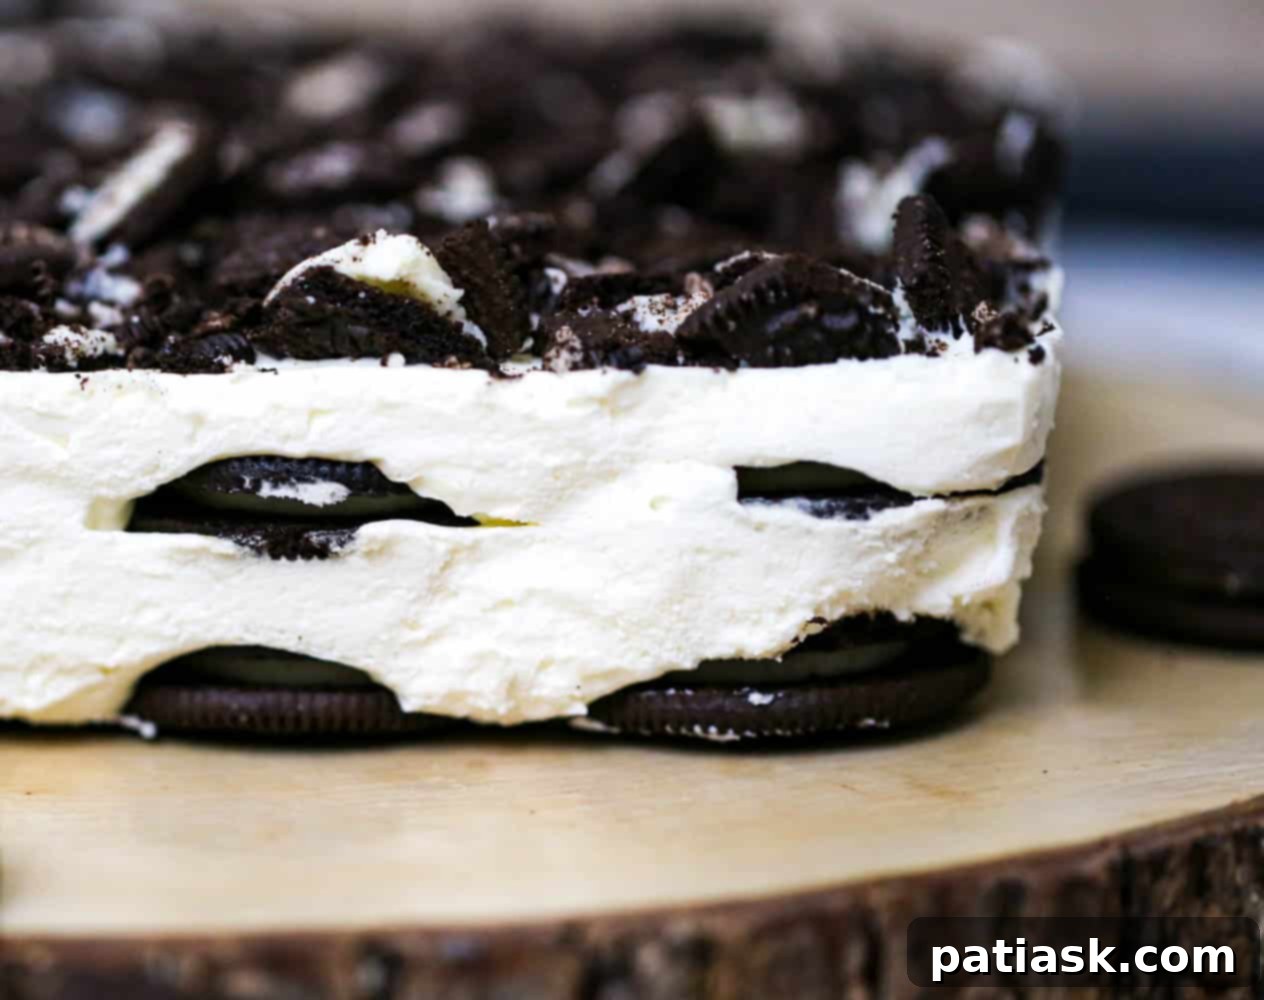
This decadent Oreo fluff lasagna dessert is not just easy to make, but it’s also incredibly impressive. You don’t need to be an experienced baker to create a dessert that looks and tastes like it came from a gourmet bakery. Simply cover it loosely with foil and refrigerate for 4-6 hours before serving, or even better, let it chill overnight for the best texture and flavor development. Trust us, it will disappear quickly, so make sure to get your slice before it’s all gone!
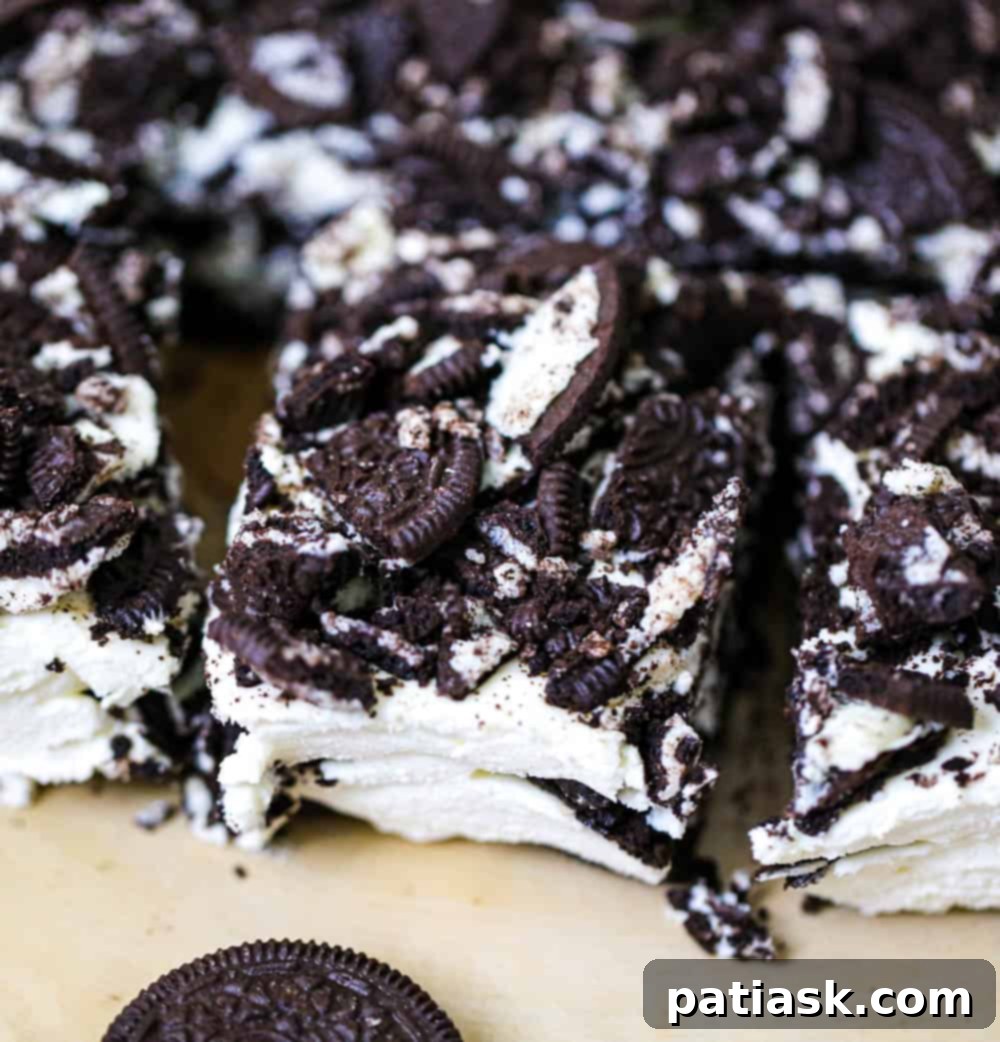
The Simple Secret: Just 4 Ingredients for This Fluffy Oreo Layered Lasagna Dessert
The magic of this easy Oreo dessert lies in its incredibly short ingredient list. You only need four staple items to create this masterpiece. Let’s dive into what makes each ingredient essential:
- Cream Cheese, softened: The foundation of our creamy, tangy filling. Using softened cream cheese is crucial for a smooth, lump-free mixture that blends perfectly with the other ingredients. It provides that classic cheesecake-like texture and a slight tang that balances the sweetness of the Oreos and sugar.
- Heavy Whipping Cream: This is what gives our dessert its signature light and fluffy texture. When whipped, it incorporates air, creating a cloud-like consistency that melts in your mouth. Ensure it’s very cold before whipping for the best results.
- Powdered Sugar: Also known as confectioners’ sugar, this fine sugar dissolves easily into the cream cheese and whipping cream, ensuring a smooth, grit-free filling. It adds the perfect amount of sweetness without making the dessert overly heavy.
- Oreos (Whole and Crushed): The star of the show! Oreos provide both the base and the delightful crunch throughout the layers. You’ll use whole cookies for the crust and crushed pieces for mixing into the filling and sprinkling on top, adding a rich chocolate flavor and satisfying texture contrast.
These four simple ingredients, when combined correctly, create a dessert that tastes far more complex than its humble origins suggest. It’s a testament to how fantastic flavors don’t always require an extensive shopping list.

Crafting the Dreamy Fluffy Oreo Layered Dessert: Step-by-Step
Creating the fluffy, creamy filling for your Oreo Lasagna is surprisingly straightforward. Follow these steps for a perfectly airy mixture:
- First, ensure your cream cheese is thoroughly softened to room temperature. This is key to achieving a smooth, lump-free filling. In a large bowl, use a stand mixer or hand mixer to whip the softened cream cheese until it’s light and fluffy. Set this aside.
- In a separate, chilled large bowl, pour in the cold heavy whipping cream. Using a clean mixer (preferably with a whisk attachment), begin whipping the cream on medium-high speed. Whip until it forms medium peaks, which means the cream holds its shape but the tip curls over slightly.
- Next, gradually add the powdered sugar to the whipping cream while continuing to beat. Increase the speed slightly and continue whipping until stiff peaks form. Stiff peaks mean the cream holds its shape firmly when the beaters are lifted, without collapsing. Be careful not to over-whip, as this can turn it grainy.
- Now, gently fold the whipped cream mixture into the softened cream cheese. Using a spatula, carefully combine them until just incorporated and the mixture is uniformly fluffy and smooth. Avoid overmixing to maintain the airy texture. This creamy, dreamy concoction is the heart of your no-bake dessert!
Assembling Your Stunning Fluffy Oreo Layered Dessert
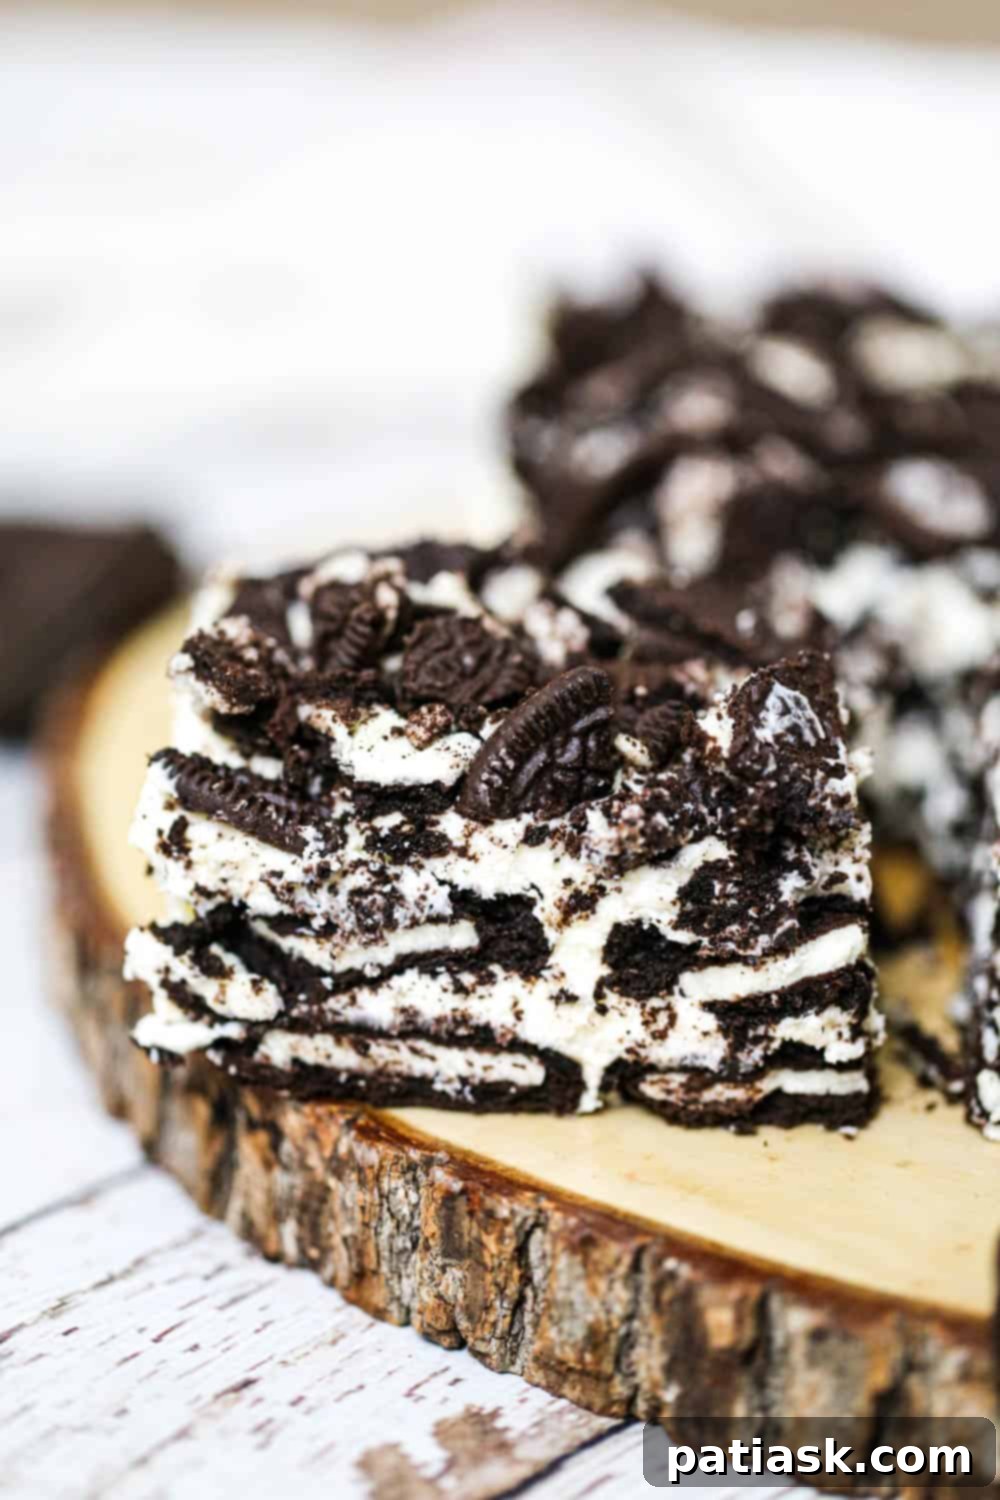
Once your creamy filling is ready, assembling this Oreo cream cheese dessert is a breeze. The layering process is what gives it that beautiful “lasagna” appearance and ensures a perfect bite every time.
- Begin by choosing your baking pan. An 8-inch square or round baking pan works beautifully for thicker layers, yielding about 9 generous servings. For a truly stunning presentation, especially for special occasions, consider using a springform pan. A 9×13-inch pan can also be used, but your fluffy layers will be slightly thinner. For easy removal and clean slices, you can line your pan with parchment paper, leaving an overhang on the sides.
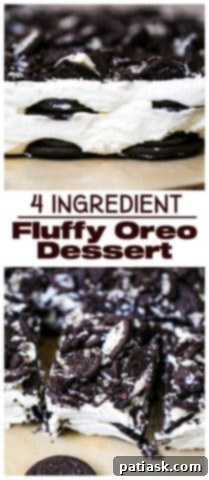
- Create the first layer by arranging 16 whole Oreos flat on the bottom of your chosen pan. This forms the delicious Oreo cookie crust. For extra flavor, you can lightly dip the Oreos in milk before laying them down, though it’s not strictly necessary.
- Carefully spoon half of your fluffy whipped cream cheese mixture over the Oreo base. Gently spread it out evenly to form a smooth, uniform layer, taking care not to disturb the cookies below.
- Repeat the layering process: add another layer of whole Oreos over the cream mixture. Then, add the remaining fluffy whipped cream mixture and spread it out evenly to completely cover the second cookie layer.
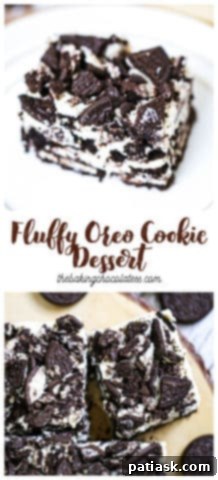
- For the finishing touch, generously sprinkle the top of the dessert with coarsely chopped Oreos. You can crush extra Oreo cookies by hand or in a food processor to your desired consistency – a mix of fine crumbs and chunkier pieces adds wonderful texture. Use as many or as few as you like!
- The most crucial step now is chilling. Cover the dessert loosely with foil or plastic wrap and refrigerate it for at least 4-6 hours, or ideally, overnight. This allows the layers to set, the flavors to meld, and the Oreos to soften slightly, creating a truly irresistible texture.
- When ready to serve, simply slice into squares or wedges. For an extra touch of indulgence, you can add sprinkles, chocolate chips, more Oreo crumbs, or drizzle with warm fudge topping or chocolate syrup. Any add-ins are welcome for both layering and toppings when crafting this versatile no bake Oreo dessert!
Helpful Tips for Success:
- Room Temperature Cream Cheese: Always start with softened cream cheese to avoid lumps in your filling.
- Cold Heavy Cream: Ensure your heavy cream is very cold, and for best results, chill your mixing bowl and whisk attachment for 10-15 minutes before whipping.
- Gentle Folding: When combining the whipped cream and cream cheese, fold them gently to maintain the airy texture of the whipped cream.
- Patience with Chilling: Do not rush the chilling process. This is essential for the dessert to firm up and for the flavors to fully develop.
- Adjust Sweetness: Taste the cream mixture before adding it to the pan. If you prefer it sweeter, you can add a little more powdered sugar.
Substitutions & Variations for Your Oreo Cream Dessert
One of the best things about this 4-ingredient Oreo dessert is its adaptability. Feel free to experiment and make it your own!
Creamy Filling Alternatives:
You can use Cool Whip or another brand of whipped topping instead of fresh heavy whipping cream for this no-bake dessert. If you opt for Cool Whip, you can typically eliminate the powdered sugar from the filling recipe, as most whipped toppings are already sweetened. This makes it an even quicker option!
Creative Oreo Choices:
While classic Oreos are fantastic, don’t hesitate to explore other flavor variations. Imagine this dessert made with Red Velvet Oreos for a festive look, Golden Oreos for a vanilla twist, refreshing Mint Oreos, or even rich Peanut Butter Oreos. Each flavor will create a uniquely delightful experience in this Oreo cake dessert.
Add-Ins and Toppings Galore:
Beyond crushed Oreos, consider adding other elements to your layers or on top. Chocolate chips, mini M&M’s, chopped nuts, a drizzle of caramel sauce, or even a sprinkle of cocoa powder can elevate this dessert further. Get creative with your favorite sweet treats!
Storage Solutions for Your Oreo Lasagna Dessert
How Long Will This Oreo Cream Dessert Keep in the Fridge?
This delightful Oreo cream dessert is perfect for making ahead. You can store and chill it in a covered, airtight container in the refrigerator for 3 to 4 days. Always ensure it’s well-sealed to prevent it from absorbing other food odors and to maintain its freshness and creamy texture.
Can I Freeze this Oreo Lasagna Dessert?
Absolutely! This Oreo Lasagna dessert freezes beautifully. You can store your prepared dessert in the freezer for up to 3 months. Wrap it tightly in plastic wrap, then an additional layer of aluminum foil, or place it in a freezer-safe airtight container. When you’re ready to enjoy it, simply defrost it in the refrigerator for several hours or overnight before serving. It’s perfect for meal prepping desserts for future cravings!
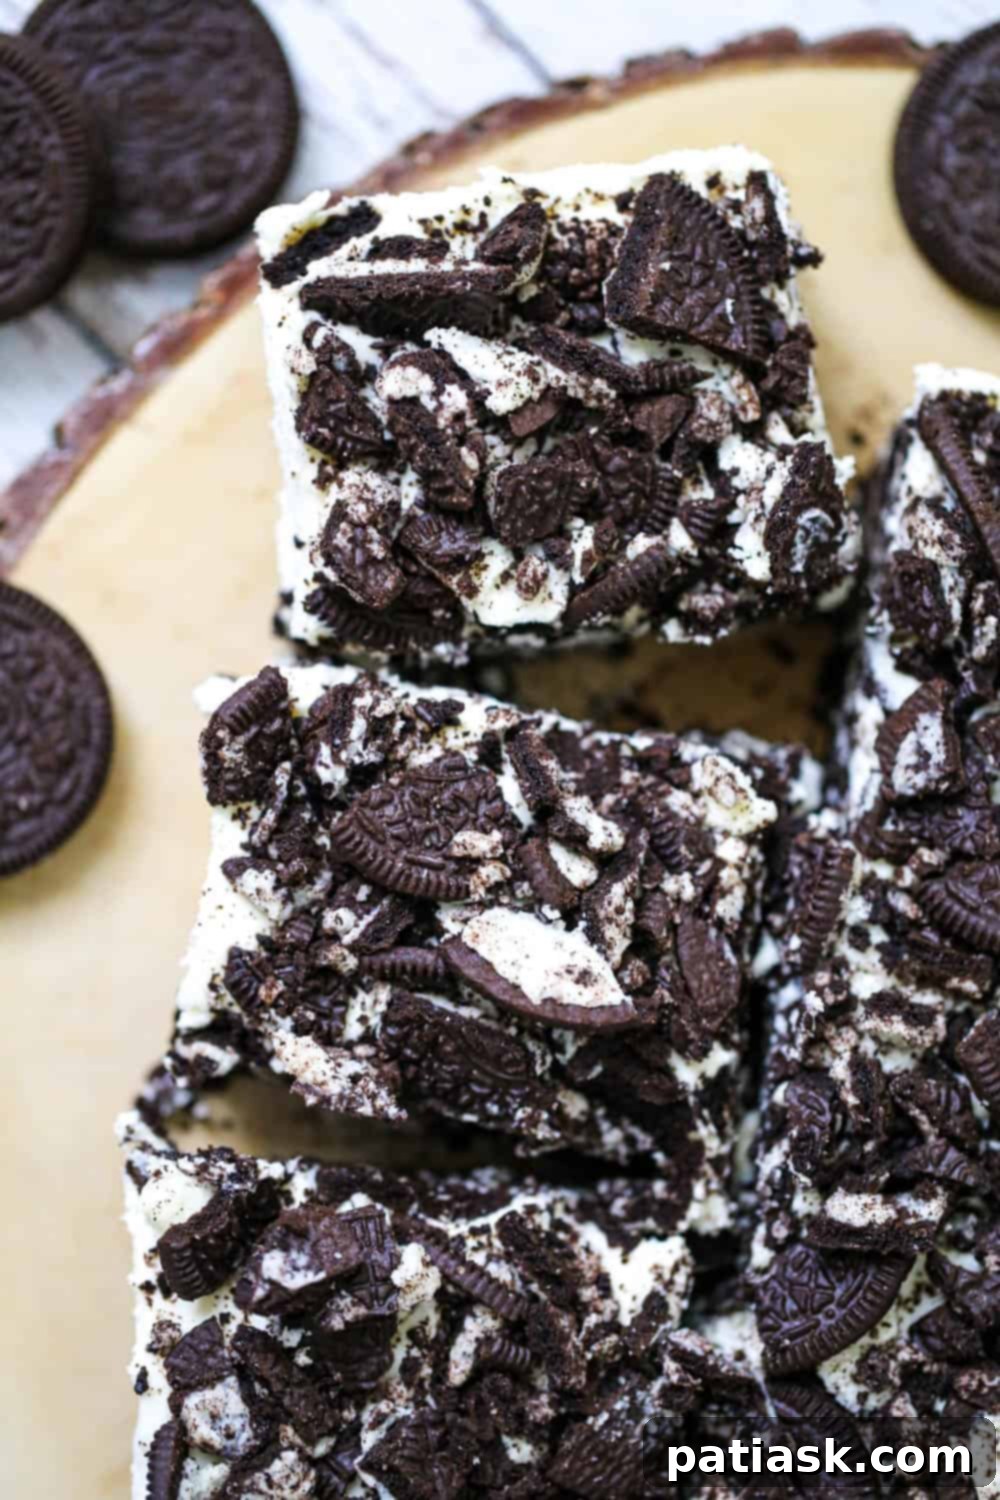
This creamy, fluffy concoction of Oreos and cheesecake-like goodness is a true crowd-pleaser and a family favorite. Its no-bake nature makes it incredibly accessible for anyone wanting a quick yet impressive dessert. If you love this, you’ll definitely want to check out these 25 Slices of Summer Heavenly Desserts for more warm-weather inspiration!
More Delicious Oreo Dessert Recipes You’ll Want to Devour!
If you’re an Oreo enthusiast, you’re in for a treat! Here are more incredible Oreo dessert recipes to satisfy your cravings:
- 9 OREO Desserts for OREO Addicts
- Easy Microwaveable Oreo Fudge
- Holiday Oreo Cream Cheese Cookies
- Oreo Dirt Pudding Cake
- Oreo Cookie Dream Dessert
- Chocolate Peanut Butter Oreo Delight
- Oreo Chocolate Ganache Cheesecake
- OMG Chocolate Oreo Cheesecake Brownie Trifle
- Fluffy Oreo Chocolate Cake Donuts
You may also want to swoon over this amazing Chocolate Cream Layered Dessert! It’s definitely yummilicious! And don’t miss out on Lemon Burst Poke Cake, Oreo Pumpkin Cheesecake Dessert, and Fudgy Chocolate Crinkle Cookies!
4 Ingredient Fluffy Oreo Lasagna Dessert
Kim Lange
Pin Recipe
Ingredients
1x
2x
3x
2x
3x
- 8 oz cream cheese softened
- 1 ⅔ cups heavy cream
- 1 ¼ cups powdered sugar
- 32 Oreos for layers extra Oreos for topping, coarsely chopped
Instructions
- Using a mixer, whip the softened cream cheese in a large bowl until smooth and fluffy. Set aside.
- In another chilled bowl, add the cold heavy whipping cream. Using a mixer, whip until medium peaks form, then gradually add powdered sugar and continue whipping until stiff peaks are achieved, being careful not to over-whip.
- Gently fold the whipped cream into the cream cheese mixture until it’s all combined and fluffy. Do not overmix.
- Arrange 16 whole Oreos on the bottom of an 8×8-inch pan. For a fancy presentation and easy removal, you can line the pan with parchment paper, leaving an overhang.
- Add half of the fluffy cream mixture and spread it out evenly over the Oreos.
- Repeat with another layer of Oreos, then add the remainder of the whipped cream mixture, spreading it out evenly.
- Top with coarsely chopped Oreos and refrigerate for at least 4-6 hours, or ideally overnight, until thoroughly chilled and set.
- To serve, slice and enjoy. Optionally, you can add a drizzle of fudge topping or chocolate syrup for extra flavor.
