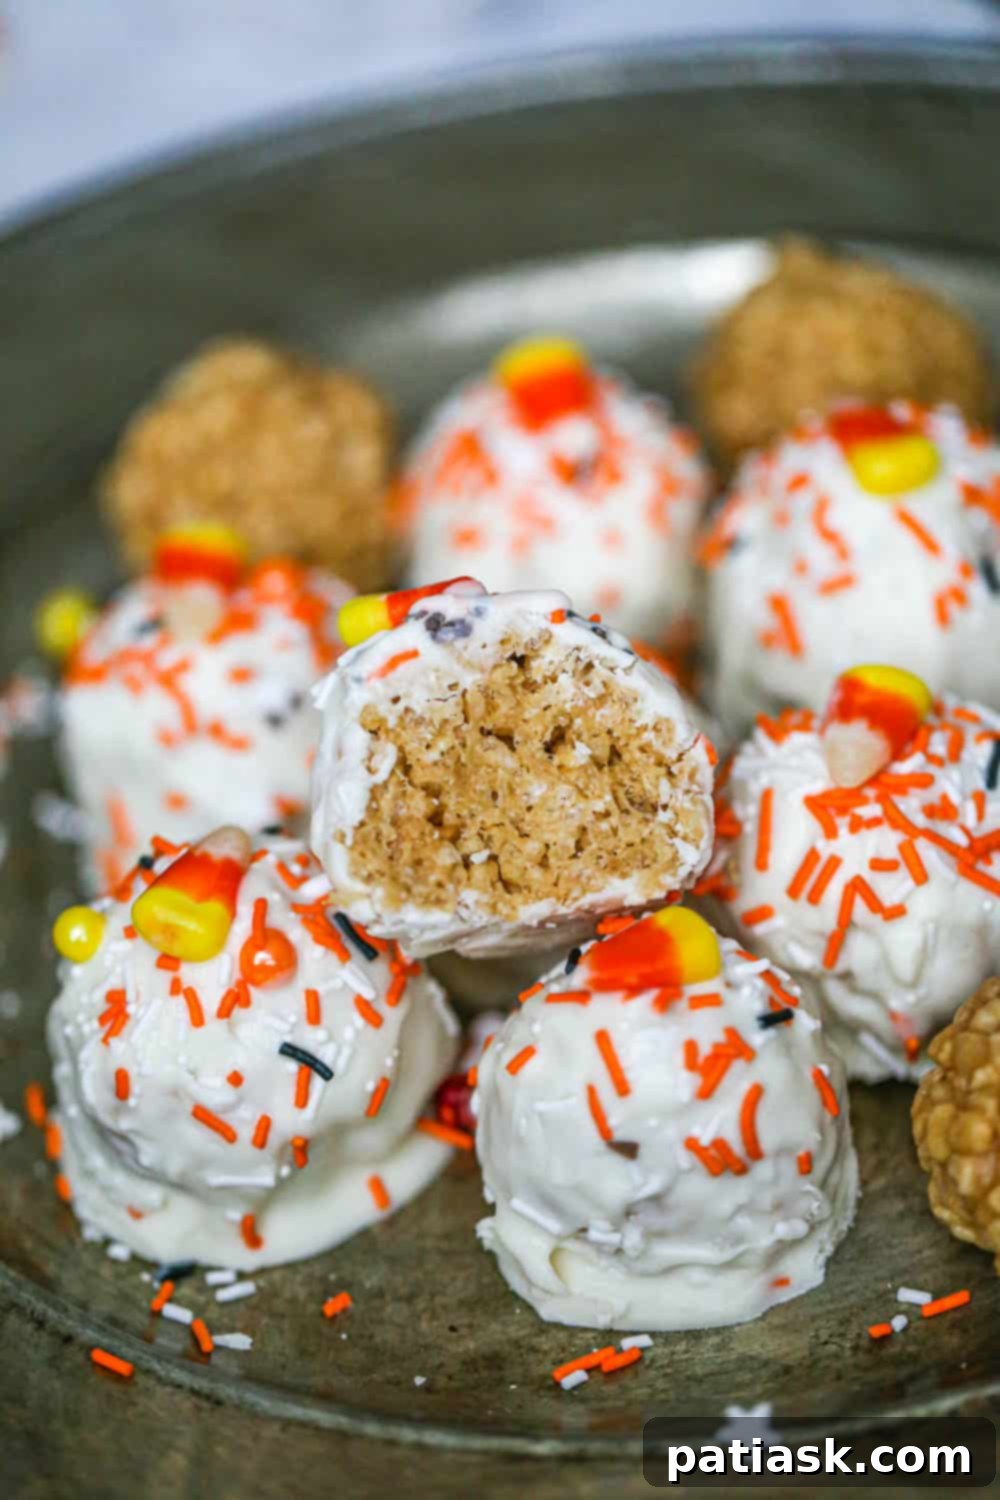
Get ready to delight your taste buds with these incredibly fun and festive Halloween Rice Krispie Treats! We’ve taken two universally loved flavors – rich white chocolate and creamy peanut butter – and combined them in a spooky-sweet package that’s perfect for any autumn celebration. Prepare for gooey, chewy Rice Krispies that are simply irresistible!
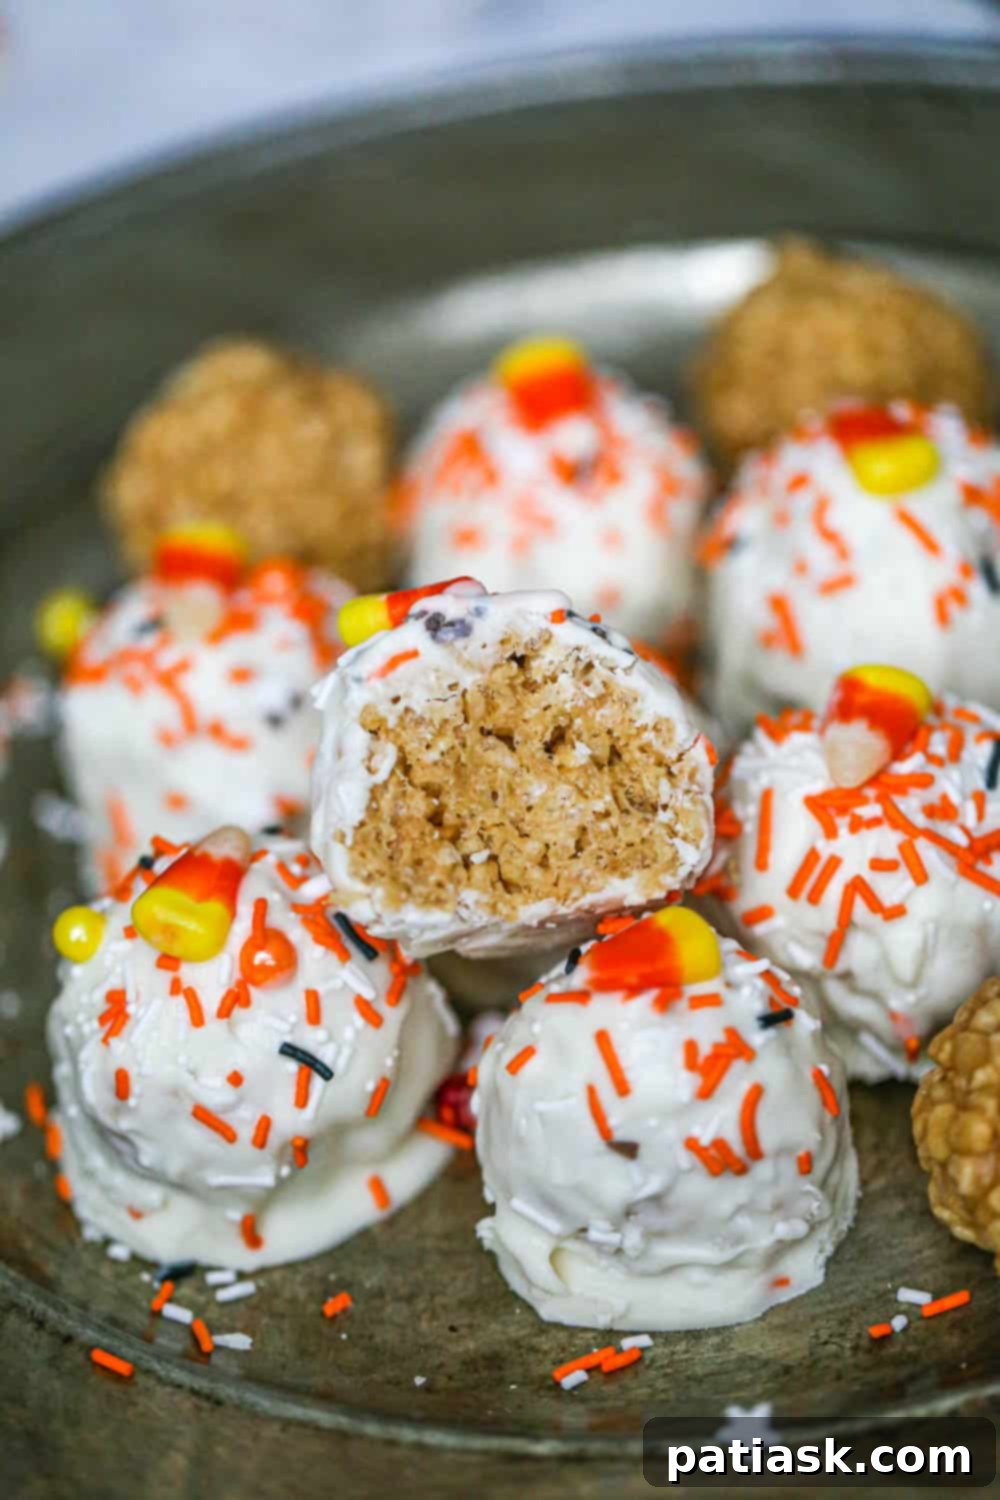
These aren’t just any ordinary cereal treats. They’re crafted with a decadent blend of fluffy marshmallows and smooth peanut butter, then generously coated with a luscious layer of melted white chocolate. To truly make them “Fall-Official” and perfectly themed for Halloween, we add a colorful array of holiday sprinkles. The result is a vibrant, flavorful, and delightfully textural dessert that brings joy to every bite.
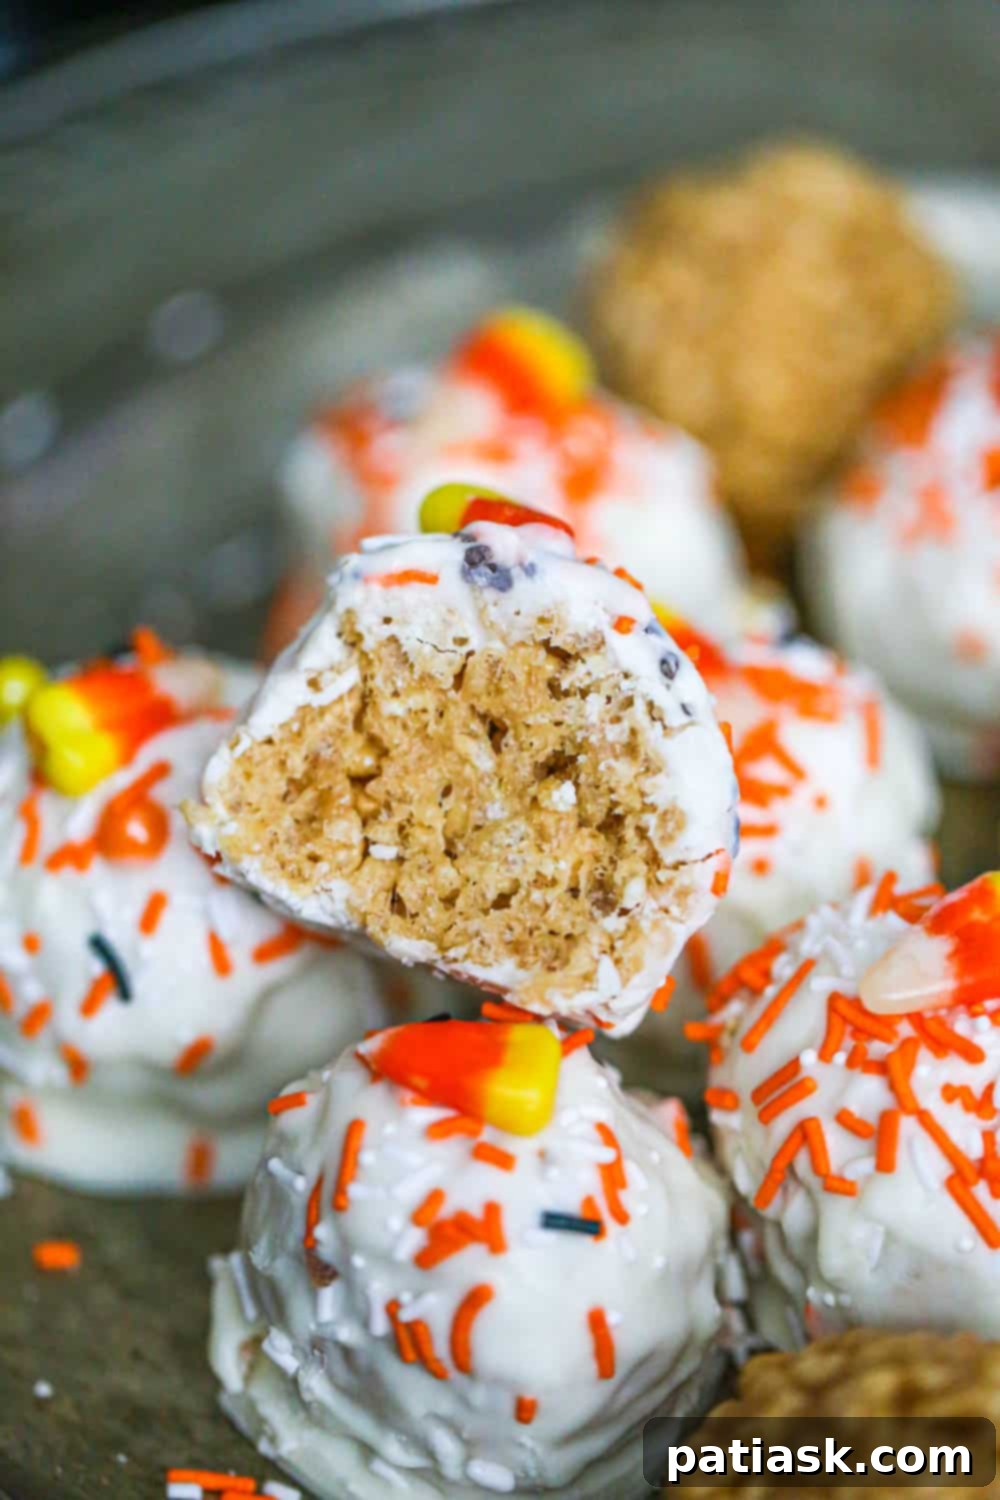
Why You’ll Adore These Halloween Rice Krispie Treats
These mini party treats are a true masterpiece of convenience and taste. They are the ideal dessert for a variety of fall festivities, from cozy bonfires and lively Halloween parties to family Thanksgiving gatherings or simply when you’re craving a super yummy treat that everyone will rave about. They are undeniably a crowd-pleaser; who could resist such adorable and delicious bites?
One of the biggest advantages of these treats is their simplicity. This is an incredibly easy, no-bake recipe, which means you can whip them up without ever needing to turn on your oven. This makes them perfect for busy schedules, especially around the holidays. Even better, they can be prepared ahead of time, allowing you to focus on other party preparations. Just store them properly, and they’ll be ready to impress your guests when it’s time to celebrate. Plus, with the timeless combination of chocolate and peanut butter, you truly can’t go wrong!
The Irresistible Duo: Peanut Butter and White Chocolate
What makes these Rice Krispie Treats truly stand out is the harmonious blend of peanut butter and white chocolate. Peanut butter offers a salty, nutty depth that perfectly balances the sweet, creamy notes of white chocolate. This dynamic duo creates a flavor profile that is both comforting and exciting, appealing to almost everyone. The added Halloween sprinkles not only provide a festive visual but also contribute a subtle crunch and extra burst of sweetness, making each treat a miniature celebration.
Essential Ingredients for Your Spooky Treats
Crafting these delectable Halloween Rice Krispie Treats requires just a handful of common ingredients, easily found at any grocery store. The beauty lies in their simplicity, allowing the core flavors to shine through.
For the Peanut Butter Cereal Treats:
- Salted Butter: Provides richness and helps bind the mixture. Salted butter adds a nice contrast to the sweetness.
- Mini Marshmallows: The star of any Rice Krispie treat, mini marshmallows melt quickly and create that signature gooey texture. Using mini marshmallows ensures a smoother, faster melt.
- Creamy Peanut Butter: The key flavor component for the base. Opt for a smooth, creamy peanut butter (like Jif or Skippy) for the best texture and consistency. Natural peanut butter can be used, but may alter the final texture slightly.
- Rice Krispies Cereal: The classic crispy cereal that forms the structural base of your treats. Fresh cereal is always best for maximum crunch.
For the White Chocolate Coating:
- White Chocolate Chips or Candy Melts: This forms the delicious outer shell. White chocolate chips provide a rich flavor, while white candy melts are designed to melt smoothly and set quickly, offering a vibrant, consistent coating.
- Halloween Sprinkles/Candies: Essential for decorating and adding that festive touch. Choose a mix of colors and shapes to truly make your treats stand out for Halloween.
Crafting Your Halloween Rice Krispie Treats: A Step-by-Step Guide
Making these treats is a straightforward process, perfect for bakers of all skill levels, even those new to the kitchen. Follow these simple steps for perfect results every time.
Part 1: Preparing the Peanut Butter Cereal Treats
- Melt the Butter: In a large, heavy-bottomed 4-quart saucepan, melt the salted butter over low heat. It’s crucial to melt it slowly and gently to prevent it from browning or burning, which can affect the flavor of your treats.
- Add Marshmallows: Once the butter has completely melted, keep the heat on low and add the mini marshmallows to the saucepan. Stir them continuously as they begin to soften.
- Introduce Peanut Butter: As the marshmallows start to melt and become gooey, add the creamy peanut butter to the mixture.
- Combine Thoroughly: Continue to stir the mixture constantly. This ensures that the peanut butter incorporates evenly and doesn’t scorch at the bottom of the pan, and the marshmallows achieve a uniform, smooth melt. This process usually takes about 5 minutes.
- Remove from Heat: Once the mixture is smooth, fully combined, and melted, immediately turn off the heat and remove the saucepan from the stove. Overcooking can lead to hard treats.
- Incorporate Cereal: Add the Rice Krispies cereal to the saucepan with the melted marshmallow and peanut butter mixture. Stir gently but thoroughly until every piece of cereal is evenly coated. Ensure there are no dry spots.
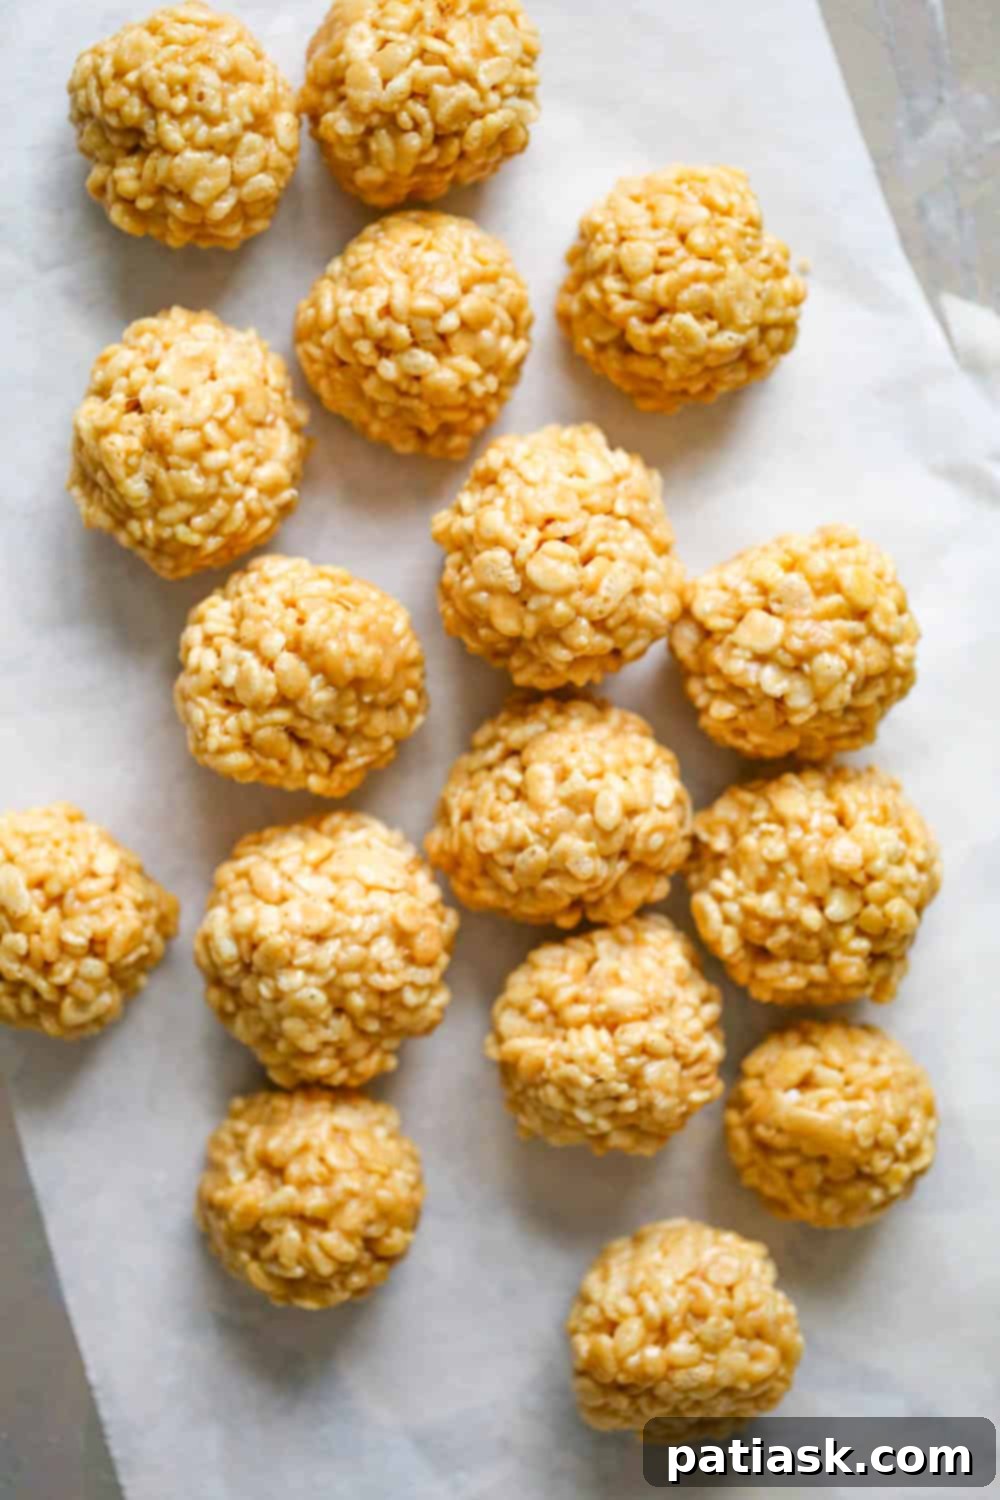
- Shape the Treats: This is where the fun begins! To prevent sticking, lightly spray your hands or a cookie scoop with non-stick cooking spray or lightly grease them with butter. Scoop out portions of the mixture to form balls, or press into a buttered pan if you prefer bars. If using a scoop for balls, you can add a little extra cereal on top and gently press to get a more perfectly round shape.
- Cool and Set: Place your shaped Rice Krispie balls or bars onto a parchment paper-lined baking sheet. Let them air dry and set for about 30 minutes at room temperature, or for an even firmer set, you can leave them overnight in a zip-lock bag. This drying time is crucial for preventing stickiness and ensuring they hold their shape for dipping.
Part 2: Applying the White Chocolate Coating
- Melt the White Chocolate: Place your white chocolate chips or candy melts in a microwave-safe bowl. Microwave for 2 minutes, stopping to stir thoroughly every 30 seconds, until the chocolate is smooth and creamy. Be careful not to overheat the chocolate, as this can cause it to seize.
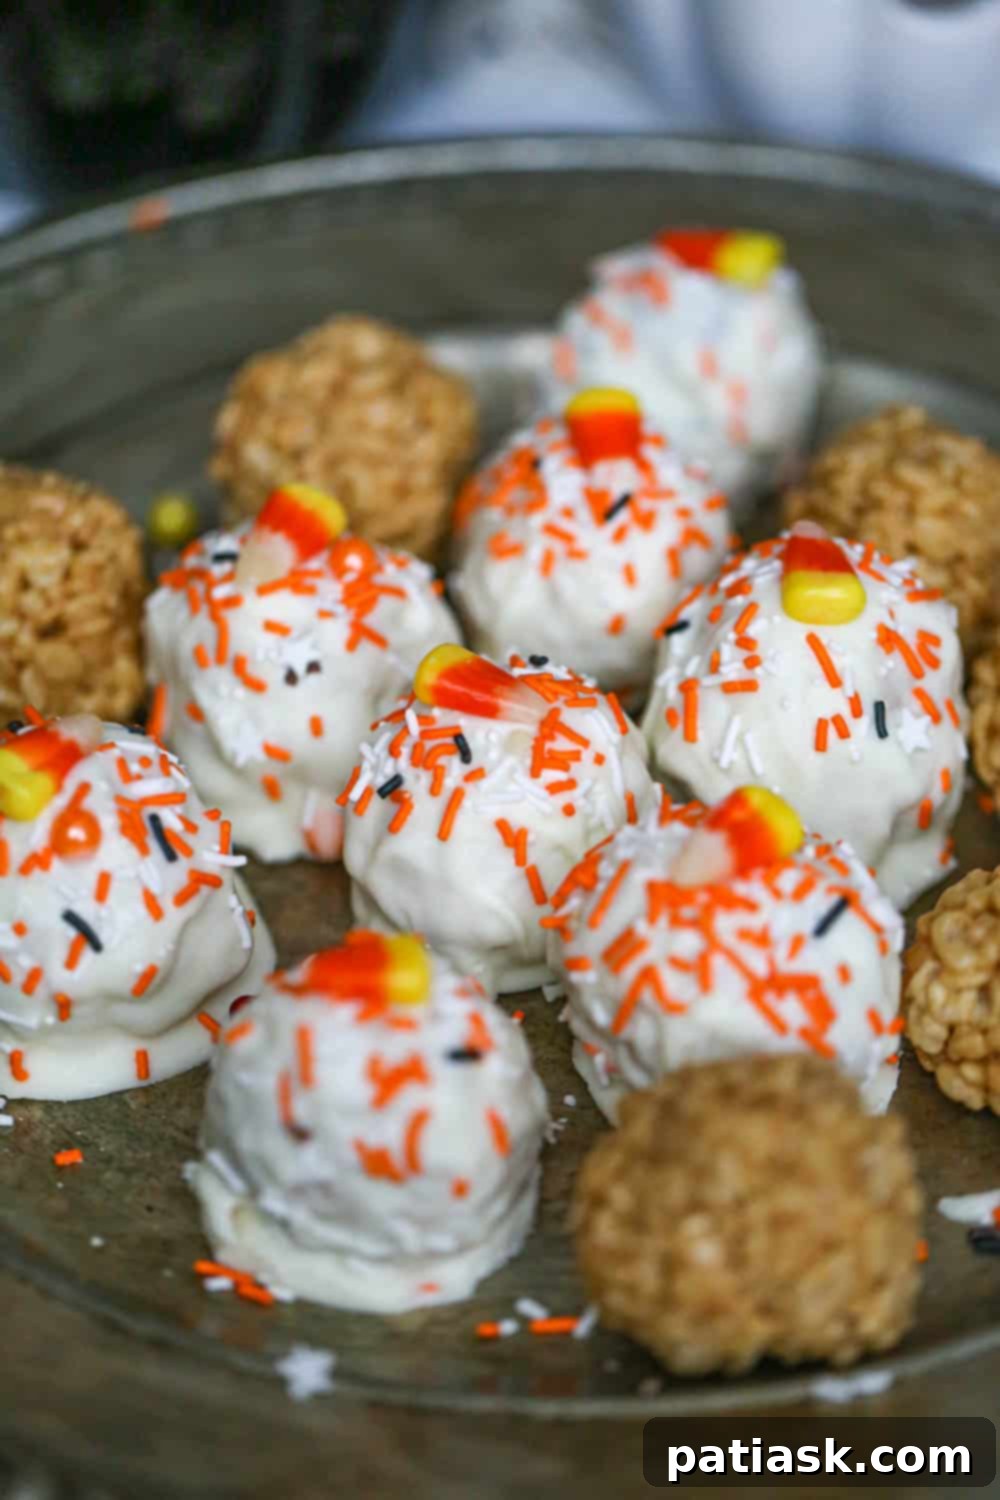
- Dip and Decorate: Take one Rice Krispie ball or bar at a time and dip it into the melted white chocolate, coating it as desired. Place the dipped treat back on the parchment paper-lined baking sheet. Immediately, before the chocolate sets, sprinkle with your festive Halloween candies and sprinkles. Repeat with all the treats.
- Allow to Set: Let the white chocolate coating set completely at room temperature or in the refrigerator for quicker setting. Once firm, your Halloween Rice Krispie Treats are ready to be enjoyed! Sooo yummy!
Expert Tips for Melting White Chocolate
Melting white chocolate can be a bit finicky, but with these tips, you’ll achieve a perfect, smooth coating every time:
- Choose Your Chocolate Wisely: For optimal results, we recommend using quality white chocolate chips such as Nestle white chocolate chips, or for a hassle-free melt, candy melts are an excellent choice. They are specifically formulated to melt smoothly and set firmly.
- The Golden Rule of Melting: The most important rule when melting chocolate in the microwave is to avoid overheating. Melt the chocolate in short intervals, typically for 2 minutes total, stirring vigorously every 30 seconds. Even if the chocolate doesn’t look fully melted, continuous stirring will help residual heat finish the job, preventing a grainy or seized texture.
- Thinning Out the Chocolate: If your melted white chocolate seems too thick for dipping, you can thin it out slightly. Whisk in 1 teaspoon of vegetable or canola oil. The oil helps to smooth the consistency without affecting the flavor or setting properties too much.
- Timely Sprinkling: Once you’ve dipped a treat, add your sprinkles and candies immediately. White chocolate sets relatively quickly, especially if the treats are cool, so prompt decoration ensures the toppings adhere properly.
Variations and Customization Ideas
While the classic peanut butter and white chocolate combination is fantastic, don’t hesitate to get creative with your Halloween Rice Krispie Treats! Here are a few ideas to customize them:
- Different Chocolate Coatings: Instead of white chocolate, try milk chocolate or dark chocolate for a richer flavor profile. You could even do a swirl of two different chocolates for a marbled effect.
- Extra Add-ins: Fold in some mini chocolate chips, chopped nuts, or even crushed Halloween candies (like candy corn or mini peanut butter cups) into the Rice Krispie mixture before shaping.
- Food Coloring Fun: Add a few drops of gel food coloring to the melted white chocolate to create vibrant, spooky colors like green, orange, or purple.
- Themed Shapes: Instead of balls, press the mixture into a greased baking pan and use Halloween-themed cookie cutters (ghosts, pumpkins, bats) to create festive shapes.
Serving and Storage Suggestions
These treats are incredibly versatile. Serve them on a decorative platter at your Halloween party, pack them in individual bags as party favors, or enjoy them as a delightful snack any time you need a sweet pick-me-up. For best results, serve them at room temperature once the chocolate has set.
To store any leftovers, place the treats in an airtight container at room temperature for up to 3-4 days. If you’ve used any fresh fruit or highly perishable decorations, consume them sooner. You can also store them in the refrigerator, especially in warmer climates, but bring them back to room temperature for the best soft and chewy texture.
Frequently Asked Questions (FAQ)
- Can I make these ahead of time?
- Absolutely! These treats are perfect for making in advance. Once fully set, store them in an airtight container at room temperature for up to 3-4 days. This makes them ideal for party prep.
- Why are my Rice Krispie Treats hard?
- The most common reason for hard Rice Krispie treats is overcooking the marshmallow mixture. Ensure you melt the butter and marshmallows over low heat and remove from the stove as soon as they are fully combined. Over-compacting the cereal mixture when shaping can also lead to a denser, harder texture.
- Can I use crunchy peanut butter?
- While creamy peanut butter is recommended for a smoother base, you can use crunchy peanut butter for added texture. Just be aware it will change the overall consistency slightly.
- My white chocolate seized. What happened?
- White chocolate seizes when it comes into contact with even a tiny amount of water or when it’s overheated. Ensure all your utensils and bowls are completely dry, and melt the chocolate slowly, stirring frequently.
- Are these treats gluten-free?
- Traditional Rice Krispies cereal contains malt flavoring, which is derived from barley and contains gluten. However, there are gluten-free crispy rice cereals available. If you need a gluten-free option, make sure to use a certified gluten-free brand of crispy rice cereal.
You’ll absolutely want to make these Halloween Rice Krispie Treats for all your fall celebrations! They are the ultimate easy, fun, and flavorful treat that everyone will love snacking on.
More Fantastic Fall Treat Ideas
- Rainbow Rice Krispie Marshmallow Treats
- Lucky Charm Marshmallow Rice Krispies
- Caramel Peanut Butter Rice Krispies
- Peanut Butter Cup Stuffed Krispie Treats
- Best Marshmallowy S’mores Rice Krispies
- Milky Way Rice Krispies
- Butterfinger® Peanut Butter Cup Skulls Tombstone Treats
- ‘Awesome’ Peanut Butter Buckeye Rice Krispies
- Spooky Mummy Rice Krispie Treats
- Halloween Cake Mix Cookies
Halloween Rice Krispie Party Treats (Peanut Butter & White Chocolate!)
By Kim Lange
These fun and festive cereal treats combine two favorite flavors: white chocolate and peanut butter! Perfect for parties, these gooey, chewy Rice Krispies are made with marshmallow and peanut butter, then deliciously coated with rich white chocolate and festive Halloween sprinkles to make them Fall-Official!
Average rating: 5 out of 5 stars from 4 votes.
Pin Recipe
Ingredients
Peanut Butter Party Treats
- 4 tablespoons salted butter
- 10 oz bag mini marshmallows (or 5 cups)
- ½ cup creamy peanut butter
- 5 ¼ cups Rice Krispies cereal
White Chocolate Coating
- 3 cups white chocolate chips or candy melts
- Sprinkles/candies for decoration
Instructions
Peanut Butter Party Treats
In a 4-quart saucepan, melt butter on low heat, slowly as to not burn.
Once butter has melted, keep heat on low and add mini marshmallows.
Once marshmallows begin to soften and melt, add peanut butter.
Constantly stir the mixture so the peanut butter does not burn and the marshmallows can evenly melt (won’t take too long, about 5 minutes or so).
Once the mixture is combined and melted, turn off heat and remove pan from stove.
Add Rice Krispies cereal to saucepan and stir until evenly coated with mixture until well combined.
Spray your hands with some nonstick cooking spray or spray a cookie scoop and pat down the mixture until firmly compacted into balls or desired shapes.
Place balls on parchment lined baking sheet and let the Rice Krispies air dry for about 30 minutes and/or overnight in a zip-lock bag.
White Chocolate Coating
Melt chocolate for 2 minutes, stirring every 30 seconds until smooth and creamy.
Dip one ball at a time and place on parchment paper lined baking sheet. Add sprinkles and candies! Let chocolate set.
Notes
If you want to thin the white chocolate out a bit, use 1 teaspoon of vegetable or canola oil and mix it into the chocolate.
Tried This Recipe?Let us know how it was by commenting below!
