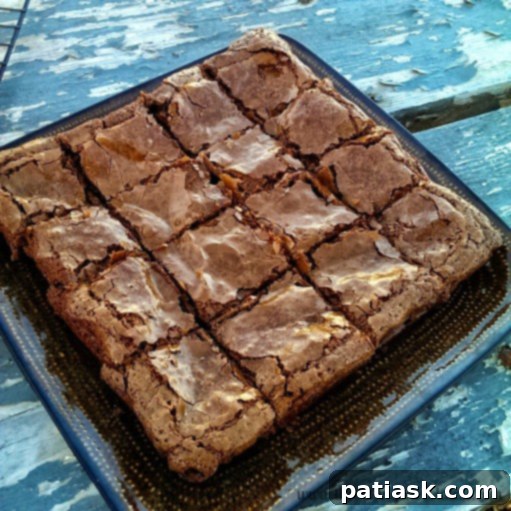
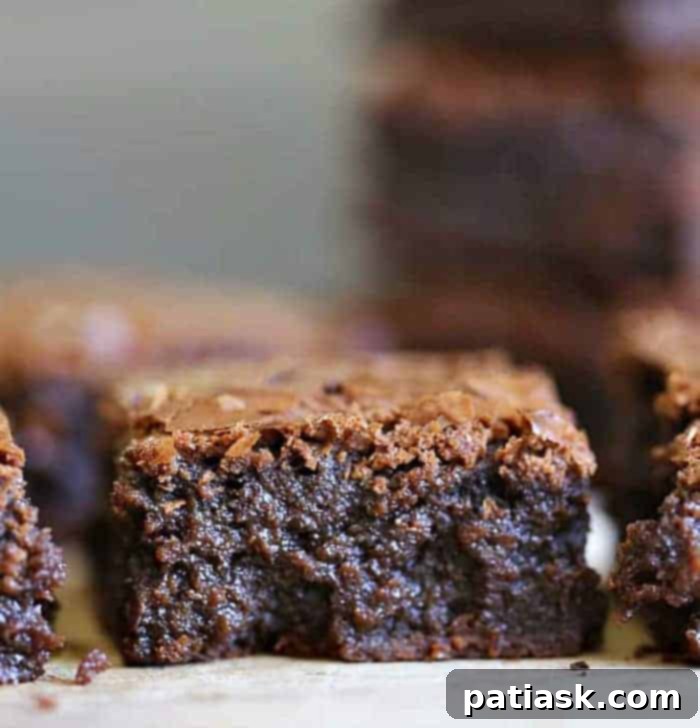
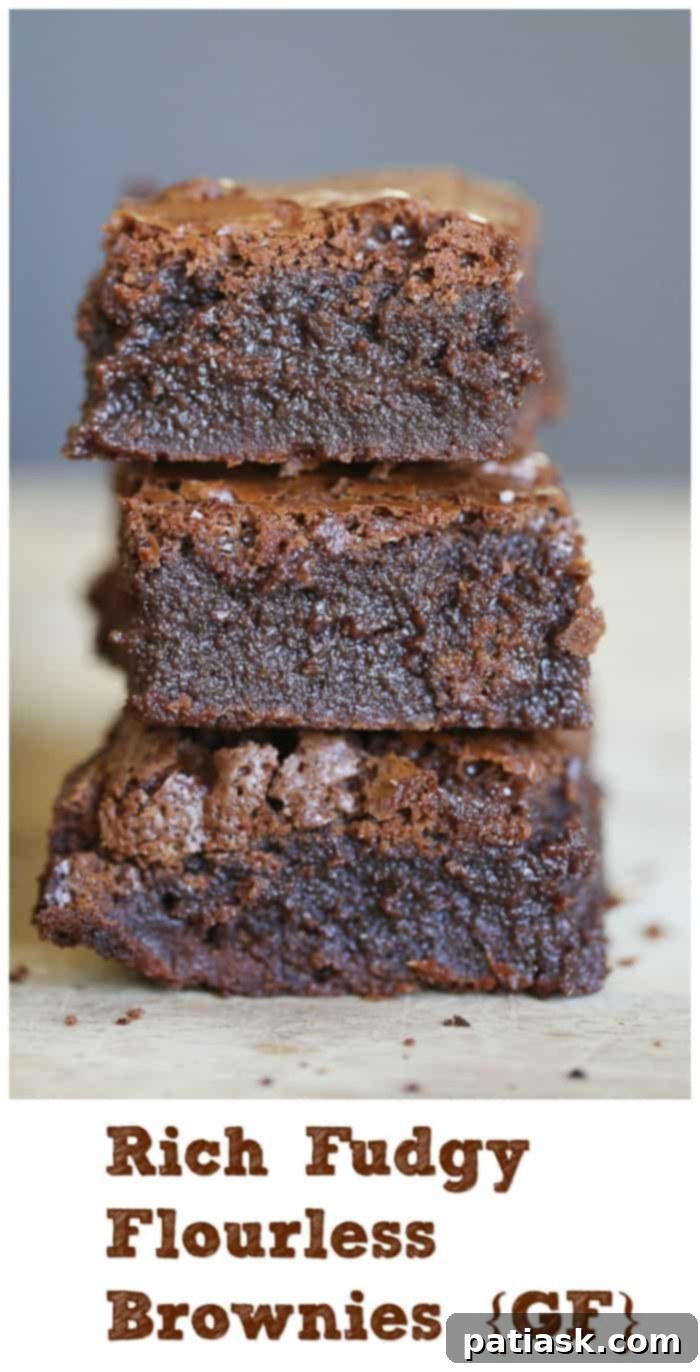
Are you searching for the ultimate chocolate indulgence that caters to gluten-free dietary needs without compromising on flavor or texture? Look no further! Our recipe for Rich & Fudgy Flourless Milk Chocolate Brownies is a dream come true for any chocolate enthusiast. Whether you’re craving a simple treat to satisfy your sweet tooth or seeking an impressive dessert to elevate a dinner party, these brownies are guaranteed to captivate. Their naturally gluten-free nature is an added bonus, making them accessible to even more dessert lovers.
For those who appreciate the convenience and deliciousness of flourless baking, we have more delightful recipes you’ll adore. Explore these Healthy Peanut Butter Chocolate Chip Oat Cookies and these fantastic Flourless Chocolate Chip Breakfast Cookies!
Unveiling the Secret to Delectable Gluten-Free Chocolate Brownies: No Flour Required!
The idea of baking brownies without flour often sparks curiosity, and sometimes a bit of skepticism. Traditionally, flour serves as a crucial binding agent, providing structure, texture, and volume to baked goods. It’s the ingredient that holds everything together and contributes to that satisfying chewiness or cakiness we expect from brownies. Without it, achieving the perfect consistency can be quite a challenge, often resulting in baked goods that are either too crumbly, too dense, or simply “off.”
This very challenge fueled our quest to create a truly exceptional flourless brownie. In the past, many attempts at flourless baking, especially with brownies, yielded less-than-ideal results. The texture was wrong, the baking was inconsistent, and the overall outcome was disappointing. But through persistent experimentation, we discovered a brilliant solution to this baking conundrum, proving that a truly rich, fudgy, and perfectly textured flourless brownie is not only possible but easily achievable!
Would you believe the secret ingredient to achieving these chocolate flourless brownies’ moist, ultra-fudgy texture isn’t flour at all, but cornstarch? Cornstarch is renowned for its thickening properties, making it an excellent alternative to wheat flour in gluten-free baking. It helps create a beautifully dense and chewy brownie that melts in your mouth.
As a general rule, cornstarch offers similar thickening power to other gluten-free starches like arrowroot, potato starch, and tapioca starch. If you choose to experiment with one of these alternatives, feel free to substitute them in the same quantity to maintain the gluten-free integrity of the recipe. We’ve personally found cornstarch to deliver consistently perfect results for these brownies, but we’d love to hear about your experiences if you try a different starch!
Why These Flourless Milk Chocolate Brownies Will Become Your New Favorite
Our flourless milk chocolate brownies recipe offers more than just a delicious dessert; it’s a testament to how simple ingredients can come together to create an extraordinarily rich and fudgy treat. These brownies are incredibly versatile, allowing you to customize them with various toppings and mix-ins to cater to any palate. But beyond their adaptability, the true magic lies in their irresistible texture and intense chocolate flavor. Once you try making these flourless milk chocolate brownies, you’ll understand why they’re so highly praised.
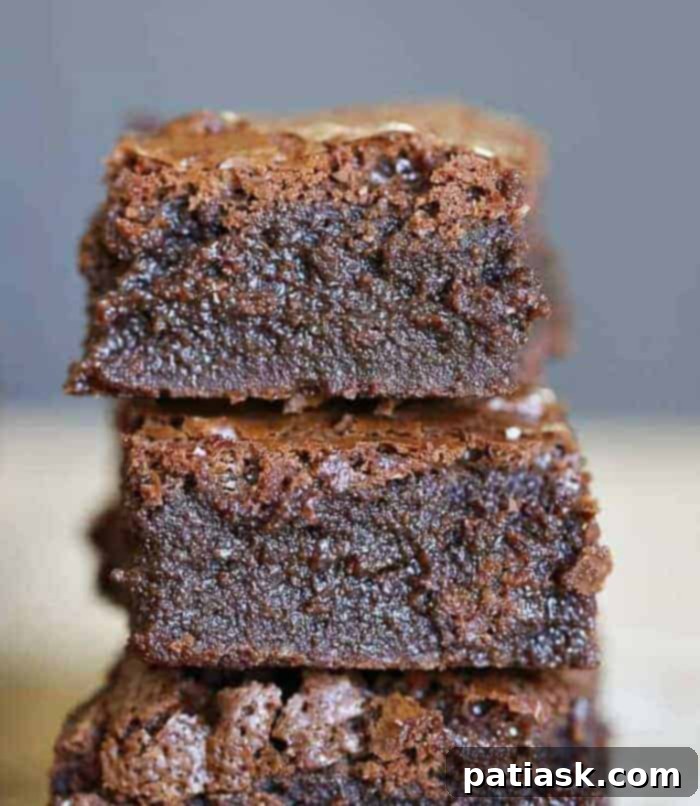
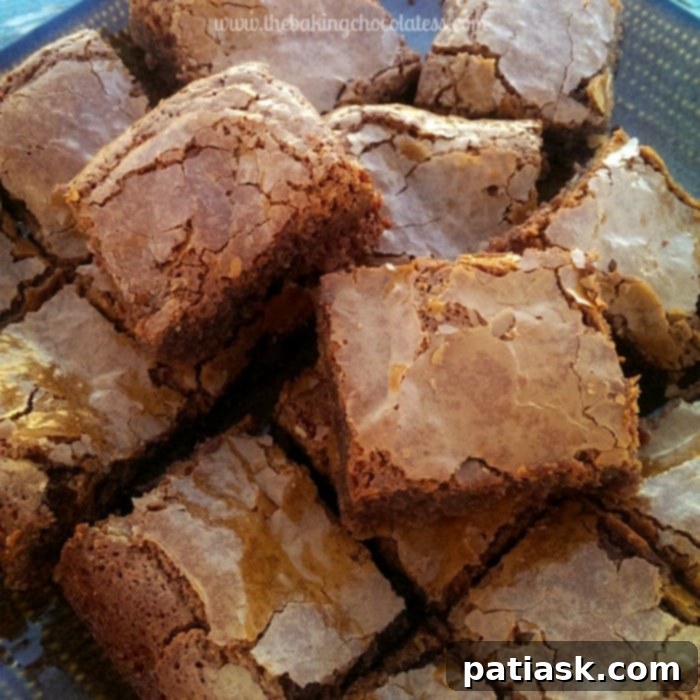
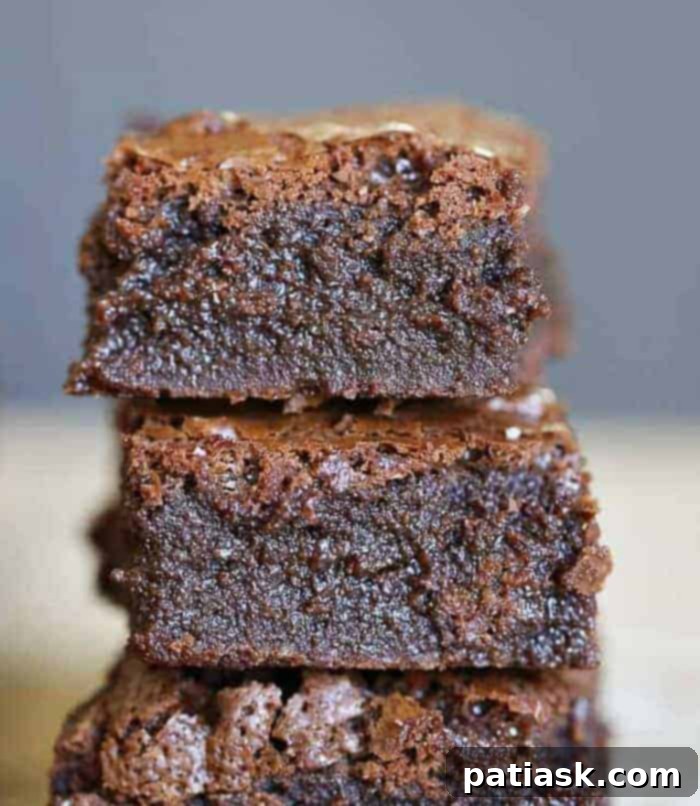
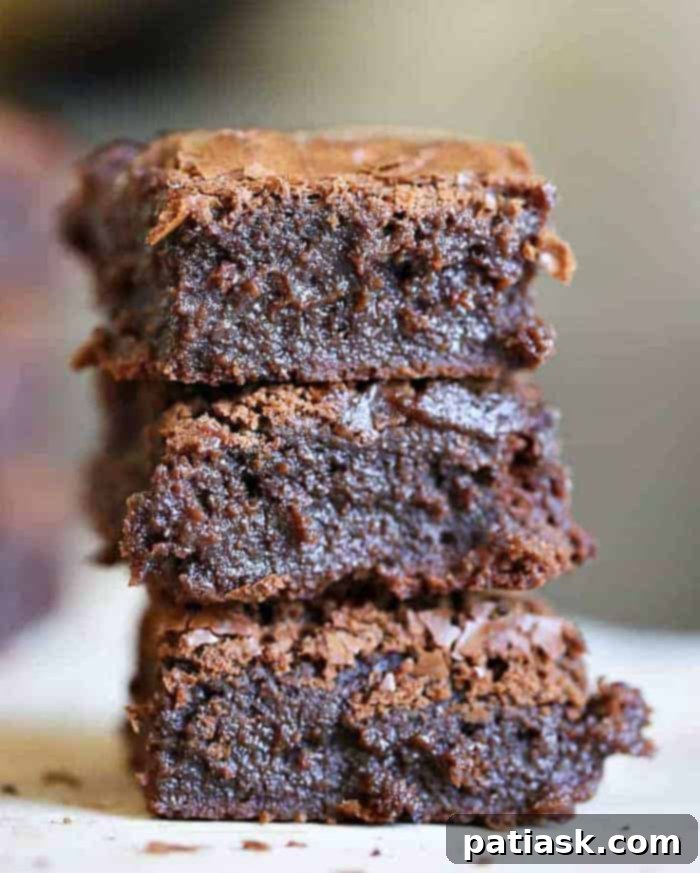
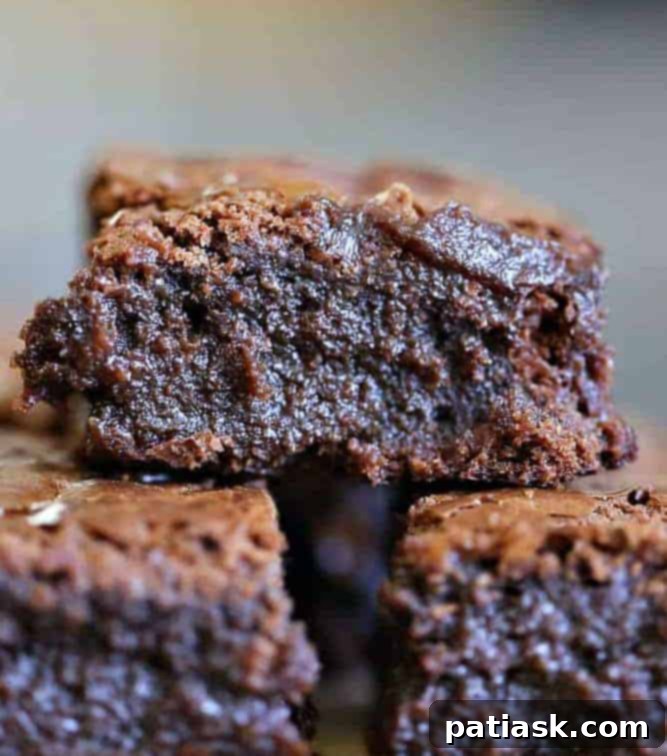
One of the most appealing characteristics of these chocolate brownies is their beautiful shiny, crackly tops, a hallmark of a perfectly baked brownie. Beneath that alluring crust lies a rich, thick, and wonderfully chewy interior. Each bite delivers a melt-in-your-mouth experience, making them the ultimate indulgence when you’re craving a deeply satisfying chocolate dessert, especially one that’s flourless and gluten-free.
While this particular flourless chocolate brownie recipe highlights the creamy sweetness of milk chocolate, don’t hesitate to personalize your brownies. If you prefer a more intense chocolate experience, you can easily substitute semi-sweet or dark chocolate chips. Remember, when opting for darker chocolate, you might consider adding an extra ¼ cup of sugar to balance the bitterness and achieve your desired sweetness level. These brownies are not only gluten-free but also incredibly versatile. My husband loves warming his up in the microwave for 30-40 seconds and serving them with a generous dollop of whipped cream on top. It’s truly a chocolate lover’s dream come true!
Coming from a self-proclaimed chocoholic, these brownies are absolutely phenomenal!
Essential Ingredients for Your Fudgy Flourless Brownies
Crafting these divine brownies requires a simple yet carefully selected list of ingredients. Each component plays a vital role in achieving that perfect fudgy texture and rich chocolate flavor that makes these brownies so exceptional. Quality ingredients always lead to superior results, so opt for the best you can find.
Rich Fudgy Flourless Milk Chocolate Brownies Recipe
- Unsalted Butter: The foundation of rich flavor and moistness. Using unsalted butter allows you to control the overall salt content of your brownies.
- Granulated Sugar: Provides sweetness and helps create that coveted crackly top.
- Milk Chocolate Chips or Chopped Milk Chocolate: The star of the show! We recommend Ghirardelli for its superior quality and melt-in-your-mouth texture. Feel free to use semi-sweet or dark chocolate, adjusting sugar if needed.
- 4 Large Eggs, Room Temperature: Eggs act as a binder and emulsifier, contributing to the brownies’ structure and fudgy consistency. Bringing them to room temperature helps them incorporate more smoothly into the batter.
- Coffee or Vanilla Extract: Enhances the chocolate flavor. Coffee extract deepens the chocolate notes without adding a distinct coffee taste, while vanilla provides a classic aromatic warmth. We love Nielsen Massey for a premium extract.
- Unsweetened Cocoa Powder: Adds an extra layer of deep chocolate flavor. Ghirardelli is a fantastic choice for rich, intense cocoa.
- Cornstarch: The crucial flour substitute that provides structure and thickness, ensuring a perfectly fudgy, gluten-free brownie. Bob’s Red Mill is a reliable brand.
- Salt: A pinch of salt balances the sweetness and enhances all the flavors, making the chocolate taste even more prominent.
Crafting the Perfect Rich & Fudgy Flourless Milk Chocolate Brownie Batter
Creating these exquisite brownies is a straightforward process, broken down into simple, easy-to-follow steps. Precision and attention to detail will ensure your brownies turn out perfectly fudgy and incredibly delicious every time.
- Preheat your oven to 350 degrees Fahrenheit (175 degrees Celsius). This ensures the oven is at the correct temperature for even baking from the moment your brownies enter.
- Prepare your baking pan. Line a 9×13 inch baking pan with aluminum foil or parchment paper, leaving an overhang on the sides to easily lift the brownies out later. Lightly spray the foil or parchment paper with a non-stick cooking spray. If you prefer to make a smaller batch, simply halve the recipe and use a 9×9 inch pan instead.
- In a heat-safe saucepan, melt the unsalted butter over low heat. Alternatively, you can melt it in a microwave-safe bowl using short intervals, stirring frequently. Once melted, stir in the granulated sugar until well combined.
- Next, add the milk chocolate chips to the butter-sugar mixture. Continue stirring over low heat or in the microwave until the chocolate is completely melted and the mixture is smooth and glossy. Remove the pan from the heat.
- Allow the chocolate mixture to cool for a few minutes. This is a crucial step to prevent the eggs from cooking when added. Once slightly cooled, add the eggs one at a time, mixing well after each addition until fully incorporated. Then, stir in your chosen coffee or vanilla extract. The mixture should be smooth and emulsified.
- Using a sifter or fine-mesh sieve, sift the unsweetened cocoa powder and cornstarch directly into the saucepan with the chocolate mixture. Sifting helps prevent lumps and ensures a smooth, even batter. Add the salt.
- Finally, using a sturdy whisk or an electric mixer on low speed, vigorously mix the batter until it is uniformly combined, shiny, and smooth. Be careful not to overmix, as this can incorporate too much air, leading to a less fudgy texture.
Baking Your Gluten-Free Brownies to Perfection
Baking is where the magic truly happens, transforming your rich batter into dense, chocolatey brownies. Proper baking time is essential to achieve that perfect fudgy consistency.
- Pour the prepared brownie batter evenly into your lined baking pan. Gently spread it to the corners.
- Bake for 22-28 minutes for a 9×13 inch pan, or 32-38 minutes for a 9×9 inch pan (if making a half batch). To check for doneness, gently jiggle the pan. The edges should be set, but the center should still have a slight wobble. A toothpick inserted into the center should come out with moist crumbs, not wet batter.
- It is vital not to over-bake these brownies, as doing so will result in a crumbly, dry texture rather than the desired fudgy interior. Keep a close eye on them during the last few minutes of baking.
The Importance of Proper Cooling for Set Brownies
Patience is a virtue, especially when it comes to brownies. Allowing them to cool properly is just as important as the baking itself for achieving the ideal texture.
- Once baked, remove the pan from the oven. Let the brownies cool completely in the pan for at least 45 minutes to an hour. This cooling period allows them to fully set and firm up, making them easier to cut into neat, fudgy squares. Resist the temptation to cut them warm, as they may fall apart.
Optimal Storage and Freezing Methods for Your Gluten-Free Milk Chocolate Flourless Brownies
Proper storage ensures your delicious brownies remain fresh and fudgy for as long as possible, allowing you to enjoy them days or even weeks after baking.
- To Store: For short-term enjoyment, keep your brownies at room temperature in an airtight container or covered tightly with plastic wrap. They will stay fresh and moist for up to 3 days. If you wish to extend their freshness, transfer them to the refrigerator, where they can be stored in an airtight container for up to 2 weeks.
- To Freeze: These brownies freeze beautifully, making them perfect for meal prep or unexpected cravings. Place cooled brownies in a freezer-safe ziplock bag or airtight container, separated by parchment paper if stacking. Store them in the freezer for up to 6 months. When you’re ready to enjoy them, simply thaw them overnight in the refrigerator, or microwave individual squares for a quick warm treat.
Expert Tips for Brownie Success
- Don’t Overmix: After adding the dry ingredients, mix just until combined. Overmixing can lead to a tougher brownie.
- Room Temperature Eggs: This helps the eggs emulsify better with the fat, leading to a smoother, more uniform batter and a better final texture.
- Quality Chocolate: The quality of your chocolate directly impacts the flavor. Invest in good quality milk chocolate for the best results.
- Customization: Feel free to add walnuts, pecans, chocolate chunks, or even a swirl of peanut butter for extra flavor and texture.
- Serving Warm: While they need to cool to set, a quick reheat in the microwave or oven (after fully cooled) can bring back that warm, gooey center, especially when served with a scoop of vanilla ice cream.
Serving Suggestions for an Unforgettable Treat
While these Rich & Fudgy Flourless Milk Chocolate Brownies are magnificent on their own, a few additions can elevate them to an even more luxurious dessert experience.
- Classic à la Mode: Serve warm brownies with a scoop of vanilla bean ice cream. The contrast of warm and cold, fudgy and creamy, is simply divine.
- Whipped Cream & Berries: A dollop of freshly whipped cream and a sprinkle of fresh raspberries or strawberries add a touch of elegance and brightens the rich chocolate.
- Caramel or Chocolate Drizzle: A light drizzle of salted caramel sauce or an extra swirl of melted chocolate can make these brownies even more decadent.
- With Coffee or Milk: Enjoy a square (or two!) with a hot cup of coffee, a glass of cold milk, or your favorite dairy-free alternative for a perfect afternoon pick-me-up or after-dinner treat.
In summary, this Rich & Fudgy Flourless Milk Chocolate Brownie recipe is truly an indulgence like no other. It proves that creating a decadent, deeply satisfying gluten-free chocolate dessert doesn’t have to be complicated. With just a few simple ingredients, a minimal amount of prep time, and your oven, you can create an unforgettable treat that will impress everyone. So, gather your ingredients and get ready for some happy baking!
More Brownie and Flourless Recipes? We’ve Got You Covered!
- OMG! Chocolate Cream Cheese Frosted Brownies
- Flourless Indulgent Chocolate Explosion Cake
- Flourless Banana Oat Chocolate Chip Breakfast Cookies
- Chocolate Chip Cookie Dough Buttercream Brownies
- Flourless Jumbo Peanut Butter Monster Cookies! {Healthy}
- Strawberry Chocolate Chunk Brownies
- Flourless Peanut Butter Chocolate Chip Cookies {GF, No Butter, Naturally Sweetened}
- Flourless Chocolate Chip Breakfast Cookies
Rich Fudgy Flourless Milk Chocolate Brownies {GF}
By Kim Lange
These intense, rich, and fudgy flourless brownies are so milk chocolaty and chewy, they literally melt in your mouth! And they’re gluten-free!
Ingredients
- 12 tablespoons unsalted butter
- 1 ¼ cups granulated sugar
- 2 cups milk chocolate chips (or chopped milk chocolate, Ghirardelli recommended; can also use semi-sweet or dark chocolate but add ¼ cup more sugar)
- 4 large eggs, room temperature
- 2 teaspoons vanilla extract (or coffee extract, Nielsen Massey coffee extract recommended)
- 2 tablespoons unsweetened cocoa powder (Ghirardelli recommended)
- 6 tablespoons cornstarch (Bob’s Red Mill recommended)
- ½ teaspoon salt
Instructions
- Preheat oven to 350°F (175°C).
- Line a 9×13 inch pan with foil or parchment paper, then lightly spray with a non-stick spray and set aside. For a half batch, reduce the recipe by half and bake in a 9×9 inch pan.
- Over low heat or using a microwave, melt the butter, then add the sugar, stirring until blended. Add the milk chocolate chips, stirring until melted and smooth.
- Remove from heat and let cool down a few minutes. Add eggs one at a time, mixing them in thoroughly. Then add the vanilla or coffee extract.
- Using a sifter or sieve, sift the cocoa powder and cornstarch into the saucepan, then add the salt. Using a mixer or whisk, vigorously mix the batter until it looks shiny and smooth.
- Pour the batter into the prepared baking pan and bake for 22-28 minutes for a 9×13 inch pan (or 32-38 minutes for a 9×9 inch pan) until the brownies are set. Gently jiggle the brownies to check for doneness at the top. Do not over-bake, or they will become crumbly and dry.
- Remove from oven and let cool in the pan for 45 minutes before removing and slicing. This cooling time is important for the brownies to set properly.
- Store in a sealed baggie or airtight container at room temperature, or refrigerate for longer freshness.
Notes
- To make a half batch, divide all ingredients by two and bake in a 9×9 inch pan.
- You can substitute milk chocolate chips with semi-sweet or dark chocolate chips. If using darker chocolate, you might prefer to add an extra 1/4 cup of sugar for balanced sweetness.
Recipe adapted from Life Made Simple Bakes
