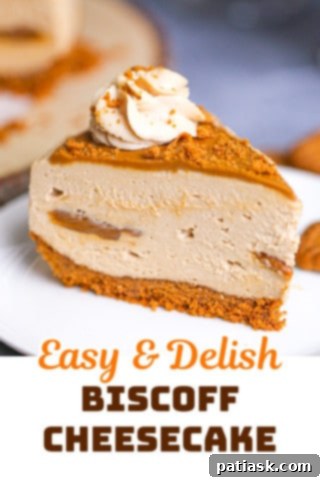
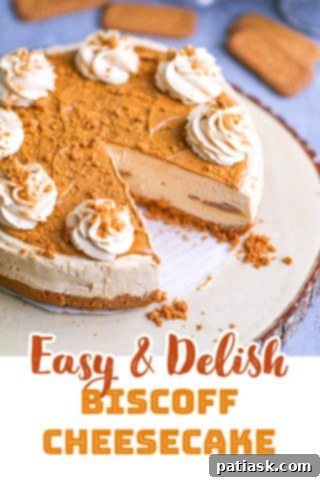
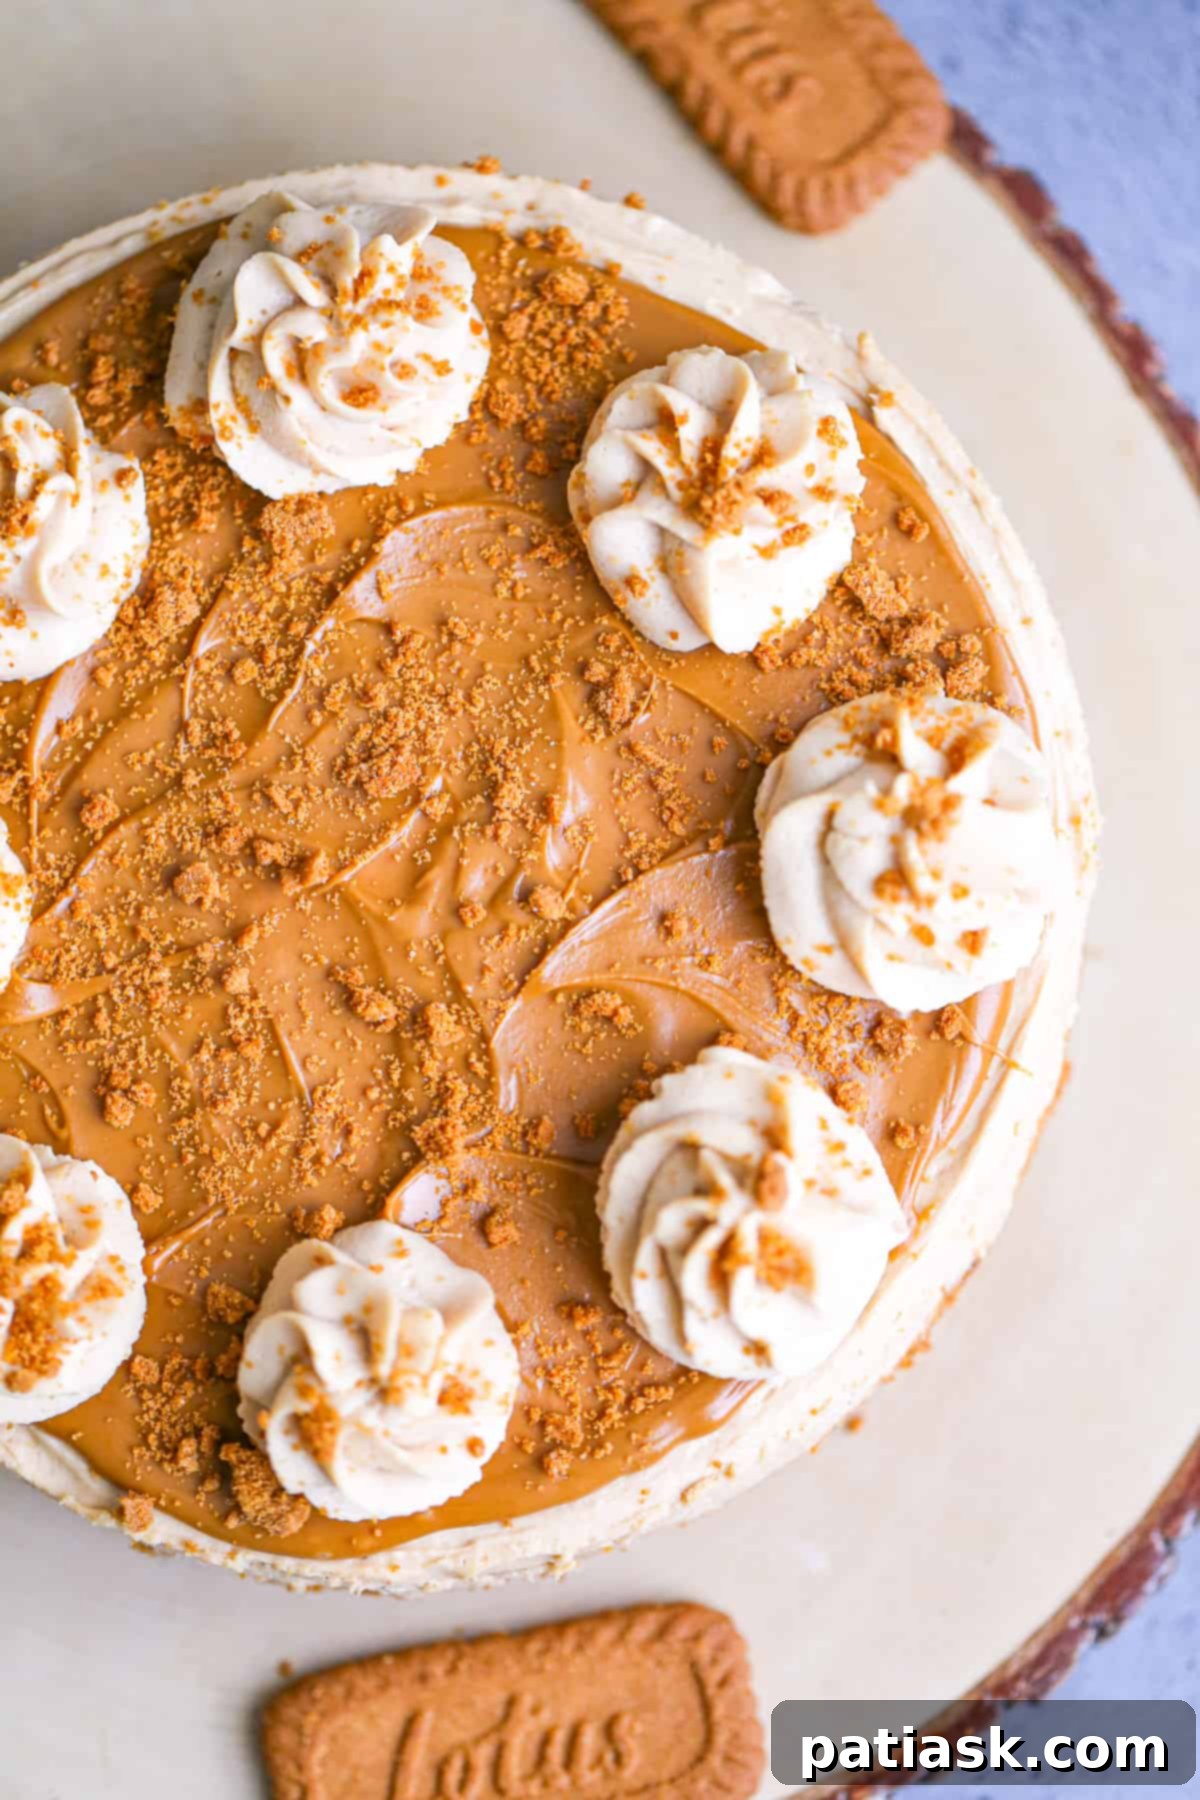
Experience Pure Indulgence with Our Easy No-Bake Biscoff Cheesecake
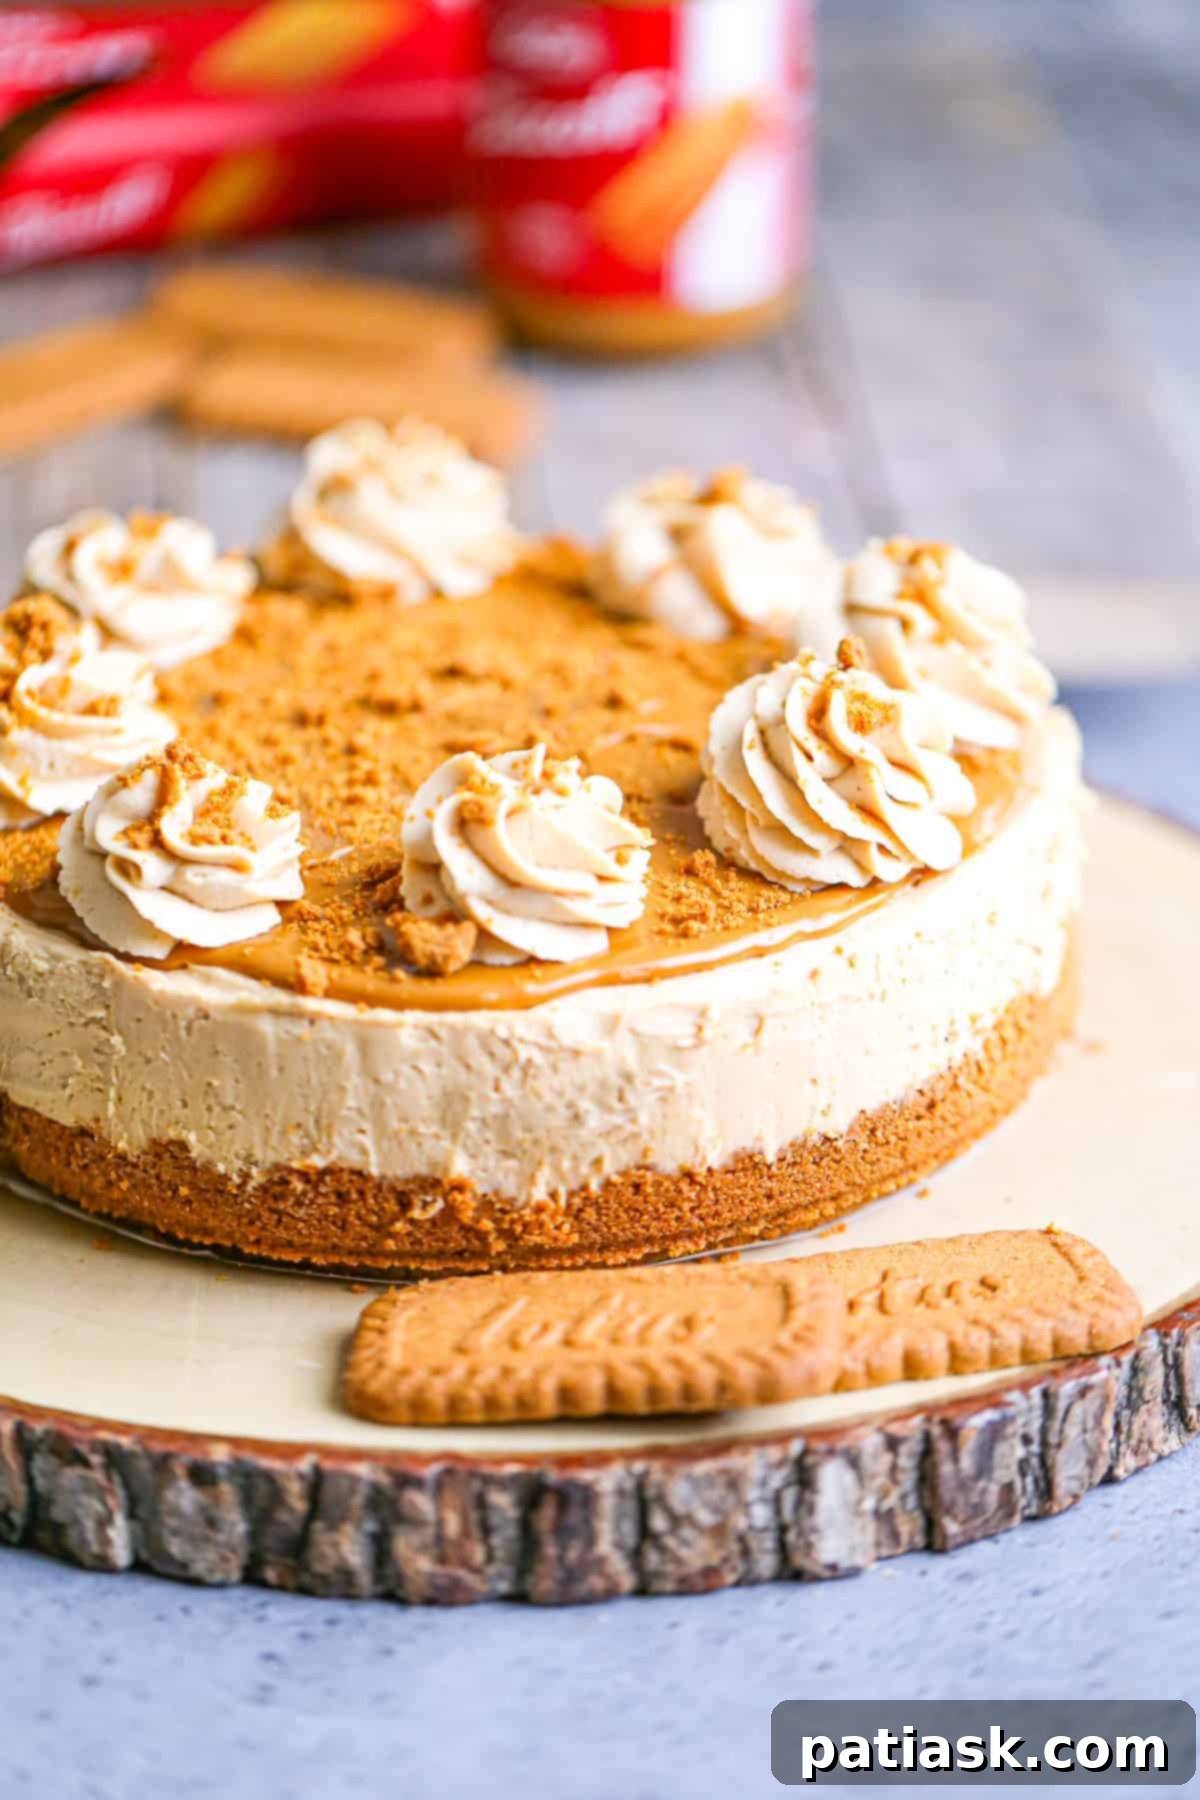
Craving a show-stopping dessert that’s both elegant and incredibly simple to prepare? Your search ends here with this divine no-bake Biscoff cheesecake! This recipe is a dream come true for anyone who loves the unique, caramelized flavor of Biscoff cookies blended into a rich, creamy cheesecake. Best of all, it requires no oven, making it a perfect choice for bakers of all skill levels, especially during warm weather or when you simply want a stress-free dessert.
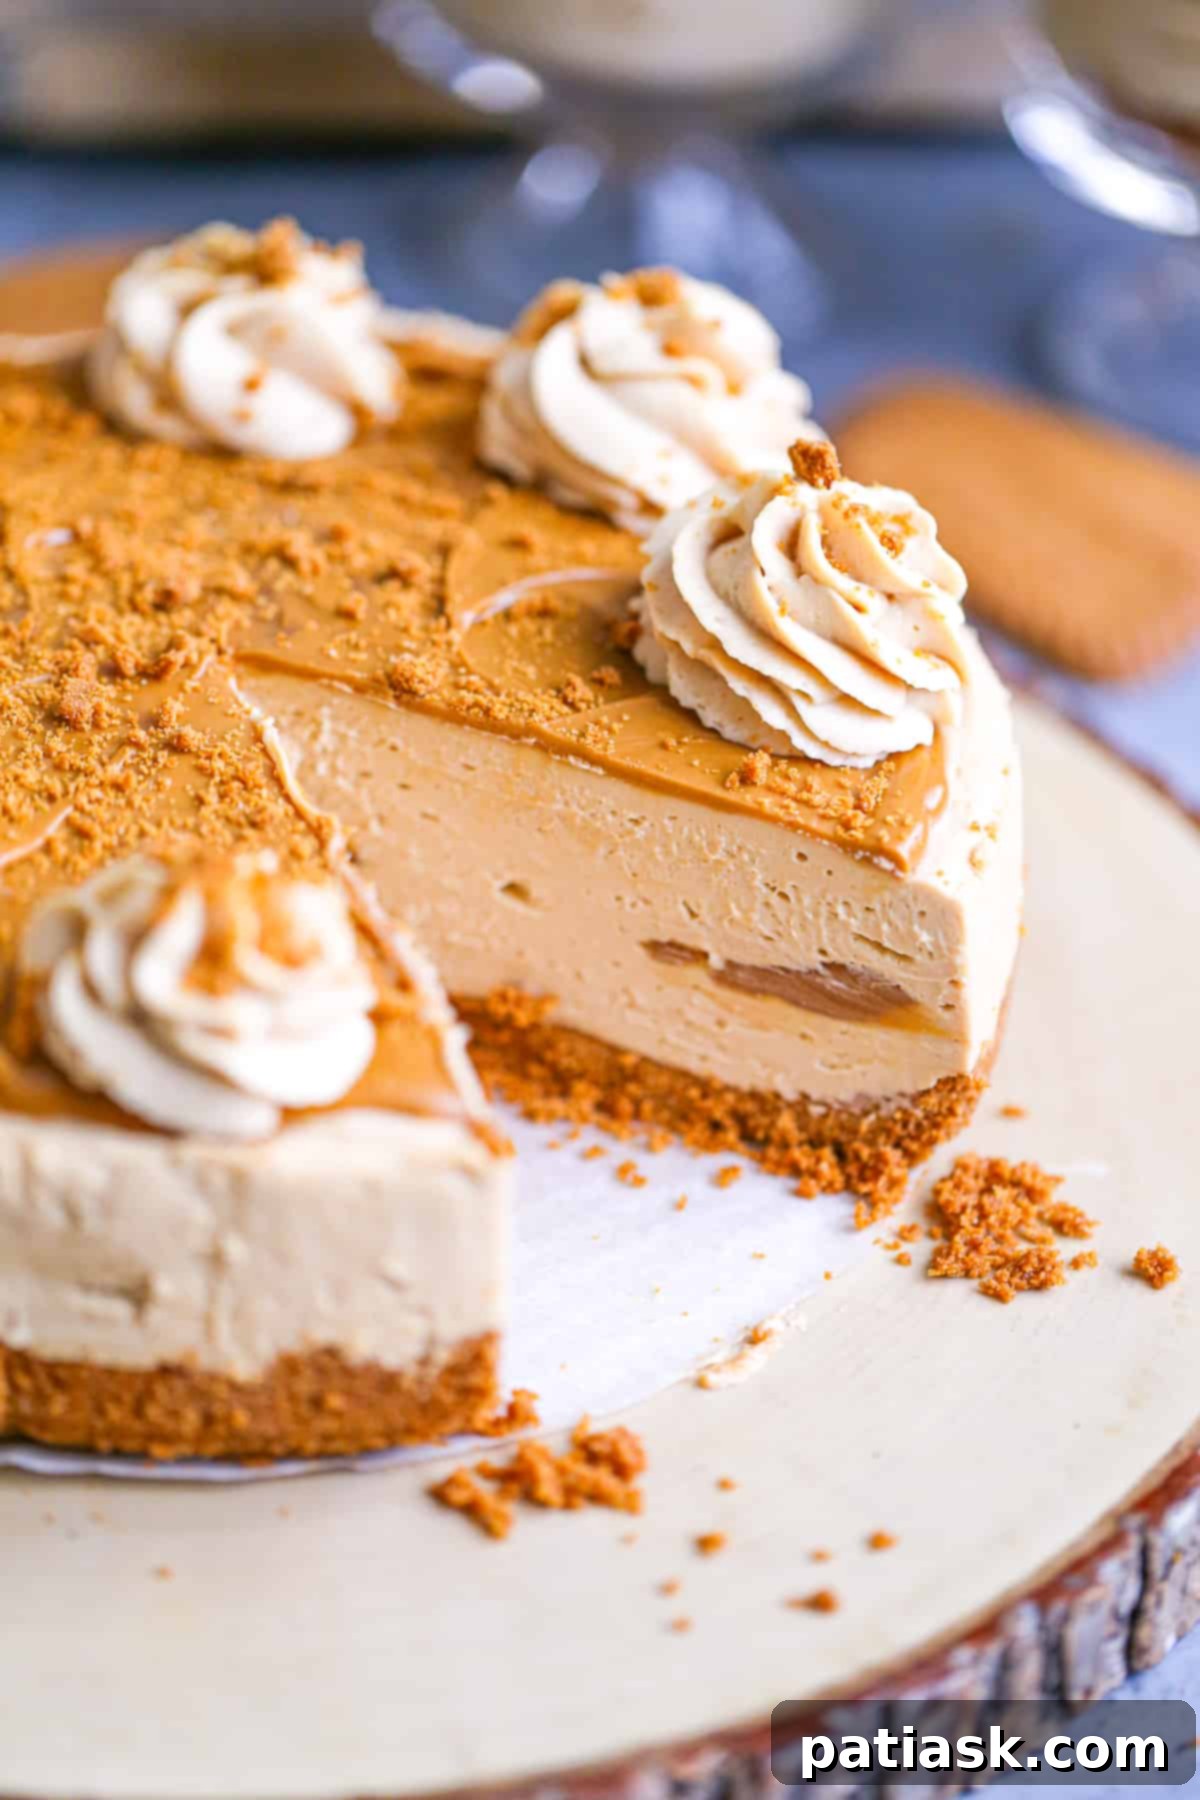
Imagine a velvety smooth, spiced cream cheese filling, infused with the distinctive notes of Biscoff cookie butter, all resting atop a perfectly crumbly Biscoff cookie crust. This indulgent treat comes together with just a few basic ingredients and minimal effort, promising maximum flavor and a delightful experience with every bite. Whether you’re hosting a dinner party, celebrating a special occasion, or simply treating yourself, this no-bake Biscoff cheesecake is guaranteed to become an instant favorite.
If you’re already a fan of Biscoff’s magical flavor, you’ll love exploring our other delicious Biscoff-inspired creations: Biscoff M&M Cookie Butter Cookies, Biscoff White Chocolate Cookie Bars, Biscoff Cherry Cream Cheese Delight, and these incredibly satisfying Cookie Butter Truffles!
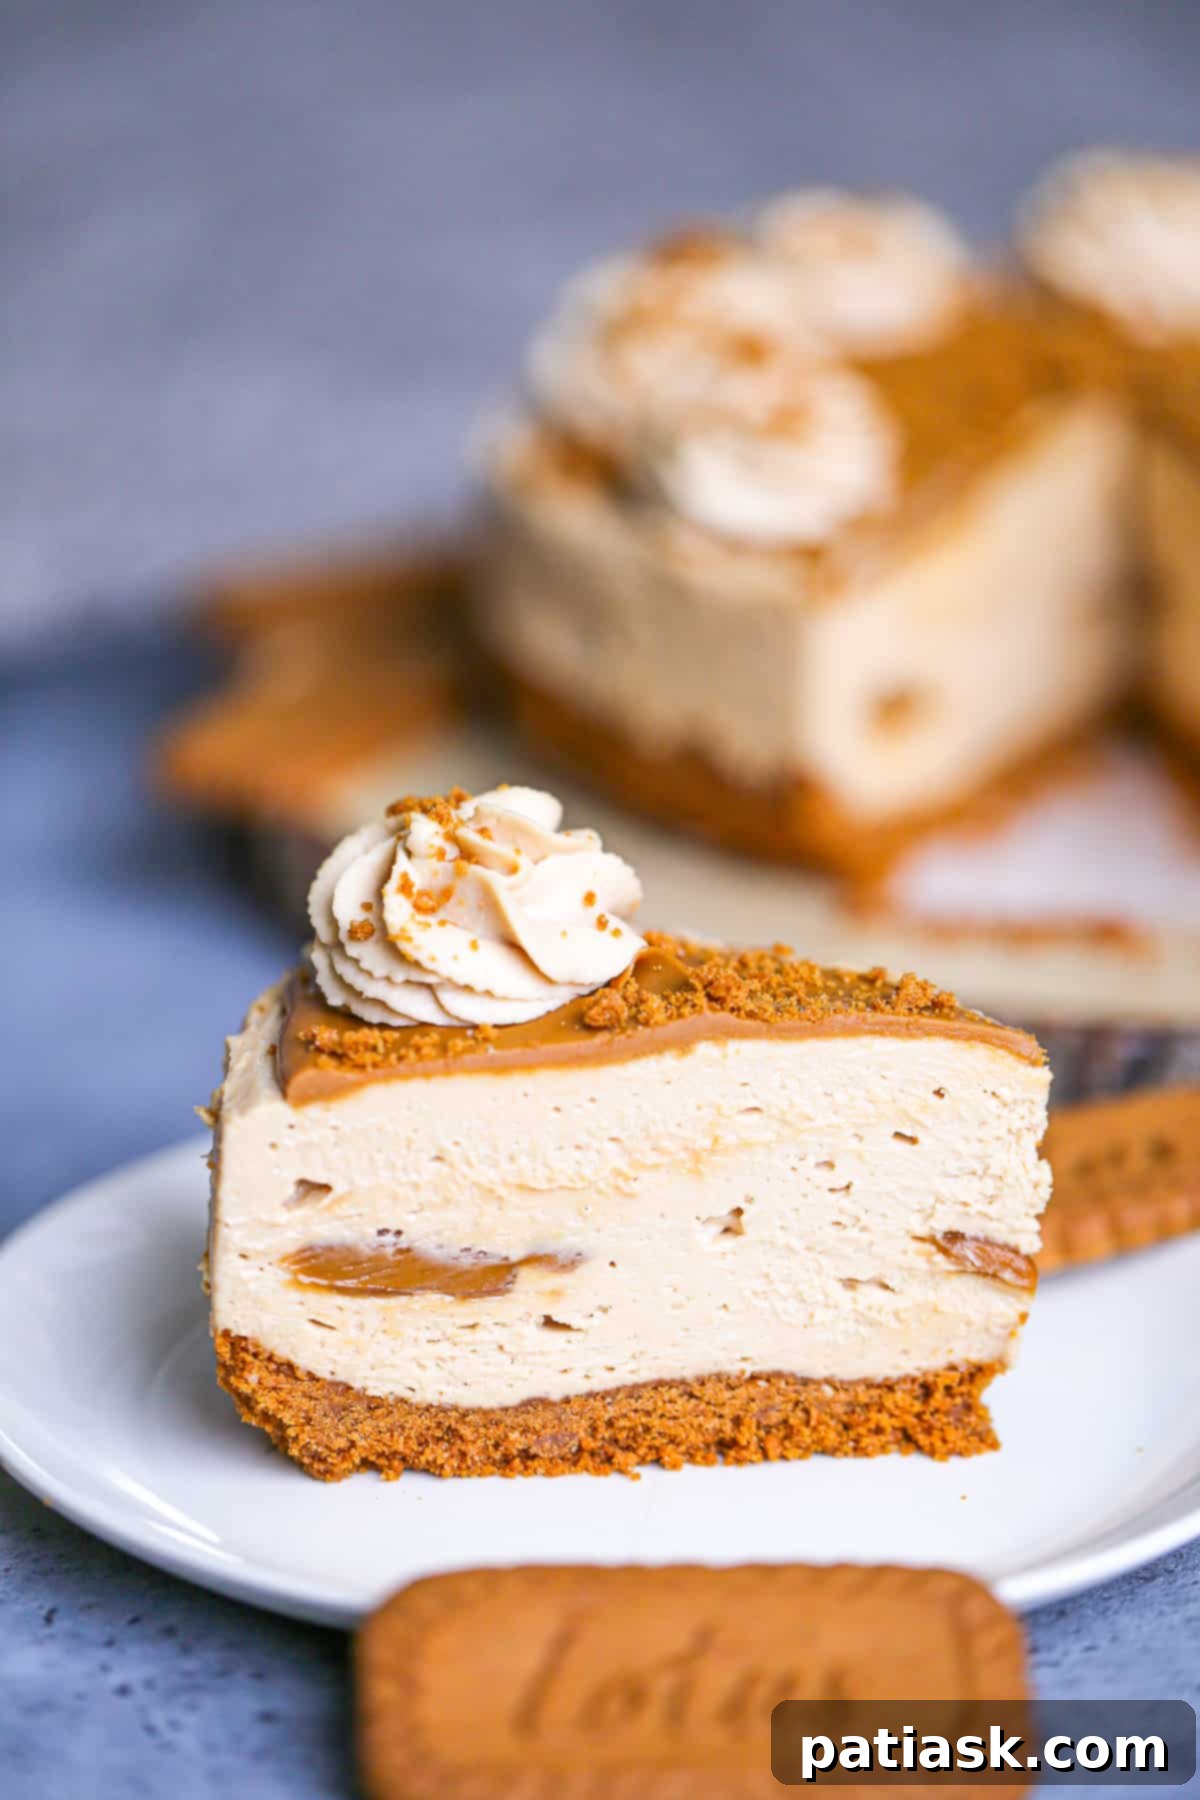
What is Biscoff Spread? Unveiling the Magic of Cookie Butter
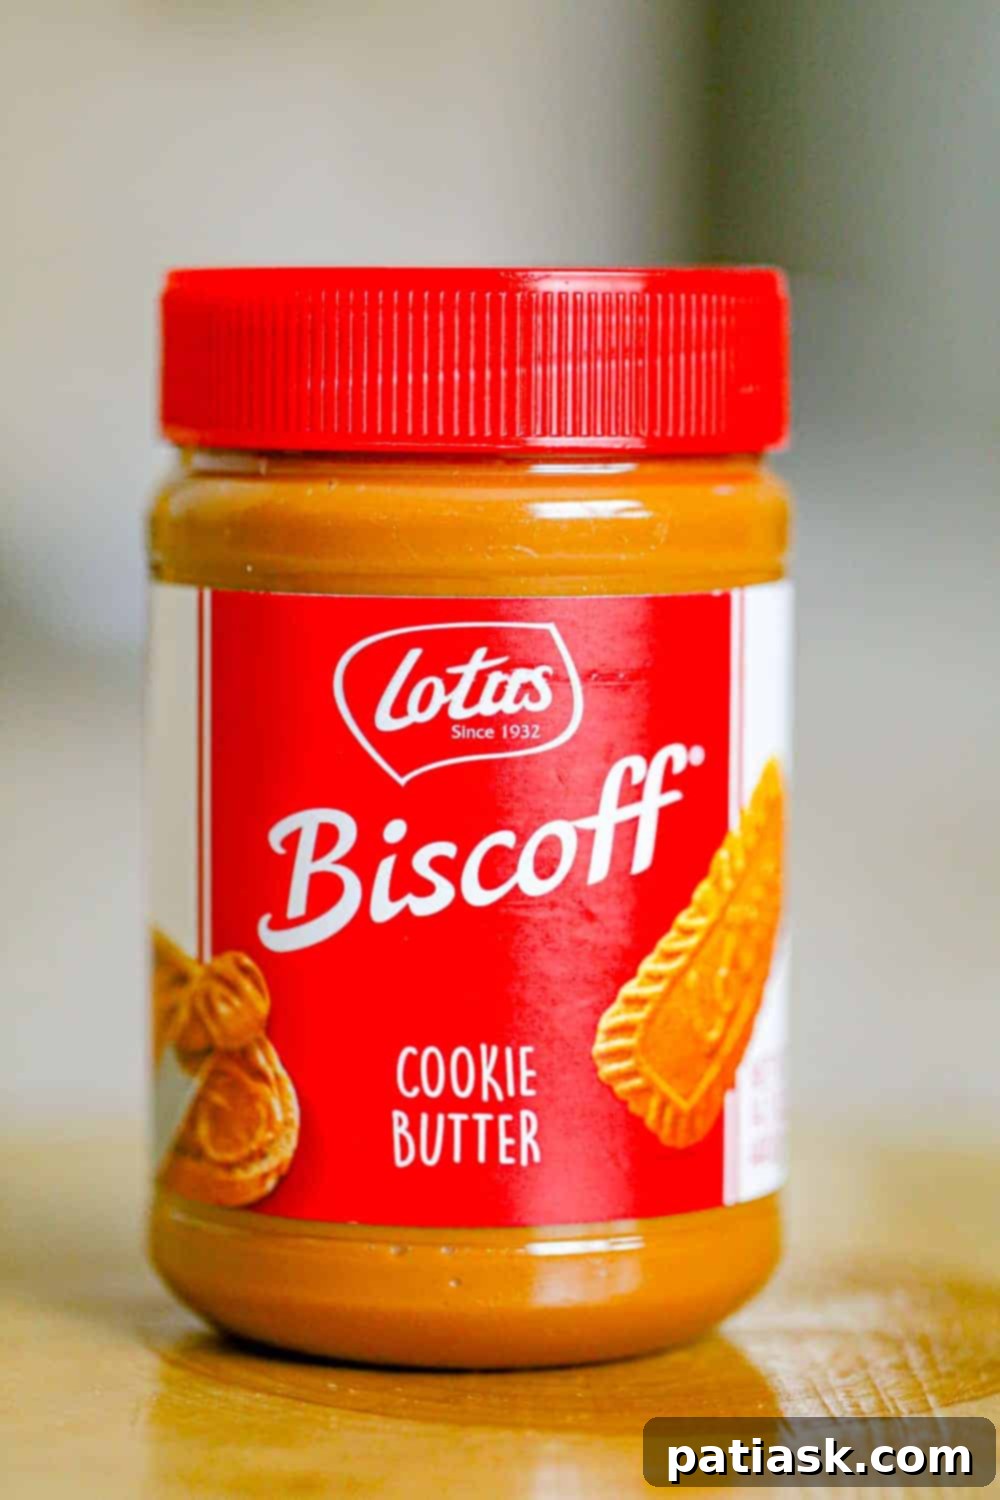
For those unfamiliar with this delightful ingredient, Biscoff spread – often lovingly referred to as cookie butter – is a truly unique and irresistible creamy spread that has captivated taste buds worldwide. Its origin lies in the iconic Lotus Biscoff cookies, which are traditionally served alongside coffee in European cafes. These distinctively spiced, caramelized biscuits are crushed and transformed into a smooth, spreadable butter, preserving all their cherished flavor.
The flavor profile of Biscoff spread is a complex harmony of sweetness, warmth, and subtle spice. You’ll immediately notice delightful notes of cinnamon, ginger, and sometimes a hint of nutmeg, all enveloped in a rich caramel undertone. This combination creates a deeply satisfying and comforting taste that is unlike any other spread on the market. Furthermore, Biscoff spread is proudly vegan and naturally nut-free, making it a wonderful and inclusive option for individuals with various dietary needs and preferences.
Beyond its starring role in this decadent cheesecake, Biscoff spread boasts incredible versatility. It can be enjoyed simply spread on toast, drizzled over waffles, pancakes, or French toast for an elevated breakfast experience. Swirl it into your morning oatmeal, blend it into smoothies, or use it as a dip for fruit. Its unique and beloved taste profile makes it a fantastic culinary ingredient, adding depth and a touch of gourmet sophistication to a wide array of sweet treats and baked goods. It truly is a pantry essential for any dessert aficionado seeking distinct and delicious flavors.
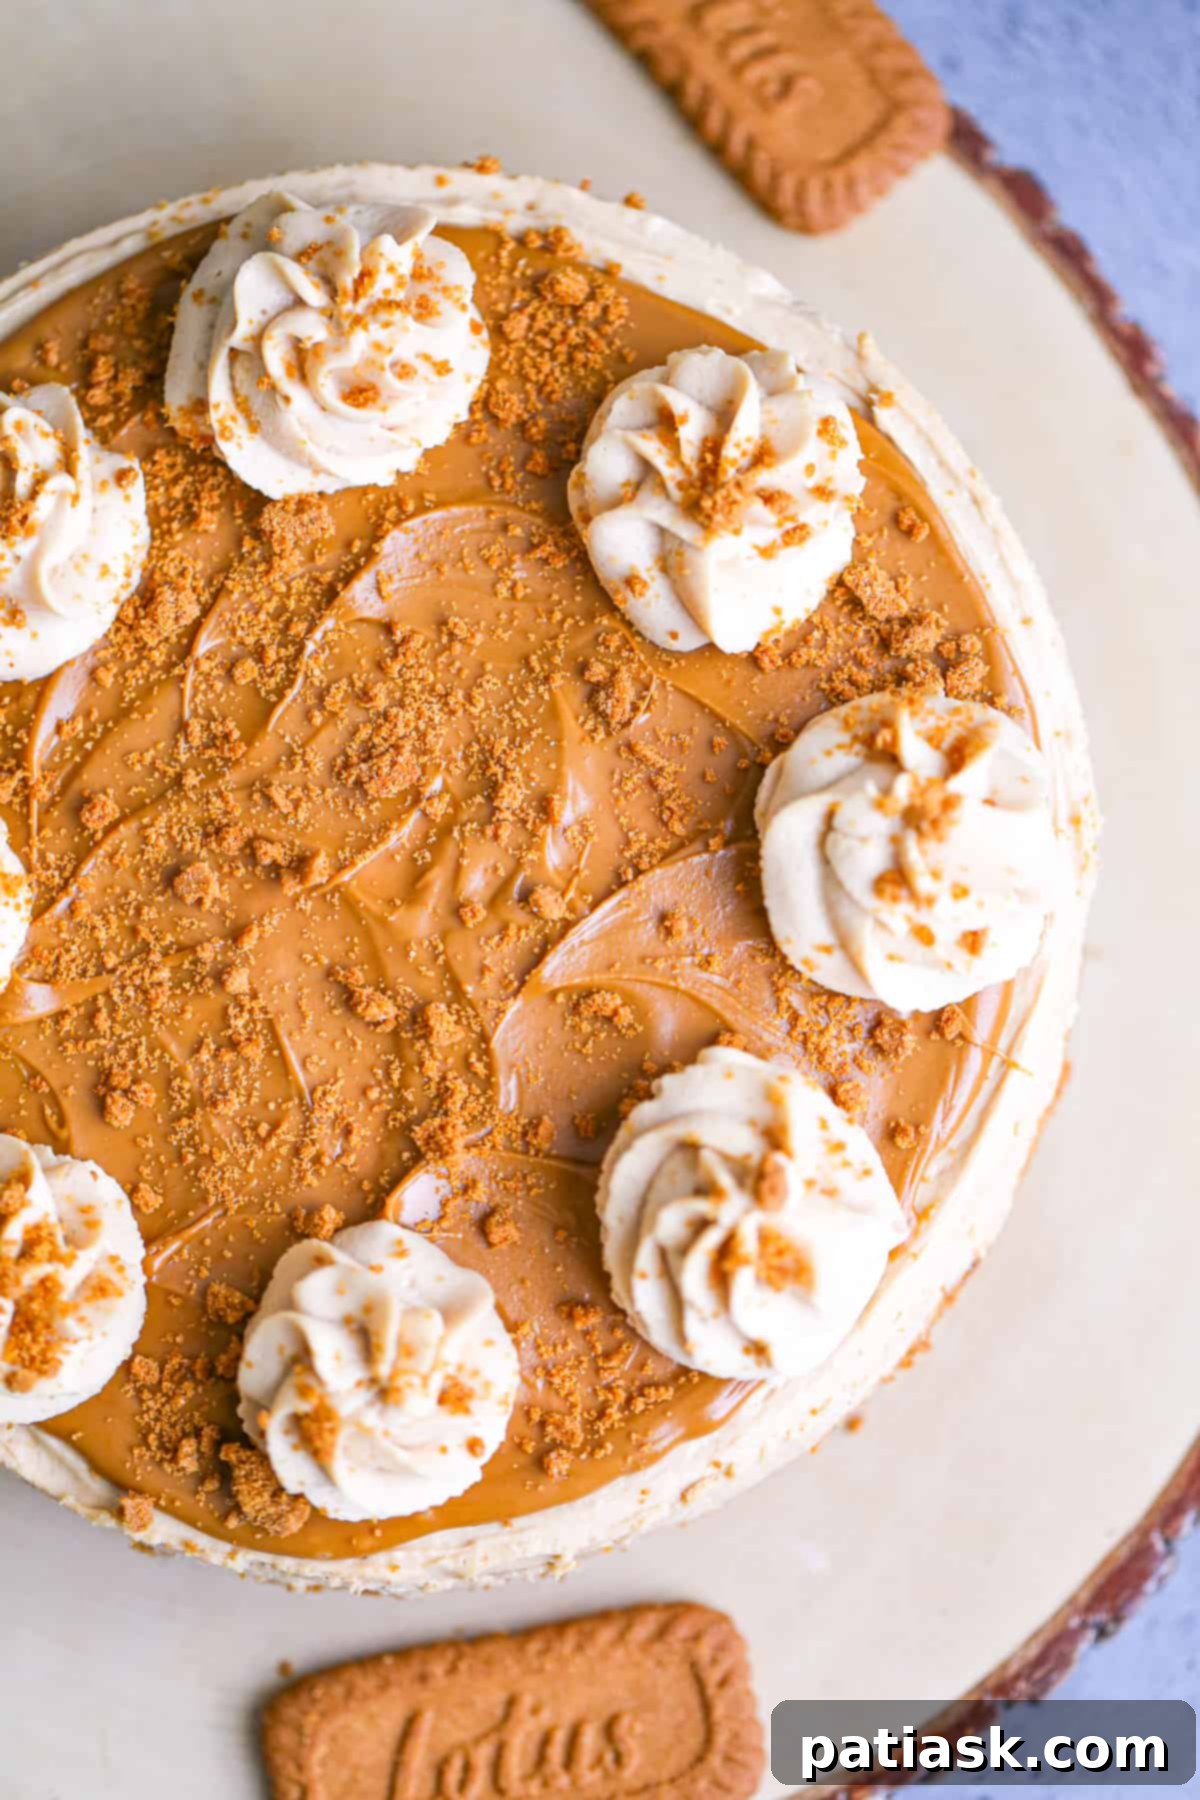
Why You’ll Fall in Love with This Easy No-Bake Biscoff Cheesecake
This no-bake Biscoff cheesecake recipe isn’t just another dessert; it’s a testament to how effortlessly you can create something truly spectacular. If you’re someone who adores the rich, tangy creaminess of cheesecake but is daunted by the prospect of baking, or simply seeks a convenient option, this recipe is designed for you. It captures all the beloved elements of a traditional cheesecake without any of the common baking challenges.
Here’s why this particular recipe will quickly become a cherished staple in your kitchen:
- Effortless Preparation: Say goodbye to cracked tops, water baths, and oven preheating. This recipe streamlines the cheesecake making process, allowing you to achieve professional-looking results with minimal fuss.
- Unforgettable Flavor Pairing: The distinct, caramelized spice of Biscoff spread harmonizes exquisitely with the smooth, tangy sweetness of the cream cheese filling. This creates a balanced and intensely satisfying flavor that is genuinely irresistible and will leave everyone wanting more.
- Luxuriously Creamy Texture: By combining full-fat cream cheese with whipped cream, the filling achieves an unparalleled smooth, light, and airy consistency that melts delightfully in your mouth.
- Perfect for Any Gathering: Its impressive appearance and universally loved flavor make it suitable for a wide range of occasions – from casual family meals and summer barbecues to elegant holiday feasts and birthday celebrations.
- Ideal Make-Ahead Dessert: Requiring significant chilling time, this cheesecake is a fantastic candidate for preparing a day or even two in advance. This frees up precious time on the day of your event, allowing flavors to deepen and the structure to firm up perfectly.
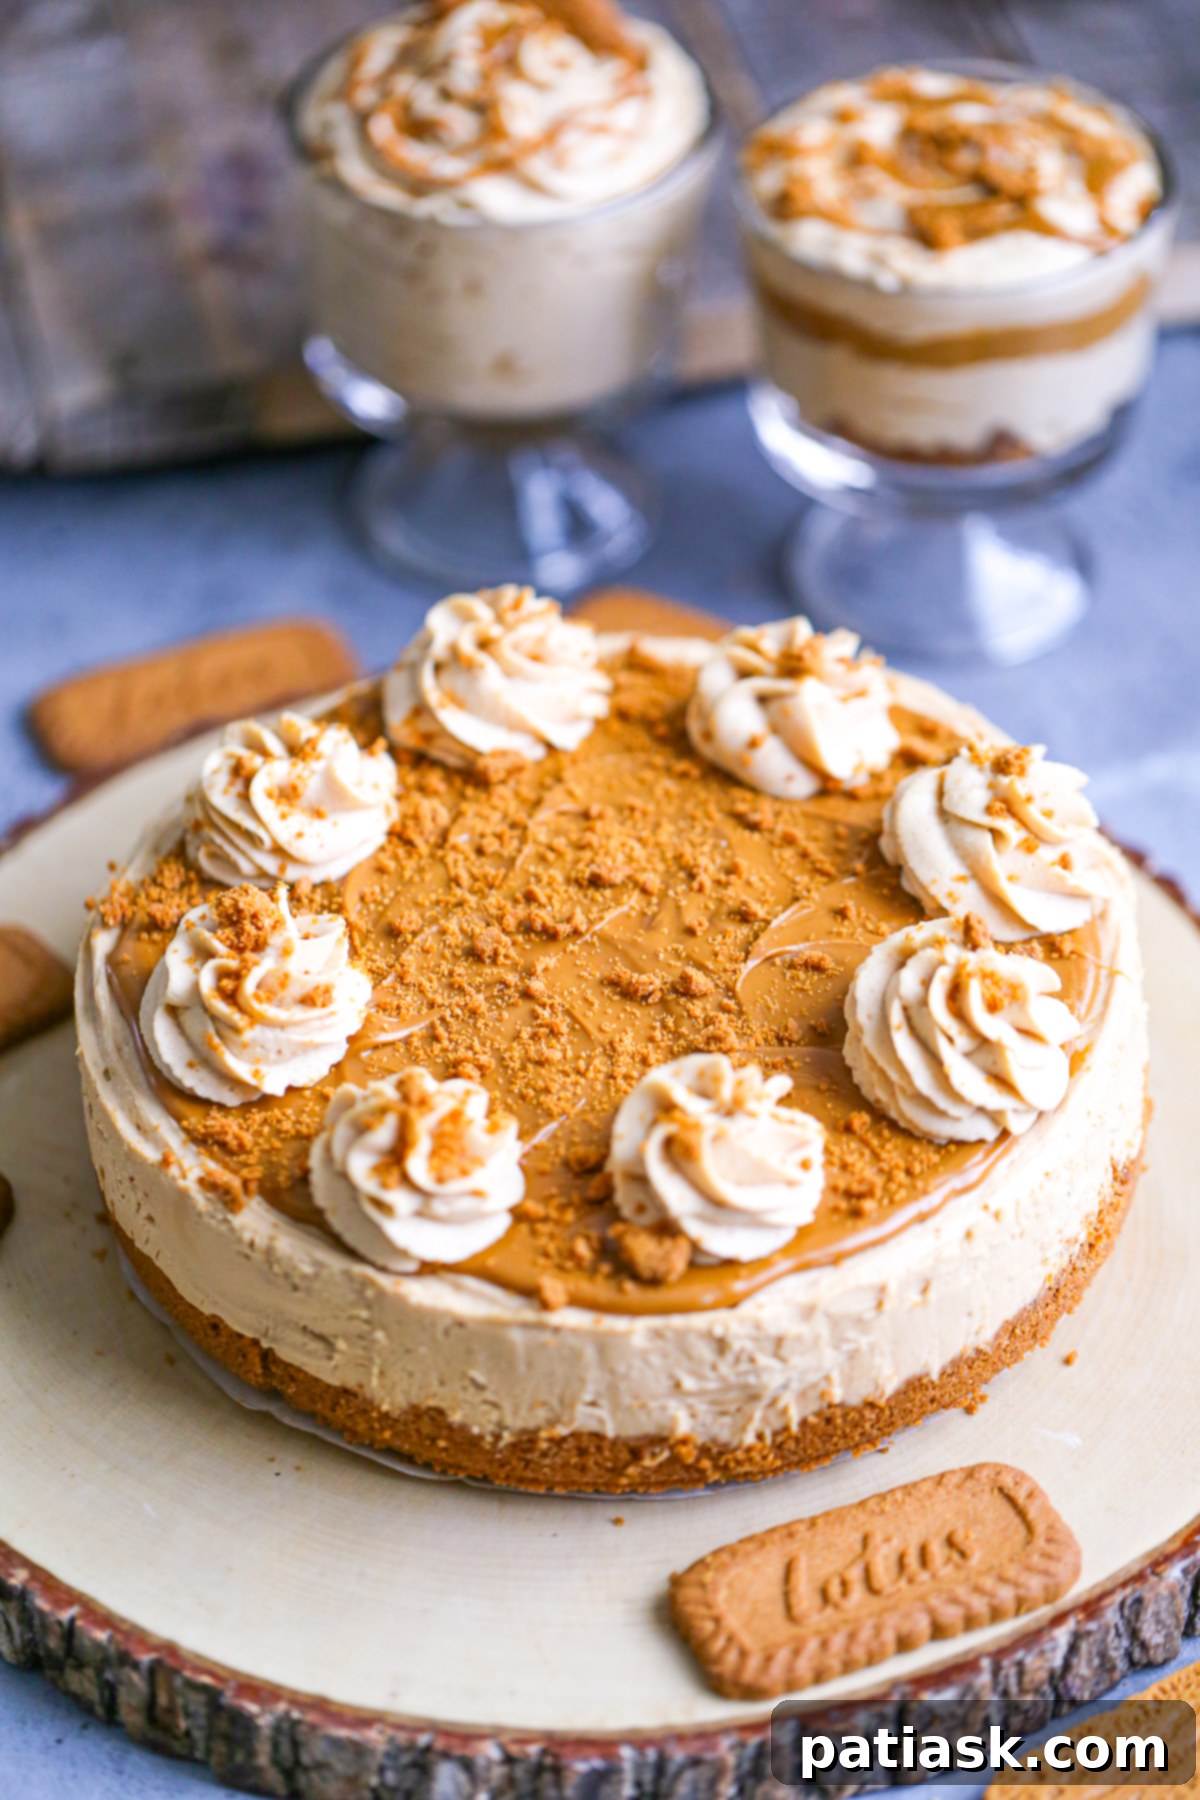
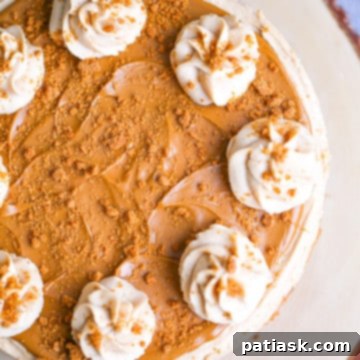
- Visually Stunning Presentation: With its golden Biscoff topping, optional whipped cream swirls, and sprinkle of crushed cookies, this cheesecake is a feast for the eyes as much as it is for the palate. It’s a dessert that truly makes a statement.
Prepare to delight your family and friends, or simply treat yourself to a slice of pure, unadulterated pleasure. This no-bake Biscoff cheesecake promises a truly satisfying and memorable dessert experience. And for those who can’t get enough of creamy delights, be sure to check out our extensive collection of 50+ Yummy Cream Cheese Desserts!
Gather Your Ingredients: What You’ll Need for This Easy Biscoff Cheesecake
Creating this magnificent no-bake Biscoff cheesecake calls for a selection of simple yet essential ingredients. The quality of your components, particularly the cream cheese and Biscoff spread, will significantly influence the final taste and texture of your dessert. Here’s a detailed breakdown of what you’ll need to have on hand:
For the Irresistible Biscoff Cookie Crust:
- Lotus Biscoff Cookies (Speculoos Cookies): These iconic, spiced Belgian cookies are the cornerstone of our crust. When crushed, they form a fragrant, buttery base that perfectly complements the creamy filling. Ensure you have one standard 8.8 oz package.
- Melted Butter: This acts as the binding agent, transforming the cookie crumbs into a cohesive, firm crust that holds its shape beautifully once chilled. Use unsalted butter for better control over the sweetness.
For the Dreamy Biscoff Cheesecake Filling:
- Full-Fat Cream Cheese: It is crucial that your cream cheese is softened to room temperature. This ensures a lump-free, incredibly smooth, and velvety filling. Full-fat varieties provide the optimal richness and structural integrity required for a stable no-bake cheesecake. You’ll need three 8-ounce packages.
- Confectioners’ Sugar (Powdered Sugar): This fine sugar sweetens the cheesecake and contributes to its ultra-smooth texture, dissolving effortlessly without any grainy residue.
- Lotus Biscoff Spread: The star ingredient that imparts the cheesecake with its signature spiced, caramel notes. You’ll need one 14.1 oz jar.
- Whipped Cream (or Cool Whip): This component is key for creating a light and airy texture, balancing the density of the cream cheese. You can opt for store-bought Cool Whip for ultimate convenience or whip 1 cup of heavy cream until stiff peaks form for a fresh, homemade touch.
- Optional: Extra Biscoff Spread (for the center layer): For an intensified burst of Biscoff flavor and a delightful textural contrast within the cheesecake, consider adding an additional layer of Biscoff spread. You can use anywhere from ⅓ to ½ cup, adjusting to your personal preference for Biscoff intensity.
For the Decadent Biscoff Frosting & Toppings:
- Melted Biscoff Spread: A generous drizzle of melted Biscoff spread creates a glossy, flavorful topping that beautifully sets and enhances the visual appeal of your cheesecake. About ½ cup will be perfect.
- Crushed Biscoff Cookies: A sprinkle of additional crushed Biscoff cookies provides a lovely textural crunch and reinforces the iconic flavor profile, adding a professional finish. You’ll need about ¼ cup.
- Optional: Biscoff Whipped Cream Swirls: To elevate the presentation, prepare a Biscoff-infused whipped cream. This can be made by mixing 1 ½ cups of Cool Whip with ⅓ to ½ cup of Biscoff spread, or by whipping 1 cup of heavy cream and then folding in the Biscoff. This garnish adds a beautiful creamy border and extra flavor.
Step-By-Step Instructions: Crafting Your Easy No-Bake Biscoff Cheesecake
Follow these straightforward steps to create a truly spectacular Biscoff cheesecake that’s sure to impress, all without turning on your oven:
Part 1: The Flavorful Biscoff Cookie Crust
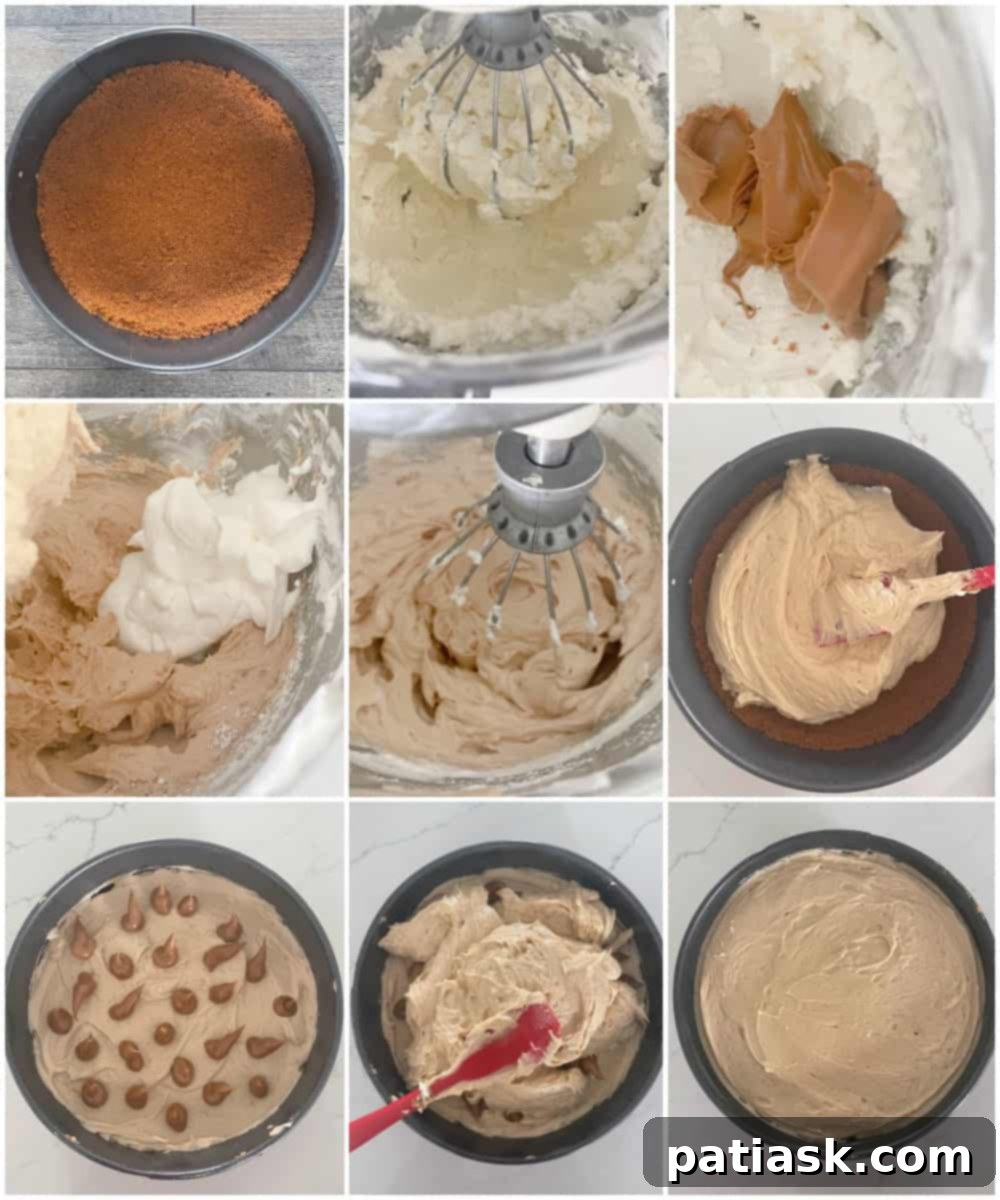
- Prepare Your Pan: Begin by lining the bottom of an 8-inch springform cake pan with parchment paper. This simple step is vital for easy removal of the cheesecake once it’s set, ensuring a clean and perfect presentation. Secure the sides of the pan and set it aside.
- Create the Cookie Crumbs: In a medium-sized mixing bowl, thoroughly combine the finely crushed Lotus Biscoff biscuits with the melted butter. Stir until the cookie crumbs are uniformly moistened and possess the consistency of wet sand.
- Pro Tip for Crushing Cookies: For the finest, most consistent crumbs, use a food processor to pulse the Biscoff cookies. If you don’t have one, place the cookies in a robust freezer bag, seal it, and crush them evenly using a rolling pin or the bottom of a heavy glass.
- Form the Crust: Transfer the Biscoff cookie mixture into the prepared springform pan. Press the mixture down very firmly and evenly across the bottom of the pan. A flat-bottomed glass or the back of a spoon works perfectly for this task, ensuring a compact and level crust. Once pressed, place the pan in the refrigerator to chill while you proceed with the filling. This crucial step helps the crust set firmly, preventing it from crumbling when sliced.
Part 2: The Velvety Biscoff Cheesecake Filling
- Cream the Cheese and Sugar: In a large mixing bowl, using either a powerful hand mixer or a stand mixer fitted with a paddle attachment, beat the softened full-fat cream cheese with the confectioners’ sugar. Beat on medium speed for several minutes until the mixture is exceptionally smooth, light, fluffy, and completely free of any lumps. Scrape down the sides of the bowl periodically to ensure all ingredients are incorporated.
- Incorporate the Biscoff Spread: Add the entire jar of Biscoff cookie butter to the cream cheese mixture. Continue beating until the Biscoff spread is thoroughly integrated, and the filling achieves a uniform, pale caramel hue. Ensure there are no streaks of unmixed Biscoff.
- Gently Fold in Whipped Cream: Carefully and gently fold in the whipped cream (or Cool Whip) until it is just combined. Be mindful not to overmix at this stage, as excessive mixing can deflate the air from the whipped cream, which would result in a denser, less airy cheesecake filling. Aim for a light, smooth, and homogenous mixture.
Part 3: Assembling and Chilling Your Biscoff Masterpiece
- Layer the Filling (Optional Mid-Layer):
- If adding an optional Biscoff spread layer in the middle: Carefully transfer approximately half of the prepared cheesecake filling onto the chilled cookie crust. Gently add small dollops of the optional extra Biscoff spread over this layer – feel free to add more or less depending on your desired Biscoff intensity. Then, carefully spread the remaining cheesecake filling over the Biscoff dollops, ensuring an even top layer.
- If not adding a middle Biscoff layer: Simply transfer the entire creamy Biscoff cheesecake filling directly onto the chilled crust in the pan.
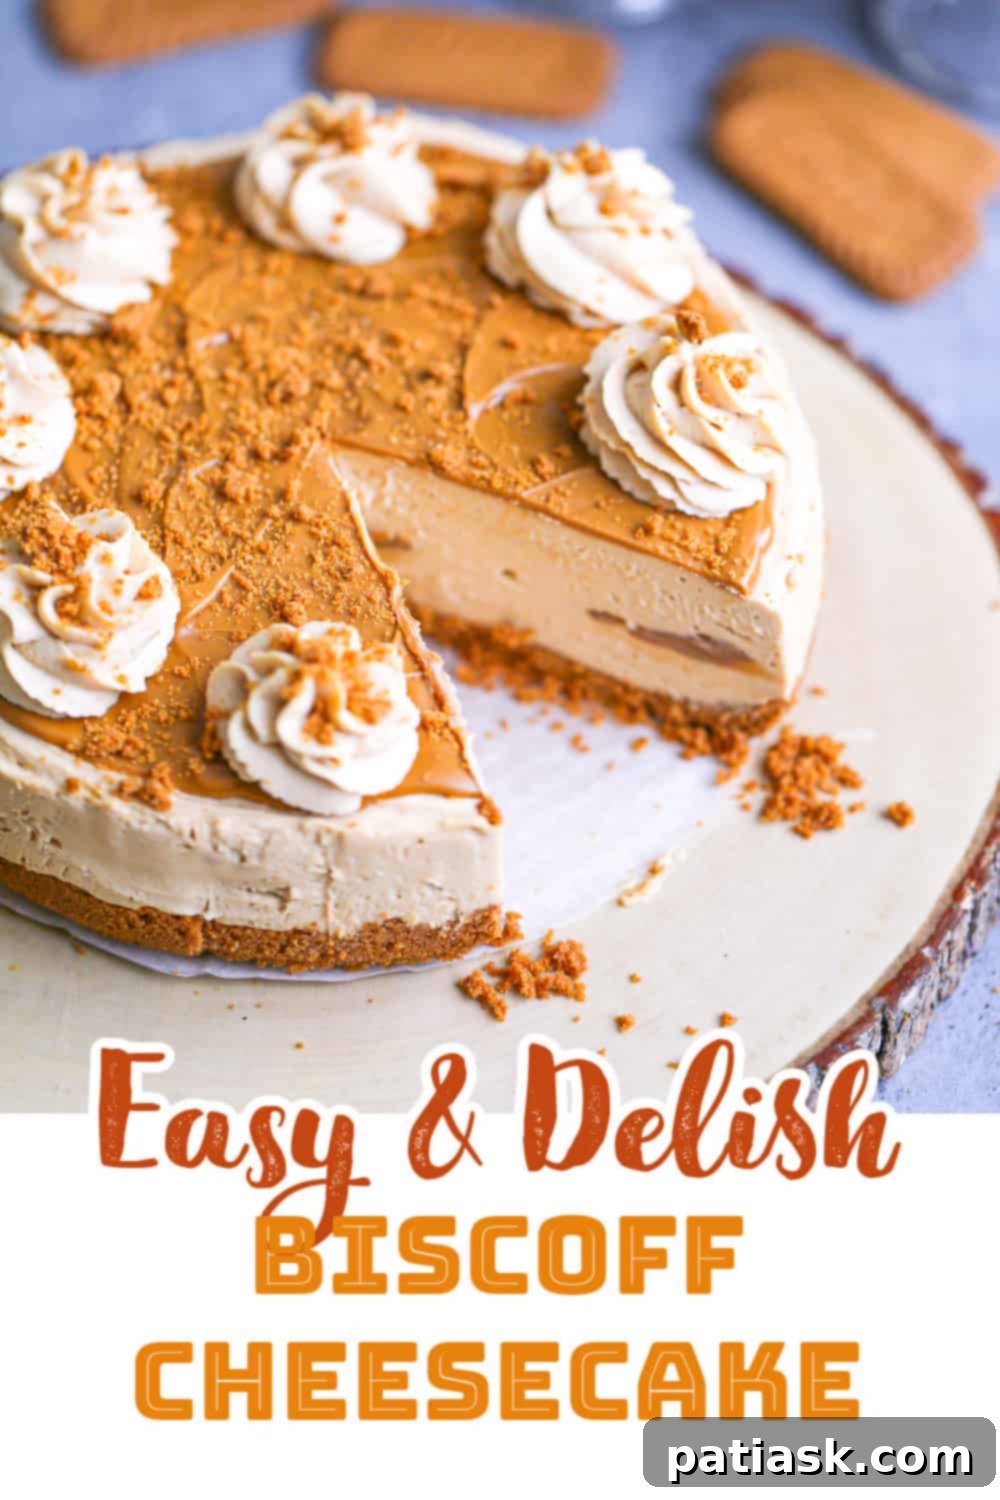
- Chill to Perfection: Using an offset spatula, smooth the top surface of the cheesecake for an even finish. Loosely cover the springform pan with plastic wrap to prevent any odors from the refrigerator from affecting your dessert. Refrigerate the cheesecake for a minimum of 4 hours, or for optimal results and firmness, chill it overnight. Sufficient chilling time is absolutely essential for the cheesecake to firm up and set completely, ensuring clean, perfect slices.
The Grand Finale: Frosting, Drizzles & Toppings for Your Cheesecake
Once your no-bake Biscoff cheesecake has achieved its perfect firm consistency, it’s time to add the glorious finishing touches that will elevate it from delicious to truly spectacular:
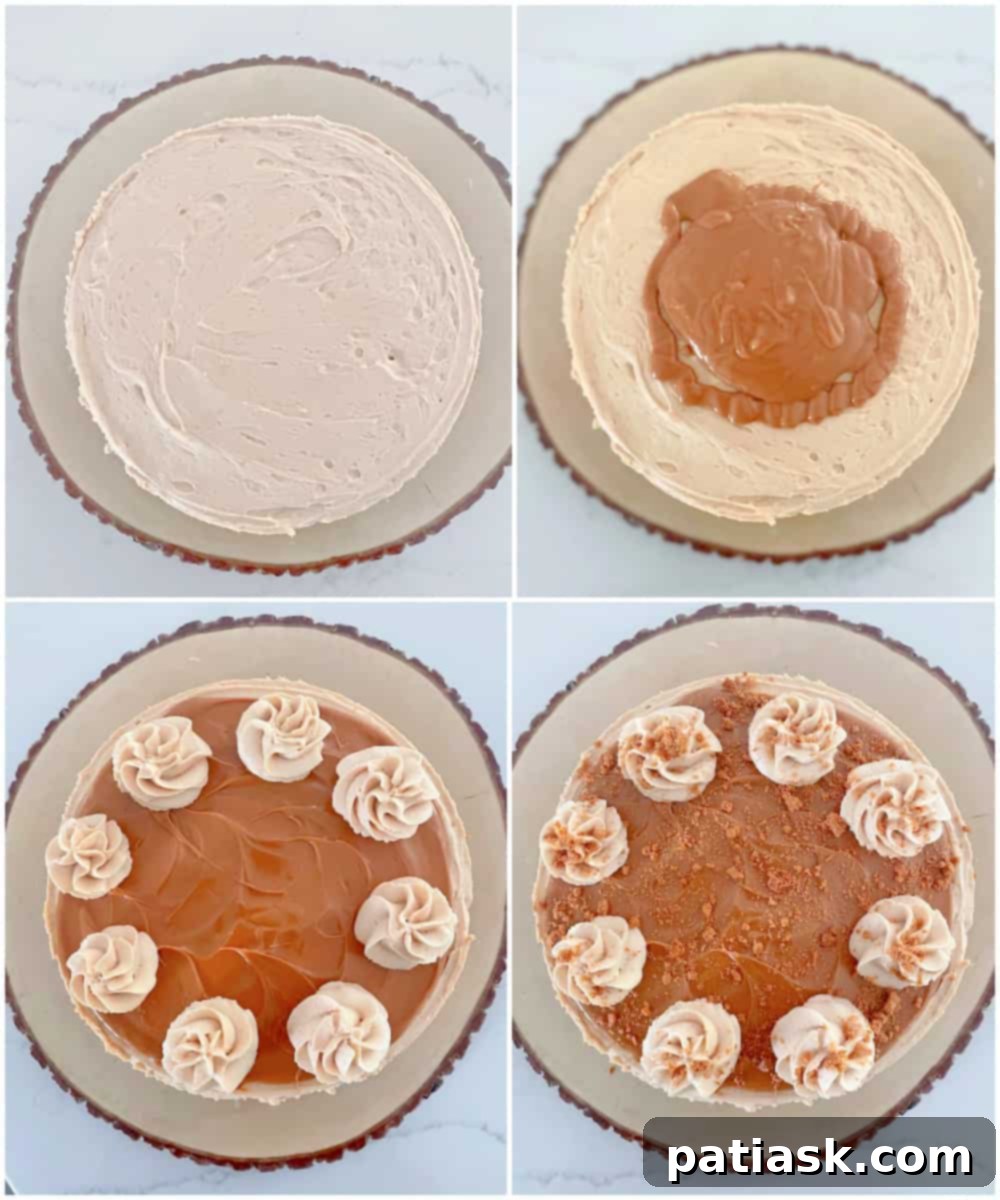
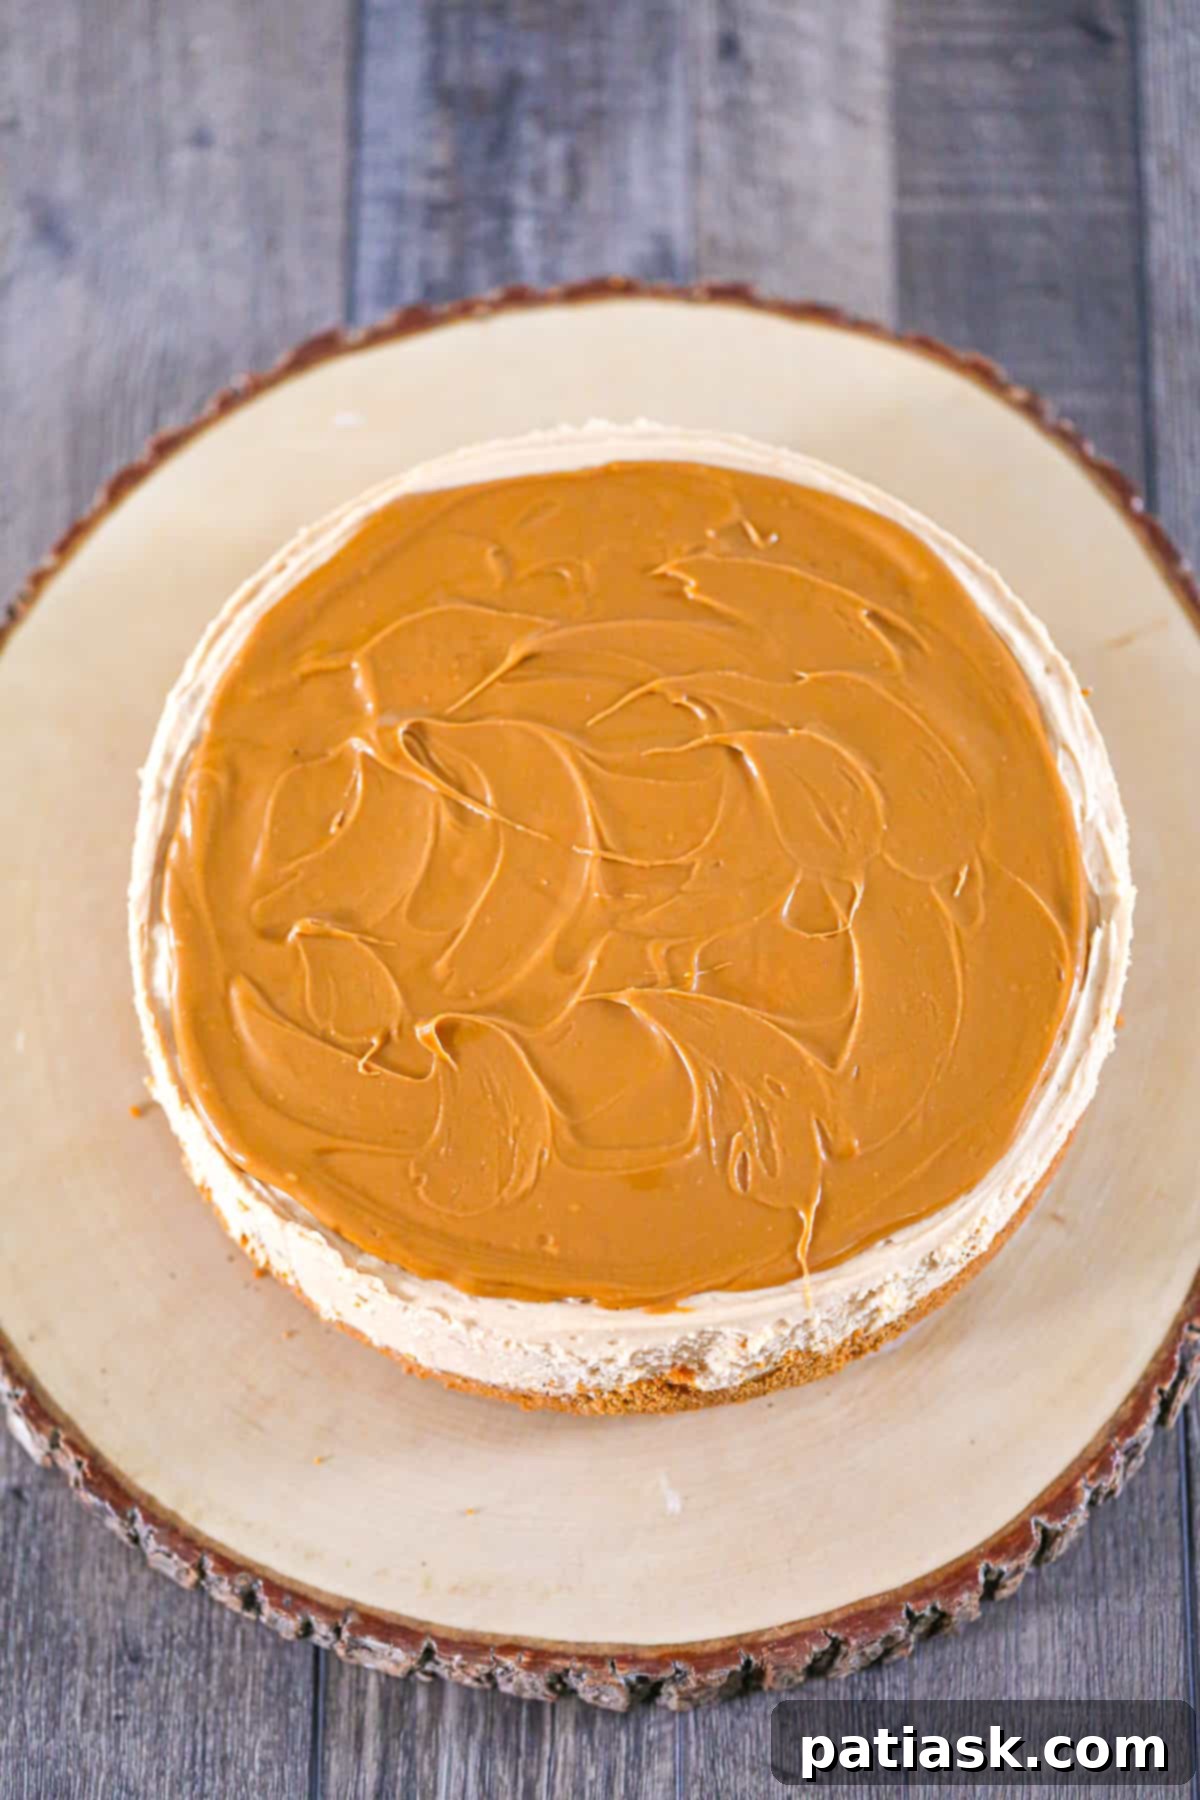
- Melt and Drizzle the Biscoff Topping: When your cheesecake is perfectly set and chilled, retrieve the reserved Biscoff spread designated for the topping. To achieve a smooth, pourable consistency, place the spread in a microwave-safe bowl and heat it in the microwave for approximately 15-20 seconds. Stir well until it’s completely liquid and drippy. Carefully pour this melted Biscoff evenly over the entire top surface of the chilled cheesecake. Use an offset spatula or the back of a spoon to gently spread it out, ensuring a uniform and glossy layer.
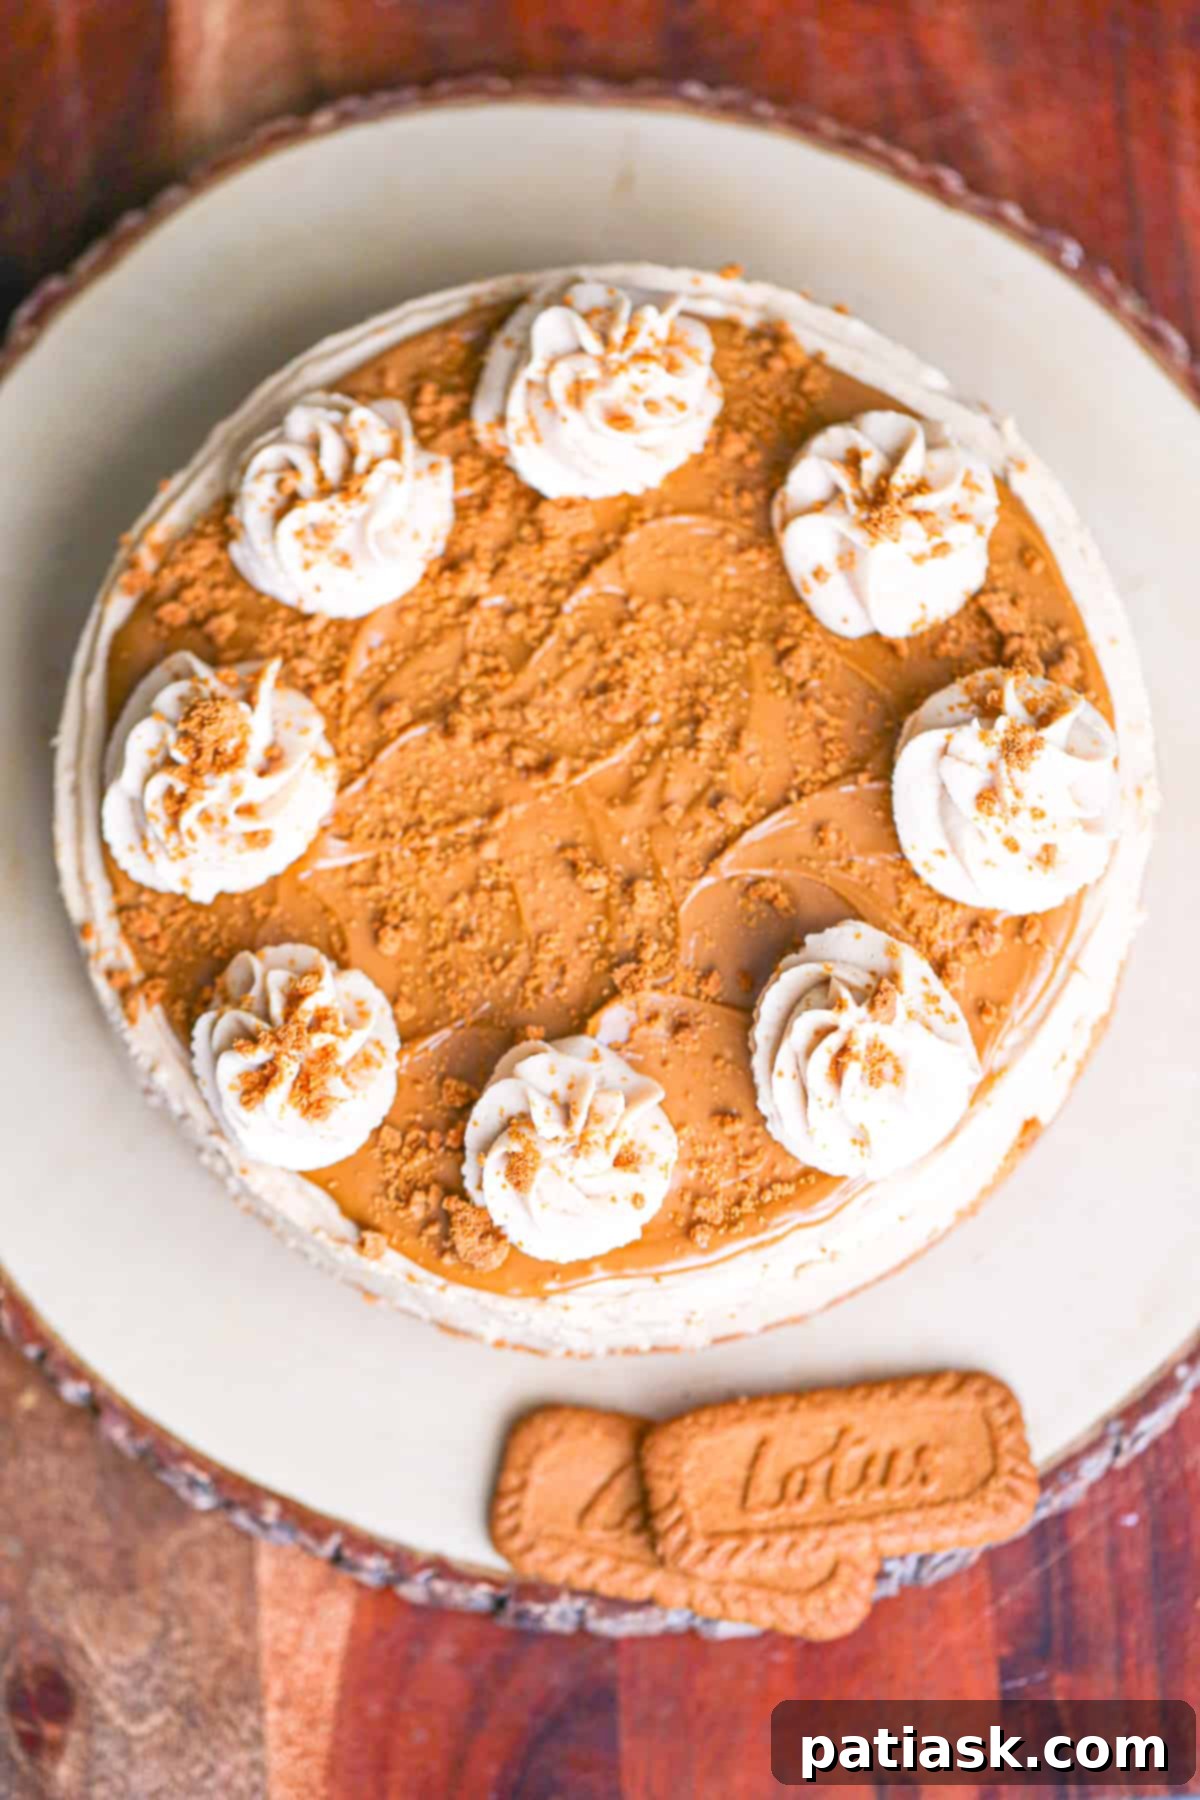
- Optional: Elegant Biscoff Whipped Cream Swirls: For an extra touch of sophistication and delightful creaminess, consider piping Biscoff-infused whipped cream around the border of your cheesecake. To prepare, combine 1 ½ cups of Cool Whip (or 1 cup of freshly whipped heavy cream) with ⅓ to ½ cup of Biscoff spread, mixing until just blended. Transfer this mixture into a pastry bag fitted with a large star tip. Pipe beautiful, decorative swirls along the edge of your cheesecake, creating an elegant frame for your dessert.
- Garnish with Crushed Cookies: Finish the decoration by sprinkling a generous amount of extra crushed Biscoff cookies over the Biscoff topping, or between your piped whipped cream swirls. This not only adds a wonderful textural contrast – a delightful crunch against the creamy filling – but also reinforces the unmistakable Biscoff flavor and enhances the visual appeal.
- Final Chill or Serve: Your masterpiece is almost complete! Place the fully garnished cheesecake back into the refrigerator until you are ready to serve. While it can be served immediately, a little extra chilling time will further solidify the topping and keep everything perfectly intact.
Expert Tips for Your Best No-Bake Lotus Biscoff Cheesecake Ever
Achieving cheesecake perfection is easier than you think with these invaluable tips and tricks:
- Room Temperature Cream Cheese is Non-Negotiable: This is arguably the most critical tip for any no-bake cheesecake. Ensure your full-fat cream cheese is truly at room temperature – soft to the touch – before you begin mixing. Cold cream cheese will inevitably lead to a lumpy filling that will be impossible to smooth out completely, affecting both texture and appearance. Plan ahead and take it out of the fridge at least 1-2 hours prior to preparation.
- Perfectly Melted Biscoff Spread: When melting Biscoff spread for the topping, use short intervals in the microwave. Typically, 15-20 seconds is sufficient to make it drippy and pourable. Stir it thoroughly after heating. Be cautious not to overheat, as Biscoff spread can burn quickly.
- Achieving the Drip Cake Effect: For those Instagram-worthy Biscoff drips cascading artistically down the sides of your cheesecake, gently encourage some of the melted Biscoff spread over the edges with your offset spatula while it’s still warm and fluid. For a more pronounced drip effect, consider melting an extra ¼ cup of Biscoff spread to ensure you have plenty to work with.
- Elegant Biscoff Swirl Alternative: If a full layer of Biscoff topping isn’t your preference, you can create a beautiful marble or swirl effect. Simply drizzle melted Biscoff spread directly onto the top of your set cheesecake, then use a toothpick or a skewer to gently swirl it into decorative patterns.
- Smart Cookie Conservation for Crust and Topping: If you only have a single package of Biscoff cookies, don’t fret! You can still create a delicious crust and have enough for a charming topping. Use approximately ¾ of the package (about 20 cookies) for the crust, reserving the remaining 3-4 cookies to crush for your garnish. When reducing the cookie amount for the crust, you might need to decrease the melted butter by about ½ tablespoon to maintain the optimal crumb consistency.
- The Ultimate Make-Ahead Dessert: This cheesecake is an entertainer’s dream because it absolutely thrives on being made in advance. Preparing it a day (or even two) before your event allows ample time for all the flavors to meld beautifully and for the cheesecake to set to its perfect, firm consistency. This means flawless slices and less stress on the day of your gathering.
- Mini Biscoff Cheesecakes: For adorable individual servings, transform this recipe into mini cheesecakes. Simply press the crust mixture into the bottom of muffin liners placed in a muffin tin, then top with the filling. Adjust the chilling time accordingly – they’ll set faster. This recipe typically yields about 24 delightful mini cheesecakes.
- Avoid Overmixing the Filling: Once the Biscoff spread and particularly the whipped cream are added, mix only until the ingredients are just combined and homogenous. Overmixing can deflate the air from the whipped cream, leading to a denser, less creamy filling, and can also affect the overall stability of your no-bake cheesecake.
Storage Solutions for Your Decadent Biscoff Cheesecake
Ensuring your delicious no-bake Biscoff cheesecake stays fresh and delightful for as long as possible is simple with proper storage techniques:
- Refrigeration: Any leftover cheesecake should be stored in an airtight container in the refrigerator. This will keep it fresh and prevent it from absorbing any unwanted odors from other foods in your fridge for up to 3-4 days. For best results, cover the exposed cut sides of the cheesecake with plastic wrap before placing it in the airtight container.
- Freezing for Longer Enjoyment: This cheesecake freezes beautifully, making it an excellent candidate for meal prep or saving for future cravings! You can freeze the entire cheesecake (it’s often best to freeze it without the final toppings, adding them after thawing) or individual slices. To freeze, wrap the cheesecake or slices tightly first in plastic wrap, then add an additional layer of aluminum foil to provide maximum protection against freezer burn. It can be stored in the freezer for up to 3 months. Always remember to label your frozen cheesecake with the date of preparation. To enjoy, simply transfer the frozen cheesecake to the refrigerator and allow it to thaw overnight before serving.
Indulge in the Ultimate No-Bake Biscoff Cheesecake Experience!
This easy no-bake Biscoff cheesecake truly stands out as a profoundly simple yet incredibly delicious dessert that you can prepare with minimal fuss and maximum satisfaction. Its straightforward instructions and a relatively short list of accessible ingredients make it an enjoyable and convenient project for any home baker, regardless of experience level. The luxurious, creamy texture, combined with the distinctive spiced caramel flavor of Biscoff spread, guarantees that this cheesecake will swiftly become a treasured favorite in your dessert collection.
Whether you’re planning a gathering, seeking a stress-free holiday treat, or simply yearning to satisfy a profound sweet craving, this Biscoff cheesecake delivers every single time. It’s an elegant, deeply satisfying, and utterly delightful dessert that magnificently proves you don’t need an oven to create something truly extraordinary. So, what are you waiting for? Gather your ingredients, wholeheartedly follow our detailed guide, and prepare to be utterly amazed by this incredible no-bake wonder. We promise, you absolutely won’t be disappointed!
Once you’ve successfully whipped up this fantastic treat, we would be thrilled to see your culinary creations! Please share your delicious results on social media and remember to tag us – we love seeing your baking triumphs!
Explore More Delicious Cheesecake Recipes
If you’ve fallen in love with our Biscoff cheesecake, you’ll be eager to try these other delightful and varied cheesecake recipes:
- Easy Cherry Cheesecake Dessert
- Ultimate Blueberry Cheesecake Recipe
- Easy Key Lime Cheesecake Bars
- No Bake Strawberry Cheesecake Lasagna Dessert
- Best Lemon Cheesecake
- Ultimate No Bake White Chocolate Cheesecake
- Chocolate Cherry Cheesecake – No Bake
- No Bake Banoffee Peanut Butter Cheesecake
- Easiest No Bake Salted Caramel Cheesecake
- Best No Bake Chocolate Cheesecake Recipe
- Pretzel Pie Crust
Recipe: Easy No-Bake Biscoff Cheesecake
Author: Kim Lange
This easy, no-bake creamy Biscoff Cheesecake recipe is as delicious as it is simple to make, using just a few ingredients with no oven required!
Recipe Details:
- Prep Time: 20 mins
- Chill Time: 4 hrs (or overnight for best results)
- Course: Dessert
- Servings: 8 Servings
- Keyword: biscoff, cheesecake, cream cheese, no bake, cookie butter
Ingredients:
For the Biscoff Cookie Crust
- 1 (8.8 oz) package Biscoff cookies, crushed
- 6 tablespoons butter, melted
For the Biscoff Cheesecake Filling
- 3 (8 oz) packages full-fat cream cheese, softened (approximately 3 cups cream cheese)
- ¼ cup confectioners’ sugar
- 1 (14.1 oz) jar Biscoff spread
- 2 cups whipped cream (e.g., store-bought Cool Whip, or whip 1 cup of heavy whipping cream until stiff peaks form)
- Optional: ⅓ to ½ cup Biscoff spread, for adding dollops to the center of cheesecake (adjust for desired Biscoff flavor intensity)
For the Biscoff Frosting & Toppings
- ½ cup Biscoff spread, melted
- ¼ cup Biscoff cookies, crushed (for garnish)
- Optional: 1 ½ cups Cool Whip mixed with ⅓ to ½ cup Biscoff spread for Biscoff Whipped Cream swirls on top (Alternatively, use 1 cup of heavy whipping cream, whipped. To simplify, you can whip a total of 2 cups of heavy whipping cream and divide it for the filling and topping, avoiding whipping twice).
Instructions:
Biscoff Cookie Crust
- Line an 8-inch springform cake pan with parchment paper and set aside.
- In a bowl, mix together the crushed Biscoff cookies with melted butter until thoroughly combined. Transfer into the parchment-lined springform pan and press firmly into the bottom. Refrigerate to chill.
Biscoff Cheesecake Filling
- In a large mixing bowl, using an electric mixer (hand or stand), beat the softened cream cheese with the confectioners’ sugar until the mixture is smooth and fluffy. Add in the Biscoff spread and continue beating until fully combined. Gently fold in the whipped cream until the mixture is uniform.
- Optional: If you wish to add a Biscoff spread layer in the middle, transfer about half of the cheesecake filling onto the chilled crust. Add dollops of the optional Biscoff spread on top of this layer, then gently add the remaining cheesecake filling over the dollops. Otherwise, simply transfer the entire cheesecake filling to the pan. Refrigerate for a minimum of 4 hours, or ideally, overnight, until firm.
Biscoff Frosting & Toppings
- Once the cheesecake is firm, melt your reserved Biscoff spread (microwave for about 15-20 seconds until drippy and pourable). Carefully pour it over the top of the cheesecake and spread evenly with an offset spatula.
- Optional: If desired, whip together whipped cream and Biscoff spread. Transfer this mixture to a pastry bag fitted with a large star tip and pipe decorative swirls around the border of the cheesecake.
- Sprinkle the extra crushed Biscoff cookies over the top of the cheesecake. Place back in the fridge until ready to serve, or serve immediately.
Notes:
Tip: If you have only one package of Biscoff cookies, you can crush approximately 3 to 4 of those cookies for the top garnish and still have enough for the crust. If doing this, slightly decrease the melted butter for the crust by about ½ tablespoon to maintain consistency.
