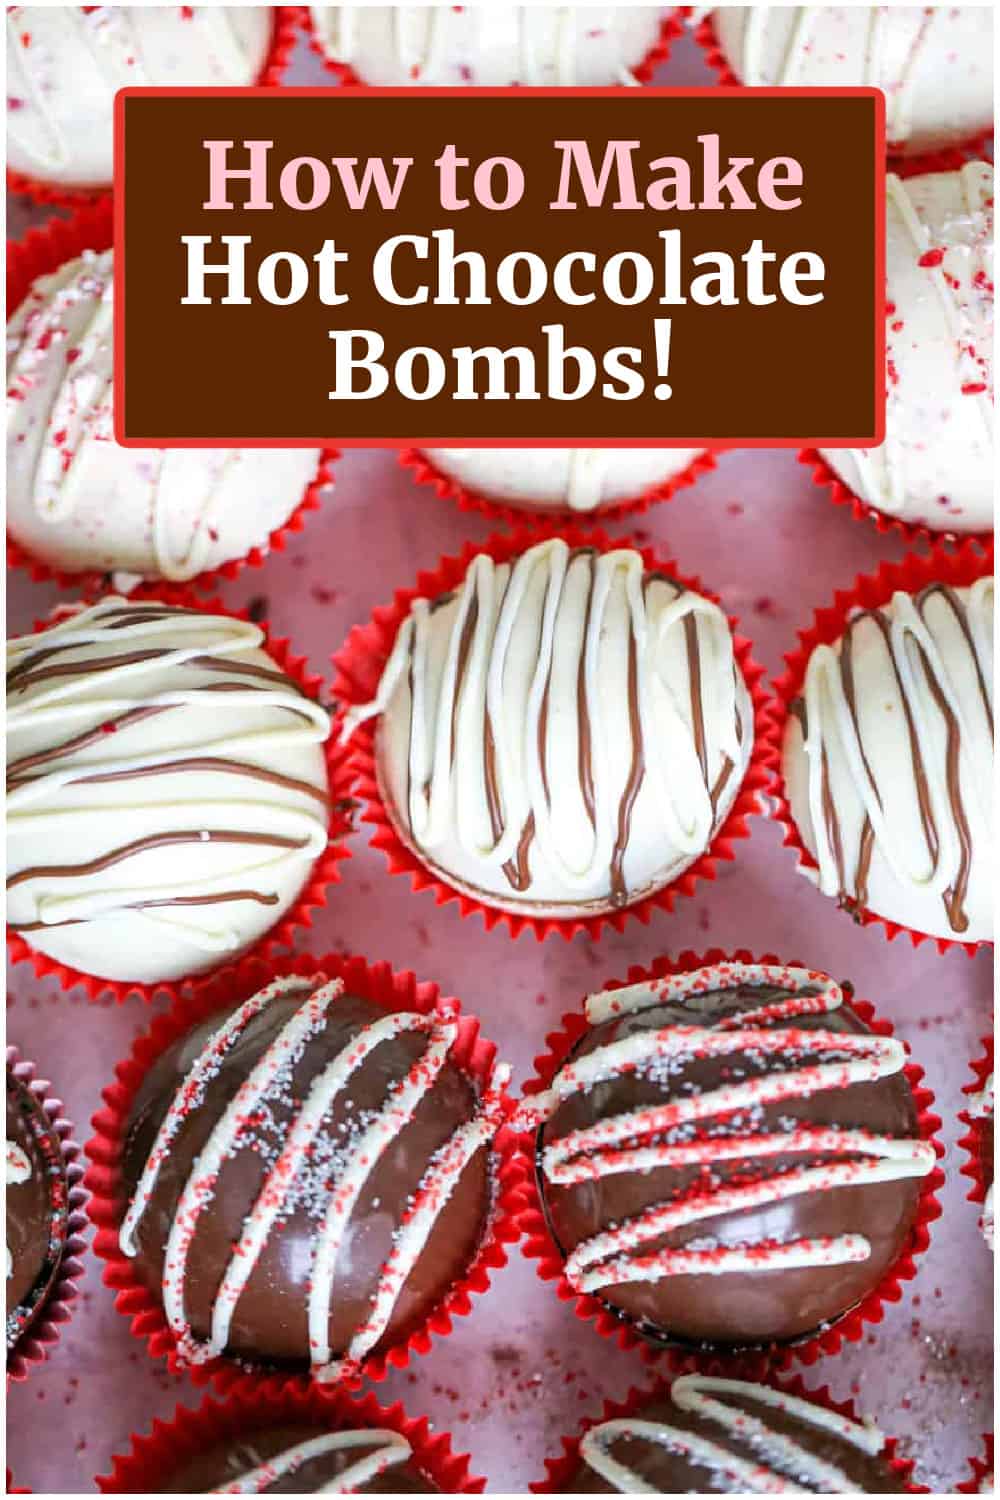
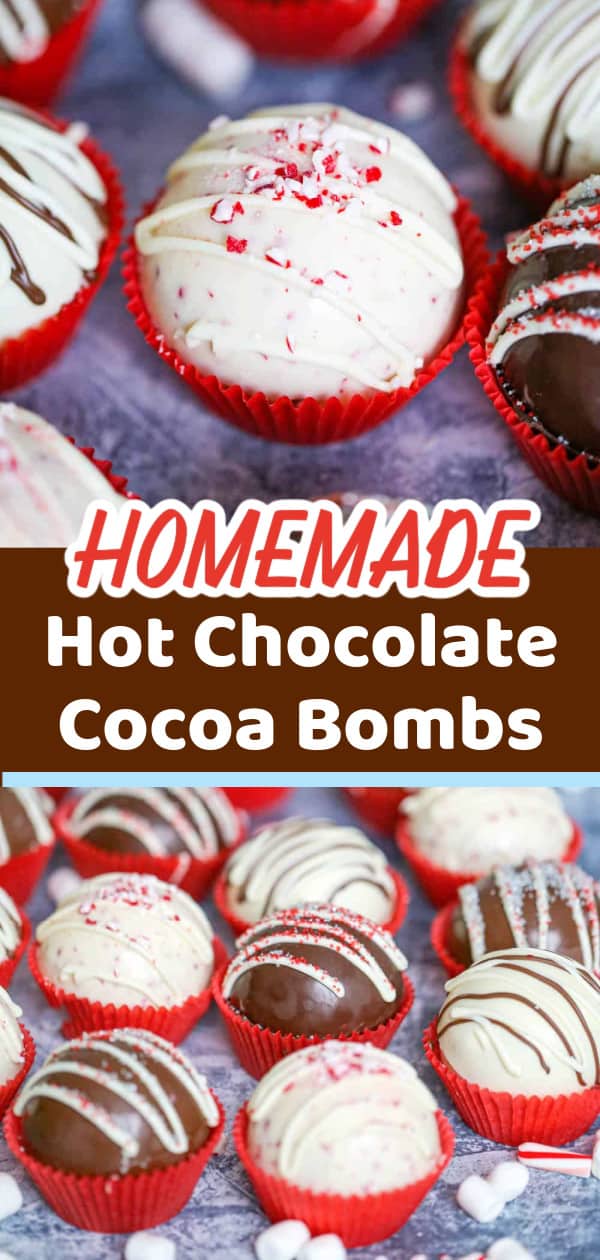
Easy Homemade Hot Chocolate Bombs: Your Ultimate Guide to Sweet Indulgence
Prepare to elevate your hot chocolate experience! These delightful Easy Hot Chocolate Bombs have taken the world by storm, transforming a simple mug of cocoa into an enchanting spectacle. Imagine perfectly crafted spheres of rich, decadent chocolate, bursting with premium hot cocoa powder and fluffy mini marshmallows, just waiting to explode into a creamy, comforting beverage when bathed in warm milk. They’re not just a treat; they’re an experience, captivating both young and old with their magical reveal.
As the hot milk melts the chocolate shell, the hidden treasures within are unleashed, creating a whirlwind of cocoa and marshmallows. A gentle stir transforms everything into a luxuriously smooth and indulgent hot chocolate. This culinary magic makes hot chocolate bombs perfect for any occasion, whether it’s a cozy winter evening, a festive holiday gathering, or simply a moment when a serious chocolate craving strikes. And for those looking to spread joy, they also make phenomenal, thoughtful gifts!
Why Make Your Own Hot Chocolate Bombs?
While store-bought options exist, crafting your hot chocolate bombs at home offers a multitude of advantages. Firstly, it’s an incredibly fun and rewarding activity, perfect for engaging the whole family, especially during holiday breaks or on a rainy afternoon. Children will adore participating in the creation process, from molding the chocolate to filling the spheres with their favorite treats.
Beyond the enjoyment, homemade bombs allow for unparalleled customization. You control every ingredient, from the quality and type of chocolate for the shell to the specific hot cocoa mix and an endless array of delightful fillings and toppings. This means you can cater to individual tastes, dietary preferences, or even create themed bombs for special events. Imagine dairy-free options, bombs with a hint of spice, or those infused with unique flavor combinations – the possibilities are truly limitless.
Furthermore, making them yourself often proves more cost-effective than purchasing artisanal versions, particularly if you plan to make a large batch for gifting. The satisfaction of knowing you’ve created such a beautiful and delicious treat from scratch is, in itself, a sweet reward. This guide will walk you through every step, ensuring you master the art of hot chocolate bomb creation and impress everyone with your homemade masterpieces.
Unleash Your Creativity: Endless Customization Options
One of the most exciting aspects of making hot chocolate bombs is the freedom to customize them from the inside out. This isn’t just a recipe; it’s a canvas for your culinary imagination!
Chocolate Shell Varieties
The foundation of your hot chocolate bomb is its luscious chocolate shell. You can experiment with various types of chocolate to create distinct flavor profiles:
- White Chocolate Shell: A creamy, sweet base that pairs wonderfully with brighter flavors like peppermint or fruity marshmallows.
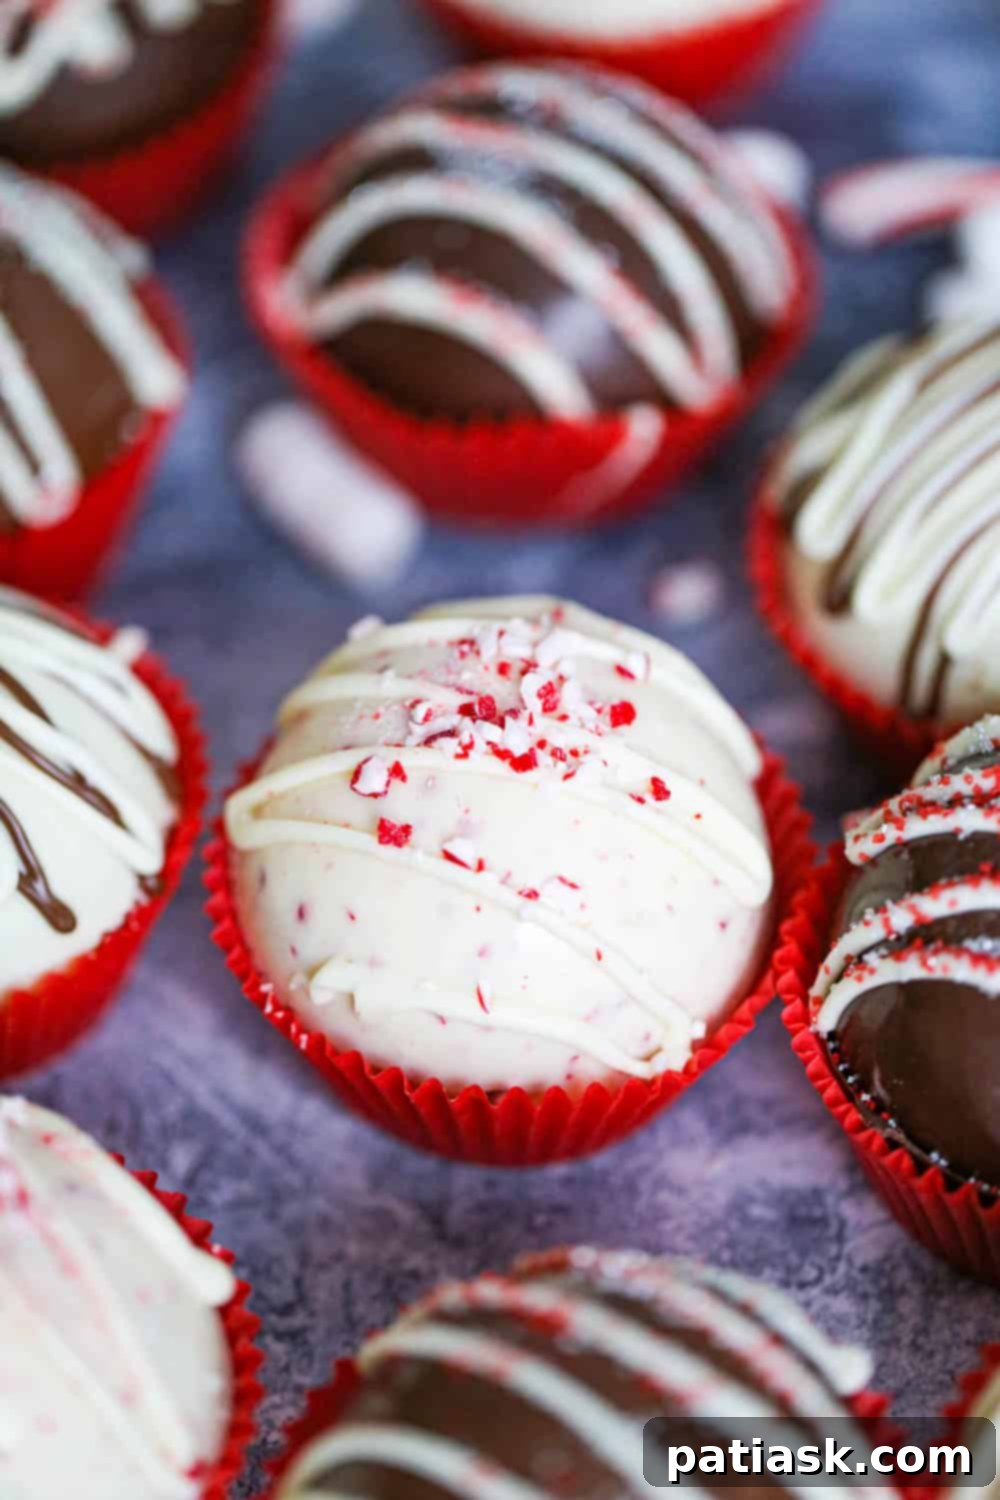
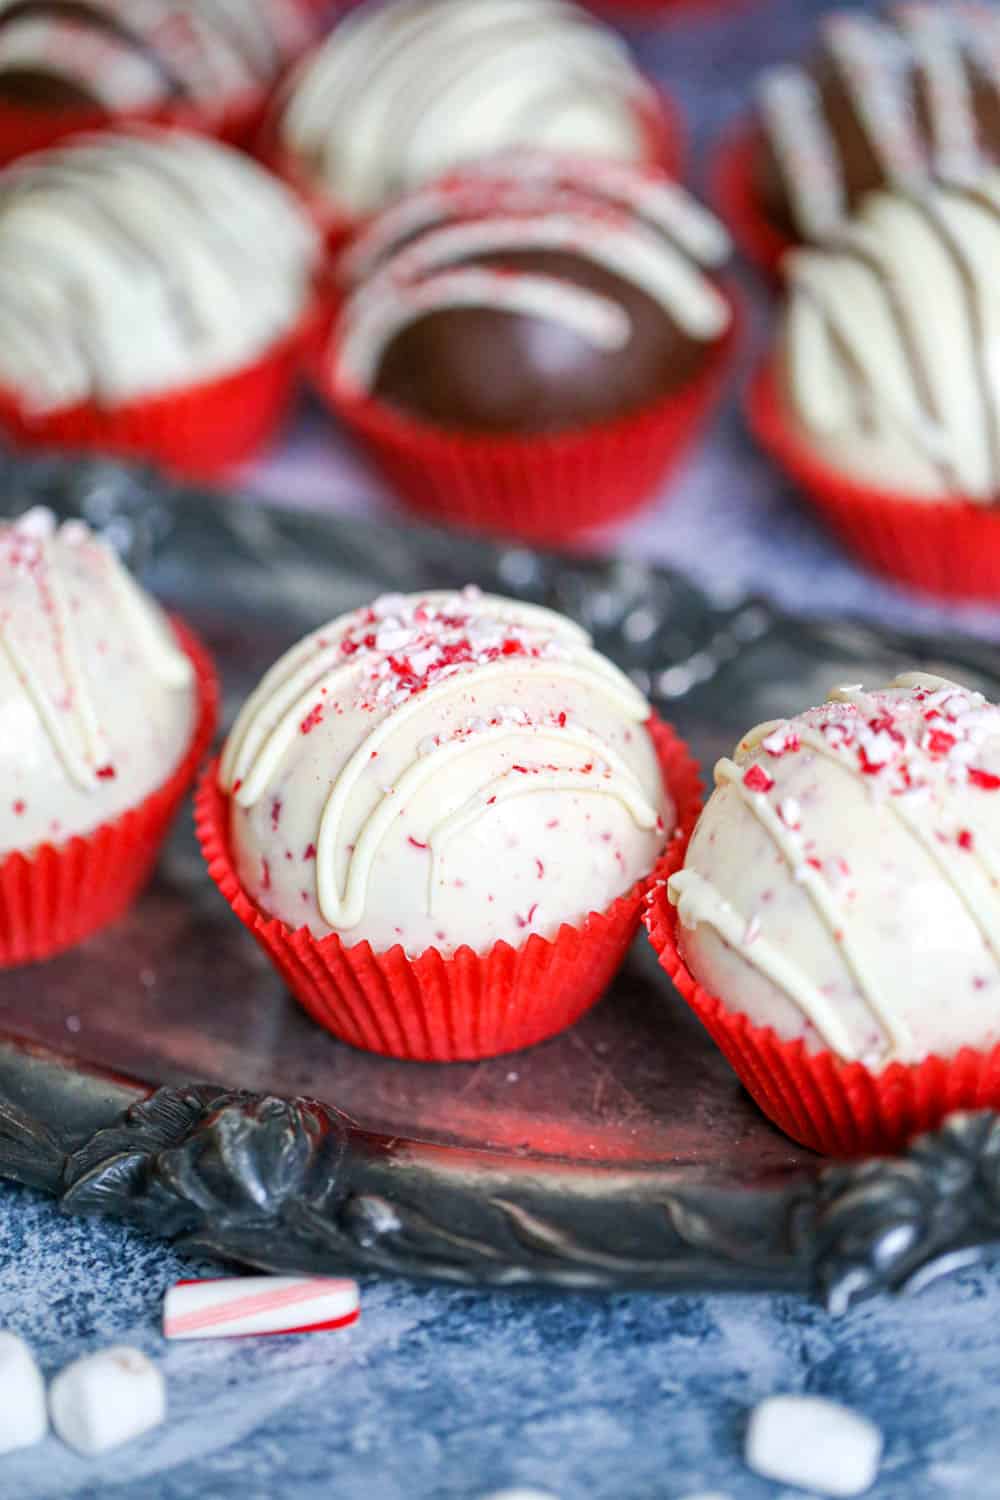
- White Chocolate Peppermint Crunch Shell: Infuse your white chocolate with crushed candy canes or peppermint candies for a refreshing, festive twist.
- Milk Chocolate Shell: The classic choice, offering a universally loved sweet and creamy flavor that evokes comforting childhood memories.
- Dark Chocolate Shell: For a more intense, sophisticated hot chocolate, a dark chocolate shell provides a rich, slightly bitter counterpoint to the sweet fillings.
- Beyond the Basics: Don’t stop there! Consider using flavored candy melts (e.g., strawberry, caramel), or even experimenting with ruby chocolate for a unique aesthetic and subtle berry notes.
Creative Fillings and Surprises
While hot cocoa mix and mini marshmallows are traditional, the interior of your bomb is where you can truly get creative:
- Hot Cocoa Mix: Choose your favorite! From classic milk chocolate to decadent dark chocolate, spiced Mexican hot chocolate, or even white chocolate cocoa mix.
- Marshmallows: Beyond standard mini marshmallows, try freeze-dried varieties for a different texture, or fun-shaped marshmallows (stars, hearts) for a whimsical touch.
- Candy and Cookie Bits: Add crushed Oreos, M&M’s, mini chocolate chips, toffee bits, or even a tiny caramel square for extra flavor and texture.
- Spices and Extracts: A pinch of cinnamon, nutmeg, a dash of chili powder for a spicy kick, or a drop of peppermint or vanilla extract can elevate the flavor profile.
- Adult Indulgence: For a grown-up treat, consider adding a tiny amount of instant coffee for a mocha bomb, or a splash of powdered liqueur flavor (ensure it’s safe for consumption and won’t interact negatively with the chocolate).
Dazzling Toppings and Decorations
The exterior is your bomb’s “outfit,” making it beautiful and festive:
- Chocolate Drizzles: Create contrasting drizzles using a different color or type of melted chocolate (e.g., white chocolate drizzle on a dark chocolate bomb).
- Sprinkles and Sugars: Adorn with vibrant sprinkles, colored sanding sugars, or edible glitter for a dazzling finish. These are especially great for holiday themes.
- Crushed Peppermint: A classic holiday topping that adds both visual appeal and a refreshing minty flavor.
- Cookie Crumbles: Crushed cookies like Oreos or graham crackers add texture and a rustic charm.
- Mini Candy Bar Bits: Chop up your favorite mini candy bars for a decadent touch.
- Nuts: Toasted, finely chopped nuts can add a gourmet touch and delightful crunch.
The key is to have fun and experiment! Each hot chocolate bomb can be a unique creation, reflecting your personal style and taste.
Essential Tools for Hot Chocolate Bomb Success
Making hot chocolate bombs is surprisingly straightforward, especially with the right tools. Here’s what you’ll need to ensure a smooth and enjoyable process:
- Silicone Dome Molds: These are absolutely crucial. Look for half-sphere silicone molds, ideally with six cavities each, allowing you to make several halves at once. A diameter of about 2.5 inches (approximately 6 cm) is perfect, as it fits most standard mugs and holds an adequate amount of cocoa mix and marshmallows. Smaller molds won’t hold enough, and larger ones might not fit your mug. They are widely available and relatively inexpensive, often found for under $15 for a pair.
- Microwave-Safe Bowls: For melting your chocolate. Glass or ceramic bowls work best.
- Spatula or Spoon: For stirring the melting chocolate and spreading it in the molds.
- Pastry Brush (Optional but Recommended): A clean, soft pastry brush makes it easier to evenly coat the inside of the silicone molds with melted chocolate, ensuring a consistent shell thickness.
- Microwave-Safe Plate: This is a secret weapon for creating perfectly smooth, sealed edges on your chocolate spheres. Heating it briefly in the microwave turns it into a warm surface to melt and fuse the chocolate halves together.
- Cupcake Liners: Ideal for holding your finished hot chocolate bombs, preventing them from rolling around and making them easy to handle or package for gifts.
- Piping Bag or Ziploc Bag (Optional): Useful for drizzling additional melted chocolate for decoration, offering more control than a spoon.
- Small Baking Sheet or Flat Tray: To place your silicone molds on before putting them in the freezer, making them easier to transport without spilling.
Having these tools ready will streamline your bomb-making process and help you achieve professional-looking results with ease.
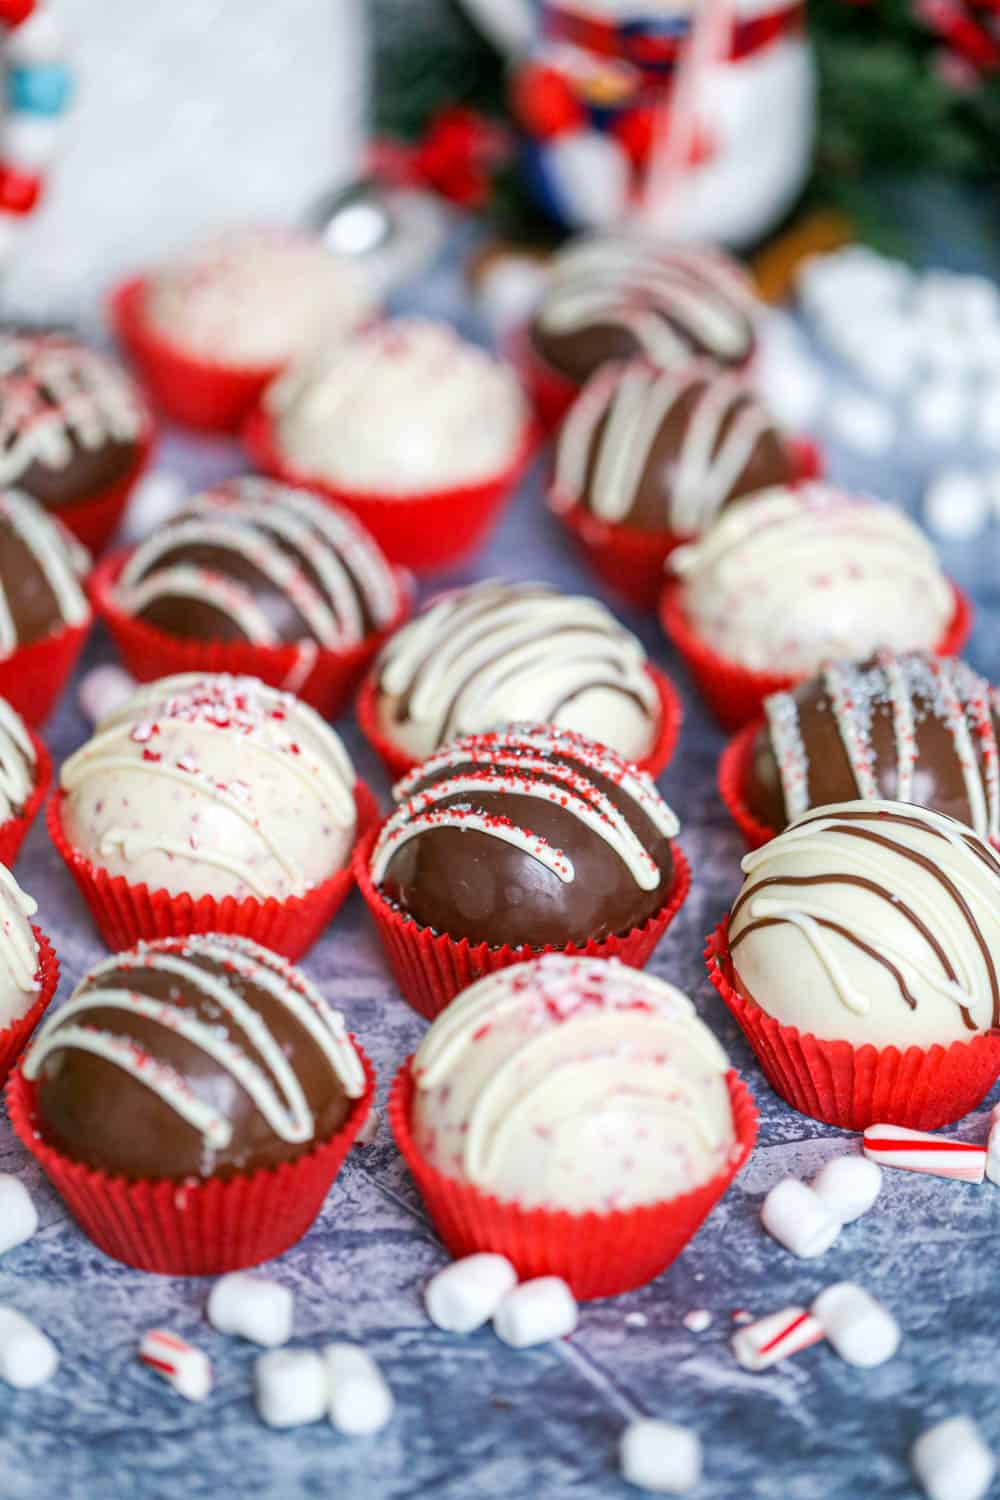
Hot Chocolate Bomb Recipe Ingredients
The magic of hot chocolate bombs lies in a few simple, high-quality ingredients. Choosing them wisely will make a big difference in the final taste and experience.
- Chocolate: The star of the show!
- Melting Wafers: Often labeled as “candy melts” or “tempering chocolate,” these are specifically designed to melt smoothly and harden beautifully, making them ideal for bomb shells without needing traditional tempering. They come in various colors and flavors.
- High-Quality Chocolate Bars or Chips: If using chocolate chips or baking bars, opt for good quality. For a smoother finish, you might want to “temper” them by melting two-thirds of the chocolate, then stirring in the remaining one-third off the heat until fully melted. This helps prevent bloom (a grayish film) and ensures a shiny, stable shell. Choose between semi-sweet, milk, or white chocolate based on your preference.
- Mini Marshmallows: Essential for that classic hot chocolate experience!
- Traditional Mini Marshmallows: The standard choice, they melt beautifully into the hot cocoa.
- Freeze-Dried Marshmallows: These offer a delightful crunch before melting and add a playful texture.
- Fun Shaped Marshmallows: Add a whimsical touch, especially for themed bombs.
- Pro Tip: Don’t be shy! Fit in as many as you can without preventing the bomb from sealing.
- Hot Chocolate Mix: The heart of your cocoa experience!
- Store-bought Mix: Convenient and widely available. Brands like Hershey’s or Ghirardelli Chocolate Premium Indulgence Hot Cocoa Mix are popular and delicious choices.
- Homemade Mix: For a truly bespoke experience, make your own! This allows you to control the sugar content and add unique spices like cinnamon, cardamom, or a hint of chili.
- Toppings for Decorating Your Bombs: These add visual appeal and extra flavor.
- Additional melted chocolate (contrasting color works well) for drizzles.
- Vibrant sprinkles, edible glitter, or colored sanding sugars.
- Crushed cookies (e.g., Oreos, graham crackers).
- Crushed peppermint or candy canes.
- Mini candy bar bits or chocolate shavings.
- Garnishes for Your Hot Cocoa (Optional, but highly recommended!):
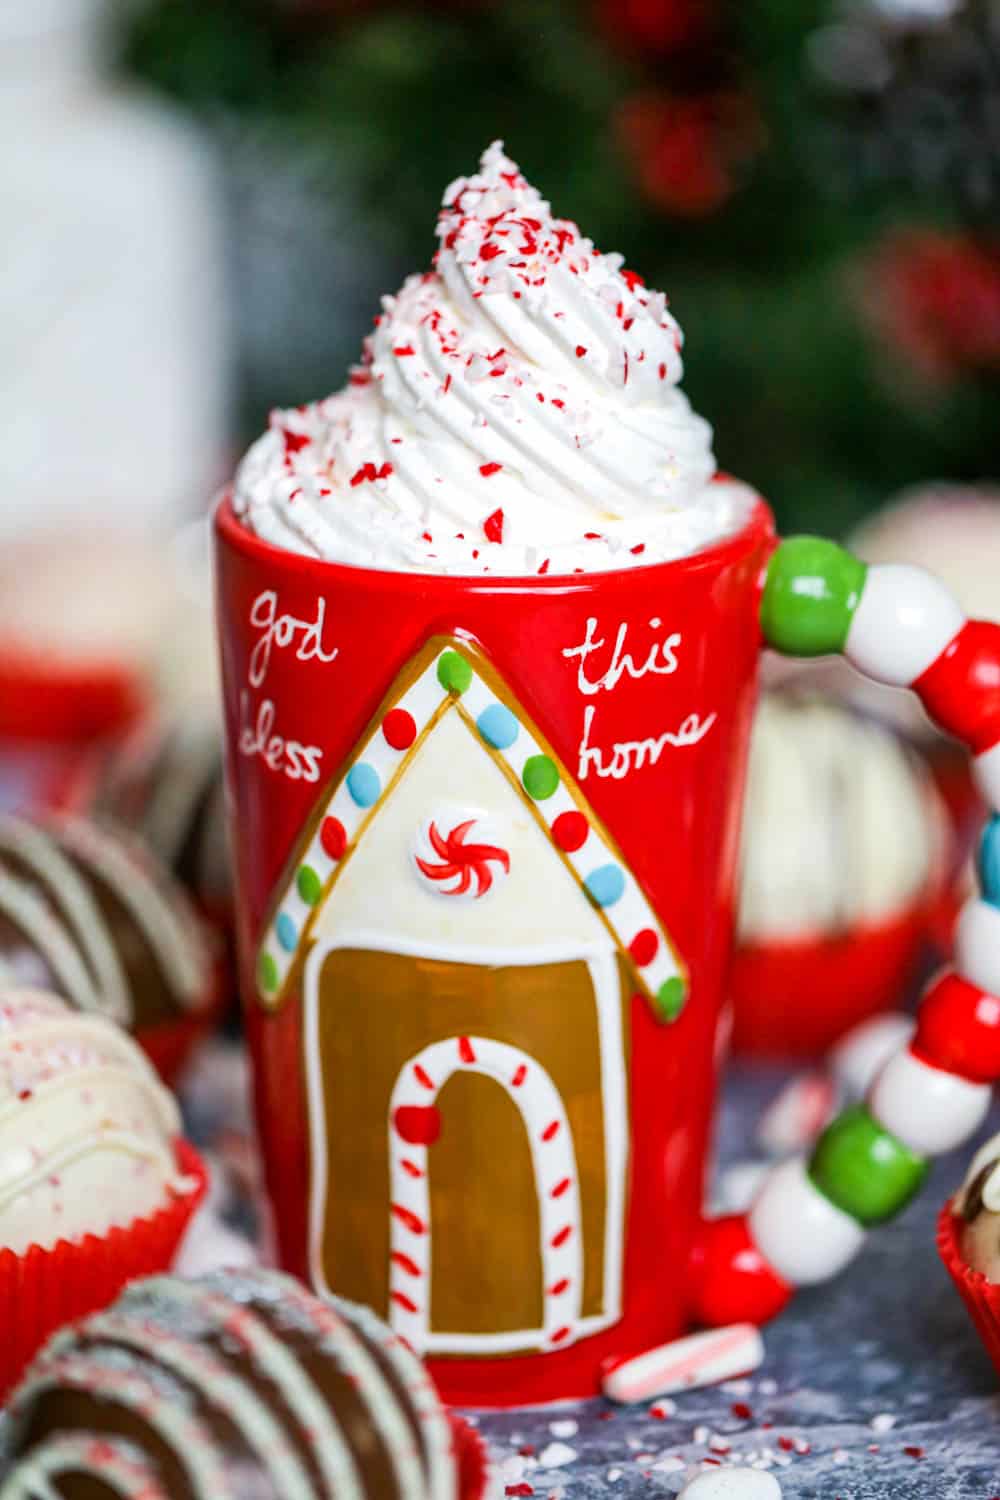
- Whipped cream or a dollop of marshmallow fluff.
- Extra sprinkles, chocolate curls, or a dusting of cocoa powder.
- More crushed peppermint or a whole candy cane.
- A sprinkle of pumpkin spice, cinnamon, or nutmeg.
- A drizzle of caramel or chocolate sauce. The options are truly endless for personalizing your cup!
How to Make Homemade Hot Cocoa Bombs: Step-by-Step Instructions
Creating these magical chocolate spheres is easier than you might think! Follow these steps for perfect hot chocolate bombs every time.
Step 1: Melt the Chocolate and Create the Shells
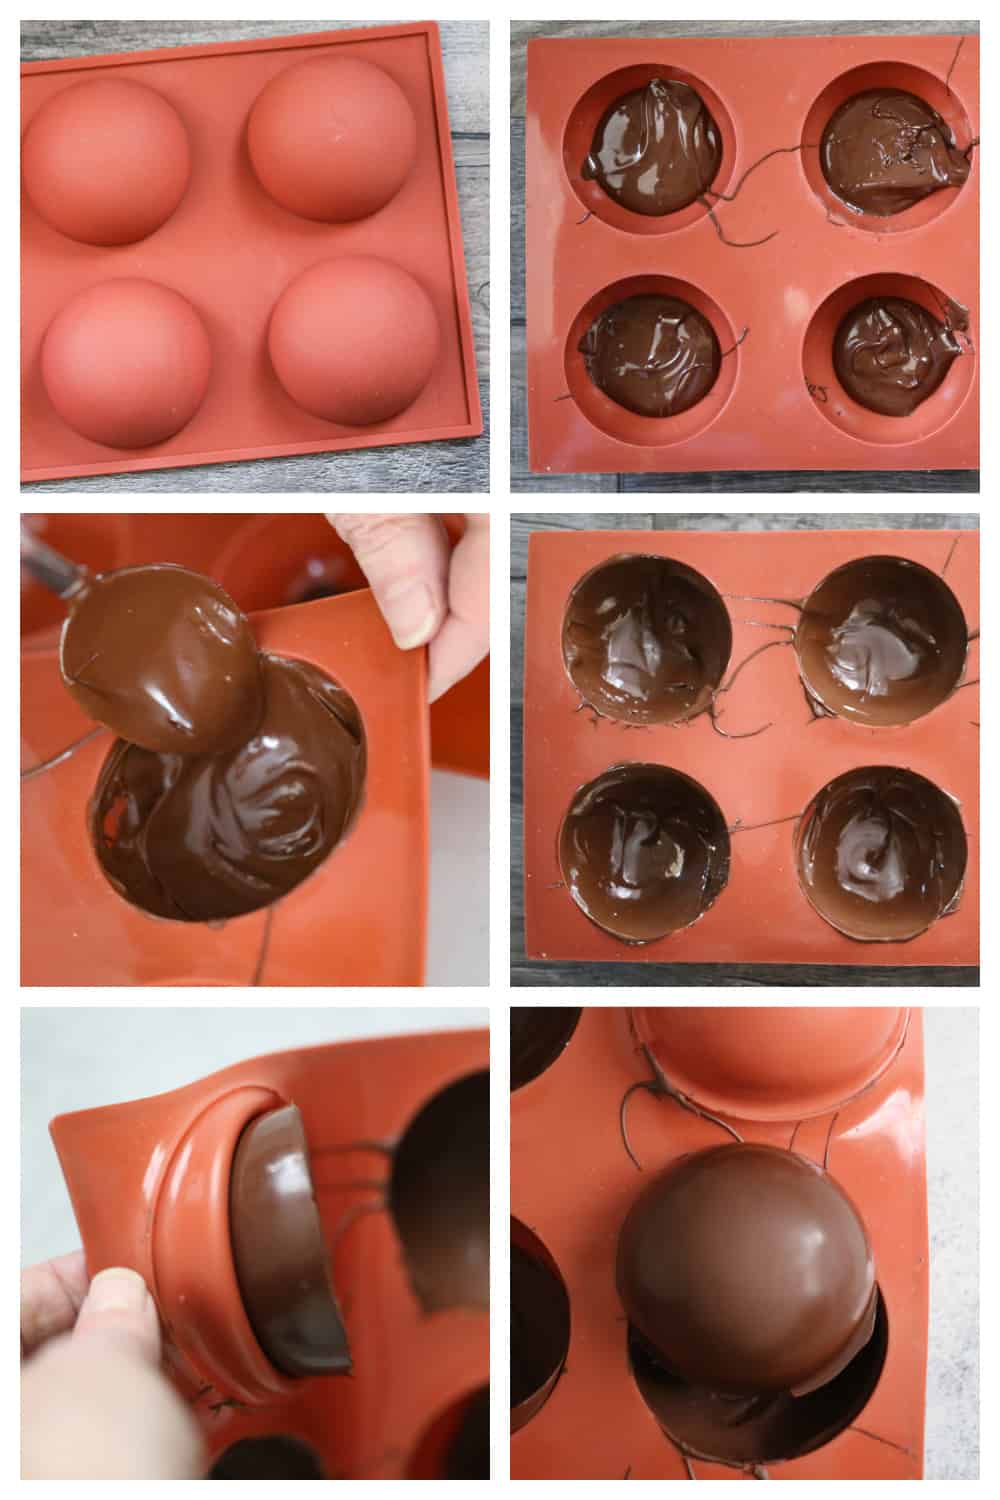
- Melt the Chocolate: Place your chosen chocolate (wafers, chips, or chopped bar) in a microwave-safe bowl. Heat in 30-second intervals, stirring thoroughly after each interval, until the chocolate is completely melted and smooth. This typically takes about 1.5-2 minutes in total. Be careful not to overheat, as chocolate can seize and become unusable. If you’re adding crushed peppermint or other fine additions to your white chocolate, stir in a tablespoon or two now. Too much can make the chocolate clunky and hard to spread evenly.
- Coat the Molds: Place a silicone dome mold on a small baking sheet for stability. Add about one tablespoon of the melted chocolate into each cavity. Using the back of a spoon or a clean pastry brush, quickly and evenly coat the inside of each spherical mold with a thin layer of chocolate, making sure to extend the chocolate all the way to the rim.
- Chill to Harden: Transfer the mold to the freezer for 5-7 minutes, or until the chocolate is completely set and hardened.
- Check for Thickness (Optional Second Coat): Once hardened, gently inspect the shells. If any areas appear too thin or transparent, or if you want a more robust shell, apply a second thin layer of melted chocolate over those spots and return the mold to the freezer for another 3-5 minutes.
- Demold the Shells: Once fully hardened, carefully and gently pop the chocolate half-spheres out of the silicone mold. Handle them by the edges to avoid fingerprints and keep them cool. Place them on a clean surface or in cupcake liners.
Step 2: Stuff the Shells and Assemble the Bombs
- Prepare Your Fillings: Gather your hot cocoa mix, mini marshmallows, and any other desired fillings (candy bits, sprinkles, etc.).
- Fill Half the Shells: Take half of your chocolate half-spheres. Into each of these, add about 1 tablespoon of hot cocoa mix, followed by a generous amount of mini marshmallows and any other desired fillings. Don’t overfill, but ensure a good mix!
- Seal the Bombs: To create a perfect seal, heat a microwave-safe plate in the microwave for about 60-90 seconds until it’s warm to the touch (not scorching hot). Carefully pick up an empty chocolate half-sphere by its edges and gently press its rim onto the warm plate for a few seconds. This will slightly melt and smooth the edges.
- Assemble Quickly: Immediately place the melted edge of the empty half-sphere directly onto the rim of a filled half-sphere. Gently press them together to create a fully sealed, round hot chocolate bomb. The melted chocolate will act as “glue.” Repeat this process for all your bombs.
- Set Aside: Place the completed hot chocolate bombs into individual cupcake liners to prevent them from rolling around and protect them.
Step 3: Add Dazzling Toppings!
This is where your hot chocolate bombs truly come to life and become visually stunning!
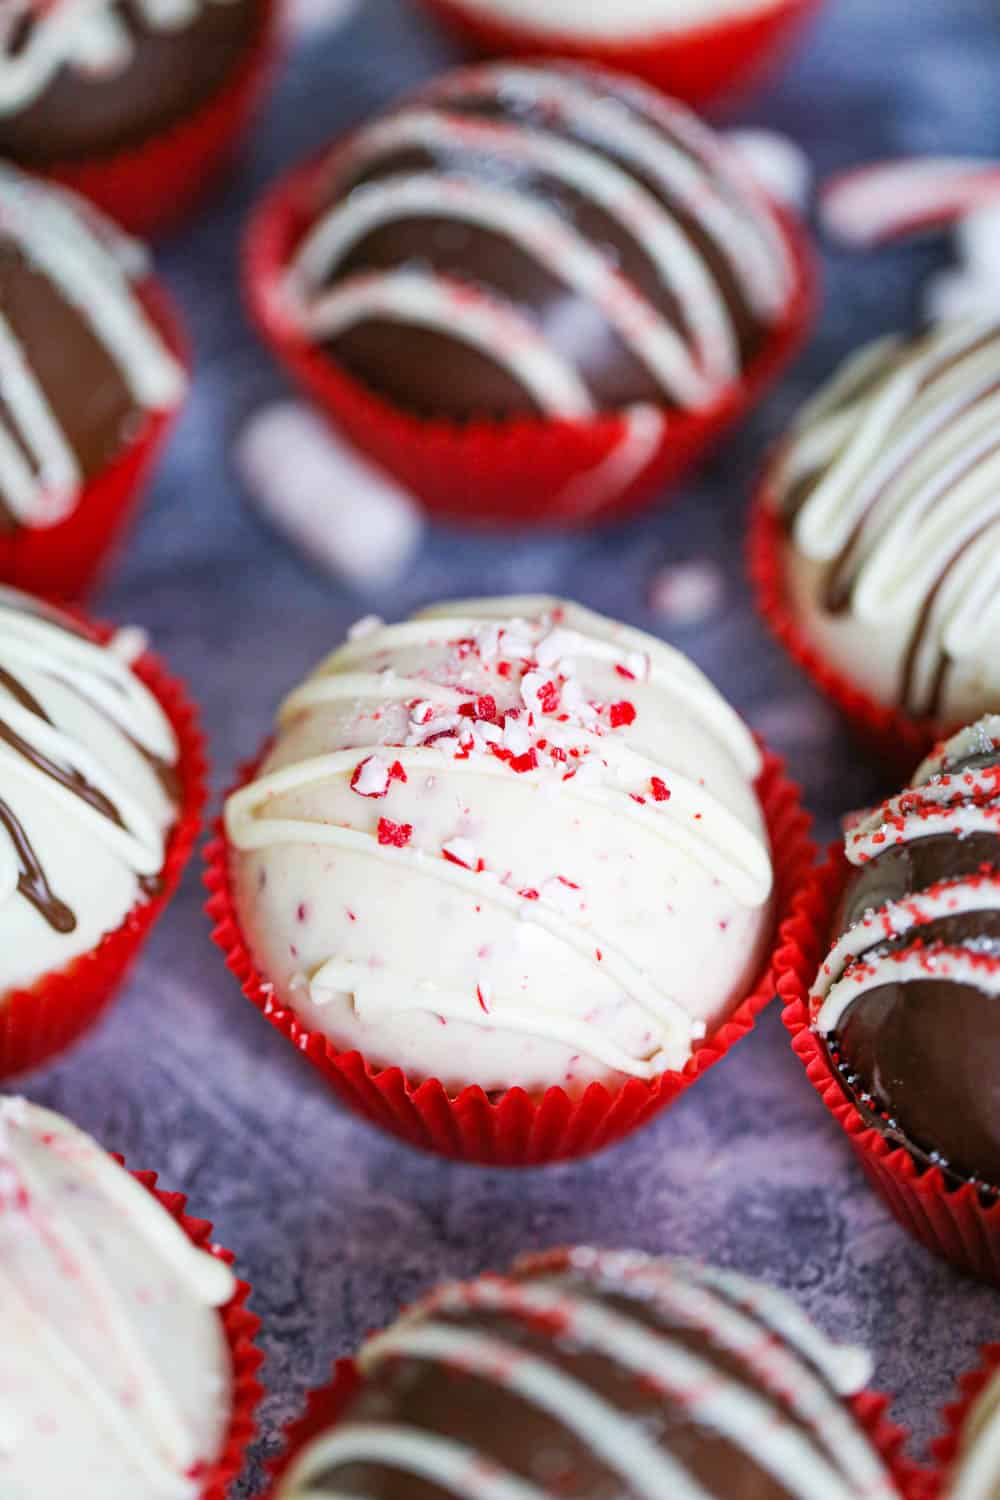
- Drizzle Chocolate: Melt a small amount of additional chocolate (using a contrasting color, if desired). You can use a spoon for a rustic drizzle or a piping bag (or a Ziploc bag with a tiny corner snipped off) for more controlled zig-zags and patterns.
- Apply Toppings: While the chocolate drizzle is still wet, quickly sprinkle your desired toppings over the bombs. This is the perfect time for vibrant sprinkles, crushed cookies, crushed peppermint, mini candy bar bits, or edible glitter.
- Allow to Set: Let the decorated bombs sit at room temperature for a few minutes, or briefly chill them in the refrigerator, until the drizzled chocolate and toppings are fully set.
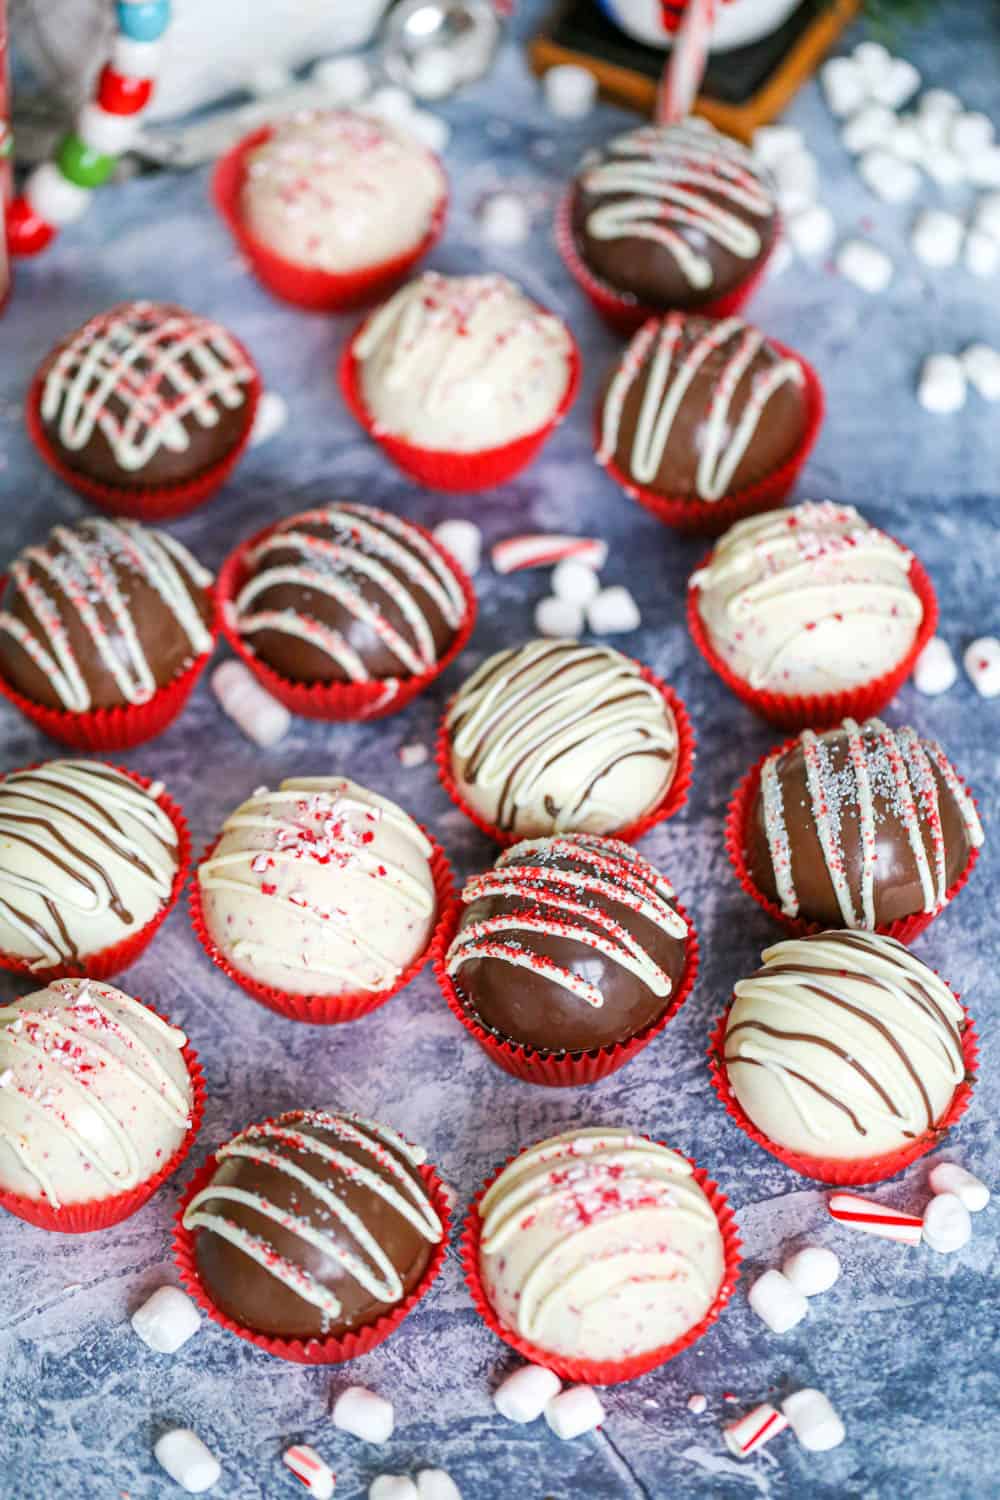
Now your beautiful hot chocolate bombs are ready for gifting, serving, or storing!
How to Serve Your Chocolate Bomb to Make Hot Chocolate
The moment of truth! Serving a hot chocolate bomb is part of the fun and magic.
- Choose Your Favorite Mug: Select a generously sized mug to accommodate the bomb and the hot liquid.
- Place the Bomb: Gently place one hot chocolate bomb into the bottom of your mug.
- Pour Hot Liquid: Slowly pour 8-12 ounces (about 1 to 1.5 cups) of very hot milk (dairy or non-dairy) or water directly over the bomb. The warmer the liquid, the more dramatic and quicker the “explosion” will be! Milk generally yields a creamier, richer hot chocolate.
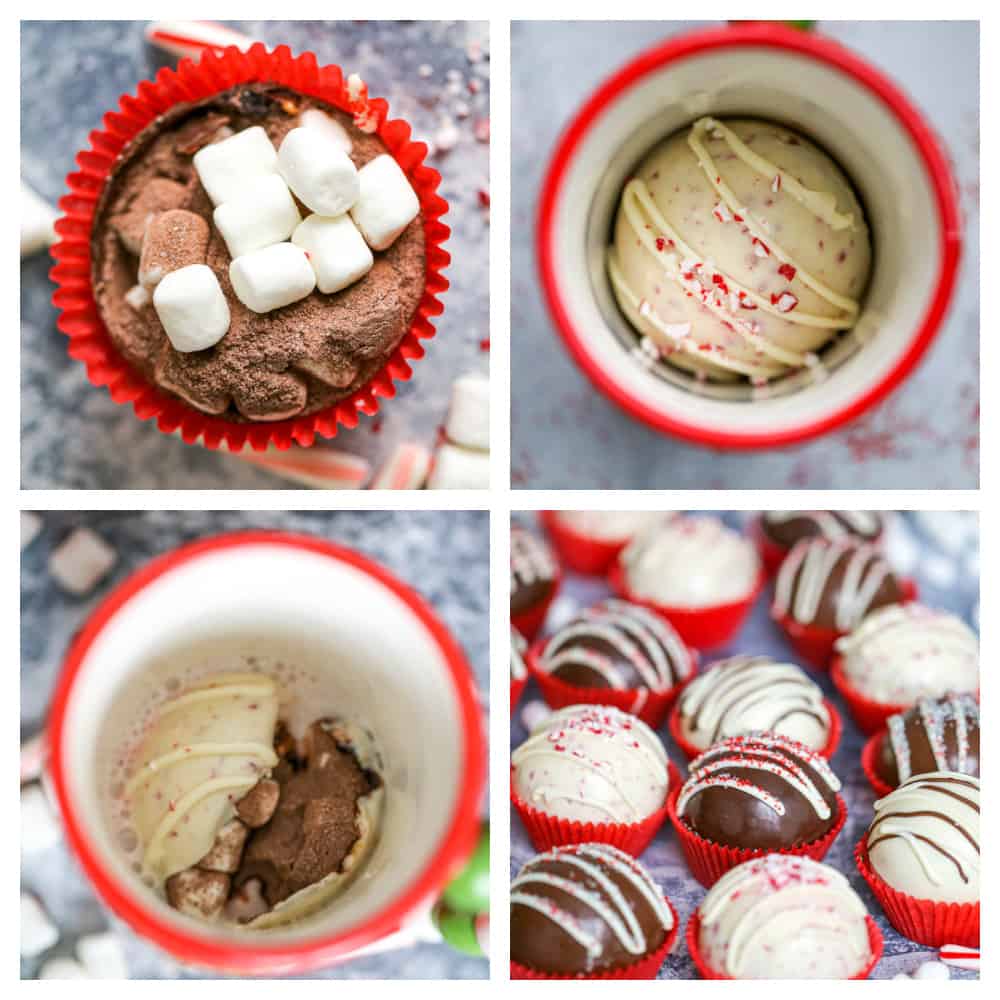
- Watch the Magic Unfold: Observe as the hot liquid melts the chocolate shell, allowing the cocoa mix and marshmallows to burst forth and mix into the drink. This is always a crowd-pleaser!
- Stir and Enjoy: Once the bomb has fully dissolved, give your hot chocolate a good stir to ensure all the chocolate and cocoa powder are incorporated. Then, savor the rich, creamy decadence!
- Garnish as Desired: For an extra special touch, top your freshly made hot chocolate with whipped cream, extra mini marshmallows, chocolate shavings, sprinkles, or a drizzle of caramel or chocolate sauce.
How to Store Hot Chocolate Bombs
Proper storage ensures your hot chocolate bombs remain delicious and visually appealing for as long as possible.
- Cool, Dark Place: Hot cocoa bombs store best in an airtight container in a cool, dark place, away from direct sunlight or heat sources. A pantry or cupboard is ideal. This helps prevent the chocolate from melting or developing “bloom” (a whitish film caused by fat separation).
- Refrigeration: If your home is particularly warm, or for extended storage, you can store them in the refrigerator. However, be aware that chocolate can sometimes develop condensation when moved from a cold fridge to warmer room temperature, which might affect its appearance.
- Shelf Life: For the best flavor and freshness, try to use your homemade hot chocolate bombs within the first two weeks. However, they will generally last for up to 2 months if stored correctly.
Troubleshooting Common Hot Chocolate Bomb Issues
Even seasoned bakers encounter hiccups. Here are solutions to common problems you might face:
- Shells are breaking when demolding: Your chocolate might be too thin. Ensure you’re applying an even, robust layer of chocolate. Also, make sure the chocolate is fully hardened in the freezer; if it’s still soft, it will break easily. Gently peel the mold away, don’t force it.
- Chocolate is seizing (becoming thick and grainy): This happens when moisture gets into melted chocolate, or if it overheats. Use dry utensils and bowls. When melting in the microwave, stir frequently and heat in short bursts. If using a double boiler, ensure no steam or water touches the chocolate.
- Bombs aren’t sealing properly: The edges of your chocolate halves might not be melted enough, or you’re not joining them quickly enough. Ensure your plate is sufficiently warm. Practice makes perfect with the speed of assembly.
- Bombs not melting completely in milk: The chocolate shell might be too thick, or your milk isn’t hot enough. Use sufficiently hot milk, almost simmering but not boiling. If your shells are very thick, they might need a bit more time or hotter liquid.
- Bloom (whitish film) on chocolate: This is usually harmless but affects appearance. It’s often due to improper tempering (if using real chocolate) or rapid temperature changes during storage. Use melting wafers for a more forgiving process, and store bombs in a cool, stable environment.
Hot Chocolate Bombs as Gifts
Beyond being a delightful personal treat, homemade hot chocolate bombs make exceptional gifts for almost any occasion. They are particularly popular during the holiday season, but also perfect for birthdays, hostess gifts, teacher appreciation, or just a thoughtful “thinking of you” gesture.
Packaging Ideas:
- Clear Boxes or Cello Bags: Showcase their beautiful design by placing them in clear individual boxes or small cello bags tied with a festive ribbon.
- Gift Sets: Create a charming gift set by including a personalized mug, a few hot chocolate bombs, and perhaps a small bag of extra marshmallows or sprinkles.
- Custom Tags: Attach a small tag with instructions on how to use the bomb (“Place in mug, add hot milk, stir, and enjoy!”) and a personalized message.
The personal touch of a homemade gift makes these chocolate bombs even more special, bringing warmth and joy to everyone who receives them.
There is truly no better winter treat than a homemade hot chocolate bomb. Not only do they make a beautiful and delicious treat, but they are also incredibly fun and easy to make, offering endless possibilities for customization and creative expression.
Make the most of the season, gather your loved ones, and create some hot chocolate magic with this easy hot chocolate bomb recipe. With this delicious delight, you can not only enjoy the comforting warmth of hot cocoa but also the joyful moments that come with making it. It’s worth every sprinkle and every stir! Remember, smiles and chocolate always go together!
More Delicious Treat Ideas!
- Peppermint Sugar Cookie Bars
- Homemade Peanut Butter Truffles
- Chocolate Fudge Pudding Cake
- 4th of July Cherry Bomb Cupcakes
- 1 Dough – 3 Kinds of Chocolate Cookies for the Holidays
- Starbucks Cranberry Bliss Bars
- Thick & Easy Hot Fudge
- Christmas Cookie Bars
- Chocolate Espresso Truffles
- 4 Holiday Chocolate Bark Recipes

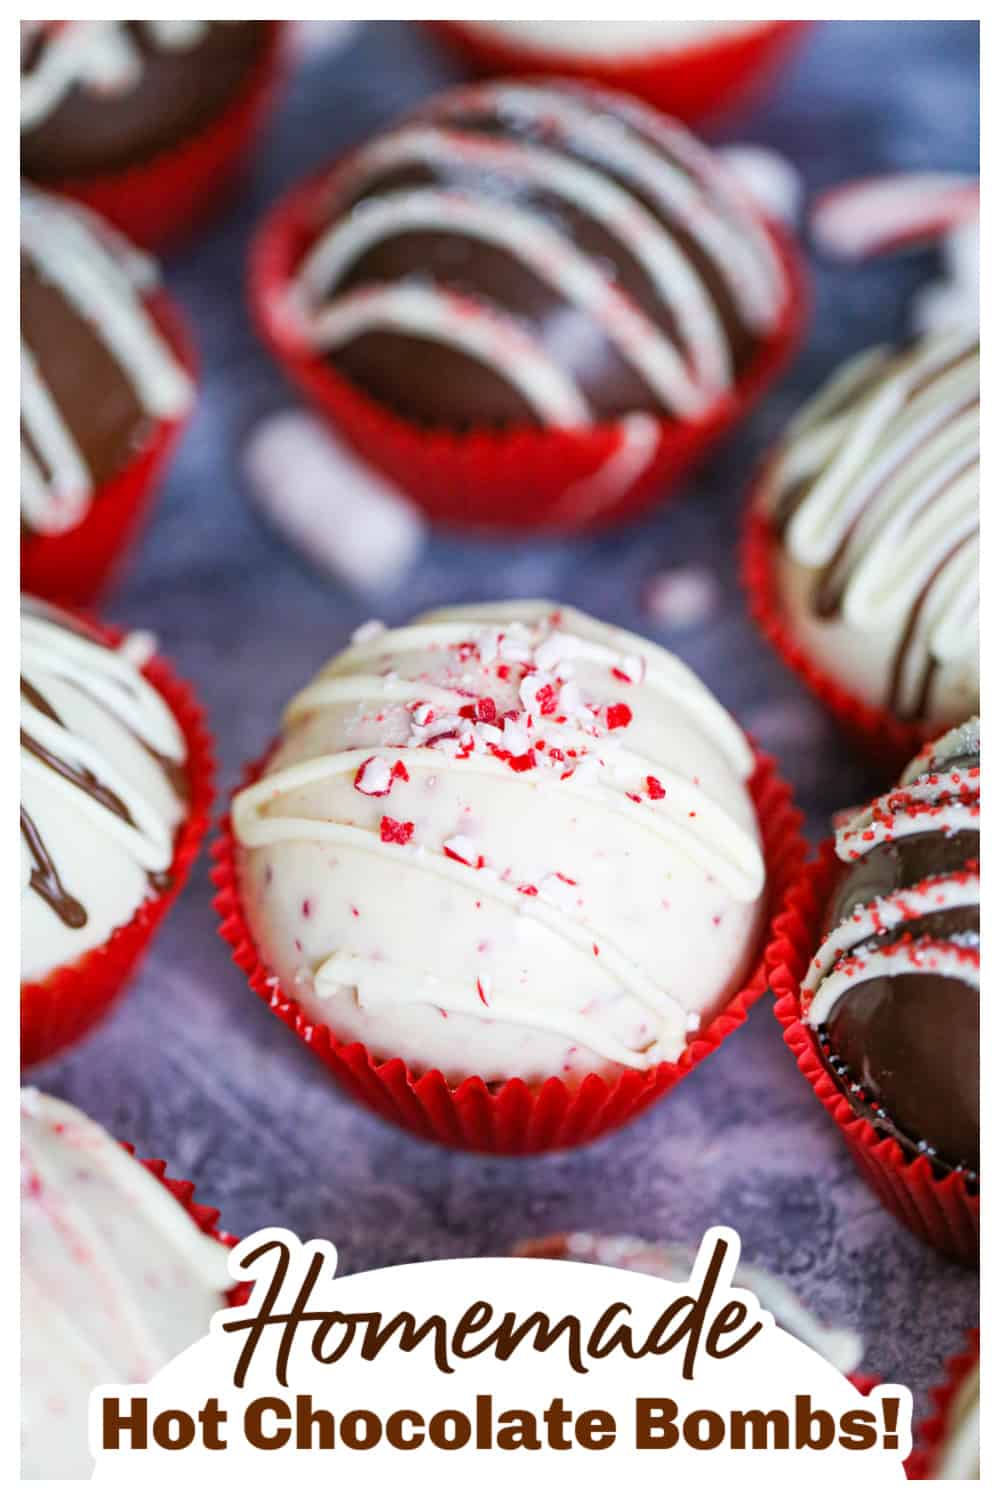
Hot Cocoa Bombs
By Kim Lange
Hot Cocoa Bombs are heavenly spheres of decadent chocolate filled with hot cocoa powder and mini marshmallows. So fun to make and even more fun to watch them explode open when hot milk is poured over them in your favorite mug! Give it a stir, as all the chocolate melts you get complete hot chocolate indulgence!
20 mins
5 mins
Dessert, Drinks
6 Bombs
Ingredients
- 12 ounces high-quality chocolate wafers (or chocolate chips or chocolate bar)
- 6 tablespoons hot cocoa mix
- Mini marshmallows
- Toppings for decorating: sprinkles, drizzles, crushed peppermint, cookie crumbles
Instructions
Homemade Hot Cocoa Bombs
- Melt the chocolate. Begin by melting your chocolate in the microwave stirring in 30-second intervals until melted (approximately 2 minutes). (If you want to add crushed peppermint to your white chocolate, add a tablespoon or two. Too much will make it too clunky and hard to spread in the cavity.) Add a tablespoon of the melted chocolate into each of the cavities. Using a pastry brush or the back of a spoon, coat the inside of your spherical mold with the chocolate.
- Pour the shell. Put the mold in the freezer for 5 minutes to allow the chocolate to harden. If you missed any chocolate or it’s too thin, just brush with additional melted chocolate and freeze once more to build a thicker shell. Gently pop the chocolate shells out of the mold.
- Stuff the shell. In one half of each hot cocoa bomb, add the hot cocoa mix and mini marshmallows. Place a microwave-safe plate in the microwave and heat for about 90 seconds, then press the other half of your chocolate sphere on the hot plate to smooth and melt the edges. Quickly place it on top of the filled half of your cocoa bomb and you’ll have a fully assembled sphere! Place completed spheres into cupcake liners.
Toppings
- Drizzle the tops of your bombs with additional melted chocolate and top with vibrant sprinkles, crushed cookies, peppermint or mini candy bar bits to make them look super pretty. Let them set a few minutes for drizzled chocolate to set up.
How to Serve
- Pop your bomb into your favorite mug.
- Pour 8-12 ounces of hot milk or water over top. The warmer the milk, the more dramatic the explosion will be!!
- Watch your “bomb” explode.
- Stir & enjoy the chocolate decadence!
- Add whipped cream or any decorating embellishments you want if desired.
Notes
Hot cocoa bombs will store best in a cool dark place. For the best flavor, try to use them within the first two weeks, but they will last for about 2 months.
