Easy & Adorable Easter Rice Krispie Nests: The Perfect No-Bake Treat for Spring!
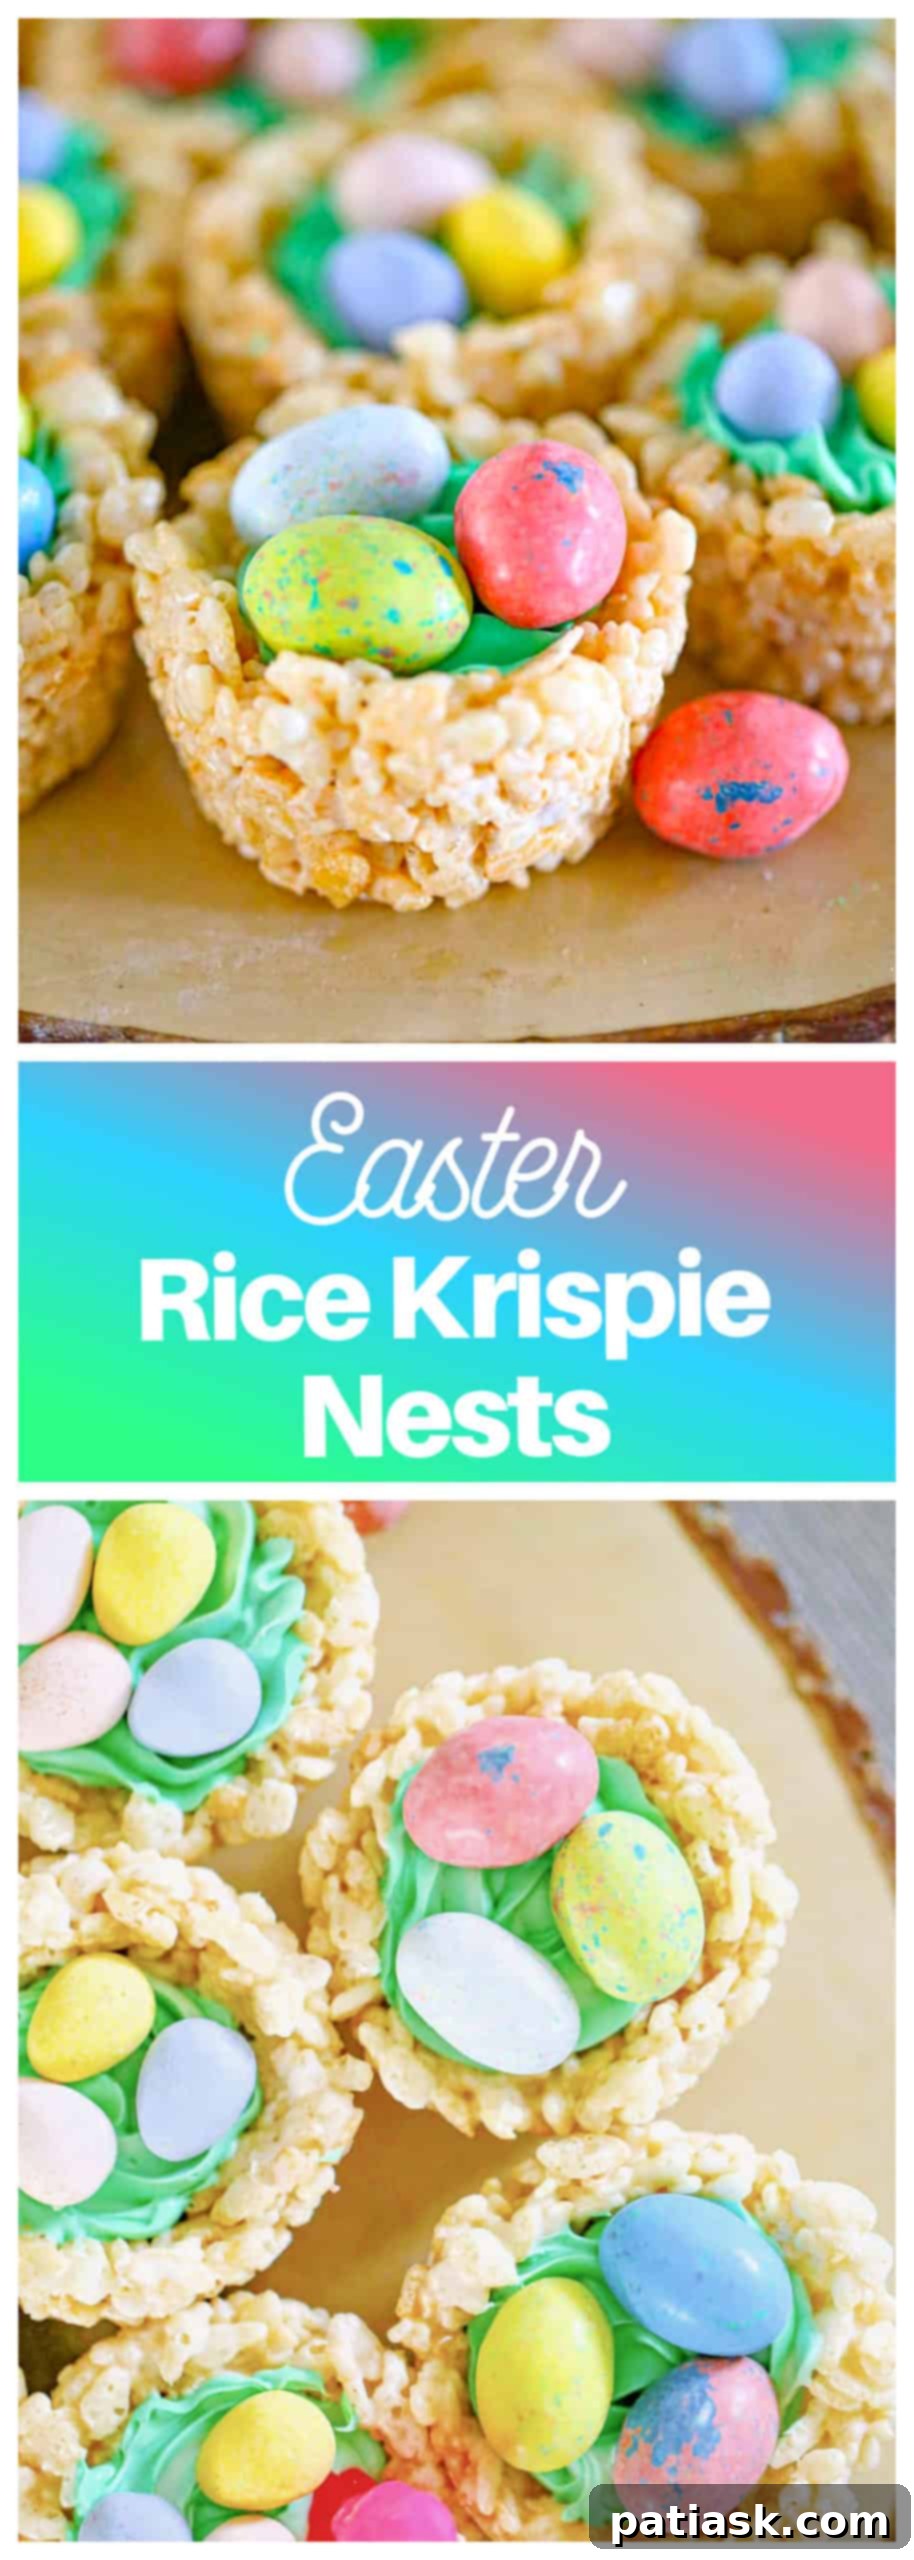
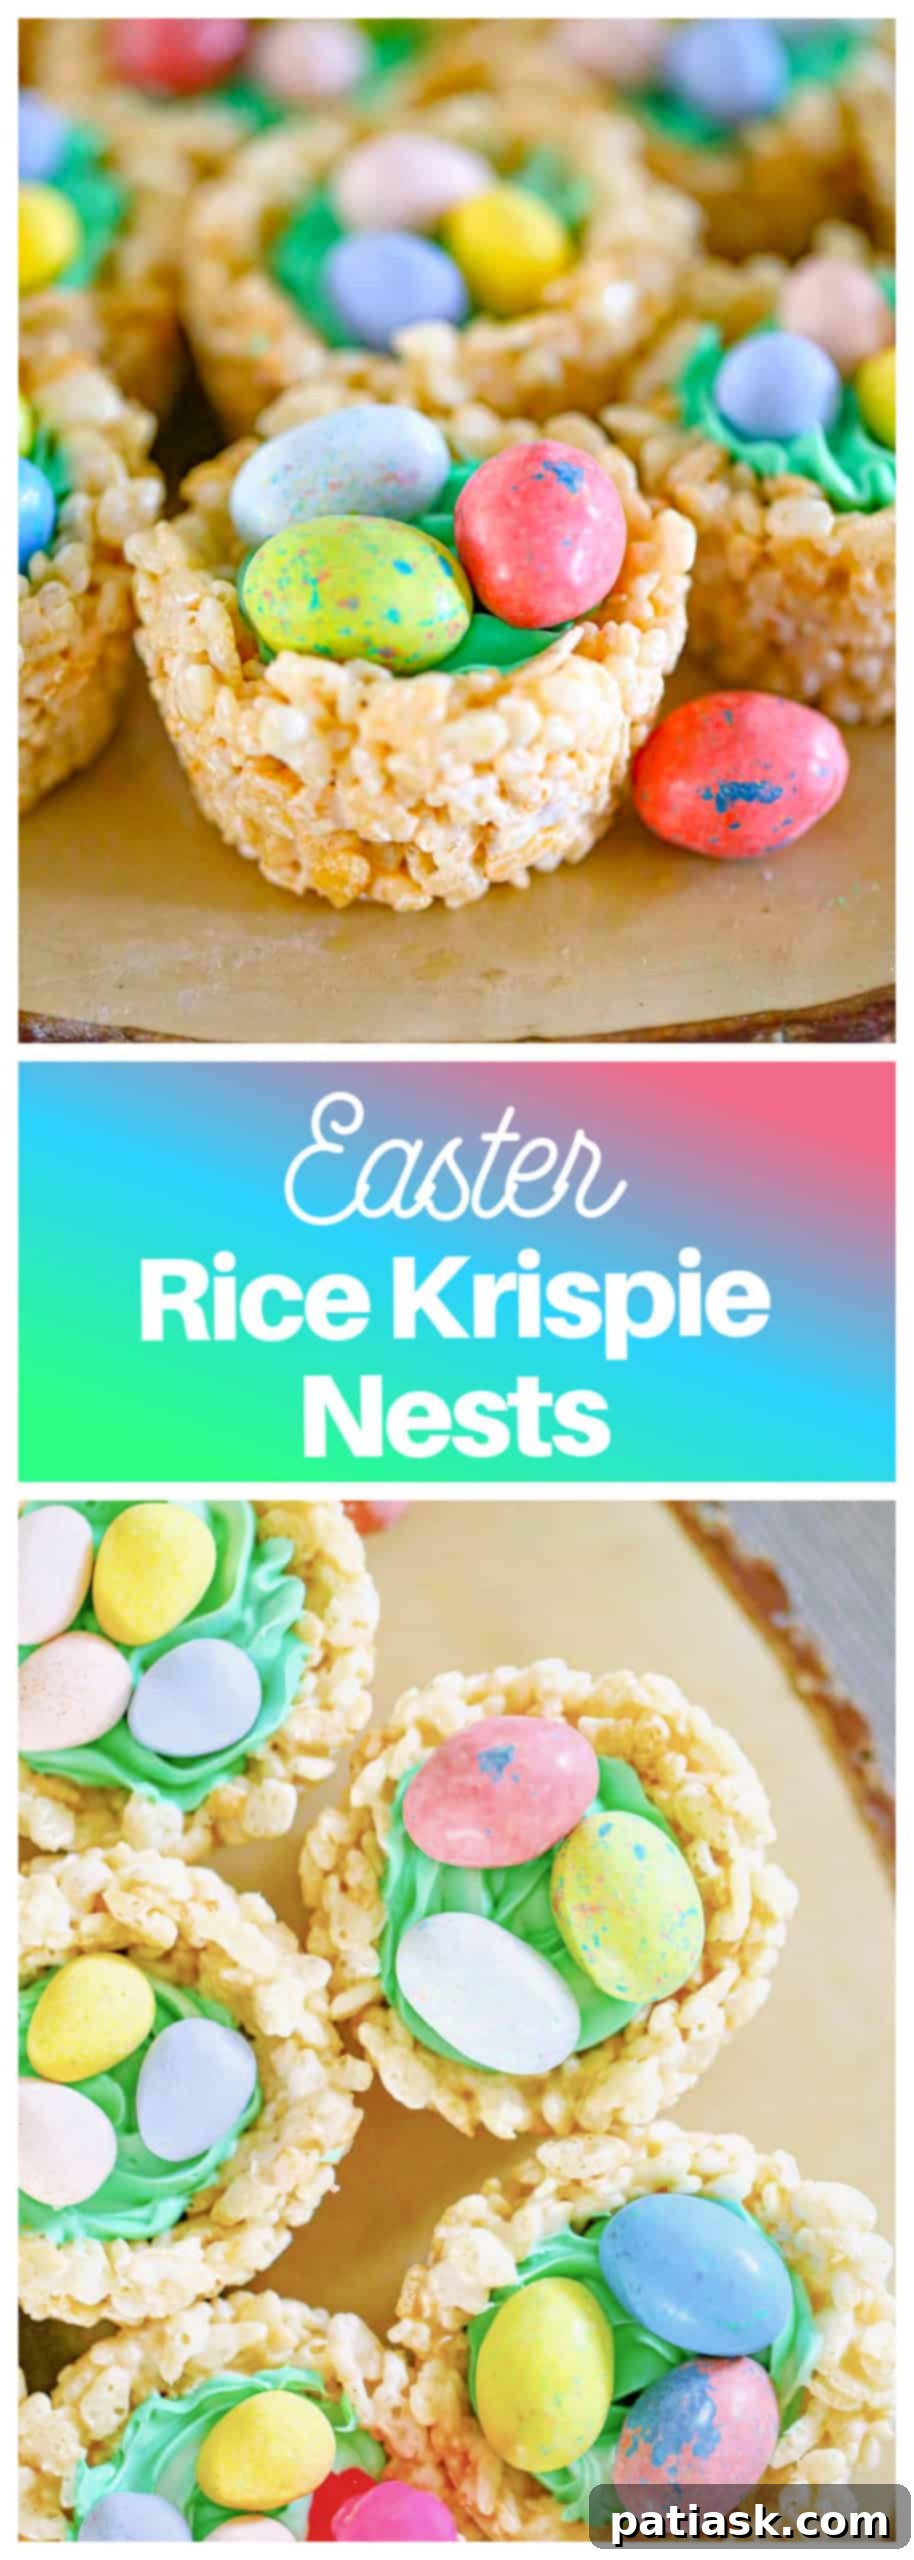
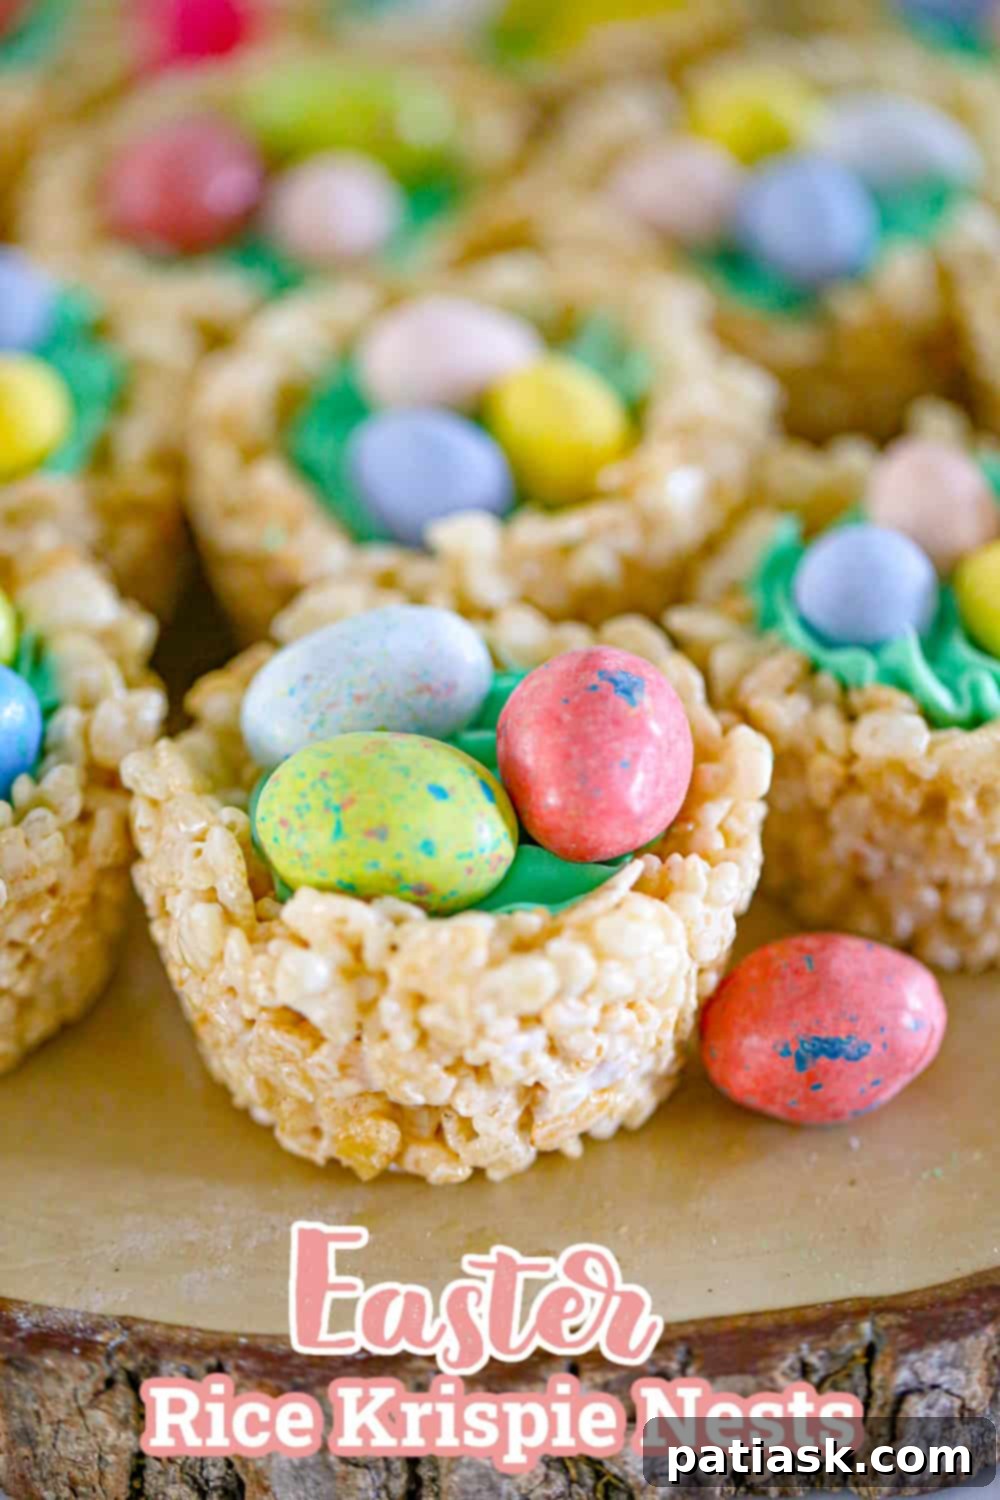
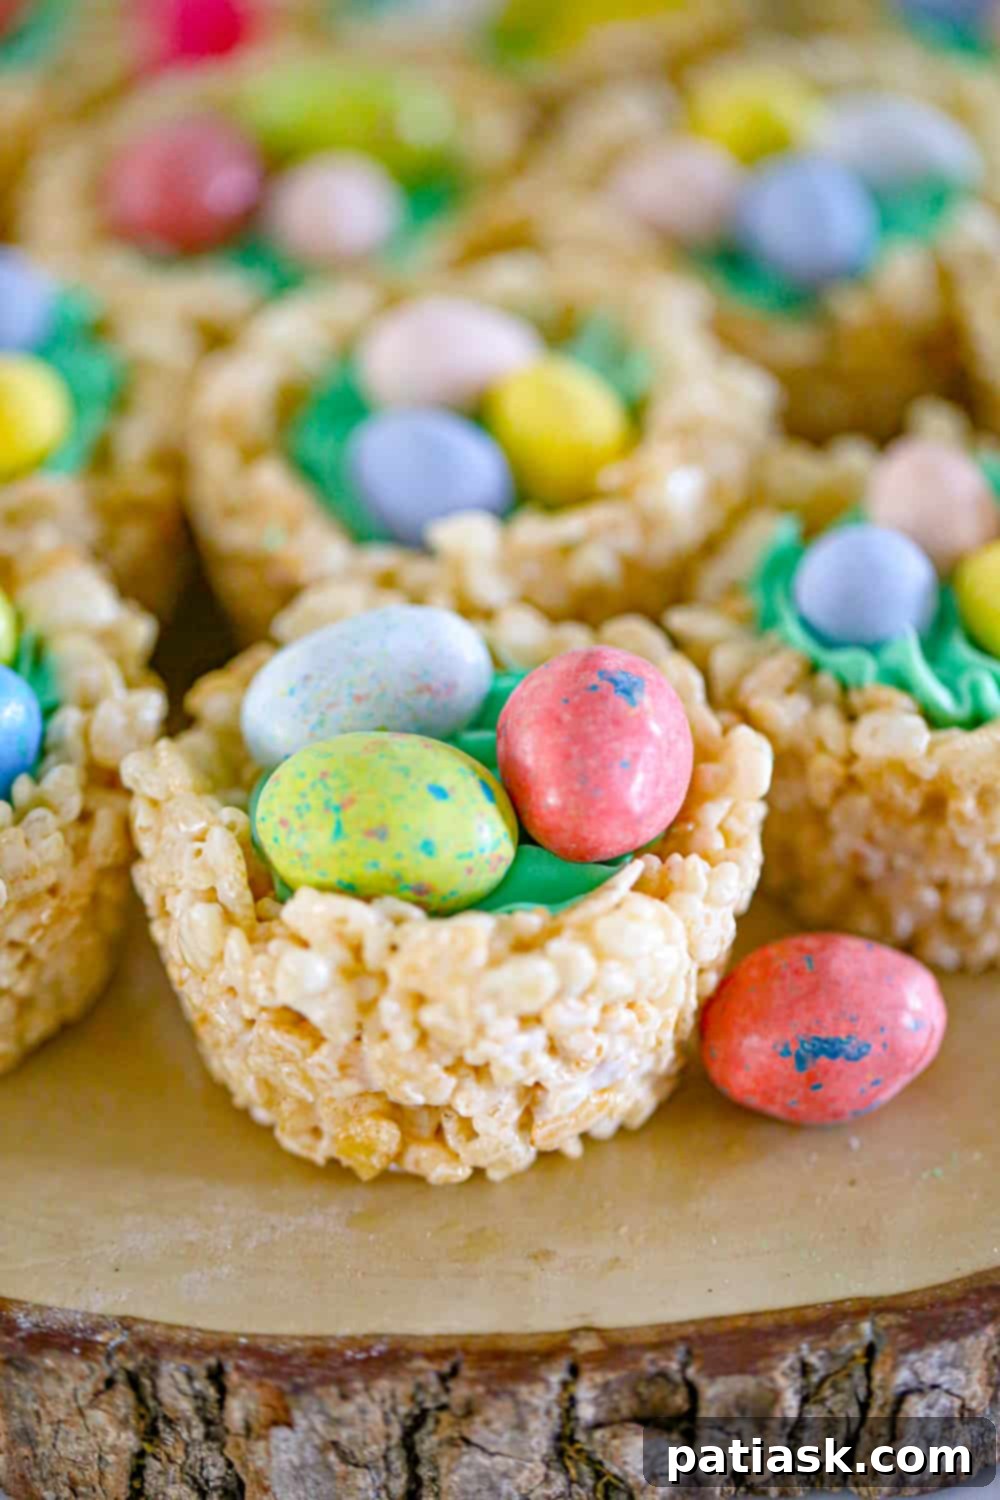
Are you searching for a wonderfully simple yet utterly charming dessert to celebrate the spring season and Easter festivities? Look no further! These Easter Rice Krispie Nests are not just a treat for the taste buds but also a feast for the eyes. Imagine golden, crispy marshmallow cereal shaped into darling mini nests, each cradling a swirl of vibrant green buttercream frosting, and adorned with colorful Easter egg candies. They are the epitome of springtime joy, incredibly easy to make, and guaranteed to bring smiles to faces of all ages.
This delightful recipe takes the classic, beloved Rice Krispie treat and transforms it into a festive masterpiece, perfect for Easter brunch, a family gathering, or simply a fun baking project with the kids. It’s a no-bake wonder, meaning less time in the kitchen and more time enjoying the holiday! For more Easter celebrating, you’ll love our 20 Amazing Easter Brunch Desserts You’ll Rise For and these Easter Egg Sugar Cookies!
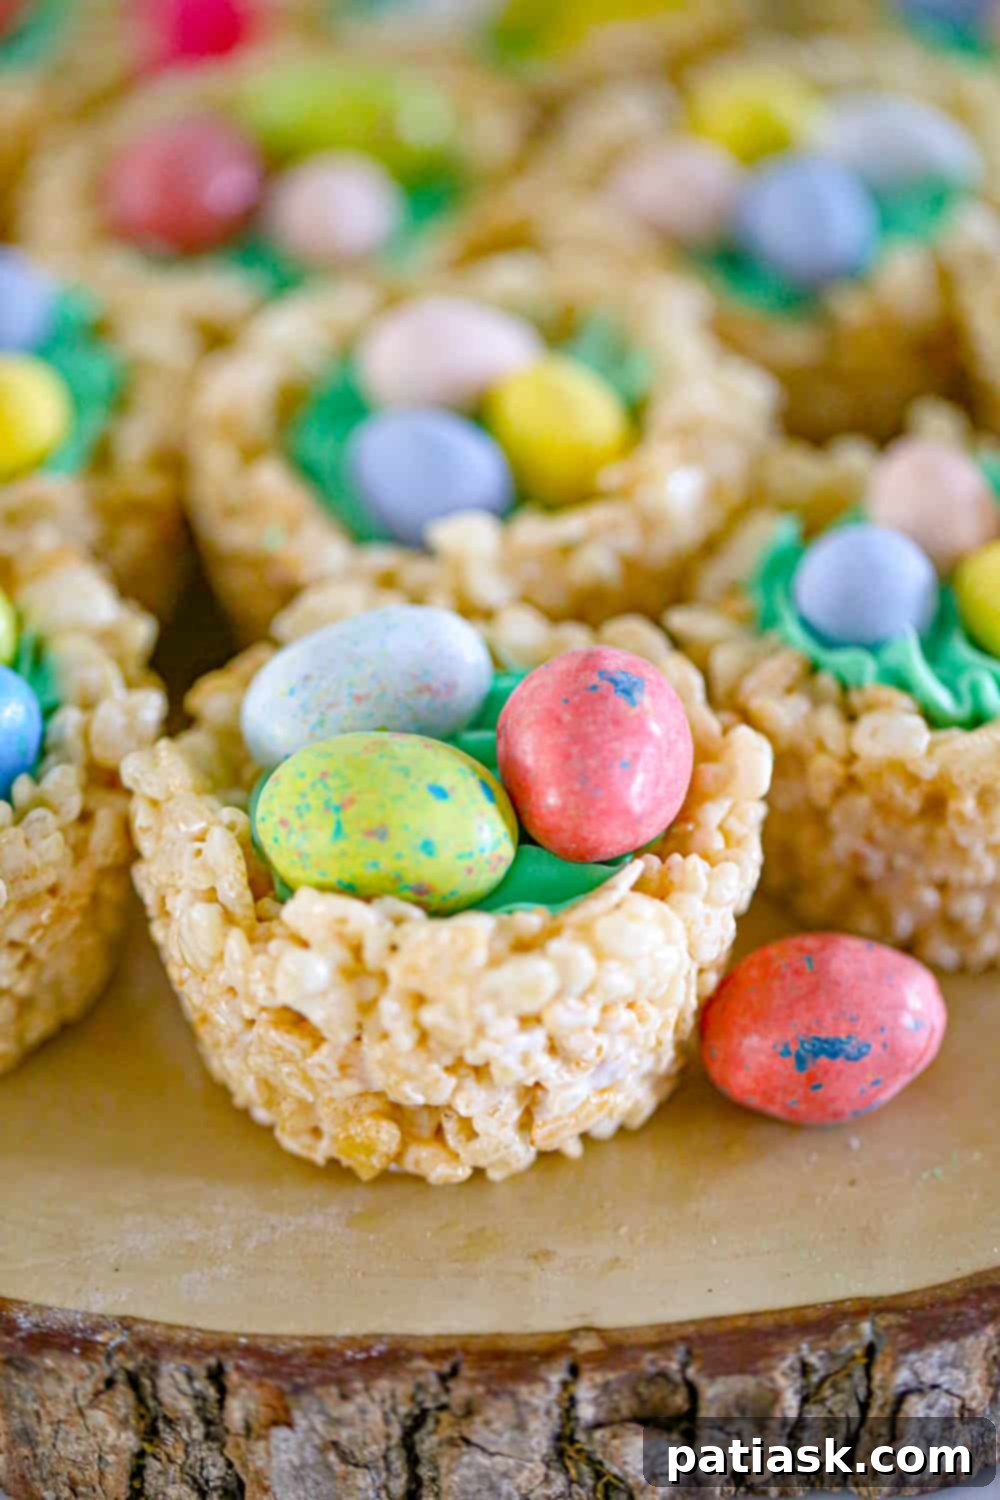
Why These Easter Rice Krispie Nests Will Become Your Go-To Spring Dessert
Since their inception, Rice Krispie treats have held a special place in the hearts of many, a nostalgic nod to childhood and simple pleasures. This Easter-themed variation takes that fondness to a whole new level of seasonal delight. Our Easter Rice Krispie Nests are a consistently popular choice, and for good reason!
- Effortlessly Adorable: The nest shape is inherently cute and perfectly symbolizes spring and new beginnings. They add a whimsical touch to any Easter spread, making them an instant favorite for both children and adults.
- Kid-Friendly Fun: From mixing the simple ingredients to shaping the nests and, of course, the grand finale of placing the candies, children can actively participate in almost every step. This makes it a wonderful family activity, creating cherished memories along with delicious treats.
- No-Bake Simplicity: Forget turning on the oven! This recipe is entirely no-bake, making it an ideal choice for busy holidays, warm spring days, or when you simply want a quick and easy dessert. The minimal cleanup is an added bonus!
- Crowd-Pleasing Flavor: The timeless combination of sweet, chewy marshmallows, crunchy Rice Krispies cereal, and rich, creamy buttercream frosting is universally loved. It’s a comfort food classic reinvented for a festive occasion.
- Versatile Decoration: These nests are a blank canvas for your creativity! Easily customize them with your favorite Easter candies, vibrant sprinkles, or even a hint of shredded coconut (tinted green for extra “grassiness”) for a unique textural twist.
Whether you’re looking for an impressive display for your Easter basket treats, a charming addition to your Easter brunch spread, or just a delightful snack to enjoy, these cereal nests fit the bill perfectly. They are sure to be a focal point on any party tray, sparking conversations and smiles!
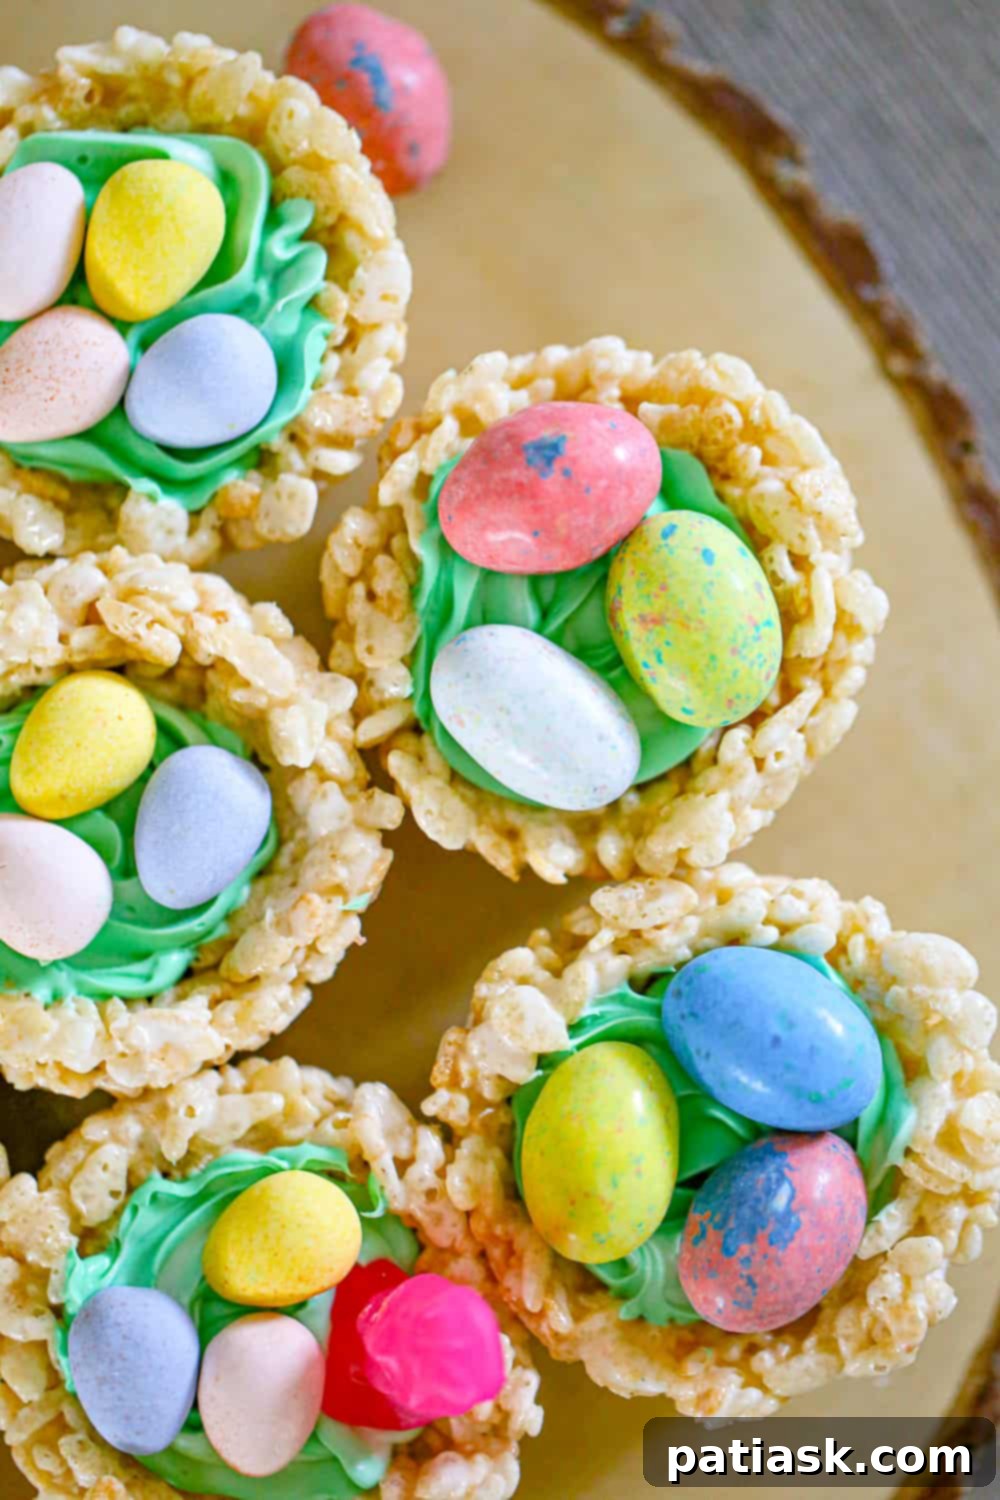
What Exactly are Easter Rice Krispie Nests?
At their core, Easter Rice Krispie Nests are a festive twist on the classic marshmallow cereal treat, a confectionary staple dating back to the 1930s. We take a buttery, gooey marshmallow and Rice Krispie mixture, mold it into charming, individual nest shapes, typically using a muffin tin for perfect portioning and uniformity. The process is surprisingly simple, yet the results are incredibly effective and adorable.
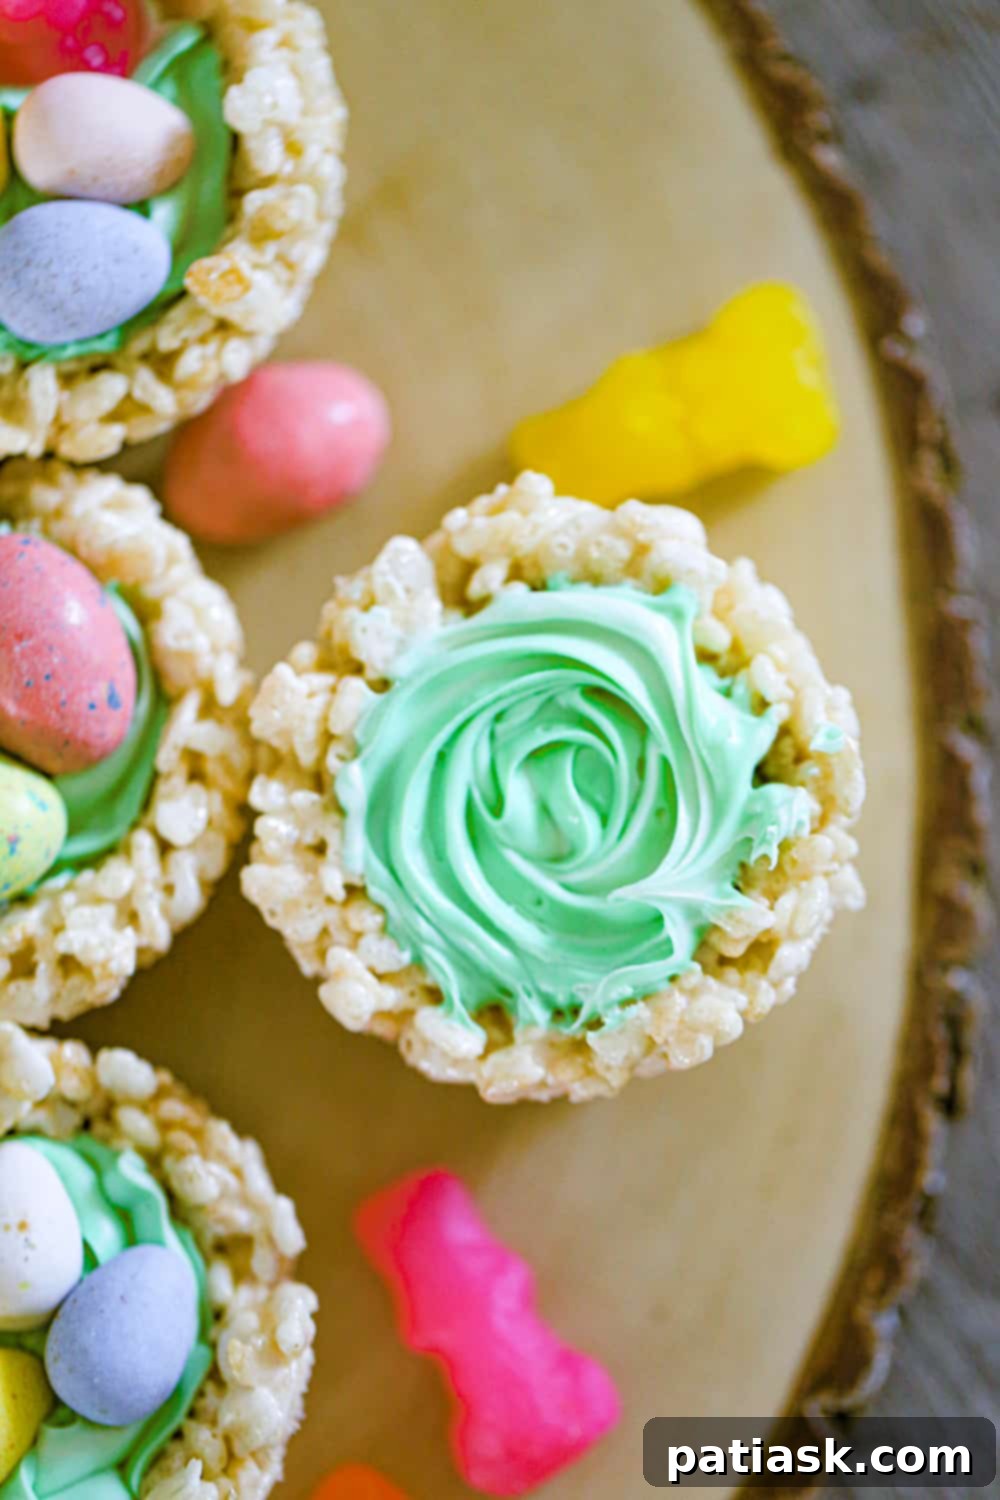
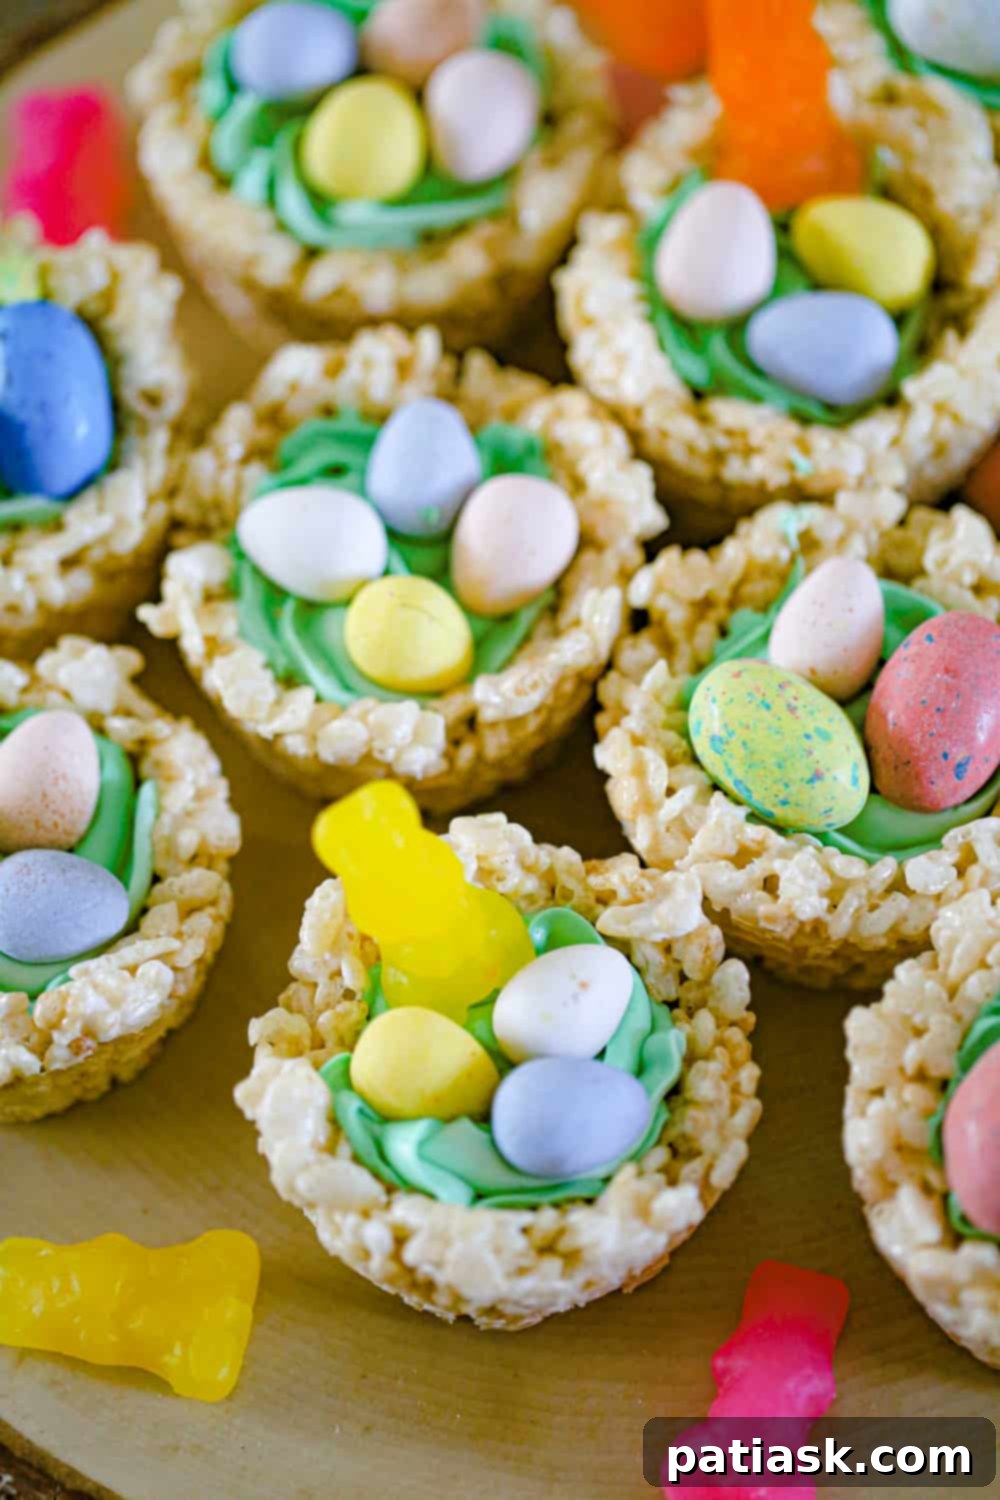
Once the crispy nests have set, they are ready for their decorative fill. Each nest is then crowned with a smooth, luscious buttercream frosting, often tinted a vibrant green to perfectly mimic fresh spring grass. The final, magical touch comes with a scattering of colorful Easter egg candies, nestled into the frosting. These “eggs” bring a burst of color and a playful nod to the Easter season, making each nest a tiny, edible celebration of spring and new life!
This recipe is more than just a dessert; it’s an experience. It evokes the joy of spring, the excitement of Easter egg hunts, and the comfort of homemade treats, all contained within one adorable, easy-to-handle package. They’re often lighter than traditional cakes or cookies, and offer a delightful textural contrast with their crispy base and creamy topping, making them a standout on any dessert table.
Essential Ingredients for Your Rice Krispie Nests
Crafting these delightful nests requires a few basic ingredients, most of which you likely already have readily available in your pantry. Opting for fresh, good-quality ingredients will always yield the best results and the most flavorful treats. This section will guide you through what you’ll need for both the crispy nests and the delectable buttercream frosting.
For the Rice Krispie Bird Nests:
- Marshmallows: The star of the show! These sweet, pillowy confections provide the necessary binding agent and contribute to the irresistibly chewy texture. For the smoothest melt and softest treats, always opt for fresh marshmallows. You can use mini marshmallows, which melt faster, or regular-sized ones, which will take a little longer.
- Rice Krispies Cereal: This iconic cereal is what gives the nests their signature light, airy, and crunchy texture. Ensure your cereal is fresh and crispy; stale cereal will result in a less satisfying treat.
- Butter: Essential for adding a rich flavor, a subtle golden hue, and crucial for preventing the marshmallow mixture from sticking excessively. Unsalted butter is generally preferred in baking as it gives you complete control over the final saltiness of your dish, though salted butter can also be used (just be mindful of the added salt in the frosting).
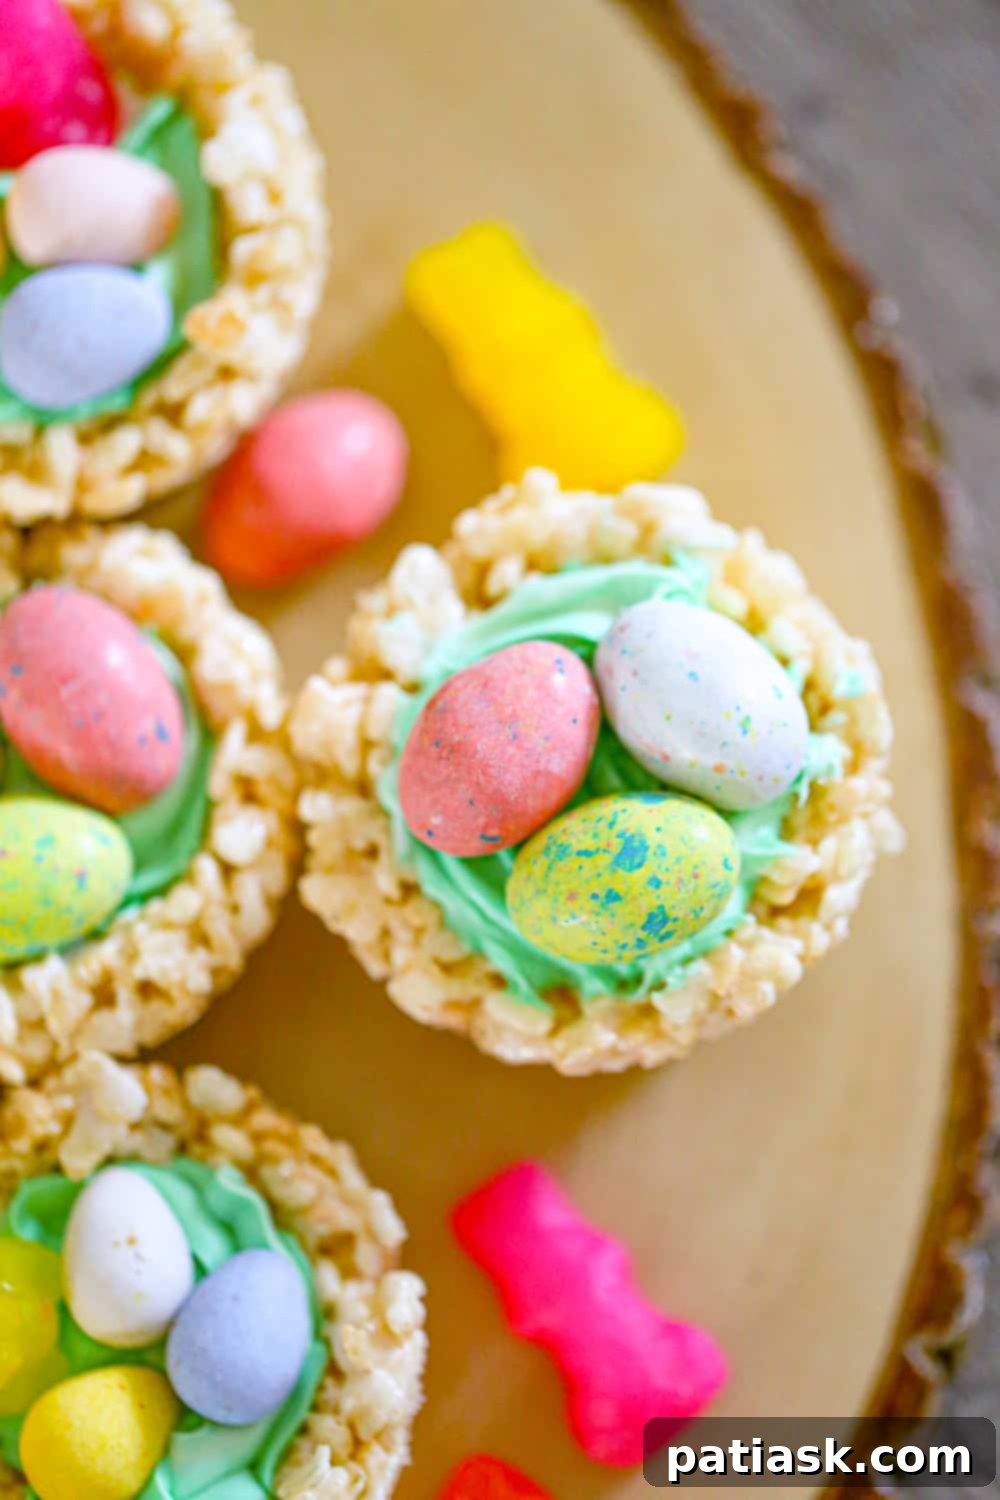
- Easter Egg Candies: These are absolutely crucial for the “egg” effect, transforming your cereal treats into charming bird nests! The beauty here is in the variety. Popular choices include classic malted milk ball eggs (like Whoppers Robin Eggs), various chocolate eggs (Cadbury Mini Eggs, Reese’s Peanut Butter Eggs), or even an assortment of colorful jelly beans. Choose a variety of sizes and colors to create a visually appealing and exciting display.
For the Creamy Buttercream Frosting:
- Unsalted Butter: The foundation of a good buttercream. It’s vital that your butter is softened to room temperature before you begin, as this allows it to cream smoothly with the sugar, resulting in a light and lump-free frosting.
- Powdered Sugar (Confectioners’ Sugar): This fine sugar provides the bulk, sweetness, and structure to the buttercream. Sifting the powdered sugar before adding it can help prevent any lumps, ensuring a truly silky-smooth consistency.
- Milk of Choice: A small splash of milk (dairy or a preferred non-dairy alternative) helps to thin the frosting to the perfect consistency for piping. Always start with a small amount and add more gradually, as needed, to avoid making the frosting too runny.
- Vanilla Extract: This classic flavoring agent enhances the overall sweetness of the buttercream and adds a lovely aromatic depth. Pure vanilla extract will always offer the best and most authentic taste.
- Green Food Coloring or Gel Paste: To give your frosting that lovely, vibrant, grass-like hue, essential for the nest theme. Gel pastes are often recommended as they provide more intense color with less liquid, which is ideal for maintaining the desired consistency of buttercream.
- Salt: A tiny pinch of salt in your buttercream might seem counterintuitive, but it plays a crucial role in balancing the sweetness, making the flavors pop and preventing the frosting from being overly sugary.
Step-by-Step Guide: Crafting Your Delicious Rice Krispie Nests
Making these delightful Easter Rice Krispie Nests is a straightforward and enjoyable process, perfect for beginner bakers and seasoned pros alike. Follow these simple, detailed steps for perfect results every time.
How to Make the Crispy Rice Krispie Nests:
- Prepare Your Muffin Pans: Begin by lightly greasing or generously spraying standard-sized muffin pans with a non-stick cooking spray. This crucial preparatory step ensures that your sticky cereal nests will release easily and cleanly from the tins once set, preventing any frustration. Set the prepared pans aside, ready for the mixture.
- Melt Marshmallows and Butter: In a large, microwave-safe bowl (ensure it’s spacious enough to accommodate the marshmallows expanding as they melt), combine your marshmallows and butter. Microwave on high for approximately 1.5 to 2 minutes, pausing to stir halfway through. Keep a close eye on the mixture to prevent scorching or overflowing, until they are fully melted and perfectly smooth. As an alternative, you can melt them over low heat on the stovetop in a large saucepan, stirring constantly until smooth and fully combined.
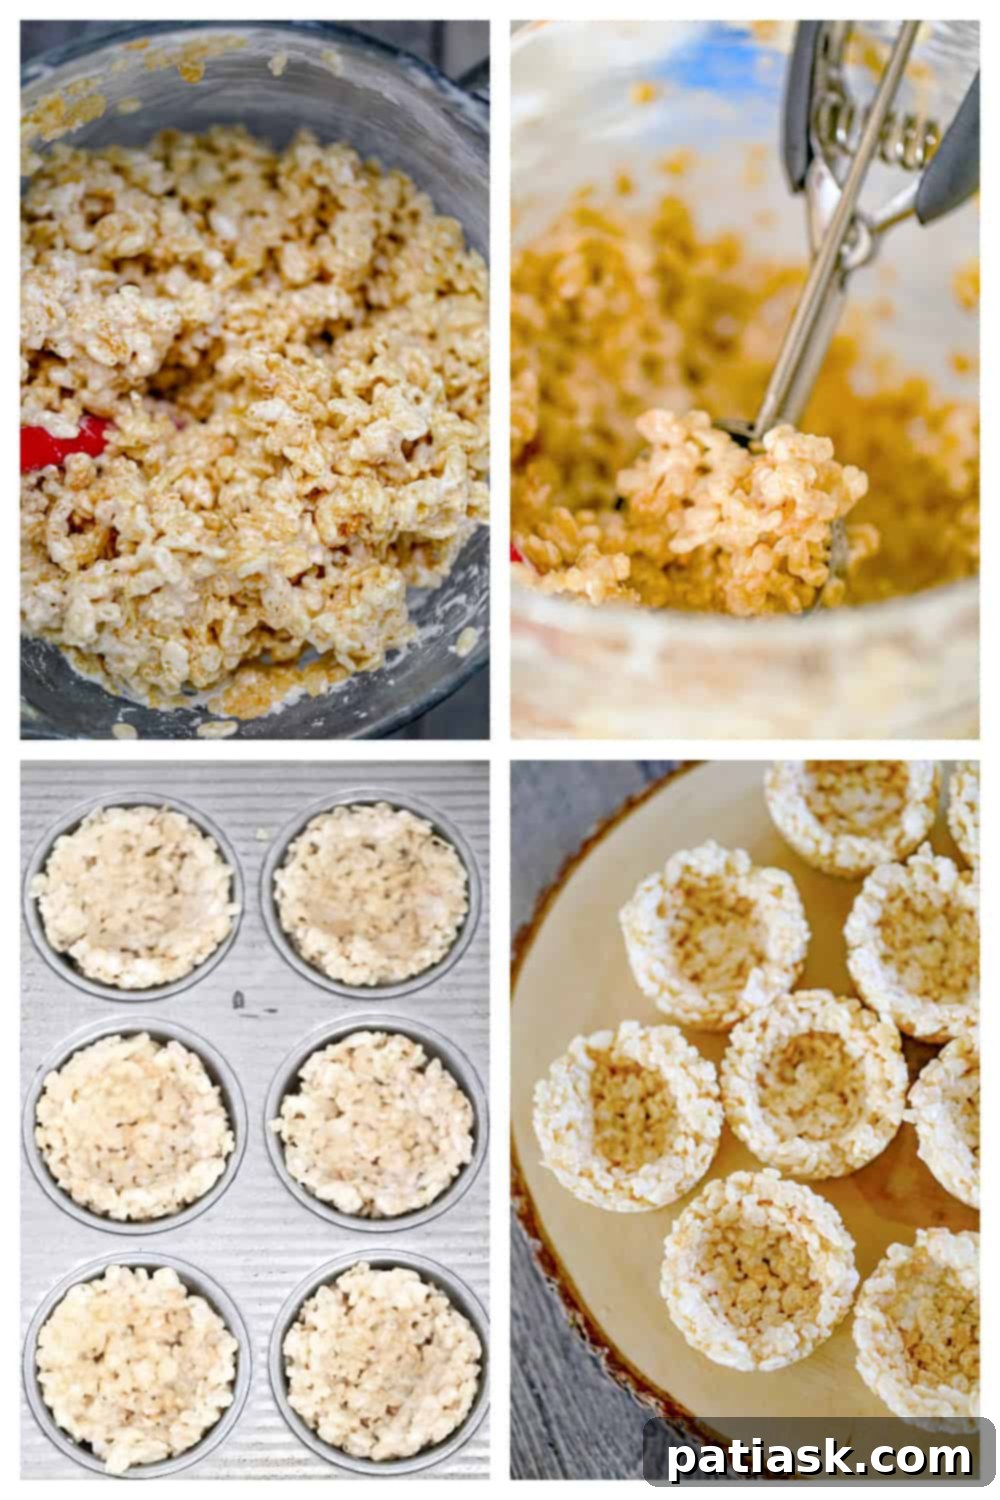
- Combine with Rice Krispies: Once the marshmallow and butter mixture is completely smooth and glossy, remove it from the heat source (if using the stovetop) or microwave. Immediately pour in the Rice Krispies cereal. Using a sturdy, lightly greased spatula or spoon, stir vigorously until every piece of cereal is evenly coated with the warm, sticky marshmallow mixture. Work quickly but thoroughly, as the mixture will become progressively more sticky and harder to mold as it cools.
- Shape the Nests: With your muffin pans ready and the cereal mixture still warm and pliable, use a lightly greased ice cream scoop or a well-oiled spoon to portion the sticky Rice Krispies into each prepared muffin tin. To form the signature nest shape, gently press down in the center of each portion with a piece of lightly greased wax paper or with your lightly wet fingertips. Create a distinct indentation in the middle; this hollow will serve as the perfect spot for your vibrant buttercream “grass” and colorful candy eggs.
- Allow to Set: Let the shaped Rice Krispie nests sit undisturbed at room temperature for at least 30 minutes. This allows them sufficient time to firm up and become stable, making them easier to handle and ready for frosting. If you’re in a hurry, you can accelerate this setting process by placing them in the refrigerator for about 15-20 minutes.
How to Make the Fluffy Buttercream Frosting:
While your crispy nests are setting, whip up this simple, luscious, and wonderfully vibrant buttercream frosting to complete your festive Easter treats!
- Cream Butter and Liquids: In a large mixing bowl, combine the softened unsalted butter, milk of your choice, vanilla extract, and the tiny pinch of salt. Add approximately half of the measured powdered sugar. Using an electric mixer (either a handheld mixer or a stand mixer fitted with the paddle attachment), beat on low speed until all ingredients are just combined. Then, increase the speed to medium-high and beat for about 3 to 5 minutes until the mixture transforms into a light, fluffy, and incredibly creamy consistency. Remember to scrape down the sides and bottom of the bowl periodically to ensure everything is evenly incorporated.
- Add Remaining Sugar and Color: Gradually add the remaining powdered sugar to the mixture, continuing to beat until it is fully incorporated and the frosting is smooth. If you find the frosting is too thick or stiff for piping, add a tiny bit more milk, half a teaspoon at a time, beating after each addition until it reaches your desired soft, pipeable consistency. Finally, add the green food coloring (or gel paste). Start with a small amount (a drop or two) and mix well, adding more gradually until you achieve a lovely, vibrant, grass-like green color that perfectly complements your Easter theme.
- Frost Your Nests: Carefully transfer the prepared green buttercream frosting into a piping bag. For a classic grass effect, use a star tip. If you don’t have a piping bag and tip, a sturdy ziploc bag with one corner snipped off will work just fine for a simpler look. Pipe the frosting into the hollow of each set Rice Krispie nest, creating a beautiful “grass” effect. Then, with great care and creativity, gently place your chosen colorful Easter egg candies on top of the frosting. Arrange them artfully to make each nest look like a little springtime treasure!
Expert Tips & Creative Variations for Your Easter Nests
Making these Easter Rice Krispie Nests is a joyous process, and a few expert tips can make it even smoother, more fun, and allow for delightful customization!
- Embrace Imperfection: Don’t feel pressured to make each nest perfectly uniform. The charming, handmade look is a significant part of their appeal. They are inherently easy to shape and mold within the muffin tins, and minor variations only add to their rustic, homemade character.
- Get the Kids Involved: This recipe is an absolutely fantastic activity for involving little helpers in the kitchen. Children can assist with stirring the cereal mixture (always under careful adult supervision, especially with warm ingredients), pressing the nests into the muffin tins, and undeniably with the most exciting part: carefully placing the colorful candy eggs on top! Older kids might even enjoy trying their hand at piping the icing.
- Frosting Shortcuts: If you find yourself short on time, or perhaps don’t have all the ingredients for a homemade buttercream, a high-quality store-bought vanilla or cream cheese frosting works wonderfully as a convenient shortcut. Simply transfer the pre-made frosting to a bowl, add a few drops of green food coloring, and mix it thoroughly until you achieve your desired grass-like shade.
- Candy Creativity: The possibilities for filling your nests are truly endless and part of the fun! While popular choices like Reese’s Cadbury Eggs and Whoppers Robin Eggs are classic, feel free to explore other options such as assorted jelly beans, mini chocolate eggs, playful jelly bunnies, iconic Peeps marshmallows, mini M&M’s, or any other Easter-themed candies you desire. Mixing and matching different types and colors of candy will create a visually stunning and diverse display.
- Add Texture and Sparkle: For an extra special touch and another layer of visual interest, consider sprinkling some toasted shredded coconut (which can also be tinted green with food coloring for extra “grassiness”) or colorful sprinkles over the buttercream before adding the eggs. This adds another dimension of texture and a festive sparkle.
- Prevent Stickiness: When you are actively working with the warm and sticky Rice Krispie mixture, your best friend will be a light coating of butter or non-stick cooking spray. Frequently grease your hands, your spatula, or the piece of wax paper you’re using to press the nests. This will significantly reduce sticking and make the shaping process much more manageable and enjoyable.
- Don’t Overcook Marshmallows: Be careful not to overheat the marshmallows, especially in the microwave, as this can lead to hard and brittle treats. Just melt until smooth and combined.
Storage Solutions for Your Easter Rice Krispie Nests
Proper storage is key to ensuring your beautiful and delicious Rice Krispie Nests stay fresh, delightfully chewy, and appealing for as long as possible after all your hard work.
- Room Temperature: If your nests are already frosted with buttercream, the best way to store them is in an airtight container at room temperature. They will maintain their quality for up to 2 days. It’s absolutely crucial to keep them well sealed, with no excess air exposure, as open air will quickly cause the Rice Krispie base to dry out and become hard and less appealing.
- Refrigeration: While buttercream frosting often benefits from refrigeration, placing the entire treat in the fridge can sometimes cause the Rice Krispie base to firm up more than desired. However, if your frosting contains ingredients that require refrigeration, or if you need to store them longer than 2 days, you can place them in an airtight container in the refrigerator for up to 4-5 days. For the best texture, allow the nests to come closer to room temperature for about 15-20 minutes before serving.
- Freezing (Unfrosted): For a fantastic make-ahead option, you can freeze the unfrosted Rice Krispie nests. Wrap each individual nest tightly in plastic wrap, then place them in an airtight freezer-safe container or a heavy-duty freezer bag, separated by sheets of wax paper if stacking. They will keep well in the freezer for up to 6 weeks. When you’re ready to serve, thaw them completely at room temperature before proceeding with adding the buttercream frosting and decorative candies.
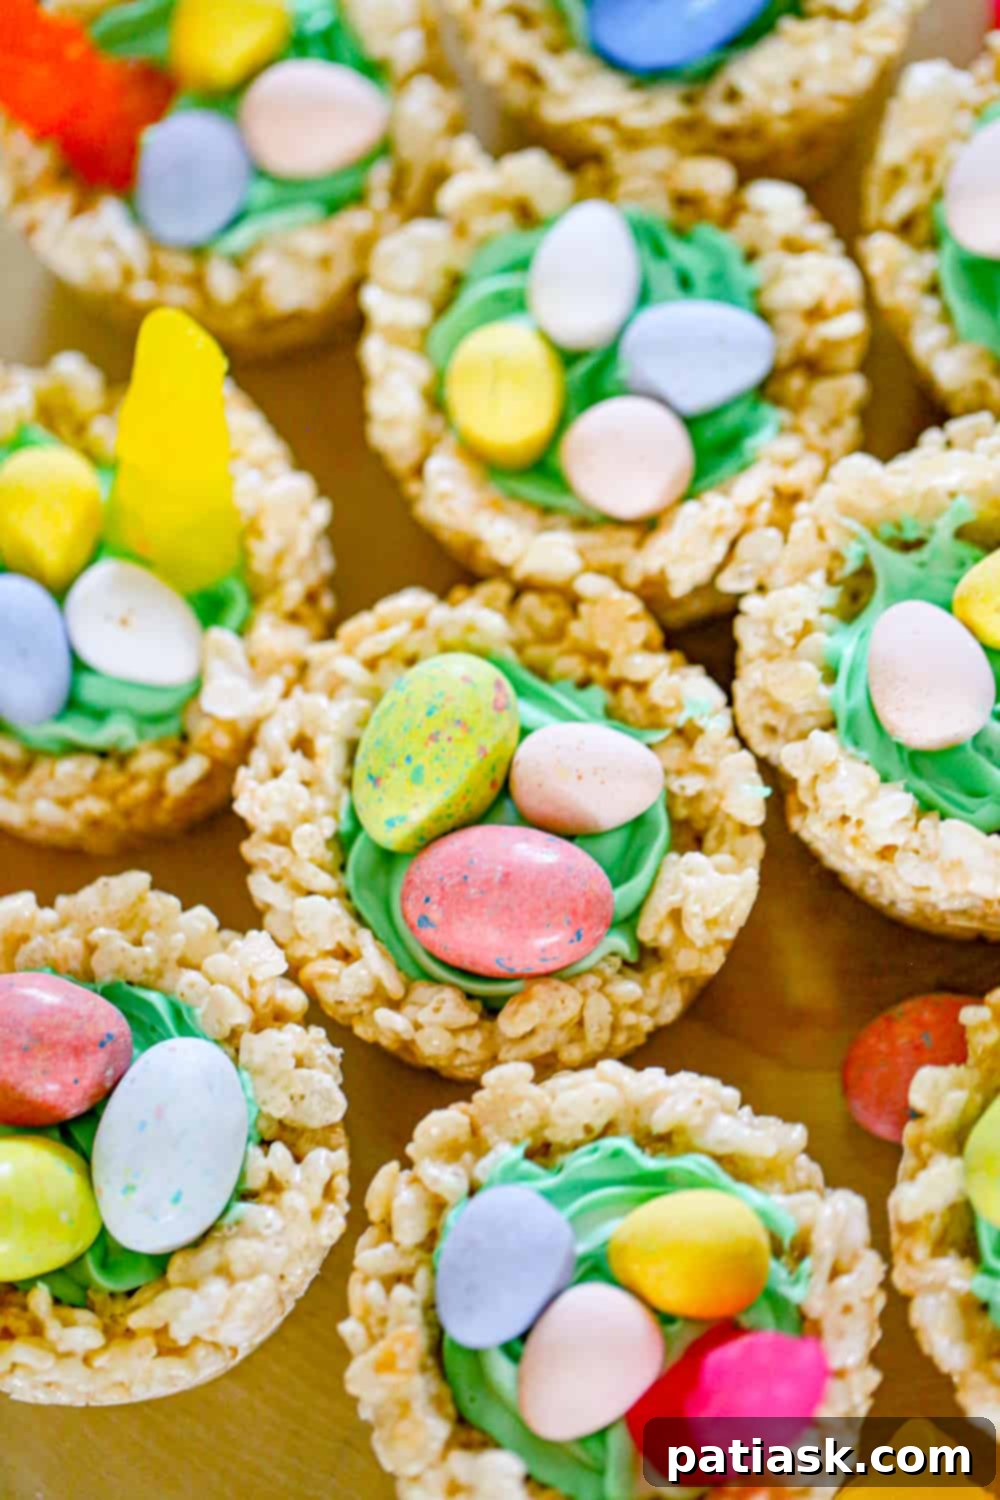
These Easter Rice Krispie Nests are not just a recipe; they are an invitation to create, celebrate, and enjoy the magic of Easter and the vibrant spring season with loved ones. Their ease of preparation, undeniable charm, and deliciousness make them an irresistible addition to any spring celebration, from casual family meals to elaborate brunches. So gather your ingredients, enlist your helpers, and get ready to whip up a batch of these crowd-pleasing, festive treats that are sure to be a highlight of your holiday!
Discover More Irresistible Easter Treats!
- Festive Easter M&M Chocolate Chip Blondies
- Simple & Sweet Easter Bunny Cake Decoration Ideas
- Top 10 Easter Whoppers Robin Egg-Tastic Sweets!
- Vibrant Rainbow Rice Krispie Treats
- Delicious Chocolate Chip Mini Bundt Cakes
- Creative Cadbury Egg Rice Krispies Treats
- Indulgent Carrot Cake Cream Cheese Bars
Easter Rice Krispie Nests
By Kim Lange
These fun Easter Rice Krispie Nests are so adorable and simple to make! Marshmallow Rice Krispie treats are shaped into cute mini nests and topped with a delicious, creamy buttercream frosting and colorful Easter egg candies!
Print Recipe
Pin Recipe
Prep Time: 10 mins
Cook Time: 2 mins
Course: Dessert
Servings: 30 Servings
Ingredients
Rice Krispie Nests
- 16 oz marshmallows
- 7 cups Rice Krispies
- 2 tablespoons butter
- Easter Egg Candies (such as Whoppers Robin Eggs, Cadbury Mini Eggs, or jelly beans)
Buttercream Frosting
- ½ cup unsalted butter (softened)
- 3-4 cups powdered sugar (sifted)
- ¼ cup milk of choice
- 1 teaspoon vanilla extract
- Green food coloring or gel paste
- ¼ teaspoon salt
Instructions
Rice Krispie Nests
- Grease or spray muffins pans with non-stick spray and set aside.
- Melt marshmallows and butter in a microwave-safe bowl for about 2 minutes. Watch closely to ensure they don’t overflow. Stir until smooth.
- Stir together until well blended and pour in Rice Krispies. Stir until well combined.
- Take an ice cream scoop or spoonful and add the Rice Krispies mixture into each greased muffin pan tin. Press down with wax paper or use wet fingertips to make a dip in the center of the nests for the frosting and candy eggs.
- Let treats set for a half hour at room temperature or 15 minutes in the refrigerator. Meanwhile, prepare the Buttercream Frosting.
Buttercream Frosting
- Using an electric mixer, beat the softened butter, milk, vanilla, and salt with half of the powdered sugar in a large bowl. Mix until smooth and creamy, about 5 minutes. Then, gradually add the remaining powdered sugar and green food coloring until you achieve your desired color and consistency.
- Pipe the frosting into your set Rice Krispie nests and top generously with your chosen Easter egg candies.
Keyword: buttercream frosting, easter, easter desserts, eggs, party treats, rice krispie treats
Tried This Recipe? Let us know how it was by commenting below!
