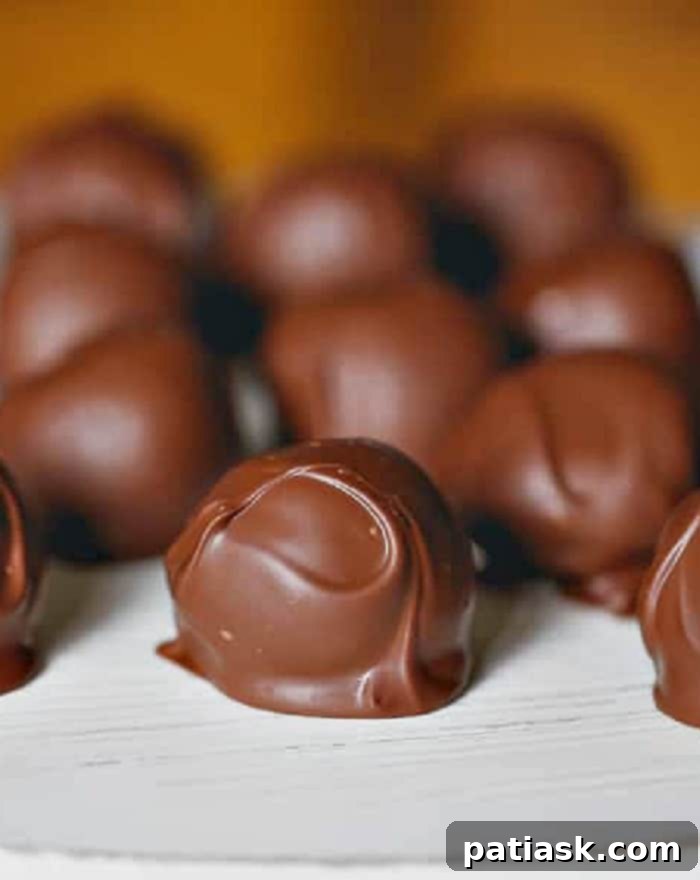
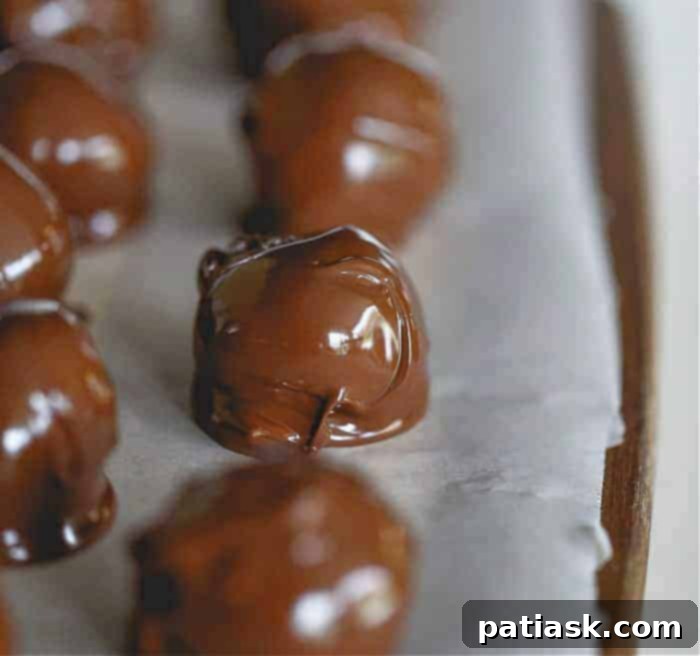
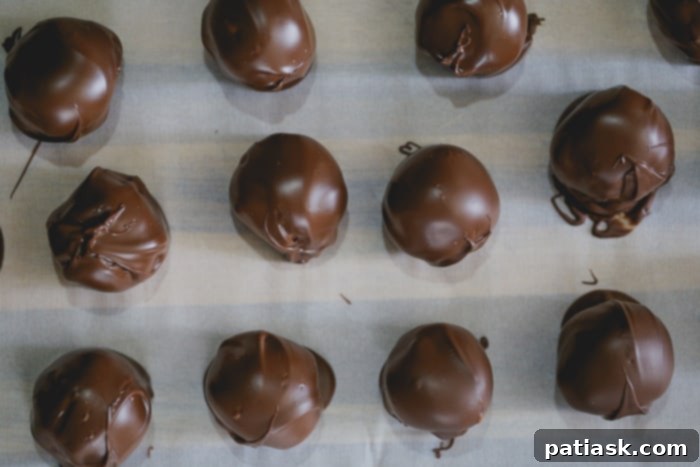
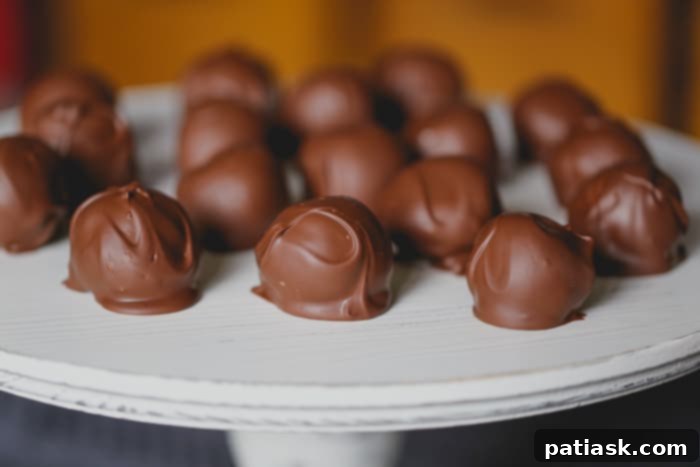
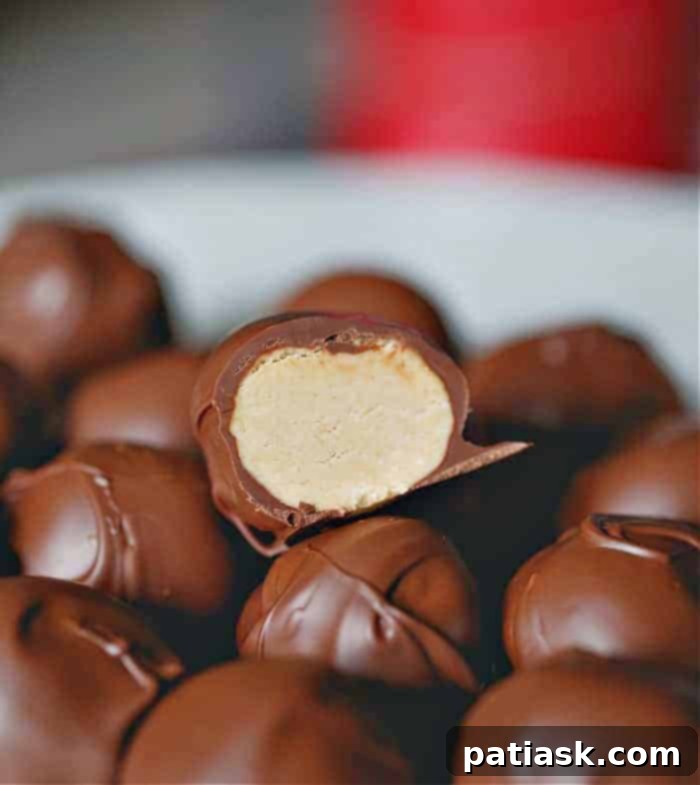
Indulge in the ultimate sweet escape with these incredibly decadent and remarkably simple Milk Chocolate Peanut Butter Truffles. Each bite offers a harmonious blend of creamy, nutty peanut butter encased in a smooth, rich milk chocolate shell. This isn’t just a dessert; it’s a little piece of heaven, perfect for satisfying your deepest cravings or impressing guests with minimal effort.
Forget complicated baking techniques and lengthy preparation times. Our no-bake Milk Chocolate Peanut Butter Truffles recipe is designed for ease, allowing you to whip up a batch of these irresistibly delicious homemade chocolate and peanut butter delights in no time. Whether you’re a seasoned baker or a kitchen novice, you’ll find joy in creating these perfect bite-sized confections.
Beyond being an effortless treat, these truffles are incredibly versatile. They make an excellent addition to any holiday dessert platter, a thoughtful homemade gift, or simply a well-deserved indulgence for yourself. Prepare to fall in love with the classic combination of chocolate and peanut butter in its most luxurious form. For more delightful no-bake ideas, explore our Pumpkin Oreo Truffles and Easy Brownie Truffles, or discover a treasure trove of 60 Easy No Bake Christmas Treats!
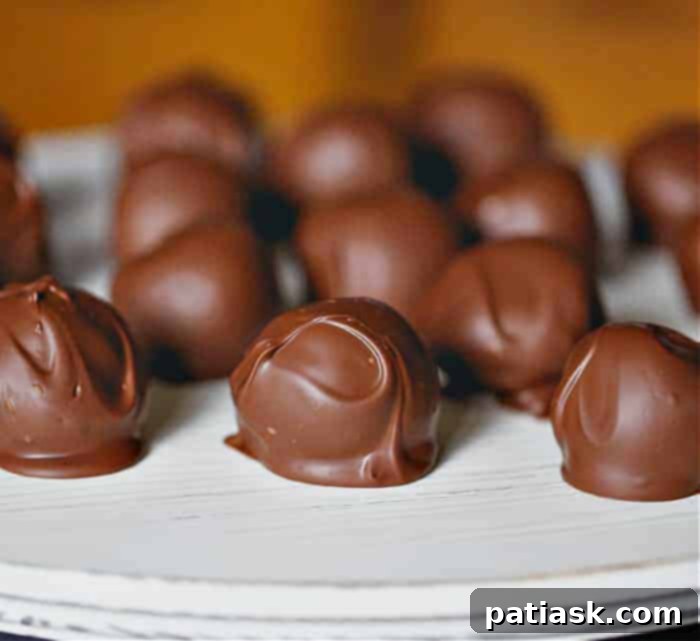
Crafting Joy: Irresistible Milk Chocolate Peanut Butter Truffles for Every Occasion
Searching for a show-stopping sweet treat that requires minimal effort but delivers maximum impact? Look no further! These soft, creamy peanut butter truffles, elegantly enrobed in a rich, milk chocolate shell, are your answer. With ingredients you likely already have on hand, you can create and serve these decadent homemade truffles within an hour. Doesn’t that just sound like pure bliss?
Whether you’re planning a festive gathering, assembling a party dessert tray, or preparing thoughtful culinary gifts for friends and family, these Milk Chocolate Peanut Butter Truffles are a perfect choice. They’re also ideal for those moments when you simply want to treat yourself to something extraordinary. And let’s be honest, who could blame you for wanting to hoard these delightful confections? The combination of chocolate and peanut butter is notoriously addictive, making these truffles incredibly hard to resist. ‘Tis the season to share, or perhaps, to savor every last bite yourself – no judgment here!
Why You’ll Adore This No-Bake Truffle Recipe
There are countless reasons why these Milk Chocolate Peanut Butter Truffles will become a staple in your recipe collection:
- Effortlessly Easy: This is a true no-bake wonder! No oven required, just simple mixing and chilling.
- Crowd-Pleasing Flavors: The classic pairing of rich milk chocolate and creamy peanut butter is universally loved, making these truffles a guaranteed hit at any event.
- Quick to Prepare: From start to finish, you can have a batch of these delicious treats ready in about an hour, plus chilling time. Perfect for last-minute dessert needs.
- Perfectly Giftable: Arrange them in a decorative box or cellophane bag for a charming homemade gift during holidays or special occasions.
- Customizable: Easily adapt the recipe with various toppings or different types of chocolate to suit your preferences.
Essential Ingredients for Your Milk Chocolate Peanut Butter Truffles
Crafting these heavenly truffles requires only a handful of common pantry ingredients. The key to their exquisite taste lies in using quality components, especially for the chocolate. Here’s what you’ll need to create about 20-25 delectable truffles:
For the Creamy Peanut Butter Truffle Filling:
- Unsalted Butter: Softened to room temperature, this provides the base for a smooth, rich filling.
- Smooth Peanut Butter: The star of the show! Opt for a creamy variety for the best texture. Avoid natural peanut butter that separates, as it can make the mixture oily.
- Salt: Just a pinch enhances the flavors and balances the sweetness. This is optional but highly recommended.
- Powdered Sugar: Also known as confectioners’ sugar, it gives the truffles their delicate, melt-in-your-mouth texture without any grittiness.
- Vanilla Extract (Optional): A hint of vanilla adds an extra layer of warmth and complexity to the peanut butter flavor.
For the Luxurious Chocolate Coating:
- High-Quality Milk Chocolate Chips or Bar: This forms the primary coating. Using a good quality chocolate will significantly impact the final taste and texture of your truffles. If using a bar, chop it into small, even pieces for easier melting.
- High-Quality Semi-Sweet Chocolate Chips or Bar (Optional): A small amount of semi-sweet chocolate can be added to the milk chocolate for a slightly richer, less sweet coating, or used for decorative drizzles.
- Vegetable Oil, Coconut Oil, or Canola Oil (Optional): A teaspoon of neutral-flavored oil can be added to the melted chocolate to thin it slightly, making dipping easier and giving the coating a smoother, glossier finish.
Step-by-Step Guide: How to Make Homemade Milk Chocolate Peanut Butter Truffles
Making these delightful peanut butter truffles is a straightforward process. Follow these simple instructions for perfect results every time.
- Using a mixer, beat the softened unsalted butter until it’s light and creamy. Next, add the smooth peanut butter and the pinch of salt. Continue to beat the mixture until it is smooth and thoroughly combined, with no streaks of butter remaining. Finally, gradually add the powdered sugar, beating on low speed until just combined. The mixture will appear crumbly at this stage, which is exactly what you want. When gathered, it should easily come together to form a soft dough. (See tips below if you are having issues with the consistency.)
- Once your peanut butter mixture is ready, begin rolling it into uniform 1-inch balls. A small cookie scoop can be incredibly helpful for creating consistently sized truffles. Place each rolled ball onto a baking tray that has been lined with parchment paper or a silicone mat. You should yield approximately 20-25 truffle balls. Once all balls are formed, place the tray in the refrigerator to chill for at least 40-50 minutes, or longer if needed. Chilling is crucial as it helps the balls firm up, preventing them from melting when dipped into the warm chocolate.
- Remove your chilled peanut butter balls from the refrigerator. While they are still firm, get ready to prepare your chocolate coating.
- Combine your high-quality milk chocolate chips (and optional semi-sweet chocolate chips) in a microwave-safe bowl. Heat the chocolate in short 20-second intervals, stirring thoroughly after each interval, until the chocolate is completely melted and smooth. Be careful not to overheat the chocolate, as this can cause it to seize. If you find the melted chocolate coating is too thick for dipping, stir in one teaspoon of vegetable, coconut, or canola oil until it reaches your desired consistency. Allow the melted chocolate to cool for a few minutes before you start dipping. This slight cooling period is vital to prevent the hot chocolate from melting your perfectly chilled peanut butter balls.
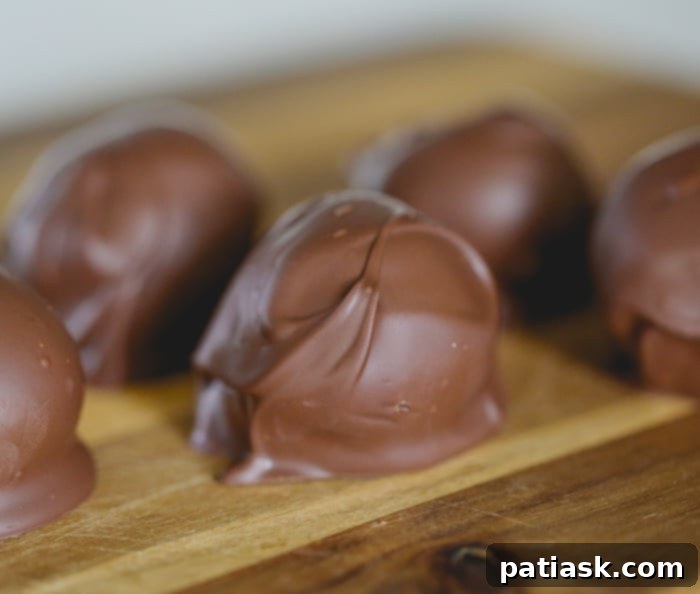
- Using a fork or a candy dipping tool, carefully dip each firm peanut butter ball into the melted chocolate, ensuring it’s fully coated. Gently tap off any excess chocolate against the side of the bowl. Place each chocolate-covered truffle back onto the parchment paper-lined baking sheet. See notes in recipe if you want to do a little extra decorating.
- Allow the truffles to set at room temperature until the chocolate hardens, which typically takes about an hour. For a quicker set, you can place the baking sheet back into the refrigerator for 5-10 minutes. Once the chocolate is firm, your Milk Chocolate Peanut Butter Truffles are ready to be enjoyed!
Storing Your Delightful Peanut Butter Candy Truffles
Proper storage ensures your homemade Milk Chocolate Peanut Butter Truffles remain fresh and delicious for as long as possible. Due to their creamy filling and chocolate coating, these truffles are best kept in a cool environment.
- Room Temperature: If your kitchen or pantry is cool (below 70°F or 21°C), you can store the truffles in an airtight container for up to 2 days. However, be mindful that the chocolate coating can become slightly soft in warmer conditions.
- Refrigerator: For extended freshness and to maintain the firm texture of the chocolate coating, store the truffles in an airtight container in the refrigerator for up to 2 weeks. This is our preferred method, especially if you live in a warmer climate or want to prepare them in advance. Allow them to come to room temperature for a few minutes before serving for optimal flavor and texture.
- Freezer: For long-term storage, Milk Chocolate Peanut Butter Truffles freeze exceptionally well! Place the set truffles in a single layer on a parchment-lined baking sheet and freeze until solid (about 1-2 hours). Once frozen, transfer them to a freezer-safe airtight container or freezer bag. They can be stored in the freezer for up to 2-3 months. Thaw them in the refrigerator overnight or at room temperature for about 30 minutes before serving.
Expert Tips & Creative Variations for Your Peanut Butter Truffles
Mastering these no-bake peanut butter truffles is easy, but a few expert tips and creative variations can elevate your treats even further. Here’s how to troubleshoot common issues and add your personal touch:
- Peanut Butter Filling Too Crumbly? If your peanut butter mixture doesn’t easily come together into a ball, it might be a little dry. Simply add a small amount of extra smooth peanut butter, about a tablespoon at a time, and mix until the desired consistency is achieved. It should be pliable enough to roll without crumbling.
- Filling Too Soft? Conversely, if your peanut butter mixture feels too soft and sticky to roll, chilling is your best friend. Place the dough in the refrigerator for about 15-20 minutes. After chilling, it should be much easier to handle and roll into balls. If you’re looking for extra texture, consider incorporating chopped peanuts, rice krispie cereal, or graham cracker crumbs into the filling – this also helps to firm it up slightly.
- Don’t Overheat the Chocolate! When melting your chocolate coating, slow and steady wins the race. Heat it in 20-30 second increments in the microwave, stirring thoroughly after each one. Chocolate can easily seize if overheated, becoming thick and unworkable. If using a double boiler, keep the heat low and stir constantly.
- Chocolate Coating Too Thick for Dipping? If your melted chocolate seems too viscous, add a teaspoon of neutral oil (vegetable, coconut, or canola) and stir until it reaches a thinner, more pourable consistency. This also helps create a smoother, shinier finish. After melting, allow the chocolate to cool slightly (to about 90-95°F / 32-35°C) before dipping; very hot chocolate can melt your peanut butter balls. If the chocolate starts to thicken as you dip, simply reheat it in the microwave for 10 seconds and stir again.
- Peanut Butter Balls Melting or Losing Shape During Dipping? This is a sign that your peanut butter balls are not cold enough, or your chocolate is too hot. Place the peanut butter balls back in the fridge or freezer for 10-15 minutes to firm up completely. Ensure your melted chocolate has cooled slightly before dipping.
-
Creative Decorating Ideas: Elevate the visual appeal of your truffles!
- Sea Salt: A sprinkle of flaky sea salt on top of the wet chocolate coating provides a delightful salty-sweet contrast.
- Sprinkles: Festive sprinkles are perfect for holidays and parties.
- Chopped Nuts: Finely chopped peanuts or other nuts add texture and reinforce the nutty flavor.
- Chocolate Drizzle: Use a contrasting chocolate (like white or dark chocolate) to drizzle patterns over the set milk chocolate coating.
- Powdered Sugar: For a simple, elegant look, lightly dust with powdered sugar.
- Mini Chocolate Chips: Press mini chocolate chips onto the sides or tops of the truffles.
-
Flavor Variations:
- Dark Chocolate Truffles: Substitute milk chocolate with dark chocolate for a richer, more intense flavor.
- White Chocolate Coating: Use white chocolate for a different aesthetic and sweeter profile.
- Add-ins: Mix in mini chocolate chips, crushed pretzels, or finely chopped candy pieces into the peanut butter filling for added crunch and flavor.
- Extracts: Experiment with different extracts like almond or peppermint in the peanut butter filling for unique twists.
These Milk Chocolate Peanut Butter Truffles are Absolutely Delightful!
You’ve just discovered the secret to making truly irresistible Milk Chocolate Peanut Butter Truffles. Their soft, creamy centers and luxurious chocolate coating make them an instant favorite for anyone who tries them. These homemade peanut butter truffles are especially wonderful to make for friends and family, particularly during the festive holiday season. This truffle candy recipe is incredibly easy to double or even triple if you’re planning to prepare a larger batch for gift bags, party platters, or simply to keep a generous supply on hand. Get ready to embark on the ultimate chocolate and peanut butter experience that will leave everyone craving more!
Frequently Asked Questions (FAQs) About Peanut Butter Truffles
Here are some common questions to help you perfect your no-bake peanut butter truffles:
- Can I use natural peanut butter for this recipe?
- It’s generally recommended to use creamy, regular peanut butter (like Jif or Skippy) that does not separate. Natural peanut butter, with its tendency to separate oils, can result in a greasier or harder truffle texture. If you must use natural, ensure it’s very well stirred and refrigerated to be firm.
- How can I make these truffles ahead of time?
- These truffles are perfect for making in advance! You can prepare the peanut butter balls and chill them for up to a week in the refrigerator before coating. Once coated, they can be stored in the refrigerator for up to two weeks or frozen for several months, making them ideal for holiday prep or entertaining.
- What if my chocolate seizes?
- Chocolate seizes when it comes into contact with even a tiny amount of water or is overheated. If this happens, you can sometimes rescue it by stirring in a tablespoon of hot vegetable oil or shortening, one teaspoon at a time, until it smooths out. However, it’s best to prevent it by ensuring your bowl and utensils are completely dry and melting chocolate slowly.
- Can I use different types of chocolate for the coating?
- Absolutely! While milk chocolate offers a classic sweet profile, you can easily substitute it with dark chocolate for a richer, more intense flavor, or white chocolate for a sweeter, creamier coating. You can also experiment with flavored chocolates.
- Are these truffles gluten-free?
- Yes, as long as all your ingredients (peanut butter, chocolate chips, powdered sugar, butter) are certified gluten-free, this recipe is naturally gluten-free. Always check ingredient labels to be sure.
More Delicious Candy Truffles to Explore!
If you’re a fan of these easy Milk Chocolate Peanut Butter Truffles, you’ll love exploring other variations of homemade candy truffles. Expand your repertoire with these fantastic recipes:
- Chocolate Espresso Truffles
- Butterfinger Truffles
- Chocolate Maple Walnut Cream Truffles
- Red Velvet Luv Truffles
- Irresistible Chocolate Covered Coconut Truffles
- 4th of July Oreo Truffles
- No Bake Cookie Dough Cups
- Easy Pumpkin Cream Cheese Truffles

From our kitchen to yours, Merry Christmas and Happy Holidays!
Happy Holiday,
Happy Holiday,
While the merry bells keep ringing,
May your every wish come true!

Milk Chocolate Peanut Butter Truffles Recipe Card
Author: Kim Lange
Soft, creamy peanut butter truffles enrobed in a rich, milk chocolate shell.
Rating: 4.58 from 14 votes
Print Recipe | Pin Recipe
Recipe Details
- Prep Time: 30 mins
- Chill Time: 1 hr
- Course: Dessert
- Cuisine: American
- Servings: 24 Servings
- Calories: (Information not provided in original, omitted for simplicity)
Ingredients
Peanut Butter Truffles:
- ¼ cup unsalted butter
- ½ cup smooth peanut butter
- 2 pinches salt (optional)
- 1 ½ cups powdered sugar
- ½ teaspoon vanilla (optional)
Chocolate Coating for Truffles:
- 1 ½ cups high quality milk chocolate chips (or milk chocolate bar)
- ¼ cup high quality semi-sweet chocolate chips (or semi-sweet chocolate bar)
- 1 teaspoon oil (vegetable, coconut or canola)
Instructions
- Using a mixer, beat the butter until creamy. Add the peanut butter and salt, and beat until smooth and combined. Add the powdered sugar, and beat on low until combined. The mixture will be a little crumbly, which is what you want, so when you gather it together you can roll it into balls. (See tips if you are having issues below in notes.)
- Roll the dough mixture into 1-inch balls and place on a baking tray lined with parchment paper or a silicone mat. You should have about 20 – 25 balls. refrigerate for 40-50 minutes or more.
- Take your peanut butter balls out of the fridge and get ready to coat them.
- Add the chocolate chips to a microwave-safe bowl, and heat in 20 second intervals, stirring after each one, until melted and smooth. Add oil if you want to thin out your chocolate coating. Leave to cool for a few minutes before dipping, so the hot chocolate coating doesn’t melt the peanut butter balls.
- Dip each peanut butter ball into the melted chocolate, using a fork or spoon, and place each dipped ball onto a parchment paper lined baking sheet. See notes in recipe if you want to do a little extra decorating.
- Let truffles set. You can quick-set them to get the chocolate to harden by placing them in the fridge for a 5-10 minutes.
Notes
Peanut Butter Ball Tips
- Filling too crumbly: If filling is too crumbly, add more peanut butter.
- Filling too soft: If peanut butter mixture is too soft, just chill the dough about 15 minutes, then roll into balls, then place back in the fridge to continue firming up for dipping. You can also add chopped peanuts, rice krispie cereal or graham cracker crumbs to your filling if you want more texture in your peanut butter filling.
- Don’t overheat the chocolate: Melt chocolate in 20 or 30 second increments, mixing well in between each increment.
- Chocolate coating too thick: Add a teaspoon of oil, and mix it into the melted chocolate to thin it out. Once it’s melted, it’s best to let the chocolate set so it doesn’t melt the peanut balls.
- Peanut butter balls melting: If peanut butter balls are melting into the chocolate, you need to place them back in the fridge or freezer for 10 minutes or so, so they firm back up.
- Decoratives: Top truffles with sea salt, sprinkles, chopped peanuts or drizzles of chocolate!
Keywords
candy, chocolate covered, milk chocolate, no bake candy, peanut butter, truffles
Tried This Recipe? Let us know how it was by commenting below!
