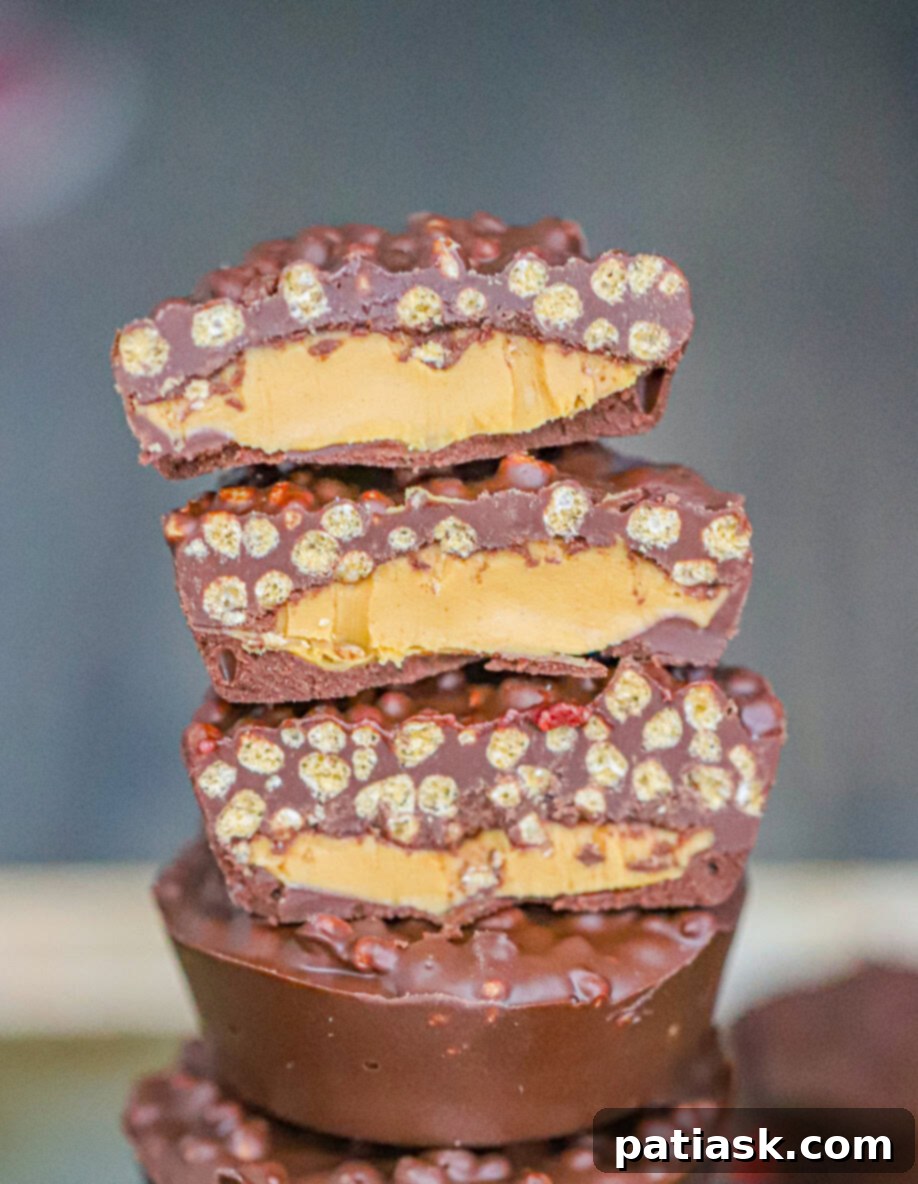
Chocolate Peanut Butter Crunch Cups: Your Go-To No-Bake Treat for Instant Cravings
Craving a delightful, satisfying dessert that requires zero baking and minimal effort? Look no further than these incredible Chocolate Peanut Butter Crunch Cups! This recipe delivers an irresistible combination of smooth, creamy filling and a satisfying crispy texture, all encased in rich, decadent chocolate. Perfect for any occasion or simply as a quick pick-me-up, these no-bake wonders are incredibly easy to make with just a few staple ingredients. Whether you prefer the classic peanut butter pairing or a fruity twist with strawberry jam, these crunch cups are guaranteed to hit the spot every single time.
If you’re already a fan of traditional chocolate peanut butter cups, prepare to fall in love with this elevated version that adds an exciting crunch from cereal, taking your sweet experience to a whole new level.
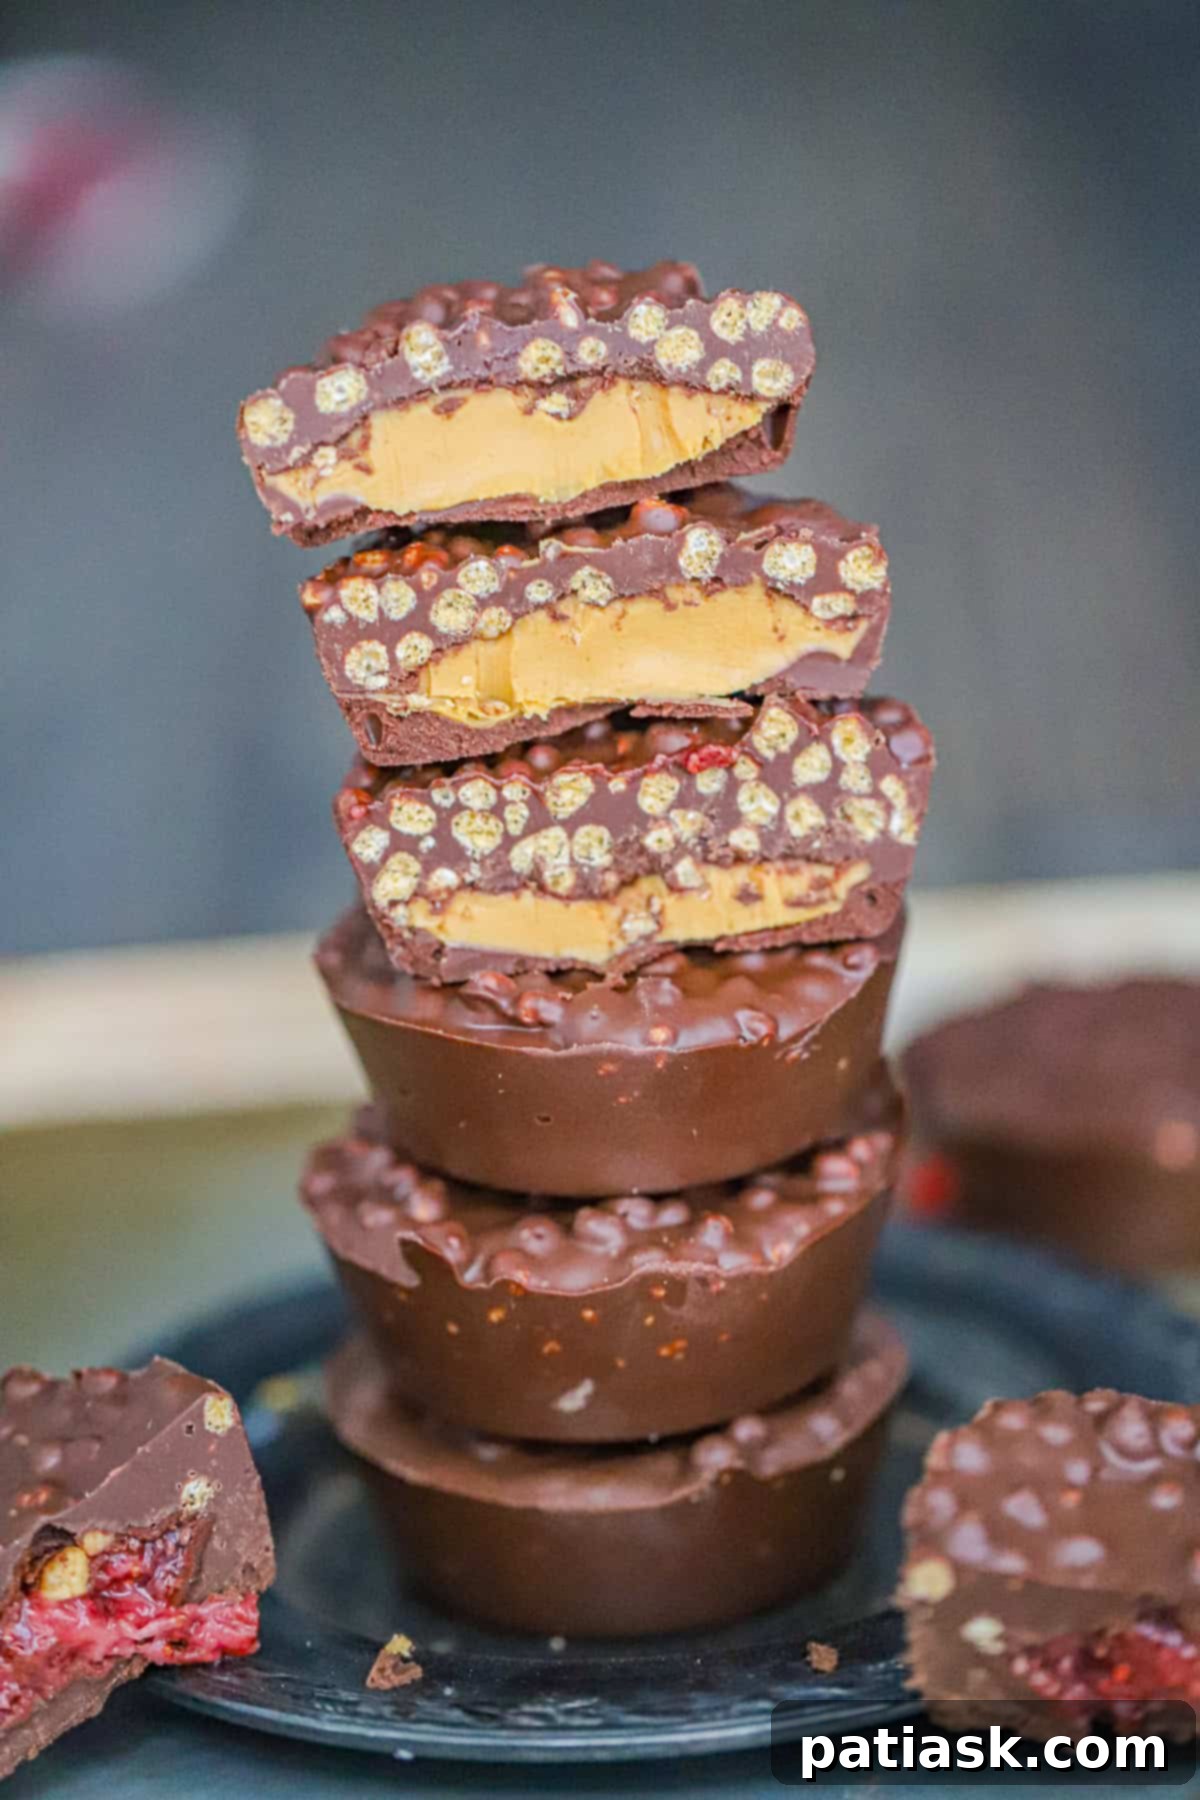
Why You’ll Absolutely Love These Chocolate Peanut Butter Crunch Cups
These crunchy, chocolatey treats aren’t just delicious; they’re also incredibly convenient and versatile. Here’s why they’ll become a staple in your dessert rotation:
Effortless No-Bake Recipe: Forget turning on the oven! These crunch cups require no baking whatsoever. The process is as simple as melting chocolate, layering your ingredients, chilling, and then enjoying a perfect dessert. This makes them ideal for hot weather or when you’re short on time.
Irresistible Texture Harmony: The inclusion of crispy cereal provides an amazing textural contrast to the smooth chocolate and creamy filling. This super satisfying crunch elevates the experience, making each bite a delightful adventure that perfectly complements the rich flavors.
Customizable to Your Cravings: Don’t limit yourself! While peanut butter is a classic, these cups are incredibly easy to switch up. Experiment with different nut butters, sweet strawberry jam, or whatever delicious spread you have on hand. The possibilities are endless, allowing you to tailor them to your specific taste preferences.
Perfect for Meal Prep & Future Cravings: These individual treats are fantastic for meal prepping. Make a batch at the beginning of the week, and you’ll have a convenient, portion-controlled dessert ready to grab whenever a sweet craving strikes. They store beautifully, ensuring you always have a delightful snack on hand.
Kid-Friendly & Fun to Make: The simplicity of this recipe makes it a wonderful activity to do with kids. They’ll love helping with the layering and, of course, devouring the delicious results. It’s a great way to introduce them to basic kitchen skills without the need for a hot oven.
Budget-Friendly Ingredients: Made with common pantry staples like chocolate chips, cereal, and your choice of spread, these crunch cups are an economical dessert option. You don’t need fancy ingredients to create something truly special.
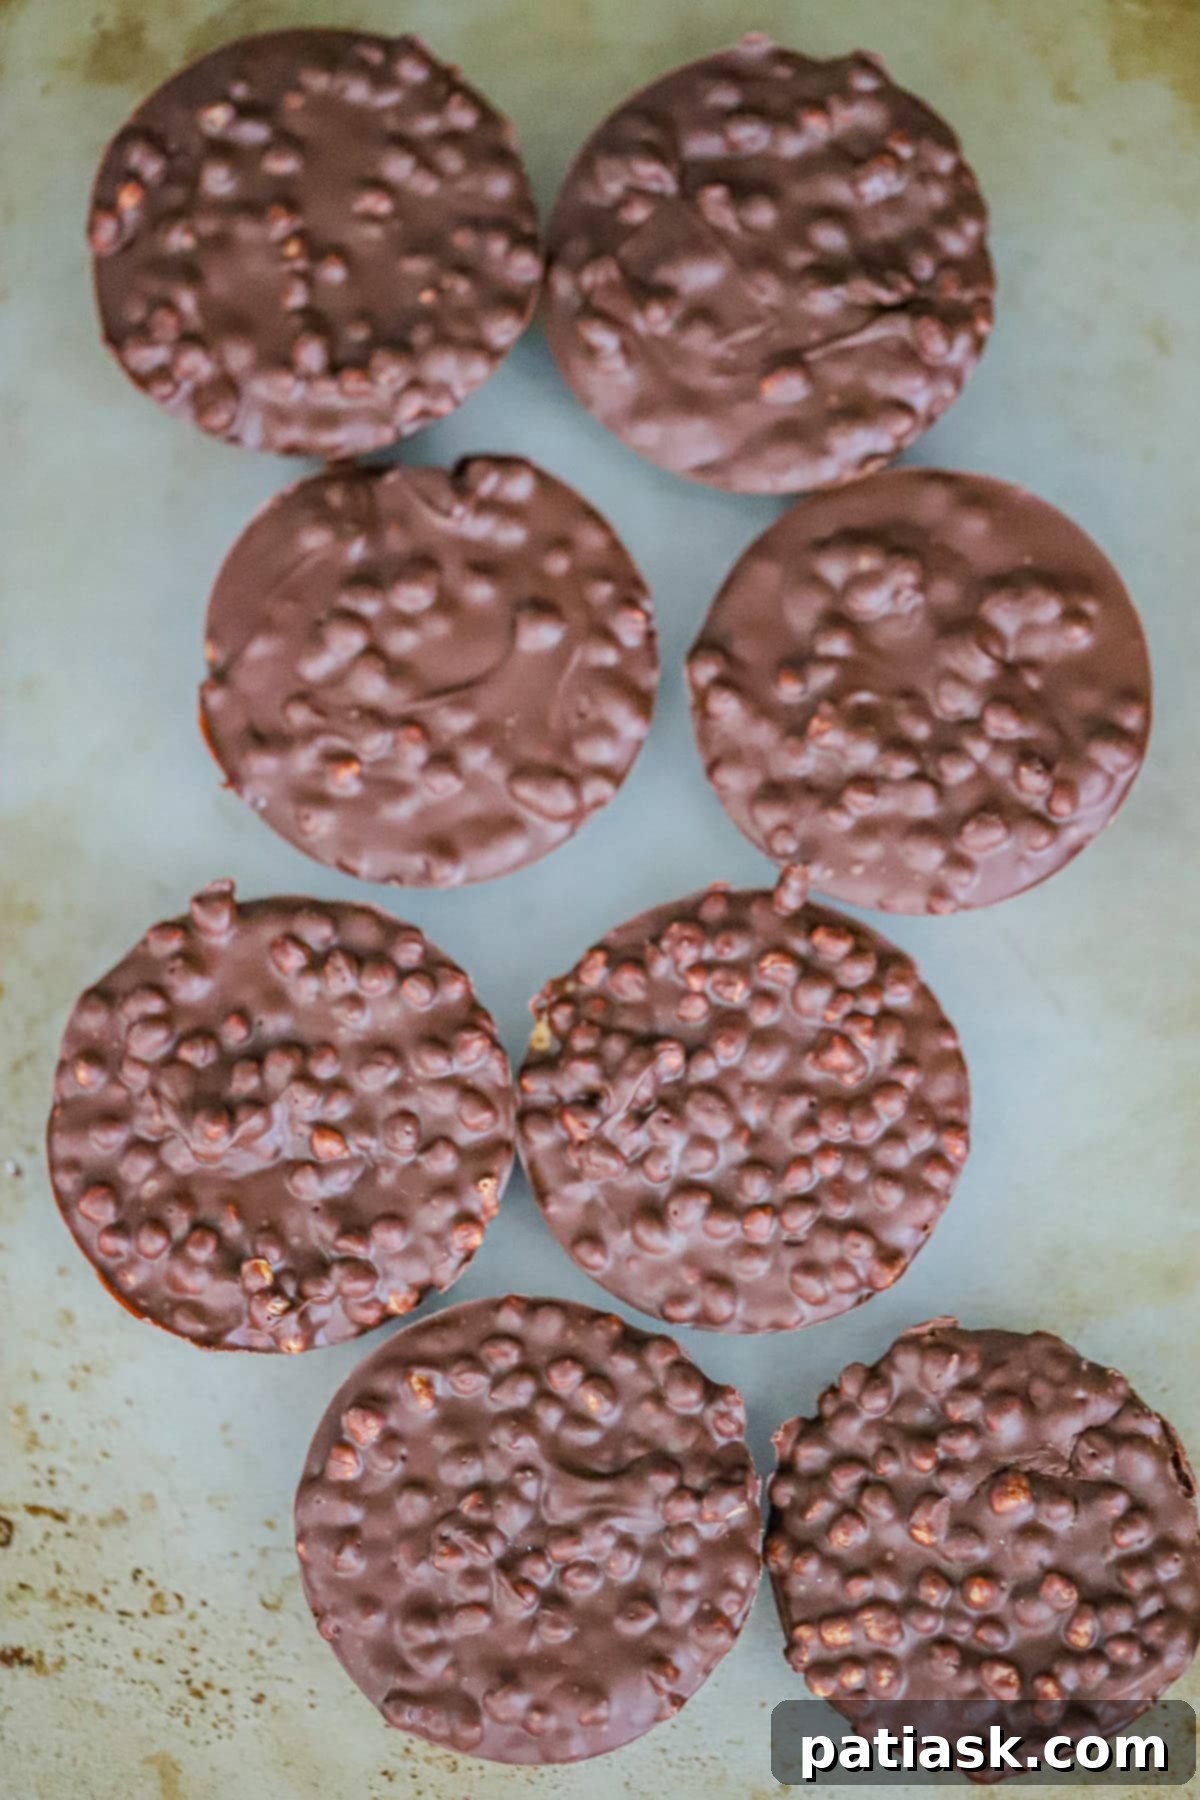
Gather Your Essential Ingredients
Creating these delightful no-bake crunch cups starts with a simple yet effective list of ingredients. Quality matters, even in straightforward recipes, so choose your favorites!
For Chocolate Peanut Butter Crunch Cups (or Strawberry Variation):
- 2 cups semi-sweet chocolate chips: High-quality chocolate chips will make a noticeable difference in the overall flavor. You can also use milk chocolate or dark chocolate, depending on your preference.
- Optional: 1 tablespoon coconut oil or a neutral oil for thinning chocolate: This is a secret weapon for achieving perfectly smooth, pourable chocolate. Coconut oil adds a slight richness, while a neutral oil like vegetable or canola oil keeps the flavor pure.
- 1 1/4 cups crispy cereal: The key to the “crunch” in crunch cups! Puffed quinoa cereal offers a great light crisp, but classic rice krispies or crispy brown rice cereal work equally well. Avoid overly sweet or flavored cereals to let the chocolate and filling shine.
- 8 tablespoons creamy peanut butter: Opt for a smooth, classic peanut butter for the best texture and flavor. Natural peanut butter can be used, but ensure it’s well-stirred to prevent separation.
OR you could do:
- 8 tablespoons strawberry jam: For a delightful fruity alternative. Choose a good quality jam with a vibrant flavor. You can also experiment with other fruit preserves like raspberry or cherry!
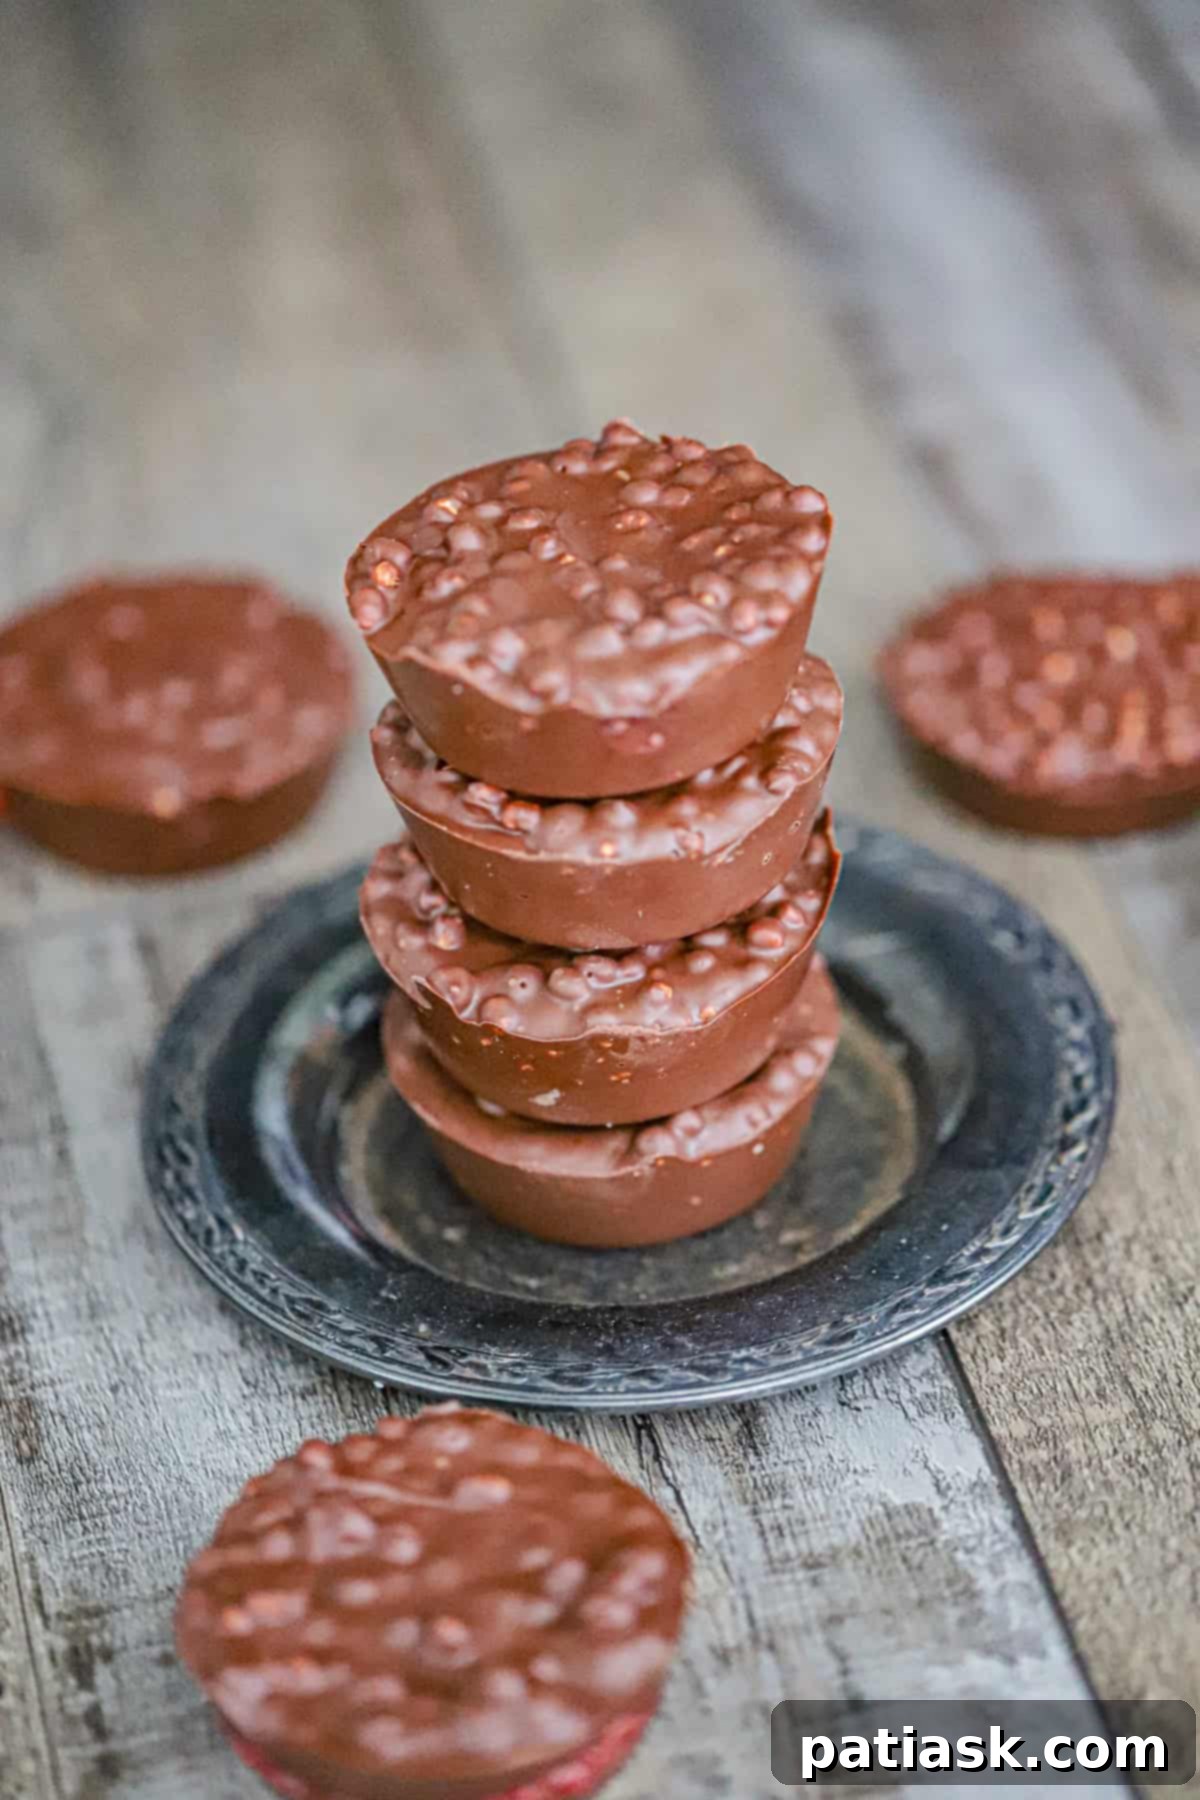
Crafting Your Delicious Chocolate Peanut Butter Crunch Cups: Step-by-Step Guide
Making these crunchy treats is incredibly simple. Follow these steps for perfect results every time:
- Prepare Your Muffin Tin: Begin by getting out a silicone muffin tin. This type of pan is highly recommended as it makes removing the finished cups incredibly easy without any sticking. If you don’t have silicone, you can use a regular metal muffin tin lined with paper liners or lightly greased with a non-stick spray. Set it aside for now.
- Melt the Chocolate: Place your semi-sweet chocolate chips in a microwave-safe bowl. Heat them in 30-second intervals, stirring well after each interval, until the chocolate is completely melted and beautifully smooth. Be careful not to overheat, as chocolate can seize. If you find the melted chocolate is a bit too thick for easy pouring, stir in 1 tablespoon of coconut oil or a neutral oil until fully combined and the chocolate reaches your desired thinner consistency.
- Create the Chocolate Base: Spoon approximately one tablespoon of the melted chocolate into eight of the muffin cavities. Use the back of the spoon to gently spread the chocolate, ensuring it completely covers the bottoms of each cup. This forms the solid base for your crunch cups.
- Add the Creamy Filling: Into the center of each chocolate-lined cavity, add about one tablespoon of your chosen filling – either creamy peanut butter or delightful strawberry jam. Try to keep the filling centered and avoid it touching the sides of the chocolate base too much.
- Prepare the Crunchy Topping: Now it’s time to add the crunch! Take the remaining melted chocolate and pour your crispy cereal into it. Gently fold and mix the cereal until every piece is thoroughly coated in chocolate. This ensures a consistent crunch in every bite.
- Top with Crunchy Chocolate Mixture: Spoon generous amounts of the crunchy chocolate-cereal mixture over the peanut butter or strawberry jam in each cup. Make sure to spread it evenly so that the chocolate cereal completely covers and seals the filling beneath. This creates a neat, layered appearance and locks in the flavor.
- Chill to Perfection: Once all the cups are filled, carefully place the entire muffin pan into the refrigerator. Let them chill for at least one hour, or until the chocolate has completely firmed up and the cups are solid. This chilling process is crucial for them to hold their shape.
- Enjoy Your Treats: Once firm, remove the crunch cups from the silicone muffin pan. If using paper liners, simply peel them off. Now, they are ready to be enjoyed! Store any leftovers as directed in the “Storing Your Crunchy Delights” section.
Tips for Perfection and Common Questions
Pro Tips for Making the Best Crunch Cups
- Quality Chocolate Matters: Using good quality chocolate chips will significantly impact the flavor. Semi-sweet is classic, but dark chocolate offers a richer taste, and milk chocolate provides a sweeter, creamier profile.
- Don’t Overheat Chocolate: When melting chocolate, use short intervals and stir frequently to prevent it from burning or seizing. If it seizes, a tiny bit of vegetable oil can sometimes rescue it, but prevention is key.
- Even Layers: Aim for even layers of chocolate and filling for a visually appealing and balanced bite.
- Room Temperature Filling: If using peanut butter, ensure it’s at room temperature for easier scooping and spreading.
- Chill Thoroughly: Don’t rush the chilling process. An hour is usually sufficient, but if your kitchen is warm, they might need a bit longer to set completely.
Frequently Asked Questions (FAQs) for Our Chocolate Peanut Butter Crunch Cups
Can I use a paper muffin liner instead of silicone?
Yes, you can. However, silicone muffin tins are highly recommended as they make the removal of the cups much easier and cleaner. If you use paper liners, it’s best to let the crunch cups come to room temperature for a few minutes before peeling off the liners, as this can prevent the chocolate from sticking.
What kind of cereal works best?
Crispy cereals like puffed quinoa, classic rice krispies, or crispy brown rice cereal all work wonderfully. The goal is to have a light, airy crunch that doesn’t get soggy easily. Avoid cereals that are too bulky, heavily flavored, or have a tendency to soften quickly when mixed with liquid.
Can I make these vegan?
Absolutely! To make these crunch cups vegan-friendly, simply ensure you use dairy-free chocolate chips. Most semi-sweet chocolate chips are naturally dairy-free, but always check the label. Also, confirm that your chosen cereal and filling (like peanut butter or certain jams) are vegan-friendly. Coconut oil is already plant-based, making it a great option for thinning the chocolate.
How long do these crunch cups last?
When stored properly in an airtight container in the refrigerator, these chocolate crunch cups will stay fresh and delicious for up to 1 week. For longer storage, you can freeze them.
Can I use different types of chocolate?
Yes, feel free to experiment! While semi-sweet is used in the main recipe, milk chocolate will create a sweeter cup, and dark chocolate will offer a more intense, less sweet flavor profile. White chocolate can also be used, especially for fruity variations.
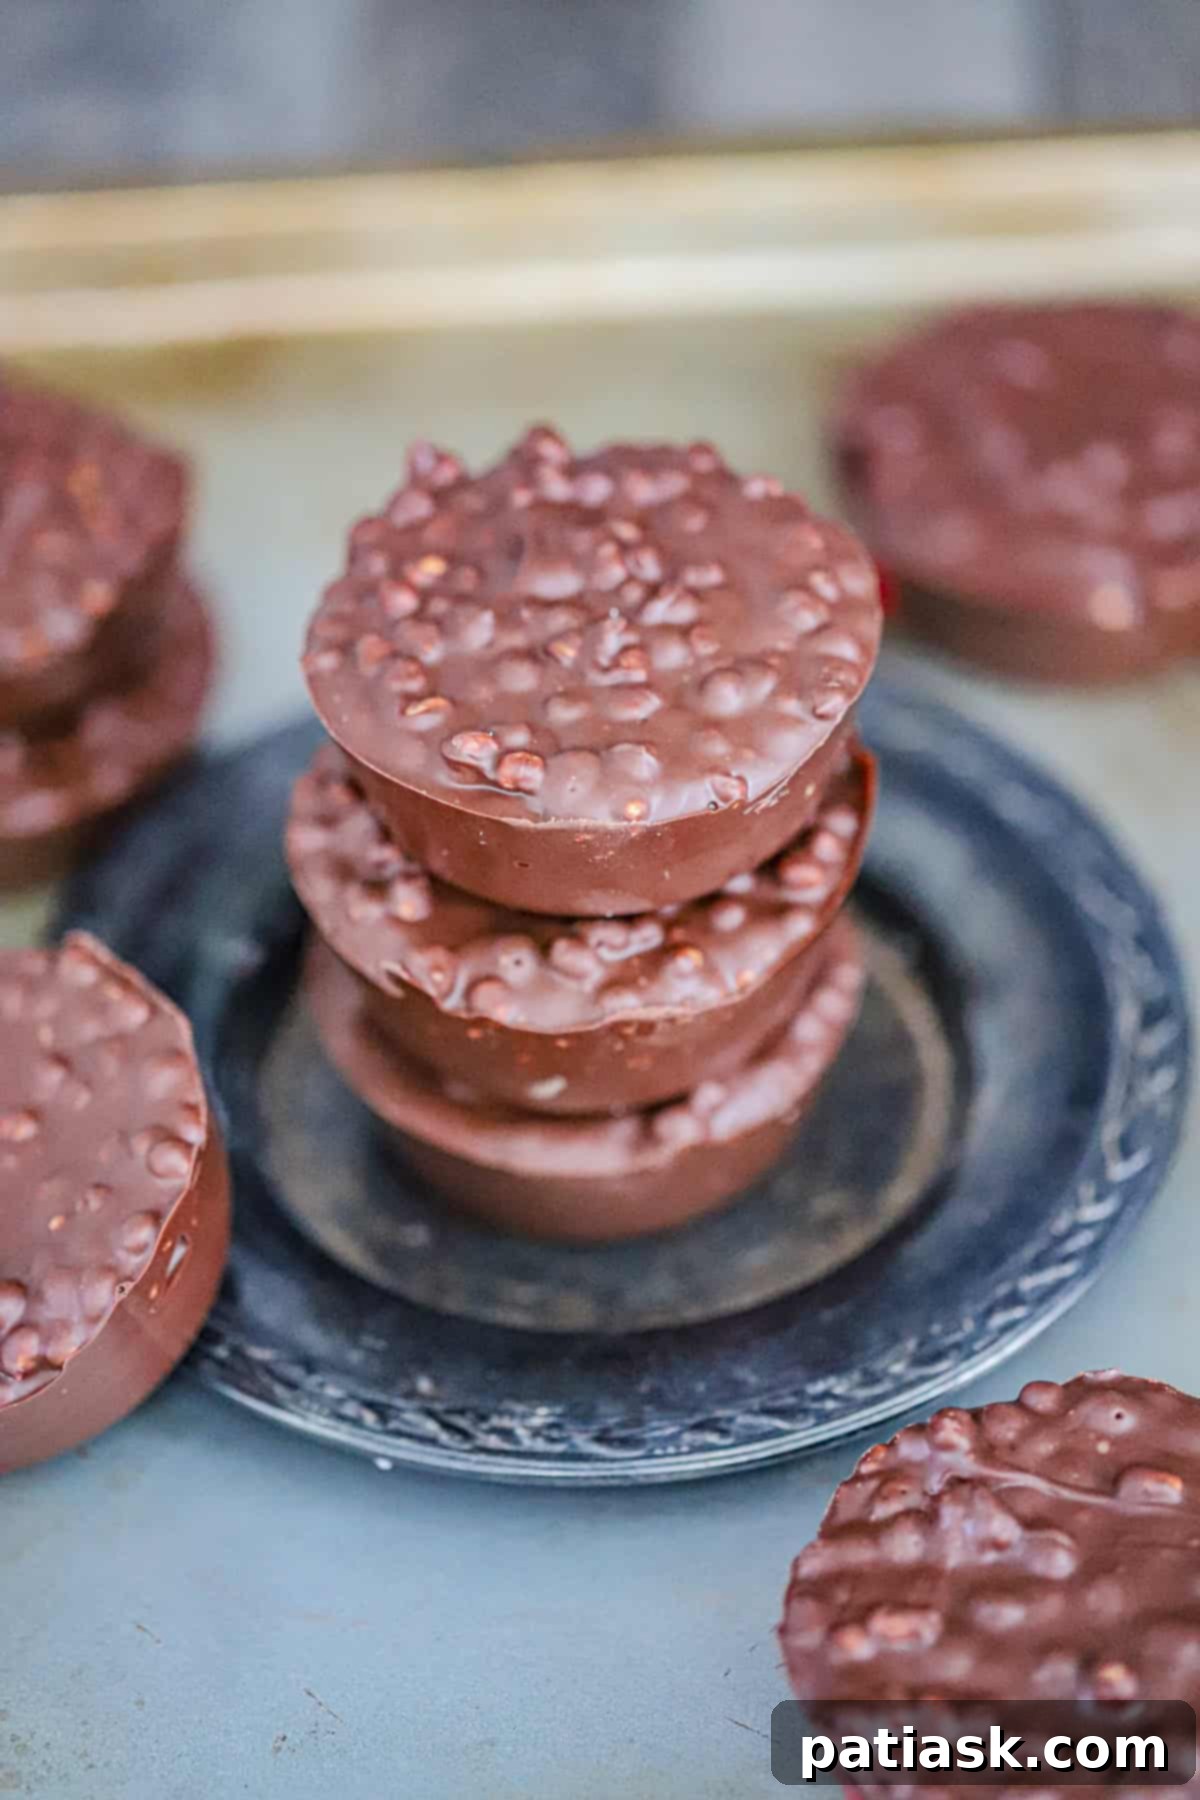
Storing Your Crunchy Delights
These no-bake chocolate crunch cups are perfect for making ahead and enjoying throughout the week. Proper storage ensures they maintain their delicious texture and flavor.
- Refrigerator Storage: Store your finished chocolate crunch cups in an airtight container in the refrigerator for up to 1 week. This keeps the chocolate firm and the cereal nice and crunchy.
- Freezer Storage: For longer storage, these cups freeze wonderfully. Place them in an airtight, freezer-safe container, separating layers with parchment paper to prevent sticking. They can be frozen for up to 2-3 months. When ready to enjoy, simply take them out of the freezer and let them thaw in the refrigerator for a bit, or at room temperature for 10-15 minutes until slightly softened but still chilled.
More Creative Variations to Explore
The beauty of these Chocolate Peanut Butter Crunch Cups lies in their adaptability. Once you master the basic recipe, the possibilities for customization are endless!
White Chocolate Strawberry Crunch Cups: For a vibrant and sweet twist, swap the semi-sweet chocolate for creamy white chocolate. Pair it with luscious strawberry jam and use crispy rice cereal to complete this delightful, bright treat.
Dark Chocolate Almond Butter Crunch: Elevate the classic with a sophisticated touch. Replace peanut butter with any kind of nut butter, like rich almond butter, and use dark chocolate chips for an intense, less sweet flavor profile that almond butter complements beautifully.
Nut-Free Option: Make these allergy-friendly! Use sunflower seed butter (also known as “sunbutter”) as your filling. Ensure you also choose a certified nut-free cereal to create a safe and delicious treat for those with nut allergies.
S’mores Crunch Cups: Bring the campfire experience indoors! Mix crushed graham crackers and mini marshmallows into your chocolate and cereal mixture before topping the cups. You can even add a touch of smoked salt for an authentic s’mores-inspired twist.
Salty Pretzel Crunch Cups: Craving a sweet and salty combination? Crush pretzels and mix them into the chocolate layer along with the cereal. A sprinkle of sea salt on top before chilling will enhance this irresistible flavor profile.
Mint Chocolate Chip Crunch Cups: Add a festive touch by using mint-flavored chocolate chips or a few drops of peppermint extract to the melted chocolate. You can even swirl in some green food coloring for a fun visual.
Coconut Caramel Crunch Cups: Incorporate shredded coconut into the cereal mixture and add a dollop of caramel sauce over the chocolate base before adding the crunchy topping. A drizzle of extra caramel on top would be heavenly!
Chocolate Peanut Butter Crunch Cups are truly a fast, no-bake treat that packs incredible flavor and satisfying texture into every single bite. Their ease of preparation and endless customization options make them a perfect choice for any sweet craving. Don’t hesitate to try different combinations like the refreshing strawberry crunch cups or the rich almond butter cereal crunch cups to keep things interesting and discover your new favorite!
Follow onPinterest, Instagram and Facebook for recipe updates, baking tips, and lots of sweet inspiration.
Craving more no-bake treats or that crispy, crunchy texture? Check out these favorites:
- Healthy Peanut Butter Crunch Bars
- Chocolate Peanut Butter Protein Bars – No Bake
- Cinnamon Toast Crunch Bars
- Peppermint Crunch Marshmallow Brownies
- No Bake Chocolate Caramel Nutty Crunch Bars
Chocolate Peanut Butter Crunch Cups (Strawberry too)
Kim Lange
Pin Recipe
Ingredients
- 2 cups semi-sweet chocolate chips
- 1 tablespoon coconut oil or neutral oil optional, for thinning chocolate
- 1¼ cups crispy cereal such as puffed quinoa or crispy rice
- 8 tablespoons peanut butter
- OR 8 tablespoons strawberry jam
Instructions
- Prepare a silicone muffin pan and set aside.
- Melt chocolate chips in the microwave in 30-second intervals, stirring until smooth. Add oil if needed to thin the chocolate.
- Spoon about 1 tablespoon of melted chocolate into 8 muffin cups, spreading to coat the bottoms.
- Add 1 tablespoon of either peanut butter or strawberry jam into the center of each cup.
- Mix crispy cereal into the remaining melted chocolate until well coated.
- Spoon the cereal mixture over each filled cup, covering the peanut butter or jam completely.
- Place the muffin pan in the fridge for 1 hour, or until the chocolate is set.
- Remove from the pan and enjoy. Store extras in the fridge.
