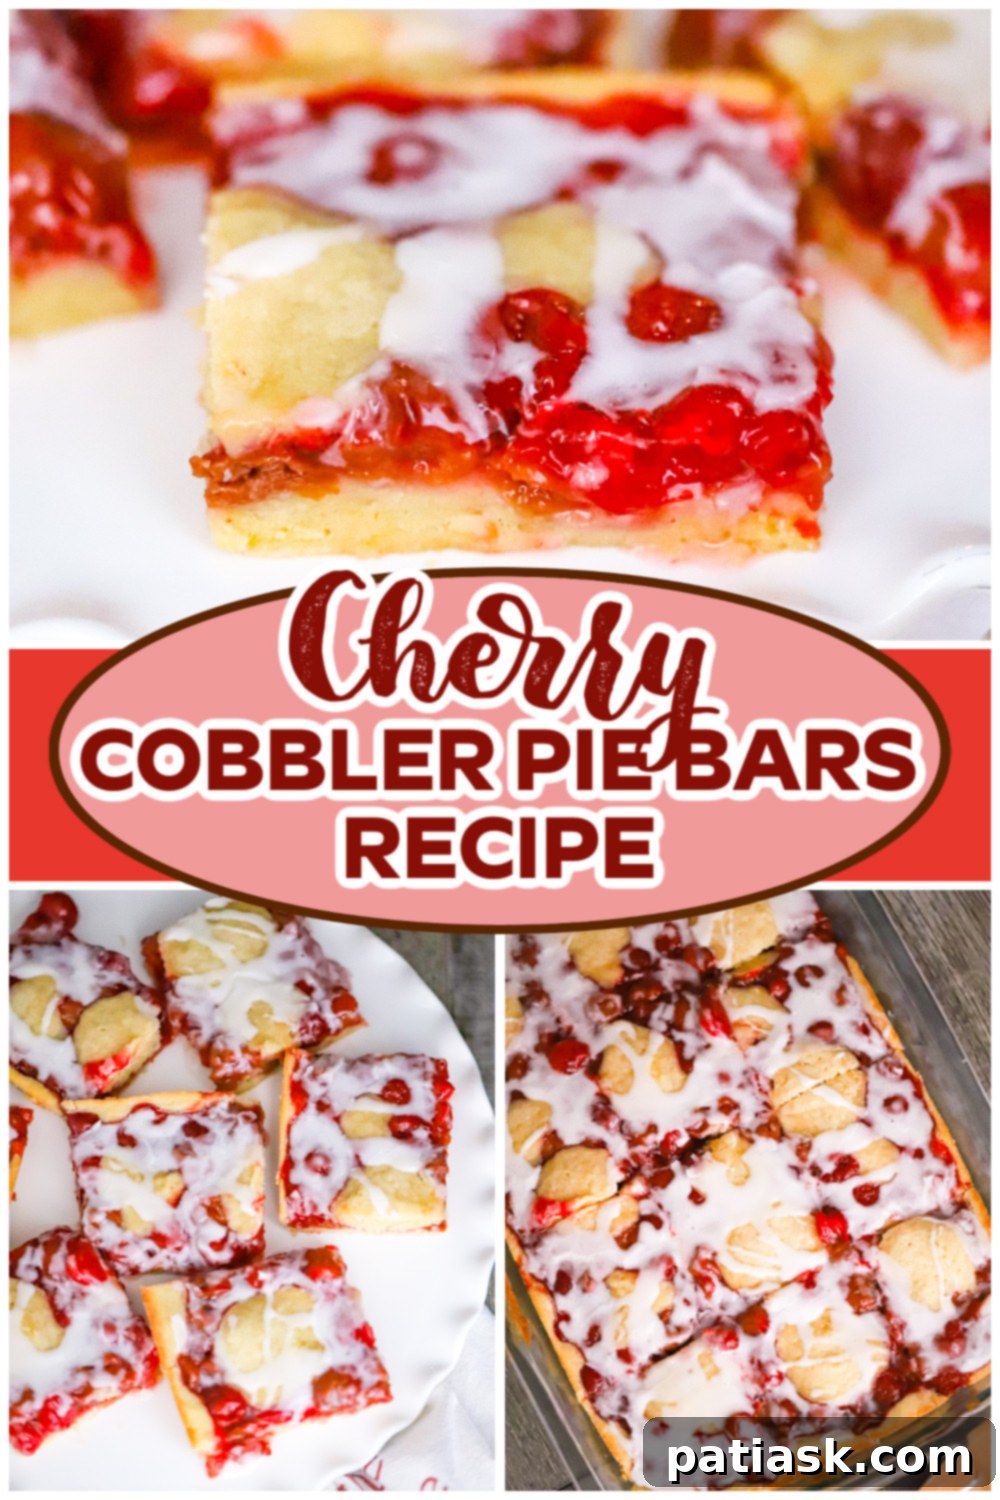
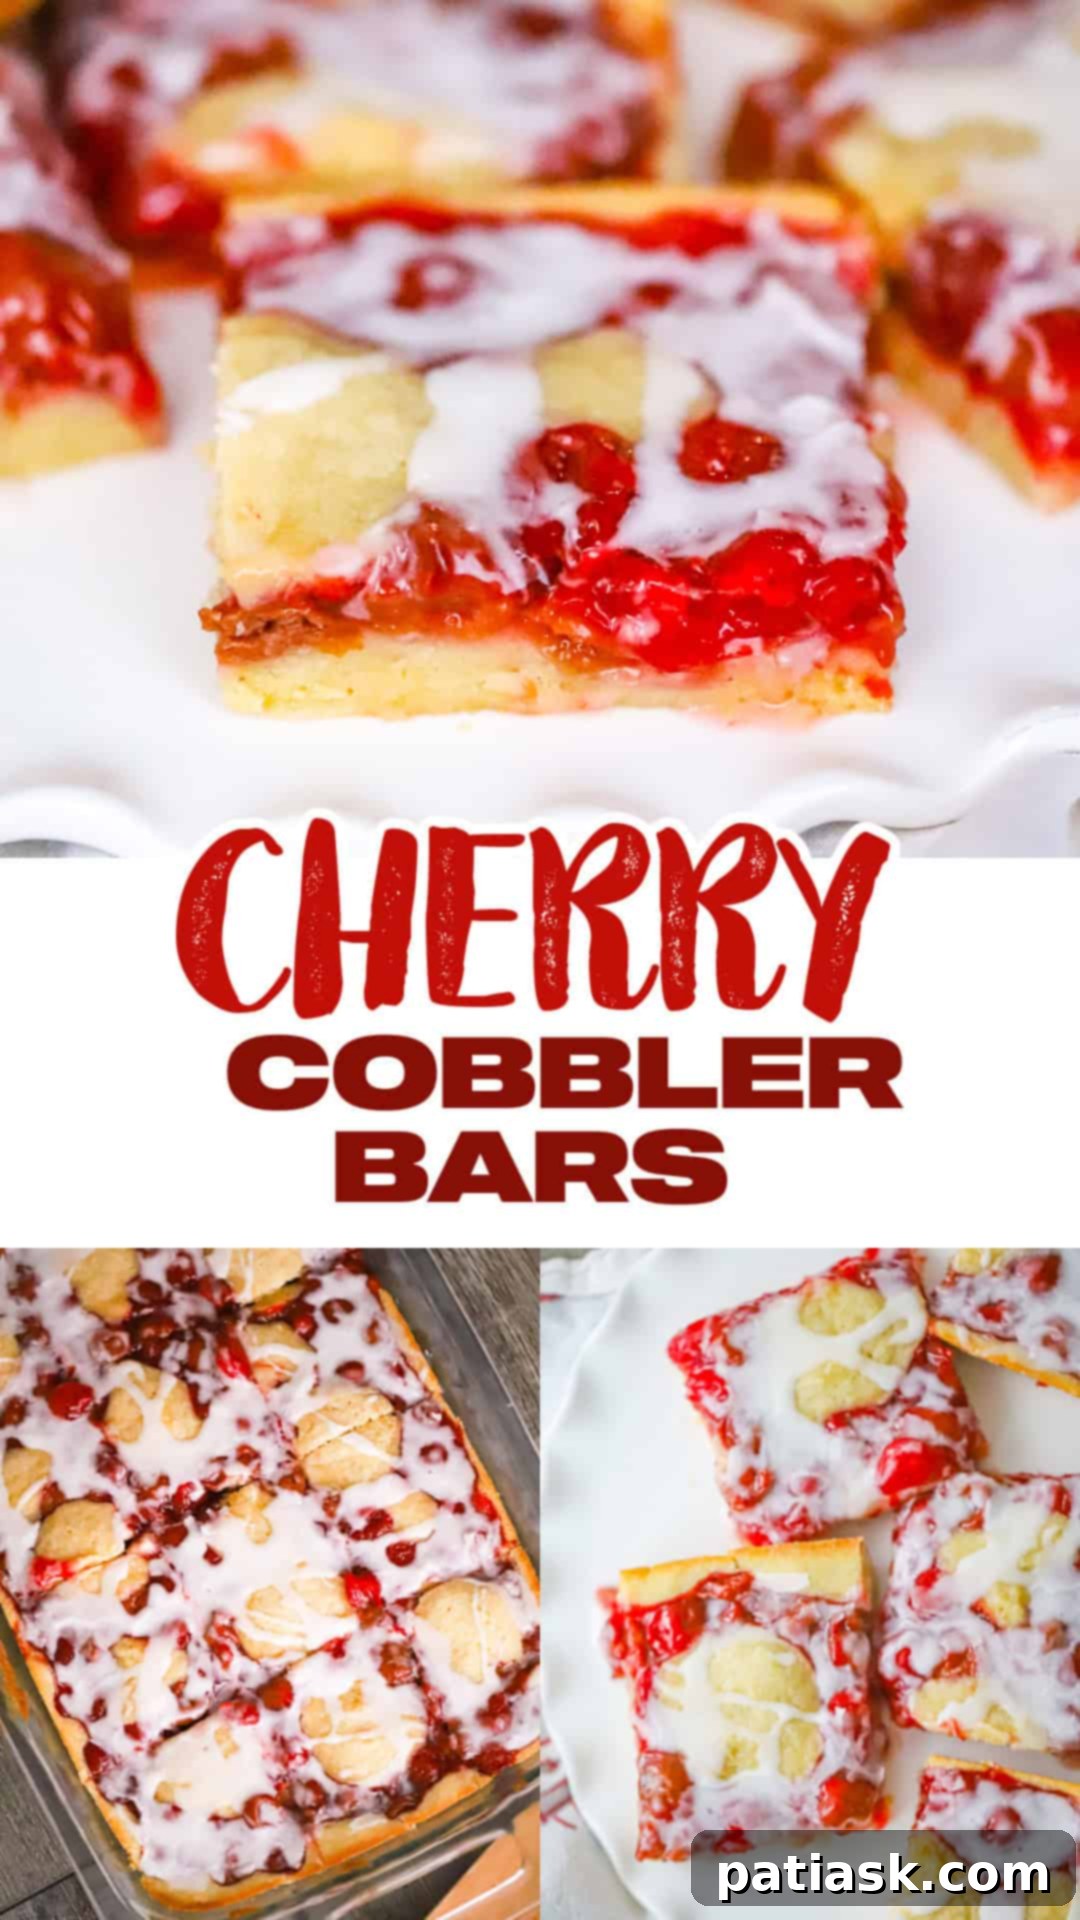
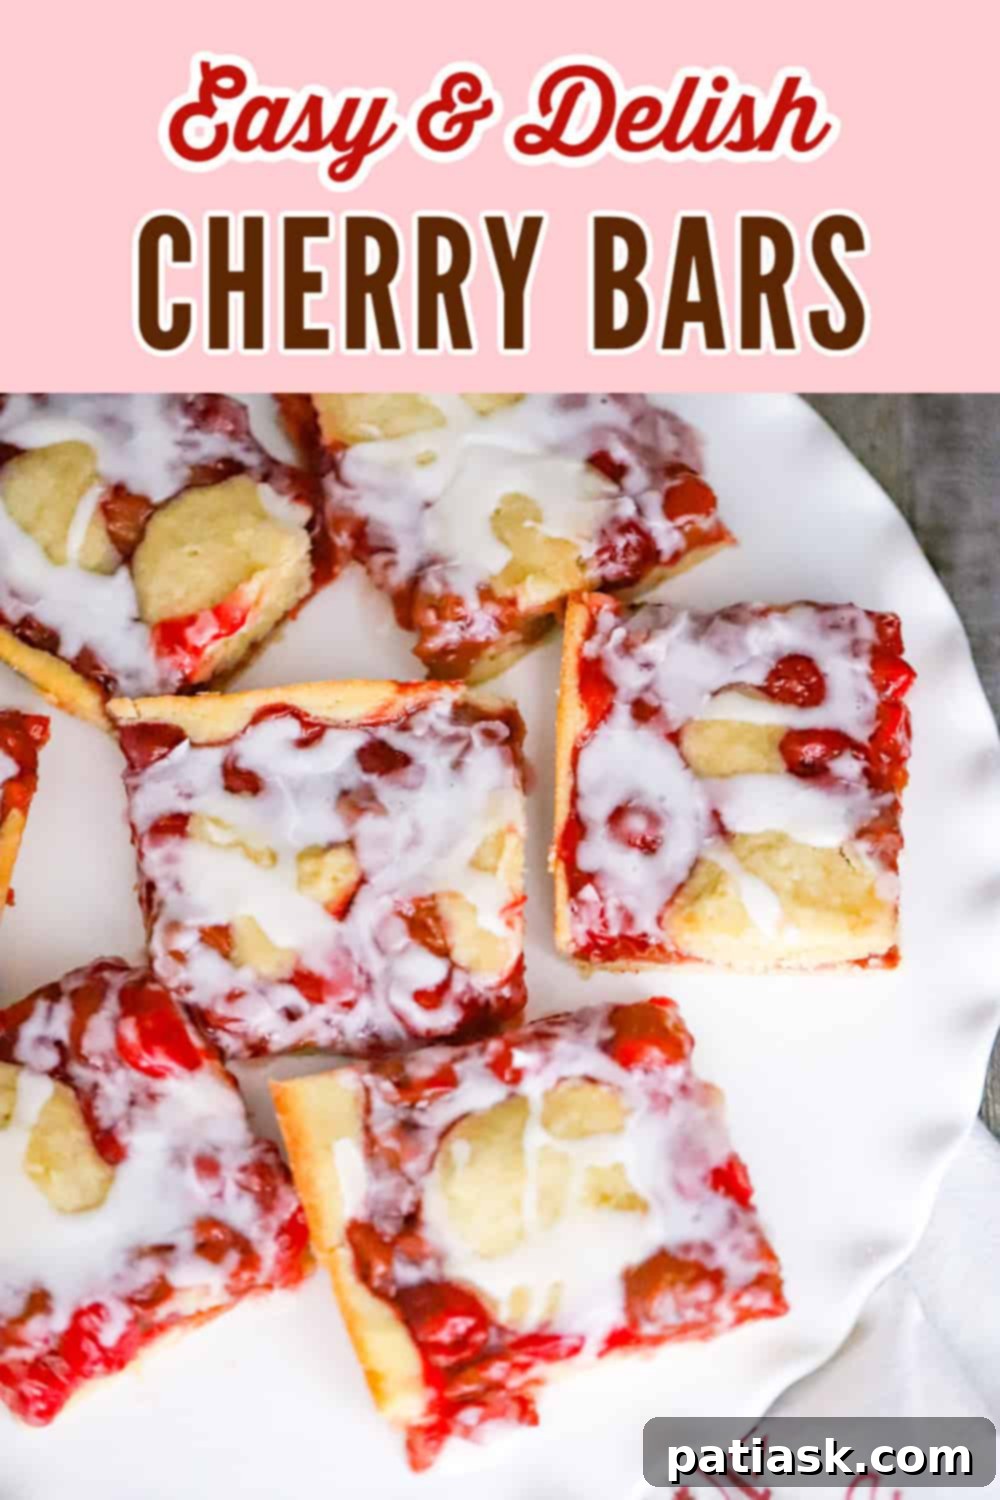
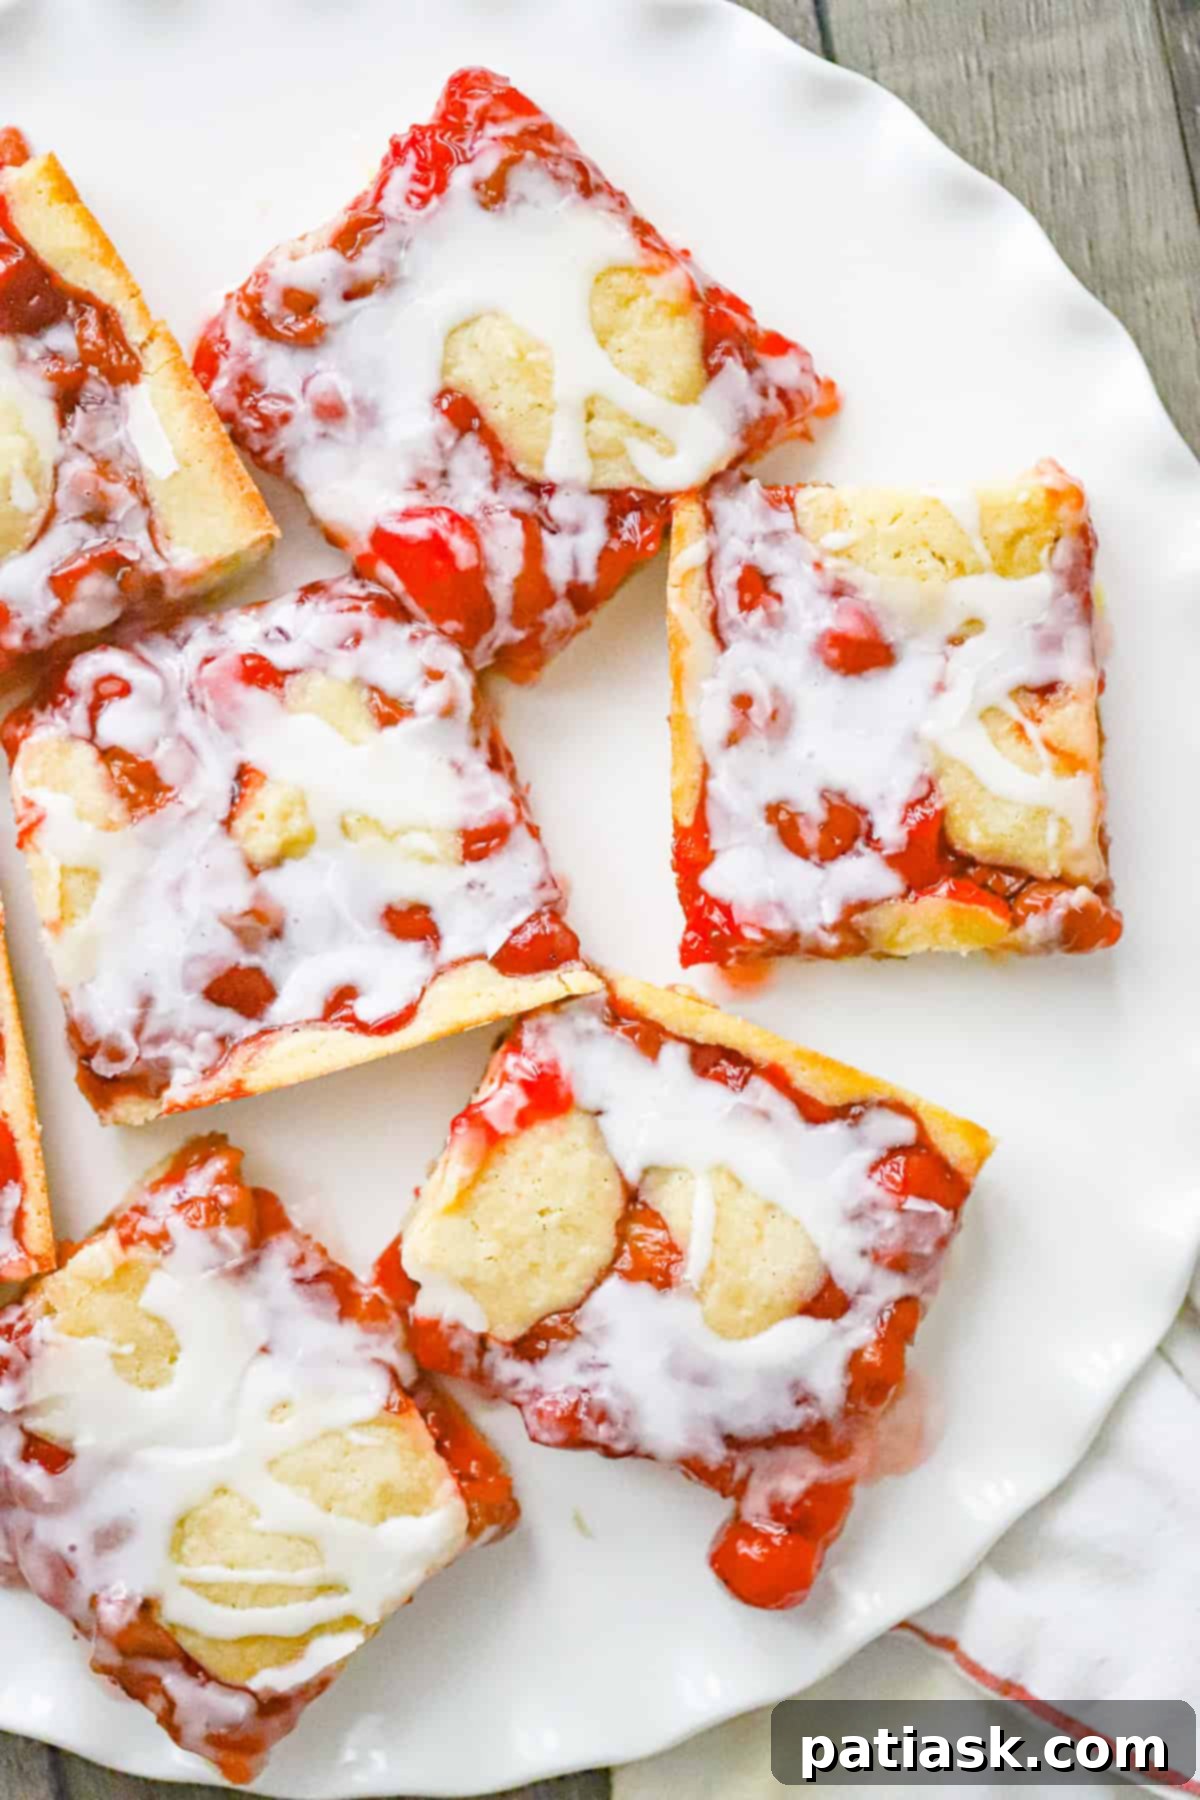
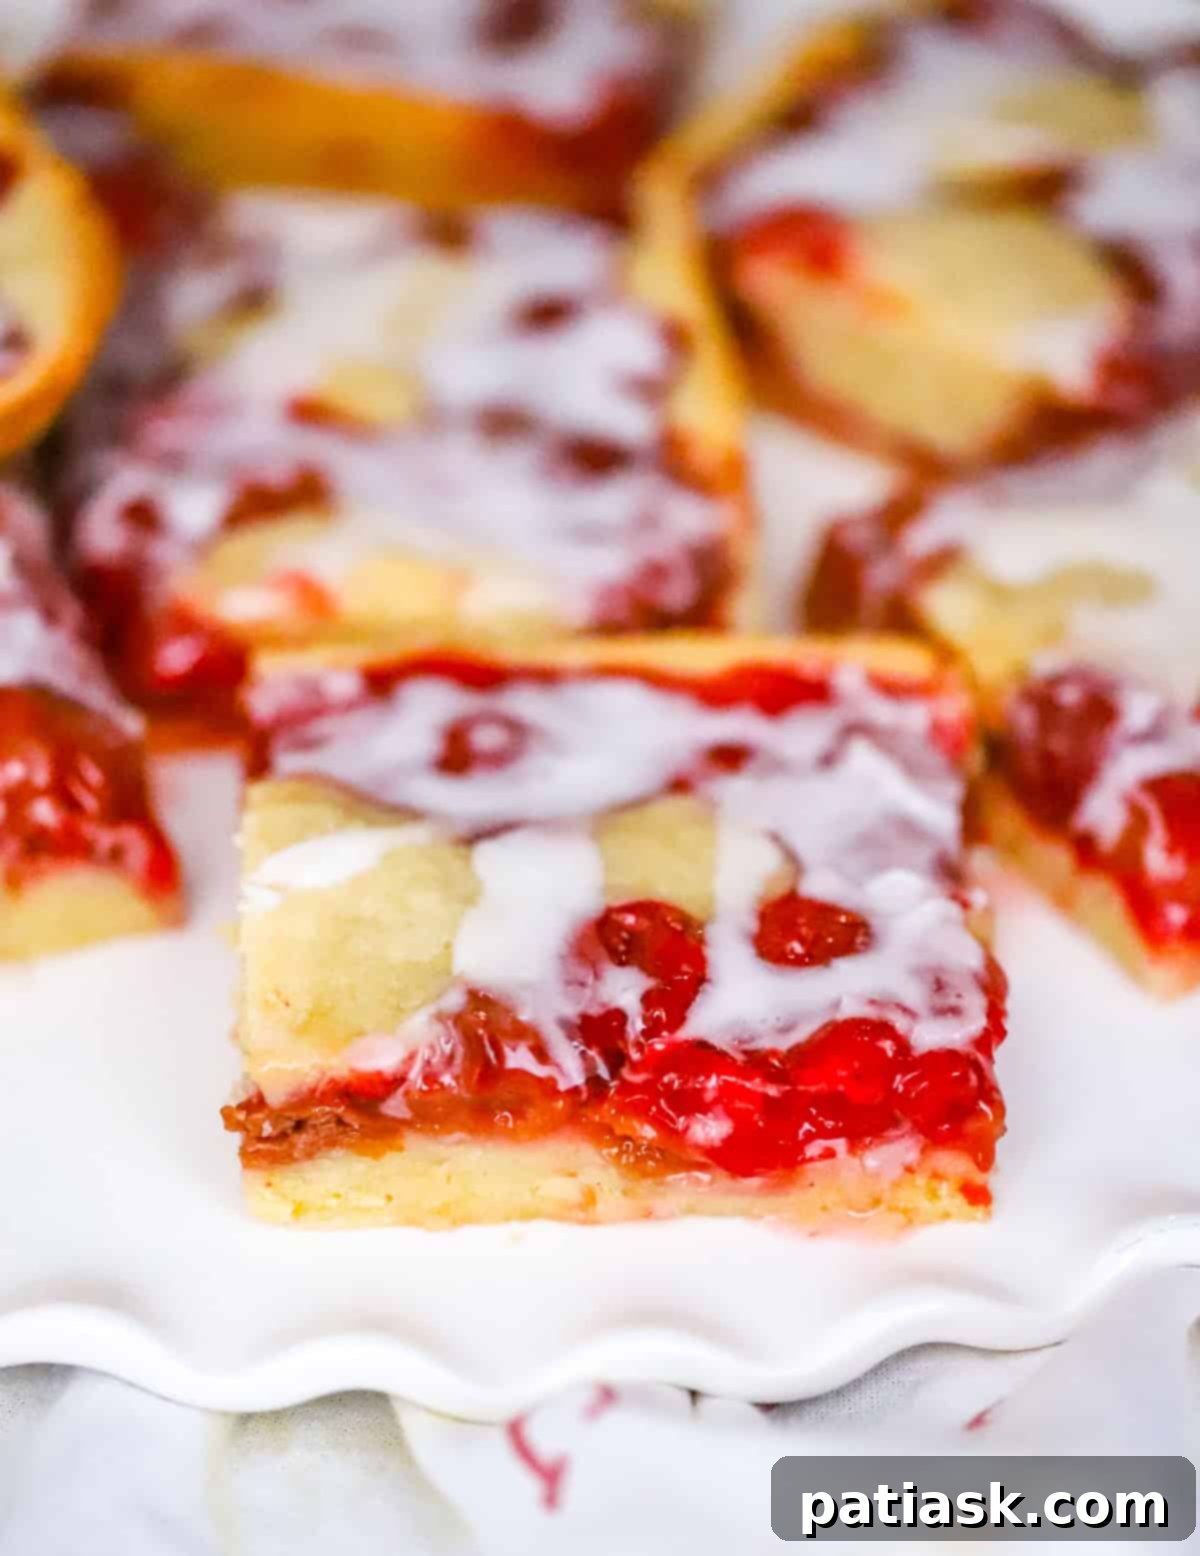
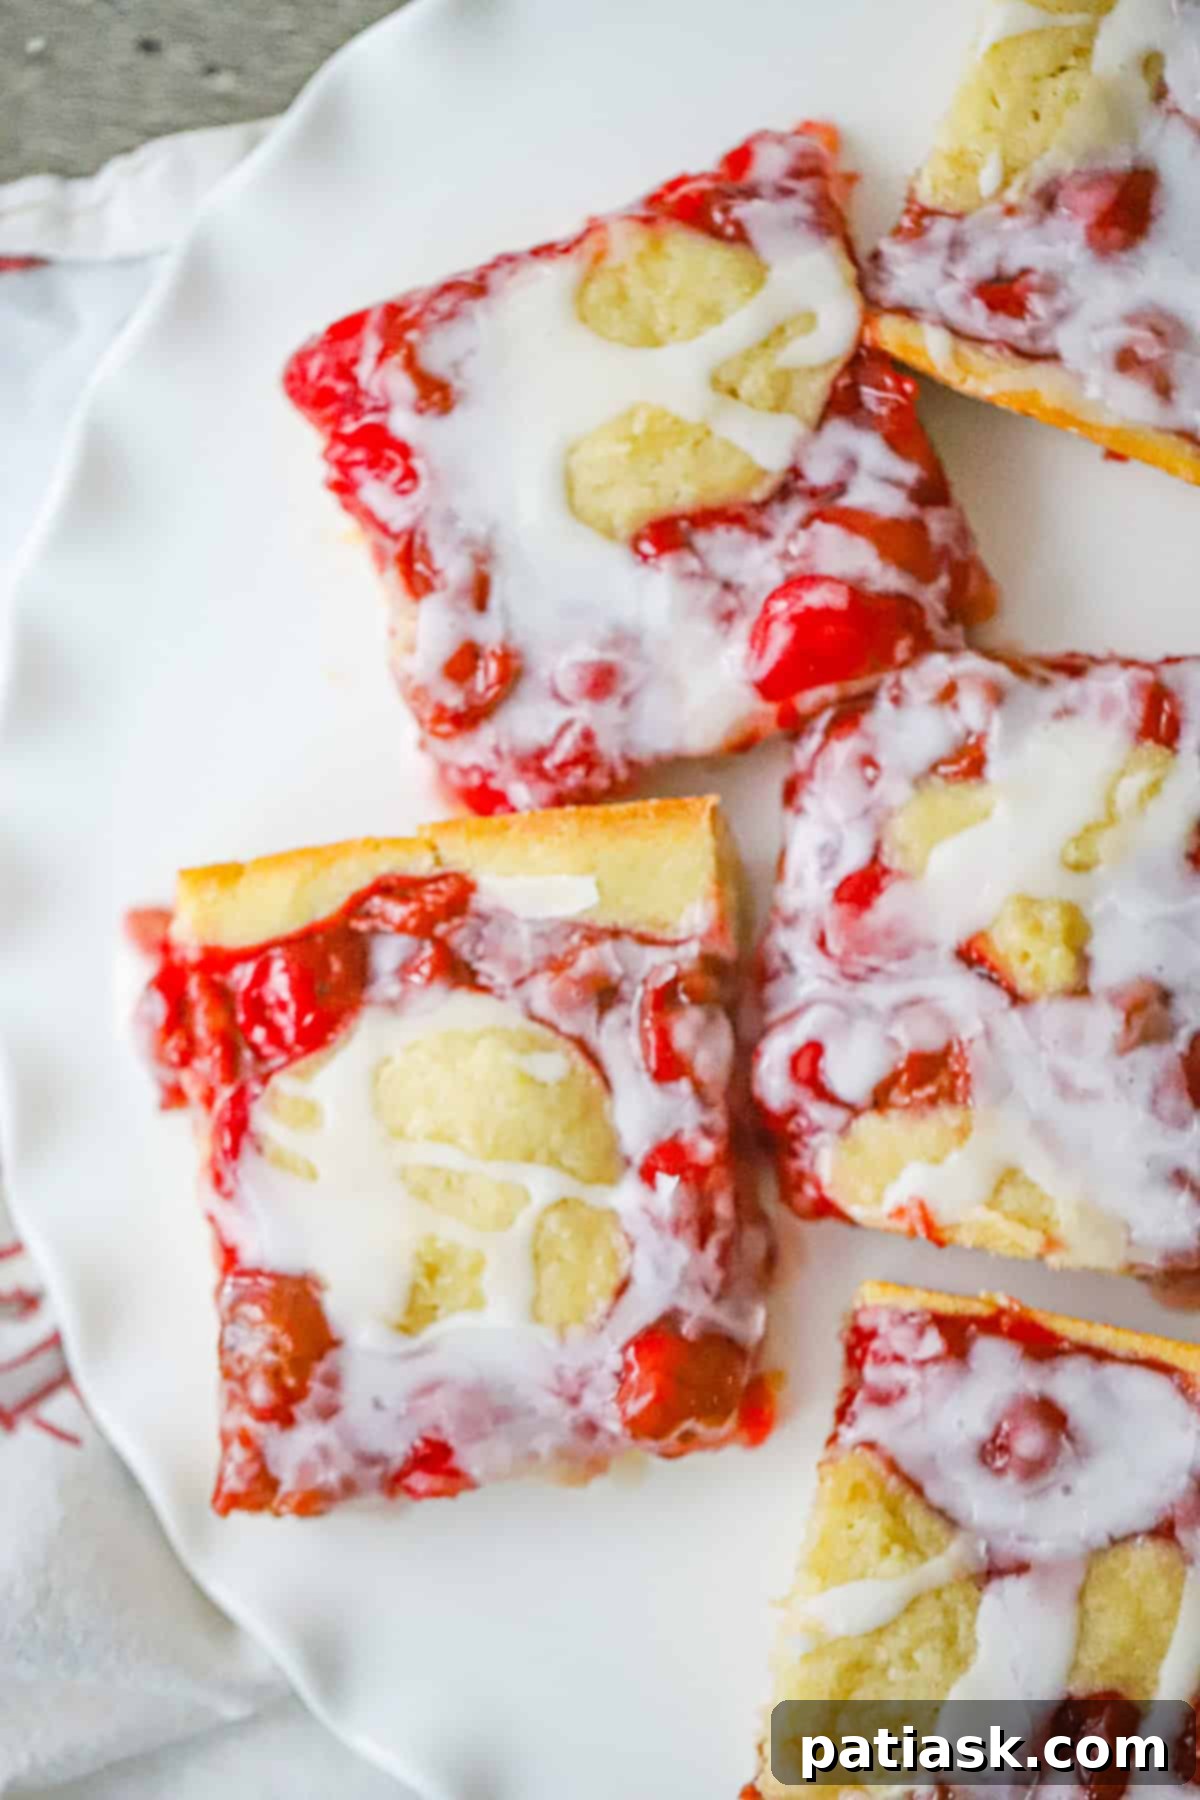
Attention all dessert enthusiasts! Prepare to be captivated by the sheer delight of these absolutely irresistible Cherry Cobbler Bars. Imagine the perfect harmony of sweet and tart, featuring a generous layer of plump, juicy cherries nestled beneath a rich, buttery cobbler crust, all crowned with a delicate, sweet glaze. These homemade cherry bars aren’t just a dessert; they’re an experience waiting to happen, combining the comforting charm of a classic cobbler with the convenience of a perfectly portioned bar.

Why These Cherry Cobbler Bars Will Become Your Go-To Dessert
There’s a reason why these baked cherry bars are quickly becoming a favorite for home bakers and dessert lovers alike. They offer all the beloved characteristics of a traditional cherry cobbler but in a wonderfully portable, sliceable format, making them ideal for any occasion. Forget spending hours in the kitchen; this simple recipe ensures you can whip up a batch with minimal fuss, leaving you more time to savor the moment, especially during warm weather gatherings.
These crowd-pleasing cobbler bars strike an exquisite balance of flavors and textures. The buttery crust provides a tender, melt-in-your-mouth base and topping, perfectly complementing the vibrant, sweet-tart cherry filling. Whether you’re hosting a backyard barbecue, planning a picnic, or simply craving a comforting treat, these easy cherry cobbler bars are guaranteed to be a hit. Just watch how quickly they disappear – they’re that good!
If you’re searching for the best cherry cobbler bar recipe that promises simplicity, incredible flavor, and universal appeal, your quest ends here. Bake a batch today, and get ready for a flurry of compliments; these are truly a summer dessert staple.
Gather Your Ingredients: Simple & Sweet Perfection
Crafting these delectable cherry cobbler bars requires a selection of readily available ingredients, ensuring a stress-free baking experience. Each component plays a vital role in achieving that perfect balance of flavor and texture that defines these beloved dessert bars.
For the Cherry Cobbler Bars
- ½ cup unsalted butter, room temperature: Using unsalted butter allows you to control the overall saltiness of the bars. Ensure it’s at room temperature for easy creaming, which is crucial for a light and fluffy crust.
- 1 cup granulated sugar: Provides the foundational sweetness for the crust, balancing the tartness of the cherries.
- ½ teaspoon salt: A pinch of salt enhances all the other flavors, making the sweetness more pronounced and the fruit brighter.
- 2 large eggs, room temperature: Eggs bind the dough together and add richness. Like butter, having them at room temperature helps them incorporate smoothly into the mixture.
- ½ teaspoon vanilla extract: A classic flavor enhancer that adds warmth and depth to the buttery crust.
- ⅛ teaspoon almond extract: This secret ingredient truly elevates the cherry flavor, giving it a subtle, sophisticated note that pairs wonderfully with stone fruits. Don’t skip it!
- 1 ½ cups all-purpose flour: The structural backbone of our cobbler crust, providing the perfect tender texture.
- 1 can cherry pie filling: The star of the show! A good quality canned cherry pie filling, such as Lucky Leaf, simplifies the process and provides a consistent, delicious fruit layer.
For the Sweet Glaze
- 1 cup powdered sugar: Also known as confectioners’ sugar, this creates a smooth, melt-in-your-mouth glaze.
- 1–2 tablespoons milk of choice: Any milk (dairy or non-dairy) works here. Start with one tablespoon and add more gradually until you reach your desired drizzling consistency.
Step-by-Step Guide: Crafting Your Popular Cherry Cobbler Bars Recipe
Follow these straightforward instructions to bake a batch of the best cherry cobbler bars you’ve ever tasted. This recipe breaks down the process into easy-to-manage steps, ensuring a delicious result every time.
Preparing the Buttery Crust
- Begin by preheating your oven to 350°F (175°C). Lightly spray a 9×13 inch baking pan with non-stick cooking spray to prevent sticking and ensure easy removal of your bars later. Set the prepared pan aside.
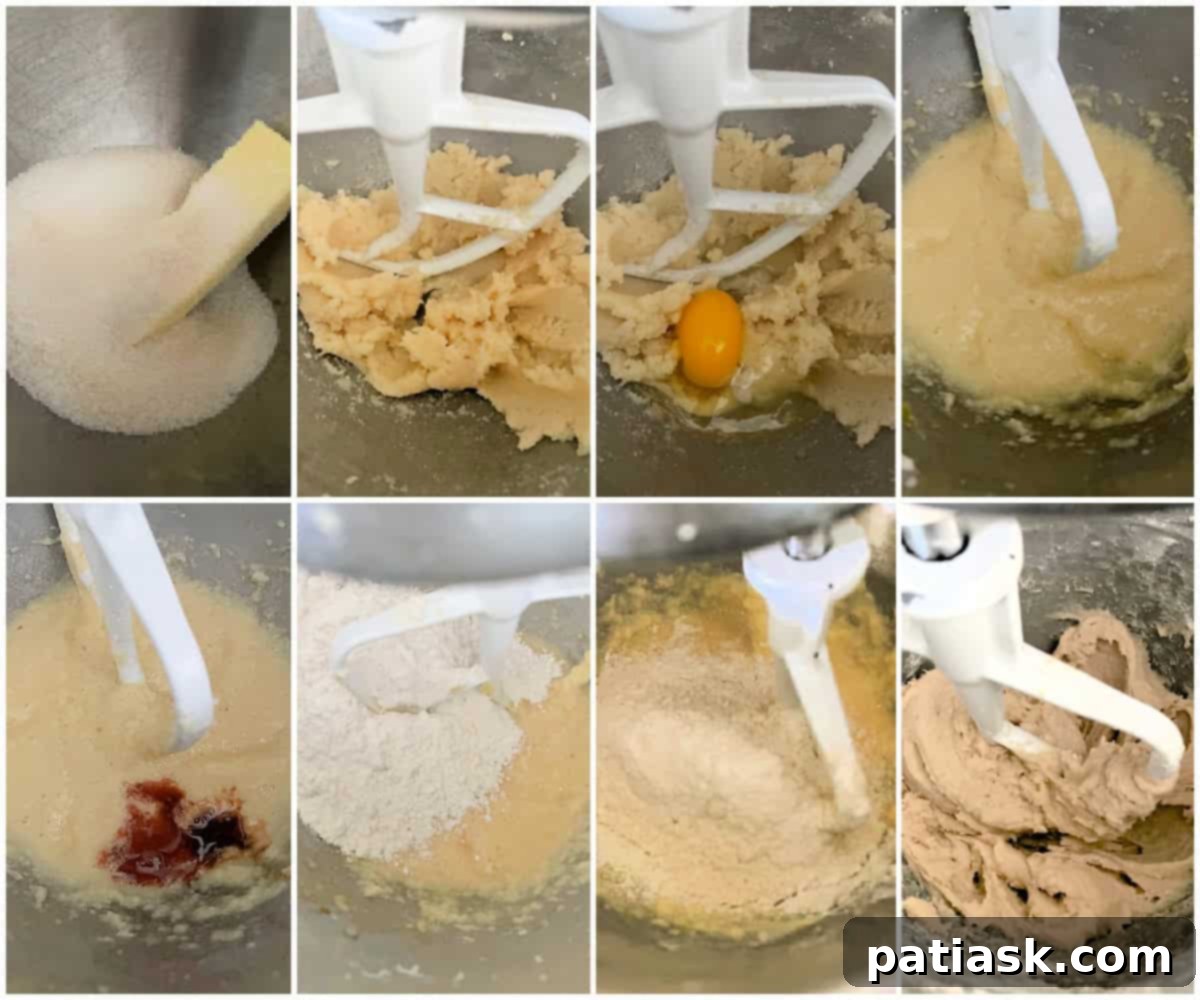
- In a large mixing bowl, combine the room temperature unsalted butter and granulated sugar. Using an electric mixer, cream these two ingredients together on medium-high speed until the mixture becomes visibly light and fluffy. This process usually takes about 5 minutes and is crucial for achieving a tender, airy crust.
- Next, beat in the large eggs, adding them one at a time. After each egg addition, mix thoroughly until it’s fully incorporated into the butter and sugar mixture. This ensures a smooth batter.
- Stir in both the vanilla extract and the almond extract. These extracts provide a wonderful aromatic base and enhance the overall flavor profile of the cobbler bars.
- Gradually add the all-purpose flour to the wet ingredients. Mix on low speed, or by hand, just until the flour is combined and no dry streaks remain. Be careful not to overmix, as this can lead to a tough crust. The dough will be thick and sticky.
Adding the Luscious Cherry Filling
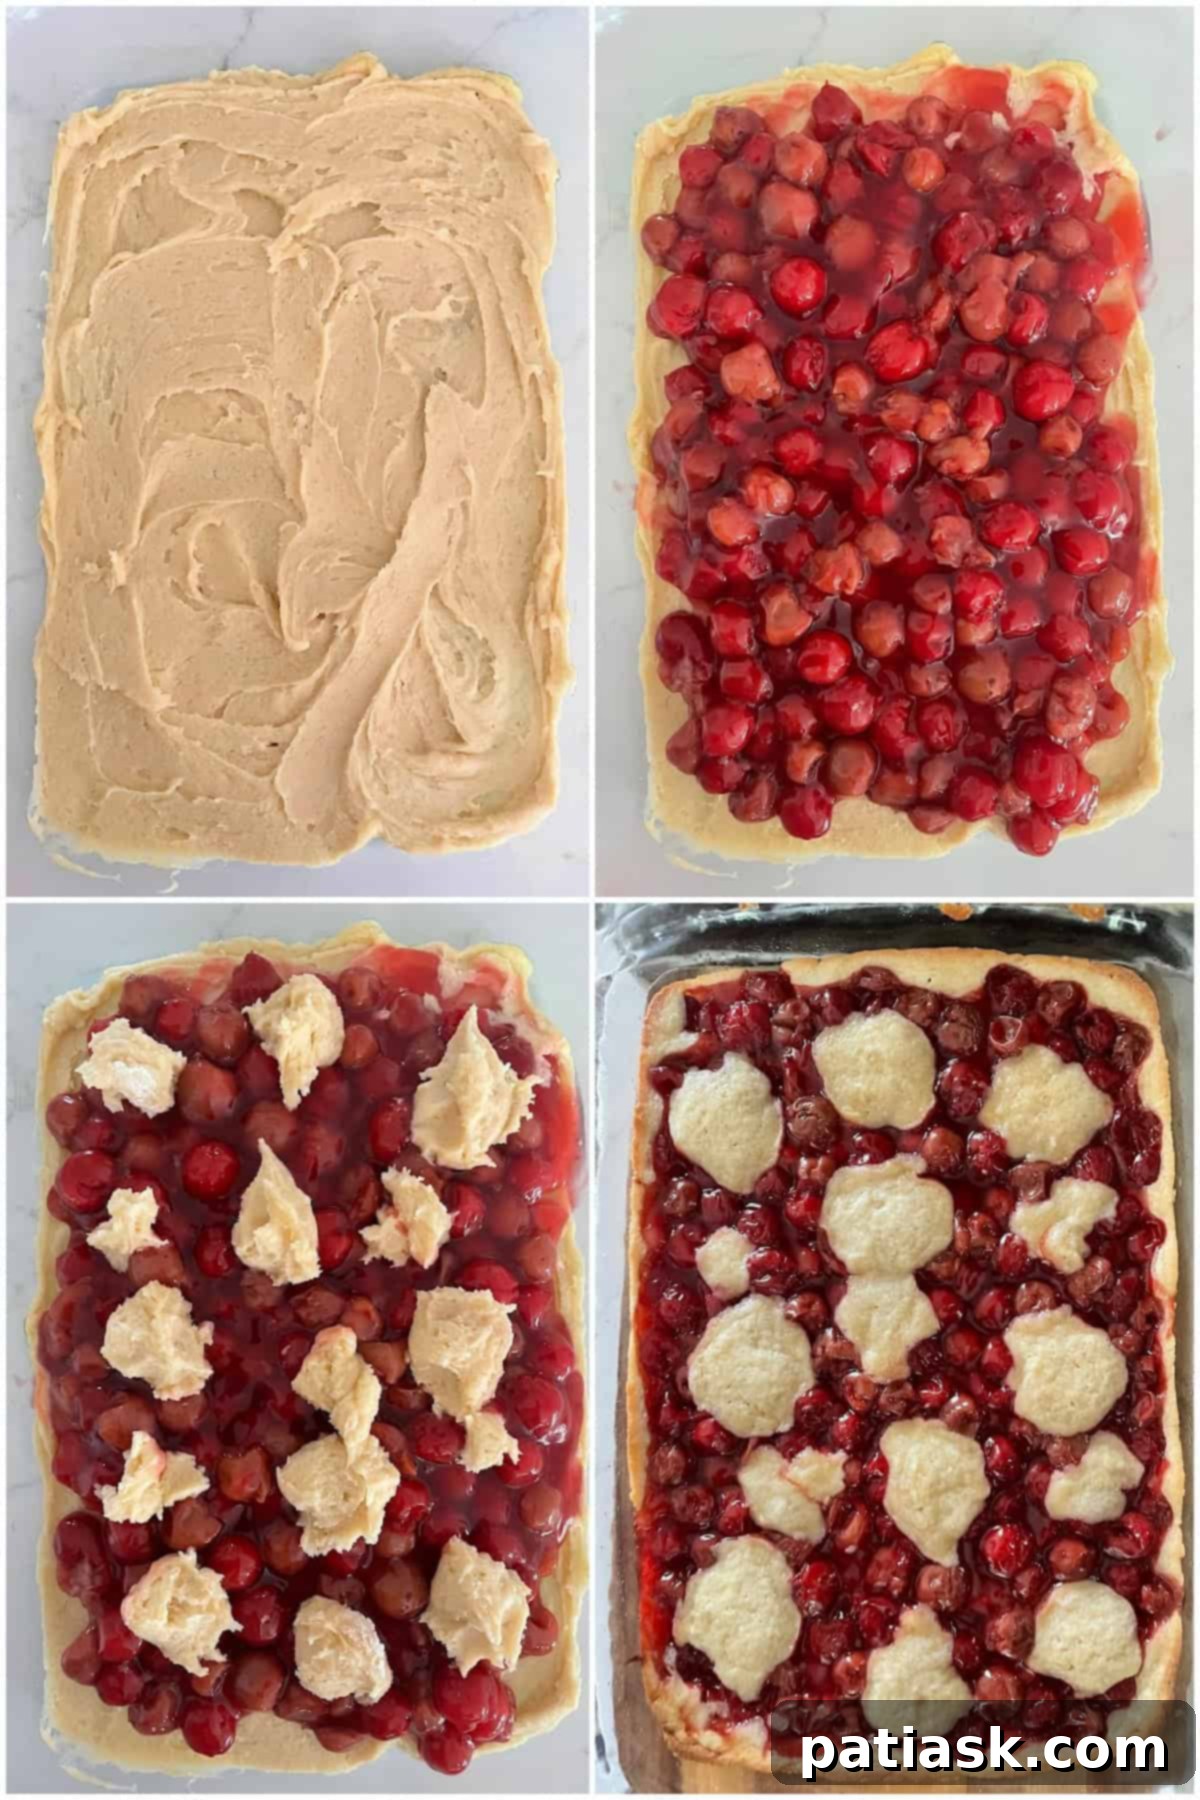
- Take about 1/2 to 2/3 of the prepared dough and spread it evenly into the bottom of your greased 9×13 inch baking pan. Because the dough is quite sticky, an offset spatula or even your clean, lightly floured hands can be very helpful for spreading it smoothly across the pan. This forms the base of your cobbler bars.
- Carefully spoon the entire can of cherry pie filling over the spread-out dough, distributing it as evenly as possible. Leave a small border, approximately 1.5 inches, from the edges of the pan. This helps contain the filling and creates a neat appearance.
- With the remaining dough, drop small teaspoonfuls or use a small cookie scoop to create little dollops over the cherry layer. These dollops will spread slightly during baking, forming the classic cobbler-like topping.
Baking to Golden Perfection
- Place the pan into your preheated oven and bake for 35 to 40 minutes. The cherry cobbler bars are ready when the topping is beautifully golden brown and the filling is bubbling slightly.
- Once baked, remove the pan from the oven and place it on a wire rack. It is vital to let the bars cool completely in the pan before attempting to glaze or slice them. This allows the filling to set and the bars to firm up, making for clean cuts. Patience is key for perfect cobbler bars!
Whipping Up the Sweet Glaze
- While the bars are cooling, prepare your glaze. In a small bowl, whisk together the powdered sugar and 1 to 2 tablespoons of your chosen milk. Start with 1 tablespoon of milk and gradually add more, half a teaspoon at a time, until you achieve a smooth, pourable consistency that is not too thin.
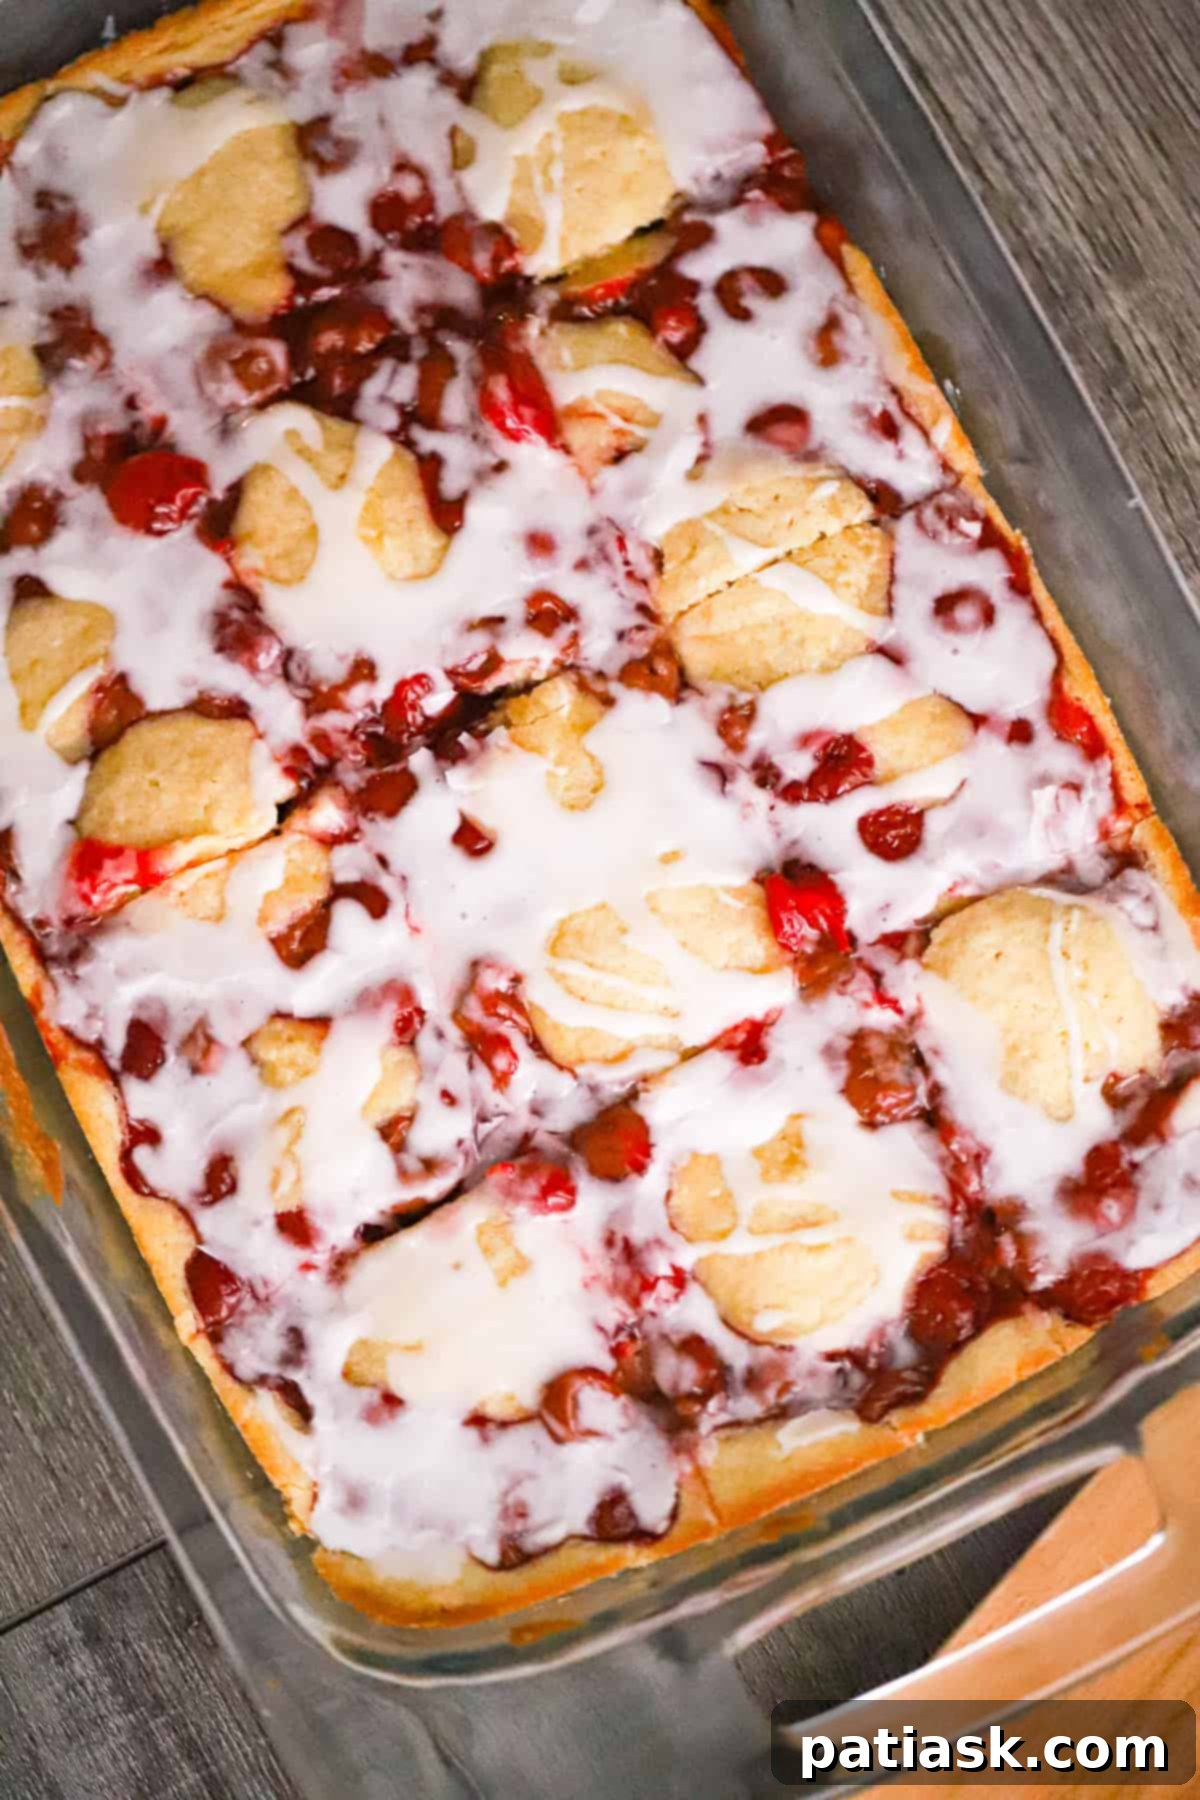
- Once the cherry cobbler bars have cooled completely, generously drizzle the prepared glaze over the top. Allow the glaze to set for a few minutes before slicing and serving.
Expert Tips for Baking Success
- Room Temperature Matters: Ensure your butter and eggs are truly at room temperature. This allows them to cream together beautifully, creating a smooth, emulsified batter that yields a more tender and consistent crust.
- Don’t Overmix: When adding the flour, mix only until just combined. Overmixing develops gluten, which can make your cobbler crust tough instead of tender and crumbly.
- Spreading Sticky Dough: The dough for the base can be quite sticky. For easier spreading, lightly flour your hands or use a silicone spatula. An offset spatula is also an excellent tool for achieving an even layer.
- Cooling is Crucial: Resist the urge to cut into the bars while they’re warm. The cherry filling needs time to set, and the crust needs to firm up. Cooling completely, preferably on a wire rack, will result in cleaner slices and a better texture.
- Achieving Clean Slices: Once completely cooled, use a sharp, thin-bladed knife. For the neatest slices, wipe the knife clean with a damp cloth between each cut.
- Customizing the Glaze: Adjust the amount of milk in the glaze to achieve your preferred consistency. For a thicker, more opaque glaze, use less milk. For a thinner, delicate drizzle, add a touch more.
Serving Suggestions: Enjoying Every Delicious Bite
These cherry cobbler bars are incredibly versatile and can be enjoyed in several delightful ways:
- Classic Warm Treat: For ultimate comfort, serve the bars slightly warm. A quick 10-15 second zap in the microwave can revive their freshly baked warmth and soften the glaze just enough.
- With a Scoop of Ice Cream: Pair a warm bar with a scoop of vanilla bean ice cream. The cold, creamy ice cream melting into the warm, fruity bar is a match made in heaven.
- A Dollop of Whipped Cream: A generous dollop of freshly whipped cream adds a luxurious, light, and airy contrast to the rich cobbler.
- Simple & Unadorned: They are absolutely fantastic on their own, making a perfect grab-and-go snack or a satisfying end to any meal.
- Coffee or Tea Companion: Enjoy a bar with your morning coffee or afternoon tea for a delightful pick-me-up.
Storage Solutions: Keep Them Fresh
To enjoy your cherry cobbler bars for as long as possible, proper storage is key:
- Room Temperature: Once the bars have cooled completely and the glaze has set, store them in an airtight container at room temperature for up to 3 days. This is ideal for quick consumption.
- Refrigeration: For extended freshness, especially in warmer climates or if you prefer a firmer bar, refrigerate them in an airtight container for up to 5 days.
- Freezing: These bars freeze beautifully! Once completely cooled and glazed (or unglazed if you prefer to glaze fresh), wrap individual bars tightly in plastic wrap, then place them in a freezer-safe bag or container. They can be frozen for up to 2 months.
- Thawing & Serving: To serve frozen bars, simply let them thaw at room temperature for a couple of hours. You can also gently warm them in the microwave for a few seconds to restore a fresh-baked feel.
Creative Variations: A Twist on a Classic
While the classic cherry cobbler bars are perfect, don’t hesitate to get creative with these delicious variations:
- Fruity Swaps: Experiment with different canned pie fillings. Blueberry, raspberry, peach, or apple pie filling can create equally delicious cobbler bars, each with its unique flavor profile.
- Chocolate Cherry Delight: Fold a handful of white chocolate chips, dark chocolate chips, or even mini chocolate chips into the dough for an extra layer of sweetness and texture.
- Nutty Crunch: Add 1/2 cup of finely chopped pecans or walnuts to the dough for a delightful crunch and nutty flavor.
- Spice it Up: A pinch of cinnamon or nutmeg in the dough can add a warm, cozy spice dimension that pairs beautifully with the fruit.
- Citrus Zest: Grate in the zest of one lemon or orange into the dough for a bright, fresh note that cuts through the sweetness.
- Gluten-Free Option: To accommodate gluten-free friends, simply swap the all-purpose flour for a good quality 1:1 gluten-free baking flour blend. Ensure the blend contains xanthan gum for best results.
- Dairy-Free Option: Use a plant-based butter substitute and your favorite non-dairy milk (almond, soy, oat) for a delicious dairy-free version.
Frequently Asked Questions (FAQs)
Can I use fresh cherries instead of pie filling?
Absolutely! If you prefer to use fresh cherries, you’ll need to prepare them first. Pit and halve about 4-5 cups of fresh cherries (or a 1lb bag of frozen cherries). Cook them down in a saucepan with about 1/2 cup of sugar (adjust to taste) and 2-3 tablespoons of cornstarch dissolved in a little water until the mixture thickens to a pie-filling consistency. Let it cool slightly before spreading over the crust.
Can I double this cherry cobbler bar recipe?
Yes, you can easily double the recipe. You will need a larger sheet pan, typically an 11×17 inch pan, or two 9×13 inch pans. Adjust the baking time accordingly; a larger, thicker batch might require an additional 5-10 minutes of baking. Always look for that golden-brown top and bubbling filling.
What’s the best way to slice the bars cleanly?
The secret to clean slices is patience and a sharp knife. Ensure the cobbler bars are completely cooled before attempting to cut them. Use a long, sharp knife, pressing down firmly rather than sawing. For extra neatness, wipe the knife blade clean with a damp cloth after each slice.
Can I make these bars ahead of time?
Yes, these cherry cobbler bars are an excellent make-ahead dessert. You can bake them a day or two in advance and store them as directed (room temperature or refrigerated). They often taste even better the next day as the flavors meld together.
Why is my cobbler crust tough?
A tough crust is usually a sign of overmixing the dough once the flour has been added. Mix only until the ingredients are just combined. Also, ensuring your butter and eggs are at room temperature helps create a tender crumb.
Final Thoughts: Your New Favorite Summer Dessert
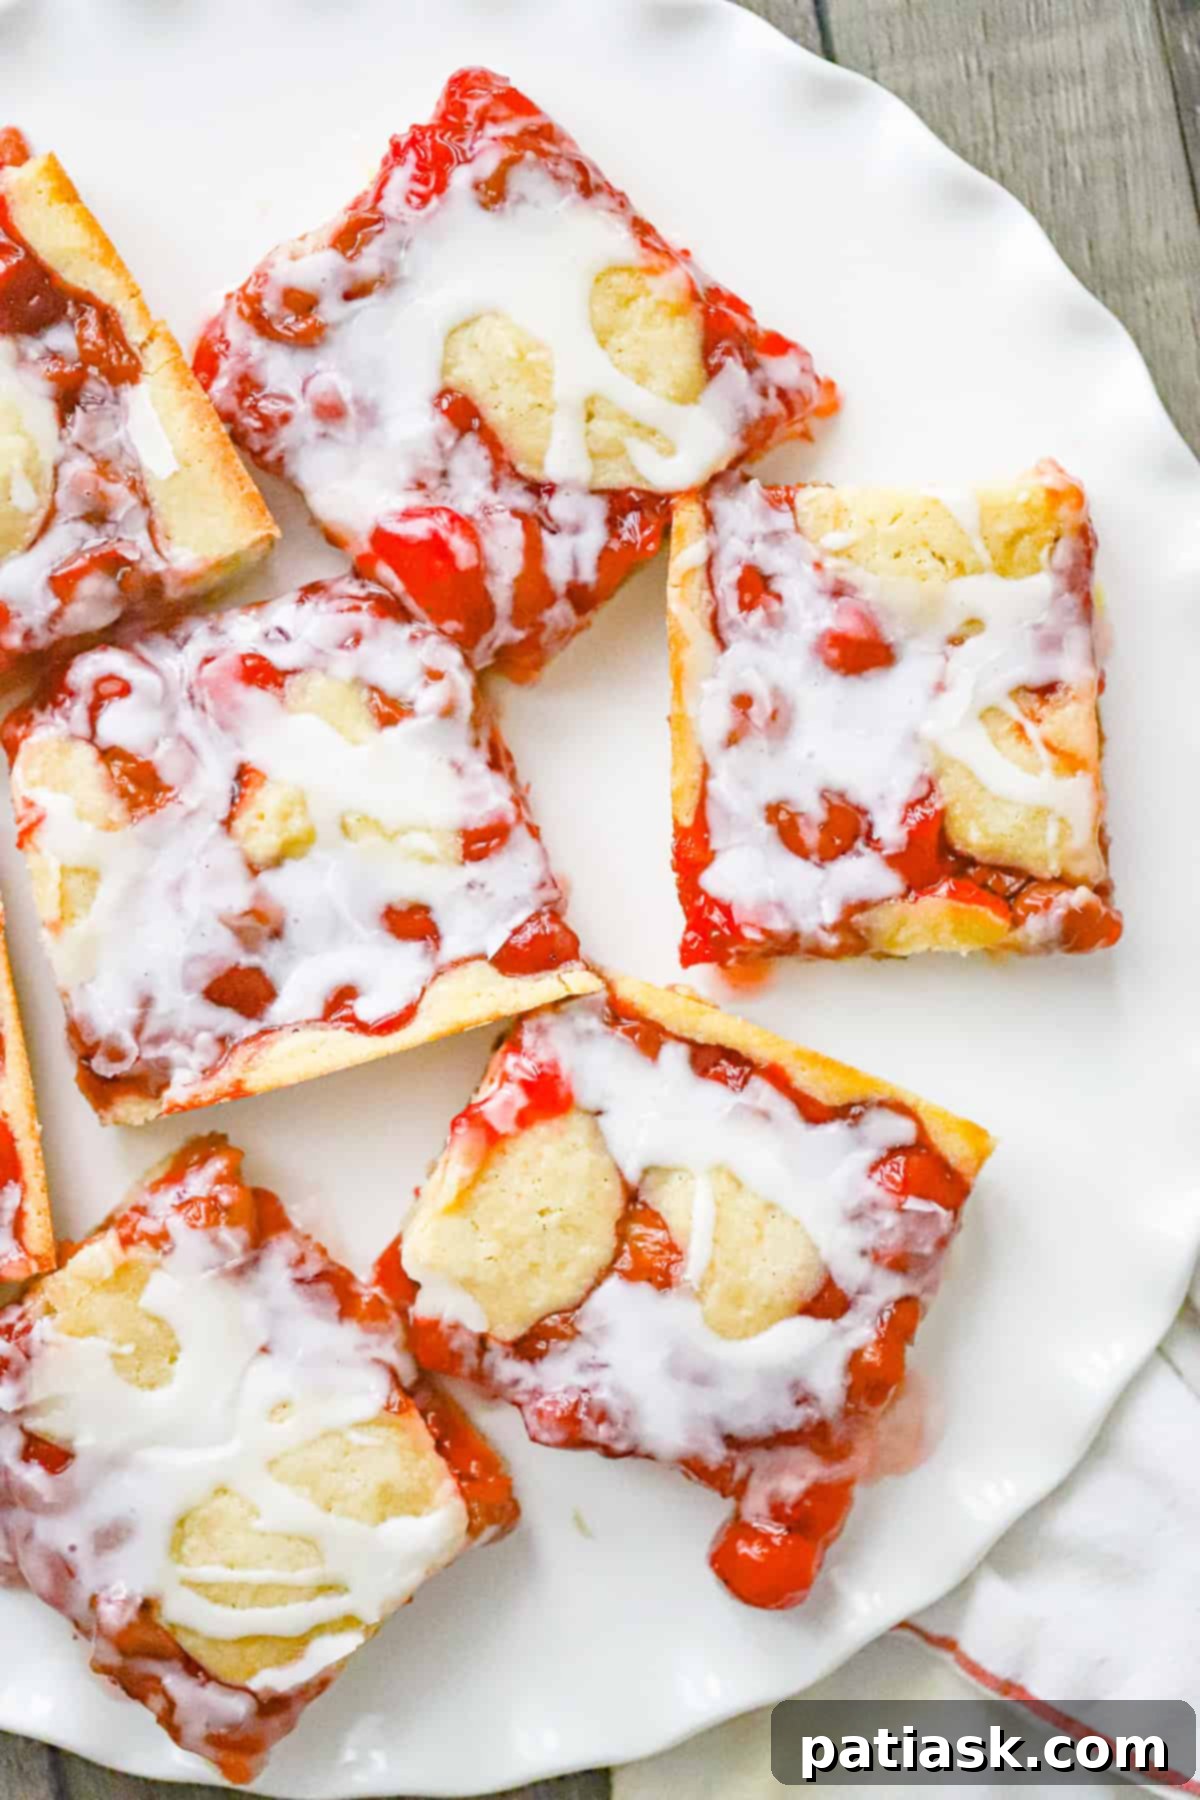
If you’re a devoted fan of cherry desserts or simply in search of a quick, satisfying sweet treat, these cherry cobbler bars are an absolutely stellar choice. They are remarkably straightforward to prepare, bursting with a delightful sweet-tart flavor, and profoundly satisfying with every bite. The combination of a tender, buttery crust and a luscious cherry filling makes them an instant classic. Make them just once, and you’ll swiftly understand why this cherry cobbler dessert recipe will earn a permanent spot as a fast favorite in your recipe collection.
More Delicious Recipes to Explore
- Best Fresh Strawberry Cobbler
- Homemade Blueberry Cobbler
- Easy Dutch Crumble Apple Pie Bars
- Strawberry Streusel Cobbler Muffins
- Grandma’s Classic Biscuit Apple Cobbler
- Easiest Peach Cobbler Bread

Cherry Cobbler Bars
By Kim Lange
Make your gatherings sweeter with these cherry cobbler bars. These irresistible treats are easy to bake & loved by everyone.
No ratings yet
Pin Recipe
15 mins
40 mins
Dessert
12 Servings
Ingredients
CHERRY COBBLER BARS
- ½ cup unsalted butter, room temperature
- 1 cup granulated sugar
- ½ teaspoon salt
- 2 large eggs, room temperature
- ½ teaspoon vanilla extract
- ⅛ teaspoon almond extract
- 1 ½ cups all-purpose flour
- 1 can cherry pie filling (I used Lucky Leaf)
GLAZE
- 1 cup powdered sugar
- 1-2 tablespoons milk of choice
Instructions
Cherry Cobbler Bars
- Preheat oven to 350 degrees. Spray a 9×13 baking pan with non-stick cooking spray and set aside.
- In a large mixing bowl, using an electric mixer, cream together the softened butter and granulated sugar until light and fluffy for about 5 minutes.
- Next, add in the eggs, one a time beating well after each addition.
- Beat in vanilla and almond extracts.
- Gradually add in flour, mixing until just until combined.
- Transfer 1/2 to 2/3rds of the dough and spread evenly into prepared baking pan. Dough will be very sticky. I used an offset spatula to smooth it out.
- Top with cherry pie filling, leaving about 1 and 1/2-inches around the edges.
- Drop the remaining dough by teaspoonfuls over the cherry pie filling using a small cookie scoop or a teaspoon.
- Bake in oven for 35 to 40 minutes or until light golden brown. Cool completely in pan on wire cooling rack.
Glaze
- In a small bowl, whisk together the powdered sugar and enough milk to reach desired consistency. Drizzle over top of cooled bars.
bars, cherry, cobbler
Let us know how it was by commenting below!
