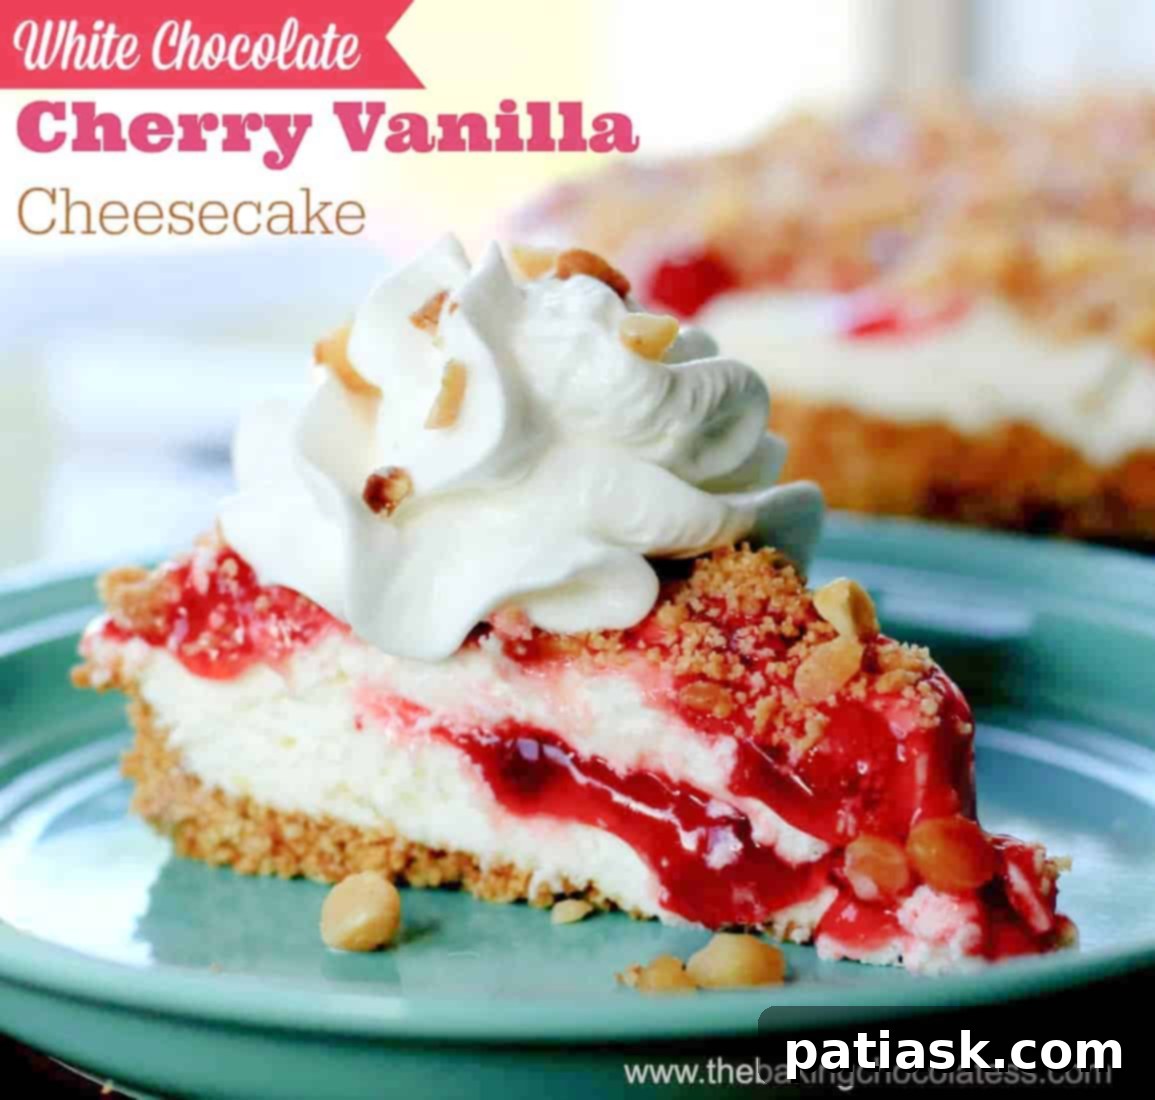
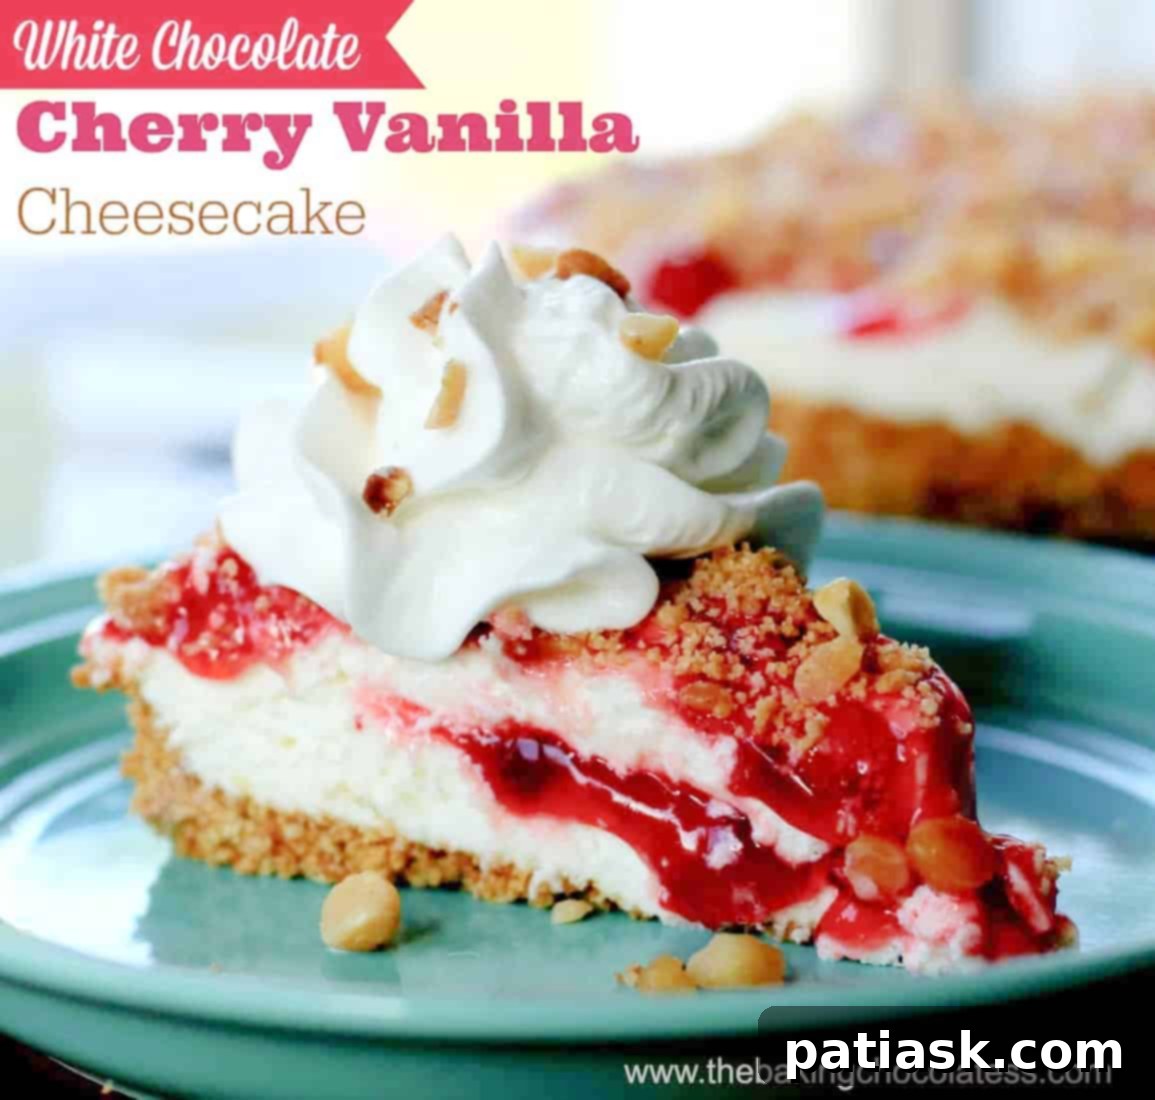
Indulge in a truly heavenly dessert experience with our irresistible No-Bake White Chocolate Cherry Vanilla Cheesecake! This delightful creation brings together a symphony of flavors and textures, making it the perfect treat for any occasion, from casual summer gatherings to elegant holiday feasts. Imagine a luscious, creamy cheesecake infused with rich white chocolate and aromatic vanilla, generously swirled with a vibrant cherry pie filling, all resting on a perfectly crisp, nutty graham cracker crust. It’s a dessert that not only tastes incredible but also boasts a melt-in-your-mouth velvety consistency that will leave you craving more. The best part? No oven required!
No-Bake White Chocolate Cherry Vanilla Cheesecake: A Dream Dessert
Say goodbye to long baking times and complicated steps. This no-bake cheesecake recipe is designed for ease and maximum flavor. We’ve packed all the goodness of a traditional cheesecake—the tang of cream cheese, the sweetness of sugar, and the comforting hint of vanilla—and elevated it with luxurious white chocolate and the delightful burst of cherries. Each bite is a harmonious blend of creamy, sweet, and tart, promising a truly memorable dessert experience.
Looking for more sensational treats? You might also enjoy these 25 Slices of Summer Heavenly Desserts!
Why Choose a No-Bake Cheesecake? The Simplicity of Deliciousness
No-bake cheesecakes are a game-changer, especially for home bakers who want to impress without the stress. They are incredibly easy to prepare, requiring minimal kitchen equipment and no oven, which is a huge advantage during hot weather or when your oven is occupied with other dishes. The chilling process allows the flavors to meld beautifully and the texture to set into that signature creamy consistency. This makes it an ideal choice for beginners and experienced bakers alike, offering a foolproof path to a stunning dessert. Plus, the quick prep time means you can whip up this elegant cheesecake in advance, freeing you up to enjoy your guests or relax.
Unraveling the Flavor Profile: White Chocolate, Cherry, and Vanilla
The magic of this cheesecake lies in its perfectly balanced flavor profile, where each component plays a crucial role in creating an unforgettable taste. Let’s dive into what makes this combination so utterly irresistible:
The Creamy Embrace of White Chocolate
White chocolate is the star here, offering a delicate sweetness and an incredibly smooth, buttery texture. When melted and folded into the cream cheese mixture, it transforms the cheesecake into a truly decadent delight. Unlike dark or milk chocolate, white chocolate brings a subtle, vanilla-like richness that complements the other flavors without overpowering them. It contributes significantly to the cheesecake’s dreamy, velvety consistency, making each mouthful feel like a luxurious indulgence.
The Tangy Burst of Cherries
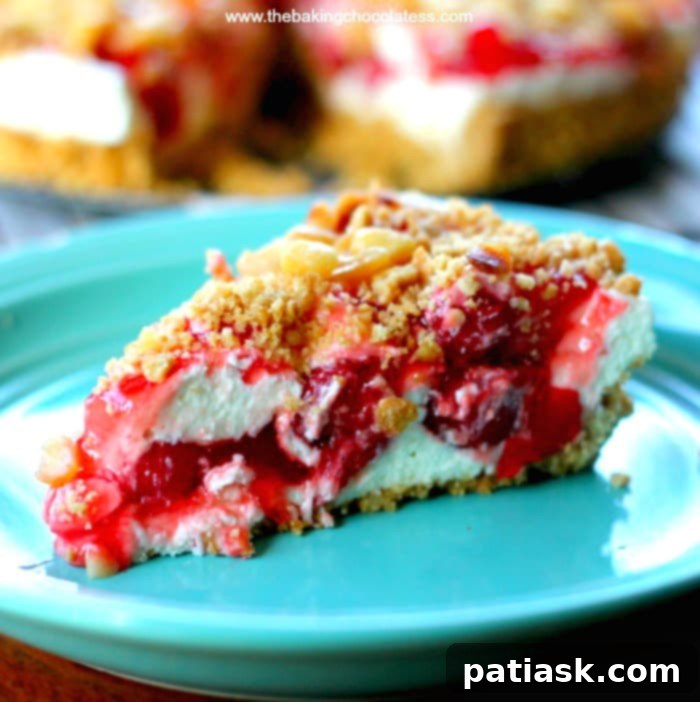
The cherry pie filling provides a crucial counterpoint to the sweetness of the white chocolate and vanilla. Its bright, tart flavor cuts through the richness, creating a refreshing contrast that keeps the palate engaged. The vibrant red swirls not only add a beautiful visual appeal but also introduce a juicy, fruity burst with every spoonful. Whether you opt for a classic store-bought pie filling or choose to make your own from fresh or frozen cherries, this fruity layer is essential for the cheesecake’s dynamic taste.
The Aromatic Whisper of Vanilla
Vanilla acts as the silent hero, enhancing and harmonizing all the other flavors. Its warm, sweet, and comforting aroma and taste provide a foundational layer that elevates both the white chocolate and the cherries. Using a high-quality vanilla extract or, for an even richer depth, vanilla bean paste, will make a noticeable difference in the overall complexity and sophistication of the cheesecake. It ties everything together, ensuring a well-rounded and deeply satisfying dessert.
The Perfect Foundation: Graham Cracker Crust
Every great cheesecake needs a sturdy and flavorful foundation, and our nutty graham cracker crust delivers just that. Made with crushed graham crackers, melted butter, and a touch of sugar, it provides a delightful textural contrast to the smooth filling. The slight crunch and subtle nutty sweetness of the crust complement the creamy cheesecake perfectly, offering a satisfying bite from start to finish. It’s simple to make and sets beautifully in the refrigerator, eliminating the need for baking.
Gather Your Ingredients for Cheesecake Perfection
Creating this stunning no-bake cheesecake requires just a few simple, accessible ingredients. Quality matters, so choose your components wisely to achieve the best flavor and texture.
For the Irresistible Graham Cracker Crust
- 1 ½ cups graham crackers, crushed
- ¼ cup sugar
- ⅓ cup butter, melted
For the Velvety White Chocolate Vanilla Cheesecake w/Cherries
- 1 cup white chocolate chips
- 20 ounces cream cheese, softened
- ⅓ cup powdered sugar
- 1 tablespoon vanilla extract or 1 teaspoon vanilla bean paste
- 1 ½ cups whipped topping (like Cool Whip)
- 1 can cherry pie filling
For the Delightful Topping (Optional, but highly recommended!)
- Some extra graham cracker crust crumbles
- ¼ cup Macadamia nuts, chopped
- Additional whipped topping
Crafting Your No-Bake White Chocolate Cherry Vanilla Cheesecake: Step-by-Step
Follow these easy instructions to create a show-stopping dessert that will impress everyone.
Preparing the Graham Cracker Crust
- Begin by finely crushing the graham crackers. You can do this in a food processor for a fine crumb, or place them in a zip-top bag and crush them with a rolling pin.
- In a medium bowl, combine the crushed graham crackers with the sugar and melted butter. Mix thoroughly until the crumbs are evenly moistened and resemble wet sand.
- Press this mixture firmly into the bottom and slightly up the sides of an ungreased 9-inch pie pan or springform pan. Use the bottom of a glass or your fingers to create an even, compact layer.
- Place the prepared crust in the refrigerator to chill and firm up while you prepare the filling. This step is crucial for a stable crust.
Assembling the Luxurious Cheesecake Filling
- Melt the white chocolate chips. You can do this in a microwave-safe bowl in 30-second intervals, stirring after each, until smooth. Alternatively, use a double boiler. Set the melted chocolate aside to cool slightly.
- In a large mixing bowl, beat the softened cream cheese with an electric mixer on medium speed until it is completely smooth and free of lumps. This ensures a silky texture for your cheesecake.
- Add the powdered sugar and vanilla extract (or vanilla bean paste) to the cream cheese mixture. Continue beating until all ingredients are well combined and smooth.
- Gently fold in the whipped topping until just combined. Be careful not to overmix, as this can deflate the whipped topping and alter the cheesecake’s texture.
- Now, incorporate the slightly cooled melted white chocolate into the cream cheese mixture. Mix until fully blended, creating a homogenous, creamy filling.
- Pour half of this luscious white chocolate cream cheese filling into your chilled graham cracker crust, spreading it evenly with a spatula.
- Spoon between ⅓ to ½ of the cherry pie filling on top of the first layer of cheesecake filling. Gently spread it out a bit, being careful not to disturb the crust.
- Carefully add the remaining white chocolate cream cheese filling on top of the cherry layer, spreading it gently to cover.
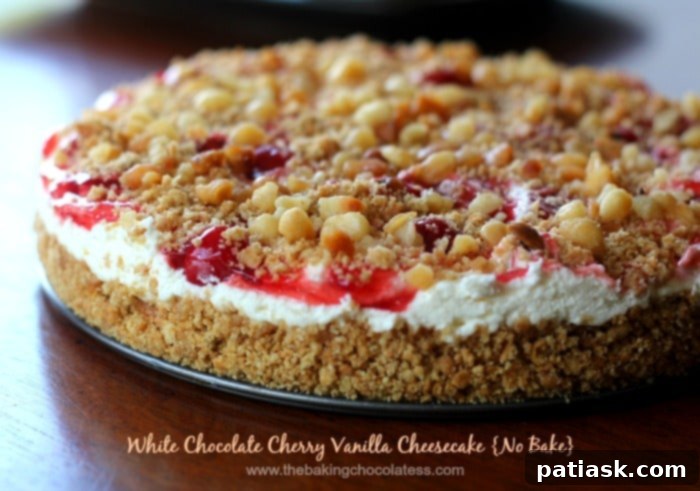
- Finish by spooning the rest of the cherry pie filling on top. For a beautiful marbled effect, you can use a knife or skewer to gently swirl the cherries into the top layer of the cheesecake.
- **Optional Topping:** For an extra layer of deliciousness and texture, sprinkle some additional graham cracker crumbles and chopped macadamia nuts over the top. A dollop of extra whipped cream before serving is also a fantastic addition!
- Cover the cheesecake loosely with aluminum foil or plastic wrap and refrigerate for at least 3 hours, or preferably overnight, to allow it to set completely. The longer it chills, the firmer and more stable it will be.
Pro Tips for the Ultimate No-Bake Cheesecake
Achieving cheesecake perfection is easy with a few insider tips:
- Softened Cream Cheese is Key: Ensure your cream cheese is at room temperature before beating. This prevents lumps and ensures a smooth, creamy filling.
- Don’t Overmix the Whipped Topping: Gently fold in the whipped topping to maintain its airy texture. Overmixing can lead to a less fluffy cheesecake.
- Chill Time is Crucial: Patience is a virtue here! A minimum of 3 hours chilling is essential for the cheesecake to set properly, but overnight chilling provides the best results for firmness and flavor development.
- Cool Your White Chocolate: Allow the melted white chocolate to cool slightly before adding it to the cream cheese mixture. Adding hot chocolate can cause the cream cheese to seize or melt the whipped topping.
- For Easy Slicing: Dip your knife in hot water and wipe it clean before each slice for clean, professional-looking portions.
- Garnish for Impact: Fresh cherries, chocolate shavings, or a sprinkle of toasted nuts can elevate the presentation of your cheesecake.
Creative Variations and Serving Suggestions
While this White Chocolate Cherry Vanilla Cheesecake is perfect as is, feel free to experiment with these variations to customize it to your taste:
Flavor Twists
- Berry Bliss: Swap out the cherry pie filling for strawberry, blueberry, or raspberry pie filling for a different fruity twist. You could even combine two berry flavors!
- Tropical Escape: Consider a pineapple or mango topping for a more exotic flavor profile.
- Chocolate Lover’s Dream: Drizzle some melted dark chocolate over the top before chilling, or even add a layer of chocolate ganache.
- Nutty Indulgence: Incorporate finely chopped pecans, walnuts, or almonds into the graham cracker crust for added flavor and crunch.
Presentation Perfect
- Individual Servings: Make mini cheesecakes in cupcake liners for easy portion control and a charming presentation.
- Elegant Drizzle: After chilling, drizzle with a homemade cherry sauce or a contrasting chocolate sauce.
- Fresh Fruit Garnish: Adorn each slice with fresh whole cherries, a sprig of mint, or a dusting of powdered sugar just before serving.
Frequently Asked Questions (FAQ)
- Can I use fresh cherries instead of pie filling?
- Absolutely! You can make your own cherry compote by cooking fresh or frozen cherries with a little sugar and cornstarch until thickened. Allow it to cool completely before adding it to the cheesecake.
- How long does this no-bake cheesecake last?
- Stored properly in an airtight container in the refrigerator, this cheesecake will stay fresh for 3-4 days.
- Can I freeze this cheesecake?
- Yes, no-bake cheesecakes freeze beautifully! Wrap the cheesecake tightly in plastic wrap, then in aluminum foil, and freeze for up to 1 month. Thaw in the refrigerator overnight before serving.
- What kind of pan works best?
- A 9-inch pie pan or a 9-inch springform pan are both excellent choices. A springform pan makes for easier removal and a more dramatic presentation.
Explore More Decadent Cherry Desserts
If you’re a fan of cherry desserts, you’re in for a treat! Discover more delightful recipes featuring this beloved fruit:
- Chocolate Cherry Oreo Dream Dessert
- Cherry Cream Cheese Coffee Cake
- OMG! Heavenly Cherry Cheesecake Swirl Brownies
- Sour Cherry Cobbler Coffee Cake
- Rustic Cherry Streusel Crescent Pies
- Red Tart Cherry Crumble Pie
White Chocolate Cherry Vanilla Cheesecake {No Bake} – The Full Recipe
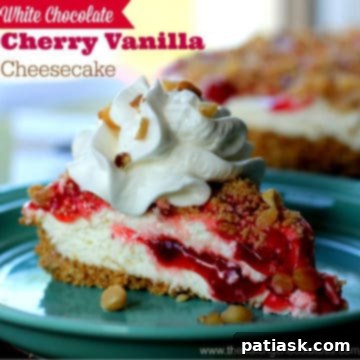
White Chocolate Cherry Vanilla Cheesecake {No Bake}
Author: Kim Lange
This no-bake creamy, velvety cheesecake has all the good things! White chocolate, vanilla cheesecake, whipped cream, and cherry pie filling, all on a delicious nutty graham cracker crust. So heavenly, you won’t be able to get enough!
Prep Time: 20 mins
Chill Time: 3 hrs
Course: Dessert
Servings: 12
Keywords: cheesecake, cherry, cream pie, no bake, no bake cheesecake
Ingredients
Graham Cracker Crust
- 1 ½ cups graham crackers, crushed
- ¼ cup sugar
- ⅓ cup butter, melted
White Chocolate Vanilla Cheesecake w/Cherries
- 1 cup white chocolate chips
- 20 ounces cream cheese, softened
- ⅓ cup powdered sugar
- 1 tablespoon vanilla extract or 1 teaspoon vanilla bean paste
- 1 ½ cups whipped topping
- 1 can cherry pie filling
Topping
- Some extra graham cracker crust crumbles
- ¼ cup Macadamia nuts, chopped
- Whipped topping
Instructions
Graham Cracker Crust
- Crush the graham crackers and mix with melted butter and sugar.
- When combined, press mixture into the bottom and up the sides of an ungreased 9” pie pan or spring-form pan.
- Refrigerate until ready to use.
White Chocolate Cherry Cheesecake Filling
- Melt the chocolate chips in microwave and set aside to cool a bit.
- In a large bowl, beat cream cheese with an electric mixer until smooth. Add sugar and vanilla and mix together well.
- Fold in whipped topping.
- Pour half of the filling into the pan.
- Spoon between ⅓ to ½ of the cherry filling on top of the filling and spread out a little bit.
- Add the rest of the white chocolate/cream cheese filling and spread out.
- Add the rest of the cherries and spread and swirl them around.
- Optional: Sprinkle with topping of graham cracker crumbles and macadamia nuts and extra whipped cream for a super yummy dessert!
- Cover with foil and refrigerate for at least 3 hours or overnight.
This No-Bake White Chocolate Cherry Vanilla Cheesecake is truly a masterpiece of simplicity and flavor. With its velvety texture, harmonious blend of sweet and tart, and effortless preparation, it’s bound to become a staple in your dessert repertoire. So go ahead, whip up this delightful treat, and prepare to impress your family and friends with a dessert that tastes as good as it looks!
We hope you enjoy creating and savoring every delightful bite. Let us know how your cheesecake turns out in the comments below!
