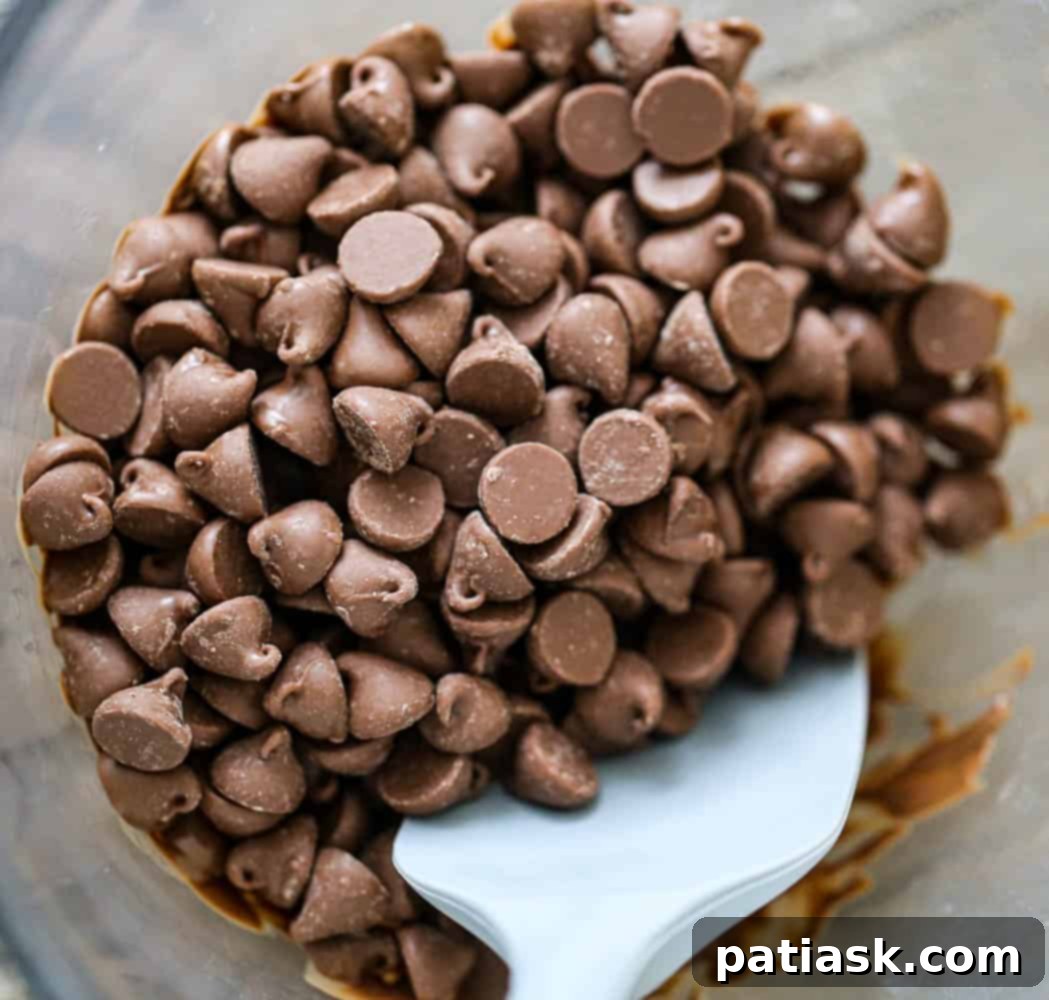
Mastering Microwave Chocolate Tempering: Quick, Easy, and Flawless Results
Are you tired of the painstaking, old-fashioned stove-top methods for melting and tempering chocolate? Good news! These **Microwave Chocolate Tempering Tips** are here to revolutionize your dessert preparations, making your life significantly easier and your chocolate work consistently perfect. Say goodbye to fuss and lengthy processes, and welcome quick, professional results right from your microwave!
With this modern approach, you can confidently temper various types of chocolate – be it standard chocolate chips, gourmet bars, or vibrant candy melts – all with remarkable ease and speed in your microwave. Imagine whipping up beautifully tempered chocolate in a fraction of the time, without the need for a double boiler or the constant worry of overheating. This method eliminates the need to work up a sweat over a hot stove, leaving you more time to enjoy the creative process of dessert making.
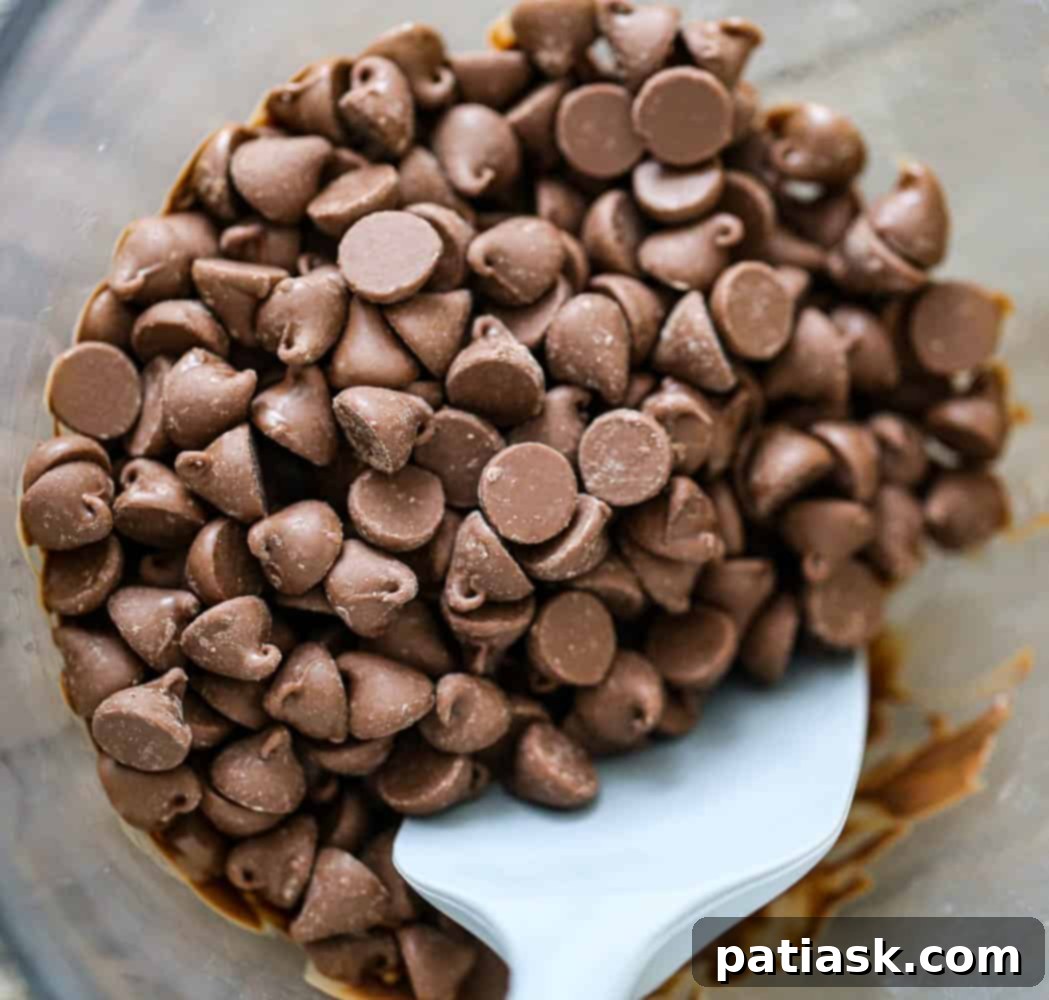
Why Embrace Microwave Tempering? The Smart Way to Perfect Chocolate
For many home bakers and professional chocolatiers alike, the microwave has become an indispensable tool for achieving perfectly tempered chocolate. While traditional methods involving a double boiler offer precision, they often come with their own set of challenges: the risk of water splashing into your chocolate (causing it to seize), inconsistent heating, and the sheer time investment. This is where microwave tempering truly shines.
My personal preference for the microwave method stems from its unparalleled efficiency and ease. I simply don’t have the patience for the meticulous, time-consuming stove-top process, and I doubt you do either! The microwave allows for incredibly controlled melting, especially when working in short bursts. Many modern microwaves even feature a dedicated “chocolate melting” button, which, far from being a cheat, is a smart way to leverage technology for consistent results. Even without such a feature, mastering microwave tempering is straightforward: melt your chocolate in short, controlled 30-second intervals, stirring diligently after each one, until you achieve that elusive perfect consistency and temper.
The beauty of this technique lies in its simplicity and the ability to avoid overheating. Overheated chocolate is unusable for tempering and can lead to a dull finish or “bloom” (white streaks) once it sets. By using short microwave bursts and relying on residual heat for the final melt, you minimize these risks, ensuring a glossy, snappy, and professionally finished chocolate product every time. It’s a game-changer for anyone looking to simplify their chocolate-making process without compromising on quality.
Essential Tools for Flawless Microwave Chocolate Tempering
Achieving beautifully tempered chocolate in the microwave requires only a few basic kitchen tools. Gathering these items beforehand will ensure a smooth and enjoyable process, preventing any last-minute scrambling.
- Your Chocolate of Choice: The foundation of any great chocolate creation. We’ll delve into selecting the right type of chocolate shortly, but ensure it’s high quality for the best results.
- Microwave-Safe Bowl: A clean, dry, heat-resistant glass or ceramic bowl is essential. Glass bowls are often preferred because they heat evenly and allow you to see the melting process more clearly. Ensure it’s completely dry, as even a tiny drop of water can cause chocolate to seize.
- Rubber Spatula: A flexible, heat-resistant rubber or silicone spatula is perfect for stirring your chocolate. It allows you to scrape down the sides of the bowl effectively, ensuring even melting and preventing hot spots.
- Cooking Thermometer (Optional but Recommended): While not strictly necessary for this method once you get the hang of it, a reliable cooking thermometer that reads temperatures between 80-130°F (26-54°C) can be incredibly helpful for beginners. It provides an extra layer of precision, allowing you to monitor the chocolate’s temperature and ensure it reaches the correct tempering range, especially when working with different types of chocolate. This is particularly beneficial if you’re aiming for absolute perfection or are troubleshooting issues.
Crucial Chocolate Tempering Temperature Chart
Understanding the ideal melting temperatures is key to successful tempering. While the microwave method simplifies the process, these temperature guidelines remain crucial for achieving that desired snap and sheen in your finished product.
- Melted Milk Chocolate: 86 °F (30 °C)
- Melted White Chocolate: 83 °F (28 °C)
- Melted Dark Chocolate: 88 °F (31 °C)
These temperatures represent the working temperature for tempered chocolate. During the melting process, you will typically heat the chocolate slightly above these temperatures (e.g., dark chocolate to 115-120°F or 46-49°C), then cool it down while stirring to activate the stable cocoa butter crystals, bringing it back to these specific working temperatures. The microwave method aims to achieve this without the initial higher heat, relying on careful, gradual melting to avoid exceeding critical temperatures.
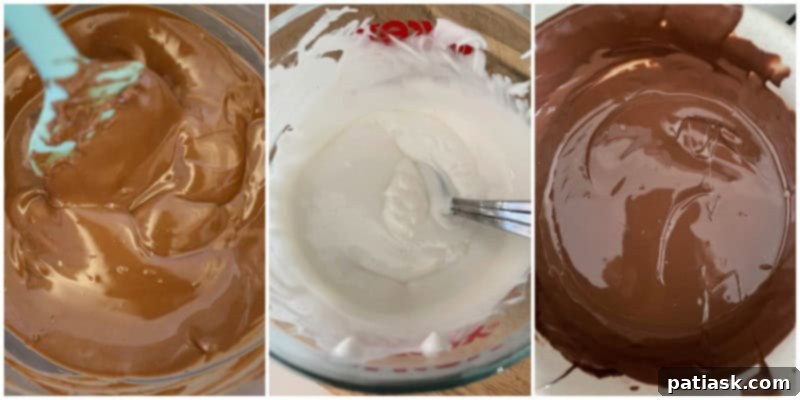
Selecting the Best Chocolate for Perfect Tempering
The quality and type of chocolate you choose significantly impact your tempering success. For truly superior results, it’s highly recommended to work with **premium, quality chocolate**. This generally refers to “couverture” chocolate, which has a higher percentage of cocoa butter, making it ideal for tempering. The cocoa butter is what creates the stable crystal structure needed for a shiny finish and satisfying snap.
You’ll find an excellent selection of premium chocolate bars, chips, and discs from reputable brands at your local grocery store or online retailers like Amazon. While chocolate chips and melting wafers can be used, ensure they are made with real cocoa butter. “Chocolate candy melts” or “compound chocolate” are formulated with vegetable fats instead of cocoa butter and are designed to melt smoothly without needing to be tempered. While convenient for some applications, they won’t yield the same professional snap and rich flavor as truly tempered couverture chocolate.
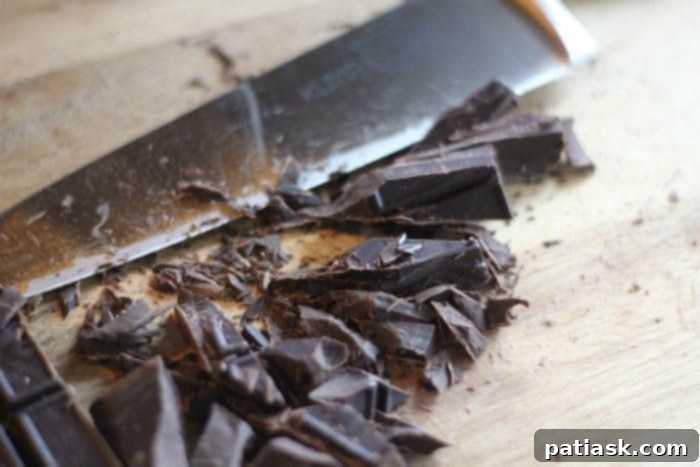
When preparing your chosen chocolate for melting, **uniform chopping is paramount**. Breaking down chocolate bars into evenly sized pieces ensures that they melt at a consistent rate, preventing some pieces from burning while others remain solid. This is a critical step that often gets overlooked, but it significantly contributes to a smooth and successful tempering process. Investing in a good kitchen knife makes this task much easier and safer. For instance, a sharp, dependable chef’s knife like those from Kuma, which I’ve personally used for years, can make quick work of chopping chocolate, as well as handling a multitude of other kitchen tasks, from M&M’s and cookie bars to vegetables and meats. A quality knife is truly a kitchen workhorse, and the reviews on Amazon or Kuma Knives speak to their excellent value and performance. Uniformly chopped chocolate is a small but mighty step towards tempering perfection.
Mastering Microwave Chocolate Tempering: A Step-by-Step Guide
Follow these simple steps to achieve perfectly tempered chocolate in your microwave, ready for all your culinary creations. Remember, patience and proper stirring are your best friends here.
- Prepare Your Chocolate: Begin by finely chopping your chosen chocolate (bars or discs) into small, uniform pieces. If using chips or candy melts, ensure they are also small and consistent in size. Place the chocolate in a clean, completely dry, microwave-safe bowl. Any moisture can cause the chocolate to seize, rendering it unusable.
- Initial Melting Bursts: Heat the chocolate in the microwave on medium-high power for 30-second intervals. After each interval, remove the bowl and stir the chocolate thoroughly with your rubber spatula. Even if the chocolate doesn’t appear to be melting much at first, stirring is crucial to distribute heat evenly and prevent scorching.
- Gradual Melting & Seeding: Continue heating in 30-second bursts, stirring vigorously after each, until approximately 75-80% of the chocolate is melted. You should still see a few small, unmelted pieces. At this point, remove the bowl from the microwave completely. Continue stirring constantly. The residual heat from the melted chocolate will gently melt the remaining small pieces. This “seeding” technique, where solid chocolate is introduced to melted chocolate, is key to forming stable cocoa butter crystals, which is the essence of tempering. It also helps cool the chocolate to its working temperature.
- Check for Temper: Once all the chocolate is smoothly melted and has a consistent, glossy appearance, it’s time to check if it’s in temper. You can do this by dipping the tip of a knife or a piece of parchment paper into the chocolate. If it’s properly tempered, it should set within 2-5 minutes at room temperature, displaying a beautiful shine and a clean snap when broken. A thermometer can also confirm it’s within the ideal working temperature range (refer to the chart above).
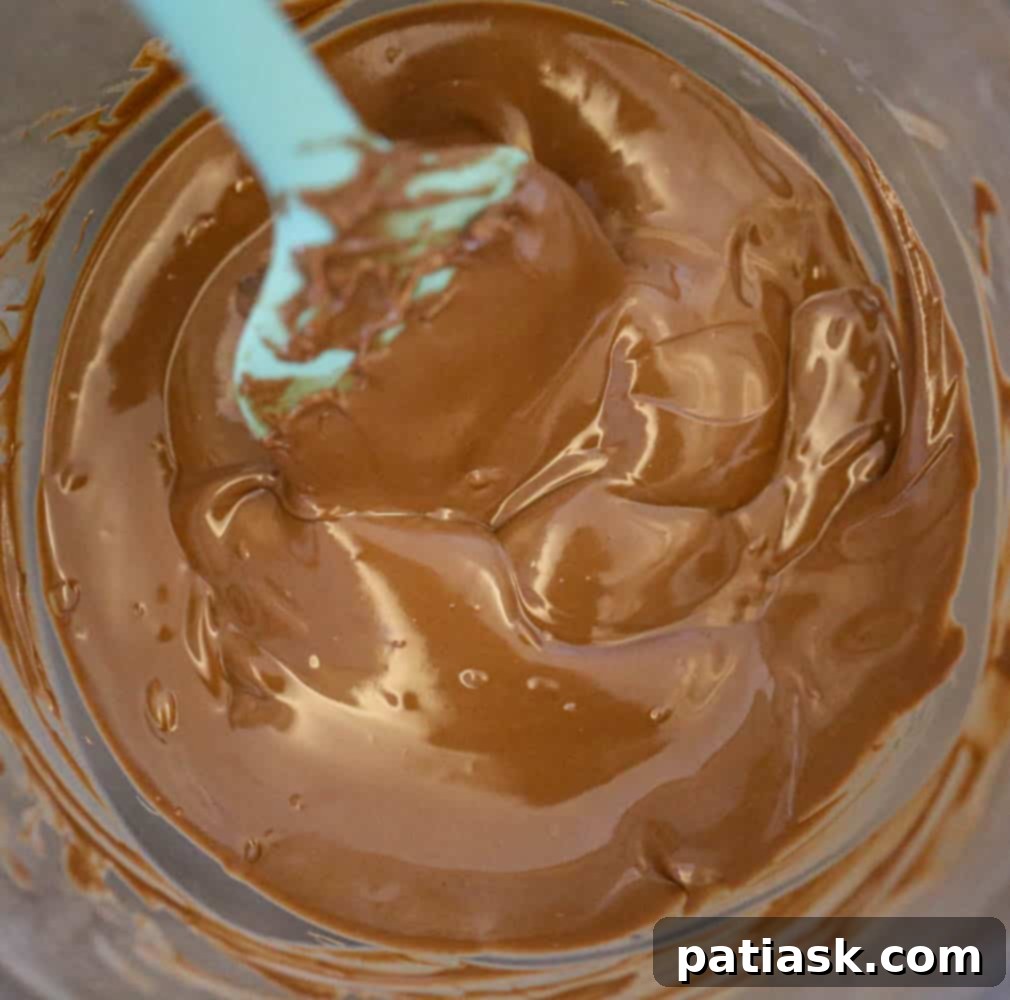
- Ready for Use: Your perfectly tempered chocolate is now ready to work with! It should have a lovely sheen, be incredibly smooth, and pour easily. Use it immediately for coating candies, crafting intricate chocolate barks, dipping fresh fruits like strawberries, enrobing cookies or pretzels, or incorporating into rich frostings and decadent brownies. The professional finish and satisfying texture will elevate any dessert.

Troubleshooting Common Chocolate Tempering Issues
Even with the microwave method, minor issues can arise. Here’s how to address them:
- Chocolate is Too Thick: If your tempered chocolate feels too thick to work with, especially for dipping or drizzling, you can carefully thin it. Add a teaspoon of flavorless oil such as canola oil, coconut oil, or vegetable oil to your melted chocolate and mix thoroughly. Add more if needed, but proceed cautiously. Adding too much oil can make your chocolate overly runny, compromise its set, and cause it to melt more easily at room temperature. It can also slightly affect the flavor and crispness.
- Chocolate Has Seized: Seizing occurs when chocolate comes into contact with even a tiny amount of water or is severely overheated. It transforms into a thick, clumpy, gritty mess. Unfortunately, once chocolate has truly seized, it cannot be recovered for tempering. It might still be salvageable for baking (e.g., adding to brownie batter) by stirring in a tablespoon or two of hot vegetable oil or melted butter to create a usable liquid, but it will not have the same properties for coating or molding. Always ensure your bowls and spatulas are completely dry.
- Dull Finish or White Streaks (Bloom): If your chocolate sets with a dull finish or develops white streaks (known as “bloom”), it indicates that the chocolate was not properly tempered. This usually means the cocoa butter crystals didn’t form correctly. It might have been too hot, too cold, or not stirred sufficiently during the cooling phase. To fix this, you’ll need to re-melt the chocolate and attempt the tempering process again from the beginning, paying close attention to temperature and stirring.
- Cooling Down Tempered Chocolate: After achieving temper, it’s often beneficial to let the chocolate cool down slightly, typically for 2-5 minutes, before using it. This allows it to reach the optimal working temperature for coating and dipping, ensuring it sets beautifully without cooling too quickly or too slowly.
While the microwave method is our preferred technique for its simplicity, it’s worth noting that other methods exist. For those interested in exploring alternatives, the traditional double boiler method is another popular choice. You can find a detailed breakdown of this technique on resources like Chocoley. And if you’re feeling adventurous and want to try making chocolate from scratch, “The Guide to Making Homemade Chocolate” over at Porch offers excellent guidance.
Ultimately, tempering chocolate using the microwave method is a fast, clean, and virtually painless process. It drastically reduces the number of items to clean and eliminates much of the stress associated with traditional tempering. If you, like me, appreciate efficiency and ease in the kitchen, then these microwave chocolate tempering tips are your ticket to consistently beautiful, professional-looking chocolate creations. Don’t forget to try this Thick & Easy Hot Fudge Topping Recipe with your newly mastered skills!
Share these invaluable microwave method chocolate tempering tips with your fellow baking enthusiasts on Pinterest, Facebook, and Instagram!
More Baking Tips and Tricks
- Perfect Pie Crust Tips
- How To Bake Perfect Cookies: Essential Tips!
- Handy Conversion Charts & Kitchen Tips
- Crafting Perfect Brown Butter
- Quickest Ways to Soften Butter

Microwave Chocolate Tempering Tips
Author: Kim Lange
These microwave chocolate tempering tips will streamline your dessert preparation, offering a quick and fuss-free alternative to traditional stove-top methods for perfectly melted and tempered chocolate every time.
1 min
2 mins
Dessert
8 Servings
Ingredients
- 8 ounces good quality chocolate bar, chips, or chocolate candy melts
Instructions
- Heat the chocolate in a microwave-safe bowl for 30 seconds, then stir thoroughly. Repeat this process 2-3 times until most of the chocolate is melted. Remove from the microwave and allow the residual heat to melt any remaining small pieces. It’s crucial not to over-microwave, as this can cause the chocolate to seize and become unusable.
- Once melted, the chocolate will be perfectly tempered and ready to work with for chocolate coating, making candies, crafting chocolate barks, or incorporating into frostings and brownies. Look for a beautiful sheen and a smooth, consistent texture.
chocolate, chocolate chips, tempering, microwave, easy dessert
Tried This Recipe?
Let us know how it was by commenting below!
