Unlock the Secret to Exquisite Baking: Crafting Your Own Homemade Vanilla Extract!
In the vast world of baking, there’s one humble ingredient that possesses the extraordinary power to elevate ordinary desserts into unforgettable culinary experiences: vanilla extract. Its warm, aromatic, and comforting notes are the backbone of countless beloved recipes, from delicate cookies to rich custards and airy cakes. While readily available in stores, commercial vanilla extracts can often be expensive, and sometimes, they simply don’t deliver the profound, nuanced flavor that true vanilla aficionados seek. Many store-bought versions also contain artificial ingredients or sweeteners, compromising the pure essence of vanilla.
Imagine being able to infuse your baked goods with a superior, deeply aromatic vanilla flavor that stands head and shoulders above anything you’ve ever bought. The good news is, you can! Today, we’re going to dive into the surprisingly simple and incredibly rewarding process of making your very own homemade vanilla extract. With just two primary ingredients, a dash of patience, and a little love, you’ll embark on a journey that not only enhances your baking but also offers a personal touch to every creation. Get ready to transform your kitchen into a fragrant haven and impress everyone with the unparalleled taste of homemade vanilla.

The Undeniable Advantages of Homemade Vanilla Extract
Superior Flavor Profile
The most compelling reason to make your own vanilla extract is, without a doubt, the incredible depth of flavor it offers. Store-bought extracts, even pure ones, can sometimes taste one-dimensional. Homemade versions, especially when allowed to age properly, develop a complex bouquet of aromas and flavors – notes of caramel, fruit, and even subtle floral undertones that can truly sing in your recipes. This richness comes from using whole vanilla beans, which contain thousands of tiny seeds packed with intense flavor compounds that slowly infuse into the alcohol over time. The longer it ages, the more pronounced and sophisticated the flavor becomes.
Cost-Effective in the Long Run
At first glance, buying high-quality vanilla beans might seem like an investment. However, when you compare the cost of making a large batch of homemade vanilla extract to repeatedly purchasing small, expensive bottles from the grocery store, the savings become clear. Vanilla beans can be reused (to a certain extent, more on that later) and the extract can last indefinitely, allowing you to create a continuous supply without breaking the bank. Think of it as a one-time setup cost for a lifetime of gourmet vanilla.
A Thoughtful, Personalized Gift
Homemade vanilla extract makes an absolutely exquisite and personal gift for friends, family, and fellow baking enthusiasts. Poured into beautiful amber bottles and adorned with a custom label, a bottle of your handcrafted vanilla extract speaks volumes about your care and effort. It’s a gift that keeps on giving, allowing your loved ones to enjoy superior flavor in their own kitchens. Birthdays, holidays, housewarmings – any occasion becomes special with this unique present.
Complete Control Over Ingredients
When you make vanilla extract at home, you dictate the quality of every component. You choose the vanilla beans, ensuring they are plump, fragrant, and ethically sourced. You select the alcohol, opting for a brand you trust. This control guarantees a pure product, free from artificial colors, flavors, or corn syrup often found in imitation vanilla extracts, and sometimes even in “pure” extracts to cut costs. You’ll know exactly what’s going into your baking and, ultimately, into your body.
Choosing Your Key Ingredients: The Foundation of Flavor
Making pure vanilla extract relies on just two fundamental ingredients: high-quality vanilla beans and a suitable alcohol base. The choices you make here will significantly impact the final flavor profile of your extract.
Selecting the Perfect Vanilla Beans
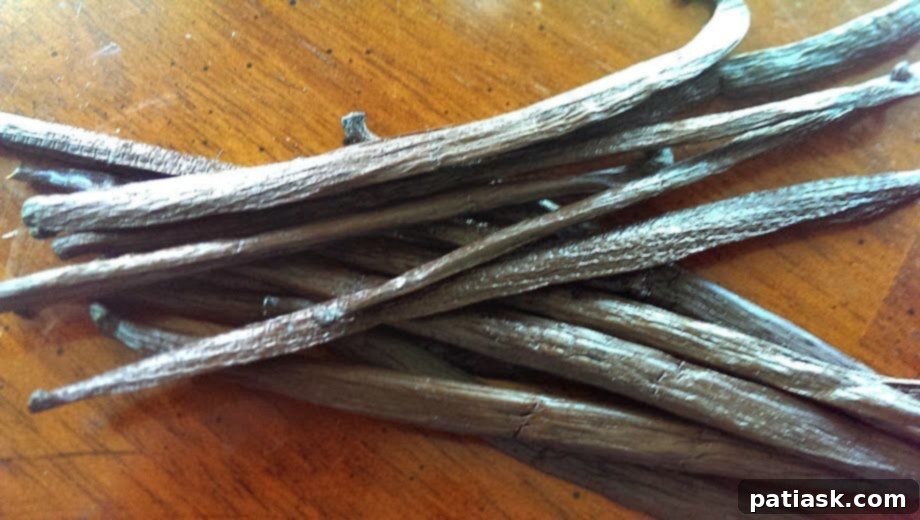
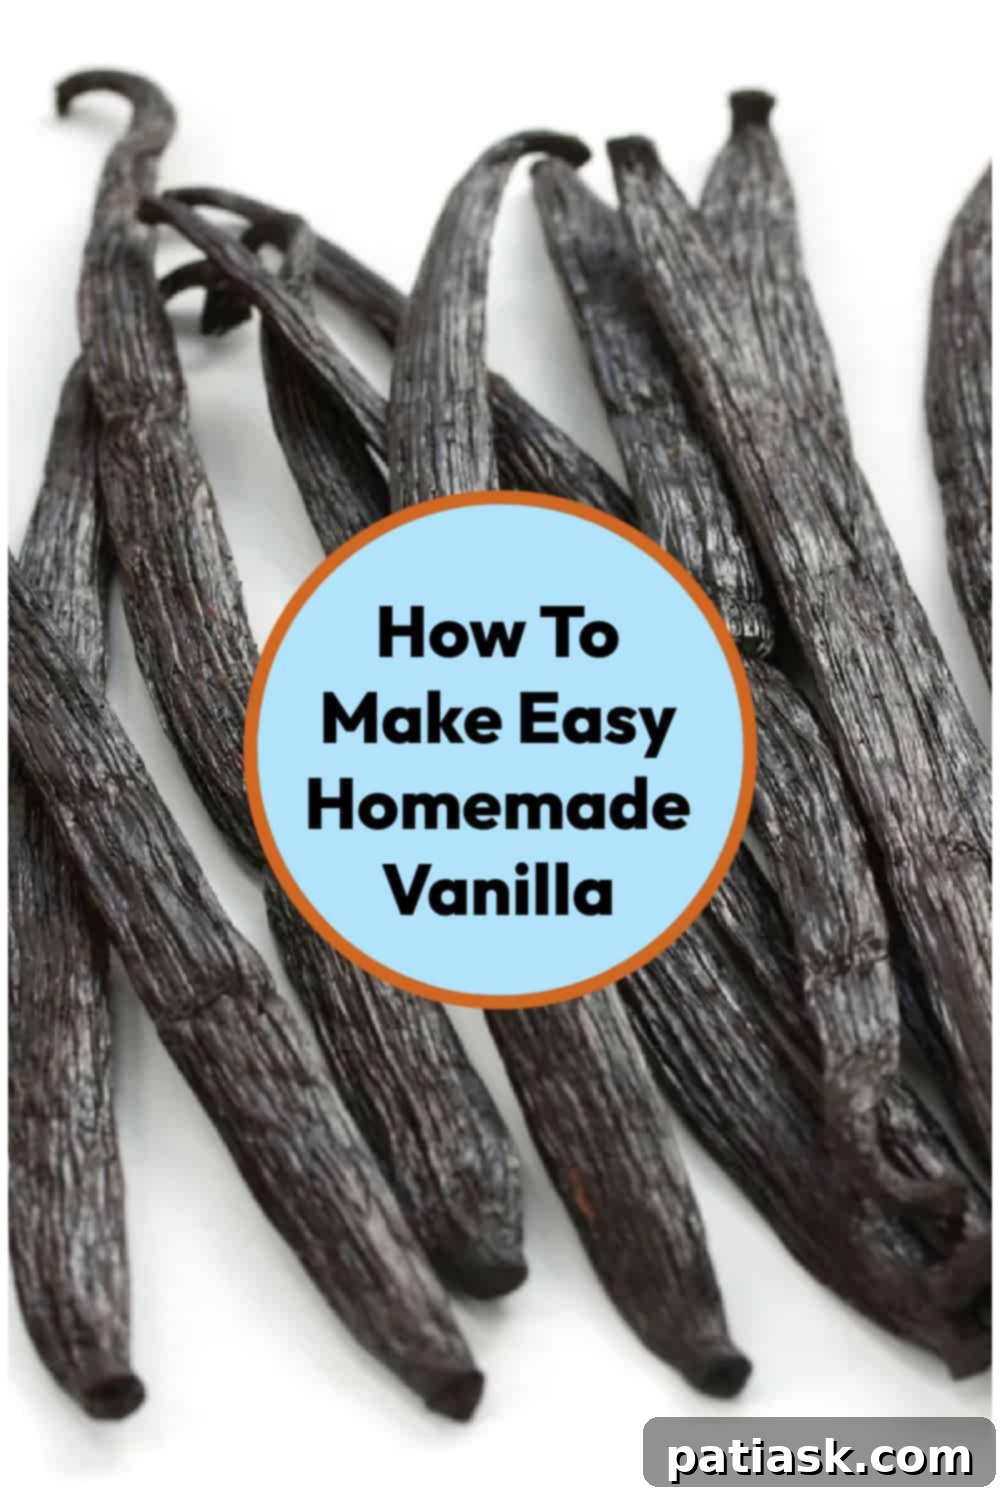
The world of vanilla beans is diverse, each variety offering its own unique characteristics. For this recipe, we specifically recommend Madagascar Vanilla Beans, also known as Bourbon vanilla beans. These are widely considered the gold standard and are the most popular choice for their classic, rich, and creamy flavor profile with sweet, buttery notes and hints of chocolate.
- Madagascar Bourbon Vanilla Beans: Originating from Madagascar and other islands in the Indian Ocean, these are the most common and versatile. They boast a rich, sweet, and buttery aroma, making them ideal for a wide range of baked goods, desserts, and even savory applications.
- Tahitian Vanilla Beans: These beans are typically shorter and plumper with a more floral, fruity, and cherry-like aroma. They are excellent for lighter desserts, fruit-based dishes, and creams where a delicate flavor is desired.
- Mexican Vanilla Beans: Offering a bolder, smokier, and spicier profile than Madagascar beans, Mexican vanilla is great for chocolate dishes, chiles, and robust flavors.
- Ugandan Vanilla Beans: Known for their high vanillin content and a slightly earthy, robust, and sometimes chocolatey flavor, they are a fantastic choice for rich desserts and dark chocolates.
Regardless of the type you choose, ensure your beans are Grade A (gourmet) or Grade B (extract). Grade A beans are plump, moist, and pliable, while Grade B beans are drier but still packed with flavor, often preferred for extracts due to their lower cost per pod and concentrated flavor for infusion. Aim for beans that are flexible and fragrant, not brittle or dry.
Choosing Your Alcohol Base
The alcohol serves as a solvent, extracting the vanillin and other flavor compounds from the beans. A neutral, flavorless alcohol is generally preferred to let the vanilla shine, but you can also experiment with different spirits to add complementary notes.
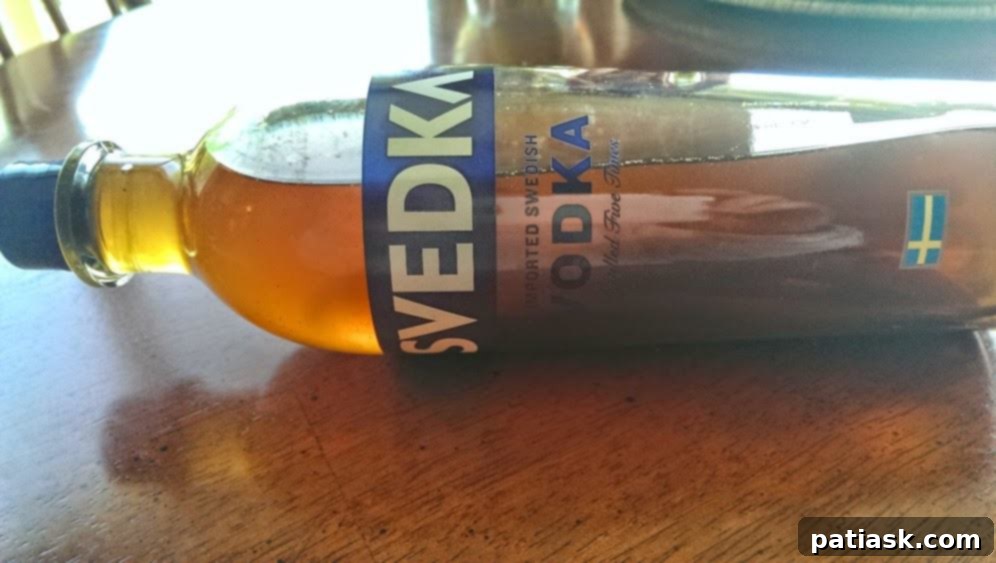
- Vodka (Recommended): A high-quality, neutral-flavored vodka is the most common and recommended choice for homemade vanilla extract. It allows the pure essence of the vanilla bean to come through without interference. Svedka Vodka is a good option, but any unflavored vodka that is at least 70 proof (35% alcohol by volume) will work. The alcohol content is crucial for proper extraction and preservation.
- Rum: Dark rum can add a lovely warmth and subtle sweetness to your vanilla extract, creating a unique Caribbean-inspired flavor perfect for recipes like rum cakes or anything with tropical fruits.
- Bourbon: For a deeper, more robust vanilla extract with smoky and caramel notes, bourbon is an excellent choice. This combination works wonderfully in pecan pies, barbecue sauces, or any recipe where you want an extra layer of complexity.
- Brandy: Brandy can lend a fruity, slightly sweet, and aromatic quality to your vanilla extract, enhancing desserts that feature stone fruits or chocolate.
The key is to select an alcohol that is at least 70 proof (35% ABV). Lower proof alcohol may not effectively extract the flavors or preserve the extract long-term. There’s no need to splurge on top-shelf liquor; a mid-range brand will suffice, as its primary role is extraction.
Homemade Vanilla Extract Recipe: The Simple Steps
Making your own vanilla extract is an incredibly straightforward process that requires minimal effort, making it a perfect project for any baker.
Ingredients:
- 3 cups (approximately 750ml) Svedka Vodka or vodka of choice (minimum 70 proof / 35% ABV)
- 15 Madagascar Vanilla Beans (Grade A or B)

Instructions:
- Prepare the Vanilla Beans: Lay each vanilla bean on a clean cutting surface. Using a sharp knife, carefully split each bean lengthwise, leaving about ½ inch intact at each end. This exposes the tiny vanilla seeds and maximizes the surface area for flavor extraction without completely separating the bean. Some recipes suggest scraping out the seeds, but for extract, leaving them inside for infusion is perfectly fine.
- Combine Beans and Alcohol: Gently place all the prepared vanilla beans into your bottle of vodka. Ensure they are fully submerged in the alcohol. If using a large bottle of vodka, you might need to pour out a small amount to make room for the beans. Alternatively, you can transfer the vodka and beans to a clean, airtight glass bottle or jar that’s large enough to hold everything.
- Seal and Store: Close the bottle or jar tightly with an airtight lid. This is crucial to prevent evaporation and maintain the alcohol content. Store the container in a cool, dark place, such as a pantry or cupboard, away from direct sunlight and heat.
- Shake Regularly: For the next 8 weeks (and beyond), give the bottle a good shake every week or so. This helps to redistribute the beans and ensure even flavor extraction.
- Patience is a Virtue: The hardest part of making homemade vanilla extract is the waiting! Allow the vanilla beans to infuse in the alcohol for a minimum of 8 weeks. For the absolute best, most robust flavor, aim for 6 to 12 months. The longer it infuses, the deeper and more complex the flavor will become.

The Magic of Infusion: Why Patience Pays Off
The transformation of vanilla beans and alcohol into aromatic extract is a slow and steady process. During the infusion period, the alcohol gradually extracts vanillin – the primary flavor compound responsible for vanilla’s distinct taste – along with hundreds of other aromatic compounds from the beans. These compounds contribute to the nuanced, rich, and complex flavor profile that makes homemade vanilla extract so superior.
Optimal Aging Time
While 8 weeks is the minimum recommended infusion time, think of it as just the beginning. At 8 weeks, you’ll have a usable extract, but it will continue to deepen and develop in flavor for many months. Most culinary experts agree that homemade vanilla extract truly reaches its peak between 6 to 12 months. Some even let theirs age for over a year! If you can resist the temptation, letting it infuse for a longer period will yield an incredibly potent and flavorful extract.
The “Top-Off” Method for a Continuous Supply
Once your vanilla extract is ready to use, you don’t necessarily need to remove the beans. In fact, keeping them in the bottle allows the flavor to continue developing. As you use the extract, you can “top off” the bottle with more fresh alcohol (vodka, rum, or bourbon). Just ensure that the beans remain fully submerged. Every few months, you might want to add a fresh vanilla bean or two to keep the flavor robust. This method allows you to maintain a perpetual supply of homemade vanilla extract, ensuring you never run out!
Storage and Shelf Life
Proper storage is essential to maintain the quality and potency of your homemade vanilla extract. Keep it in airtight, dark glass bottles (like amber or cobalt blue) in a cool, dark place, such as your pantry or a cupboard. Protecting it from light helps prevent the degradation of vanilla compounds. Stored correctly, homemade vanilla extract has an almost indefinite shelf life. The high alcohol content acts as a natural preservative, meaning your precious extract will last for years, becoming more flavorful with age.
Beyond Baking: Creative Uses for Your Homemade Vanilla
While vanilla extract is a baking staple, its versatility extends far beyond cakes and cookies. Your homemade, superior-quality vanilla can elevate a surprising array of dishes and drinks.
- Elevate Your Baking: Naturally, it shines in all your favorite baked goods: cookies, brownies, cakes, muffins, custards, puddings, and pie fillings.
- Morning Coffee & Tea: Add a splash to your morning coffee, latte, or tea for a comforting boost of flavor.
- Smoothies & Milkshakes: Enhance fruit smoothies or create the ultimate vanilla milkshake.
- Cocktails: Incorporate it into homemade cocktails for an aromatic twist – a vanilla-infused Old Fashioned or a Vanilla Espresso Martini.
- Pancakes & Waffles: Stir a teaspoon into pancake or waffle batter for an extra layer of deliciousness.
- French Toast: A key ingredient for fragrant, rich French toast.
- Whipped Cream: A few drops in homemade whipped cream or frosting can make all the difference.
- Yogurt & Oatmeal: Stir into plain yogurt or oatmeal for a natural sweetness and depth of flavor.
Troubleshooting & Frequently Asked Questions
- My extract isn’t strong enough after 8 weeks. What should I do? Patience! Give it more time. Many prefer to let it infuse for 6-12 months for optimal flavor development. You can also add another vanilla bean or two to the bottle.
- Can I use a different type of alcohol? Absolutely! While vodka is neutral, rum, bourbon, or brandy can add wonderful complementary flavors. Just ensure it’s at least 70 proof.
- Can I reuse the vanilla beans? Yes, you can! After you’ve used up a batch of extract, you can add more alcohol to the same beans for a second (or even third) infusion. The flavor will be less potent each time, so you might want to add a fresh bean or two to revive the batch. You can also rinse and dry the used beans, then grind them into vanilla powder or add them to sugar to make vanilla sugar.
- What if my vanilla extract looks cloudy? This is usually harmless and often indicates a higher concentration of vanilla oils. It can also happen if tiny bits of vanilla bean shed during the infusion. It’s perfectly safe to use.
- Can I make non-alcoholic vanilla extract? Yes, you can. Instead of alcohol, you can use food-grade vegetable glycerin. The infusion process is similar, but it might take longer for the flavors to fully develop, and the shelf life won’t be as indefinite as with alcohol.
Homemade Vanilla Extract {Vanilla Beans + Vodka}
Kim Lange
Pin Recipe
Ingredients
- 3 cups Svedka Vodka or vodka of choice (minimum 70 proof / 35% ABV)
- 15 Madagascar Vanilla Beans
Instructions
- Use a sharp knife to split each vanilla bean lengthwise, leaving about ½ inch at each end intact.
- Place the prepared vanilla beans into your bottle of vodka, ensuring they are fully submerged.
- Close the bottle tightly with an airtight lid and store it in a cool, dark place for at least 8 weeks.
- Give the bottle a good shake every week or so to encourage infusion. For best results, allow it to infuse for 6-12 months.
Notes
Conclusion: The Rewarding Journey of Homemade Vanilla
In conclusion, embarking on the journey of making your own homemade vanilla extract is a deeply satisfying and surprisingly simple endeavor that promises to revolutionize your baking. From the moment you split those fragrant vanilla beans to the anticipation of weeks of infusion, you’re not just creating an ingredient; you’re crafting an experience.
By taking control of the quality and purity of your vanilla, you unlock a depth of flavor that store-bought extracts simply cannot match. The rich, complex notes of real vanilla will shine through in every cookie, cake, and custard you bake, elevating your desserts to a gourmet level. Moreover, the cost-effectiveness and the potential for creating cherished, personalized gifts make this a truly worthwhile project for any home baker.
Remember, the magic lies in high-quality beans and the virtue of patience. While the waiting period requires a little foresight, the superior taste and endless supply of your handcrafted vanilla extract will undoubtedly thank your taste buds. So, gather your ingredients, follow these simple steps, and prepare to infuse all your favorite recipes with the unparalleled deliciousness of homemade vanilla. Enjoy this extraordinary ingredient in all your baked cookies, brownies, cakes, and so much more!
More Helpful Tips for the Home Baker!
- Quickest Ways to Soften Butter
- Freezing & Thawing Bananas
- Essential Tips for Perfect Muffin Baking!
- 5 Expert Tips How to Tell Your Cake Is Done
More Delishness to Try!
- No Churn Vanilla Bean Ice Cream
- Ultimate No Bake White Chocolate Cheesecake
- Very Vanilla Magic Custard Cake
- Vanilla Bean Cream Cheese Pound Cake
- Luscious Lime Cake Vodka Jello Shots
- Orange Creamsicle Jello Shots
- Vanilla Bean Shortbread Cookies
- Cream Cheese Pound Cake
- Soft and Chewy Ginger Molasses Cookies
