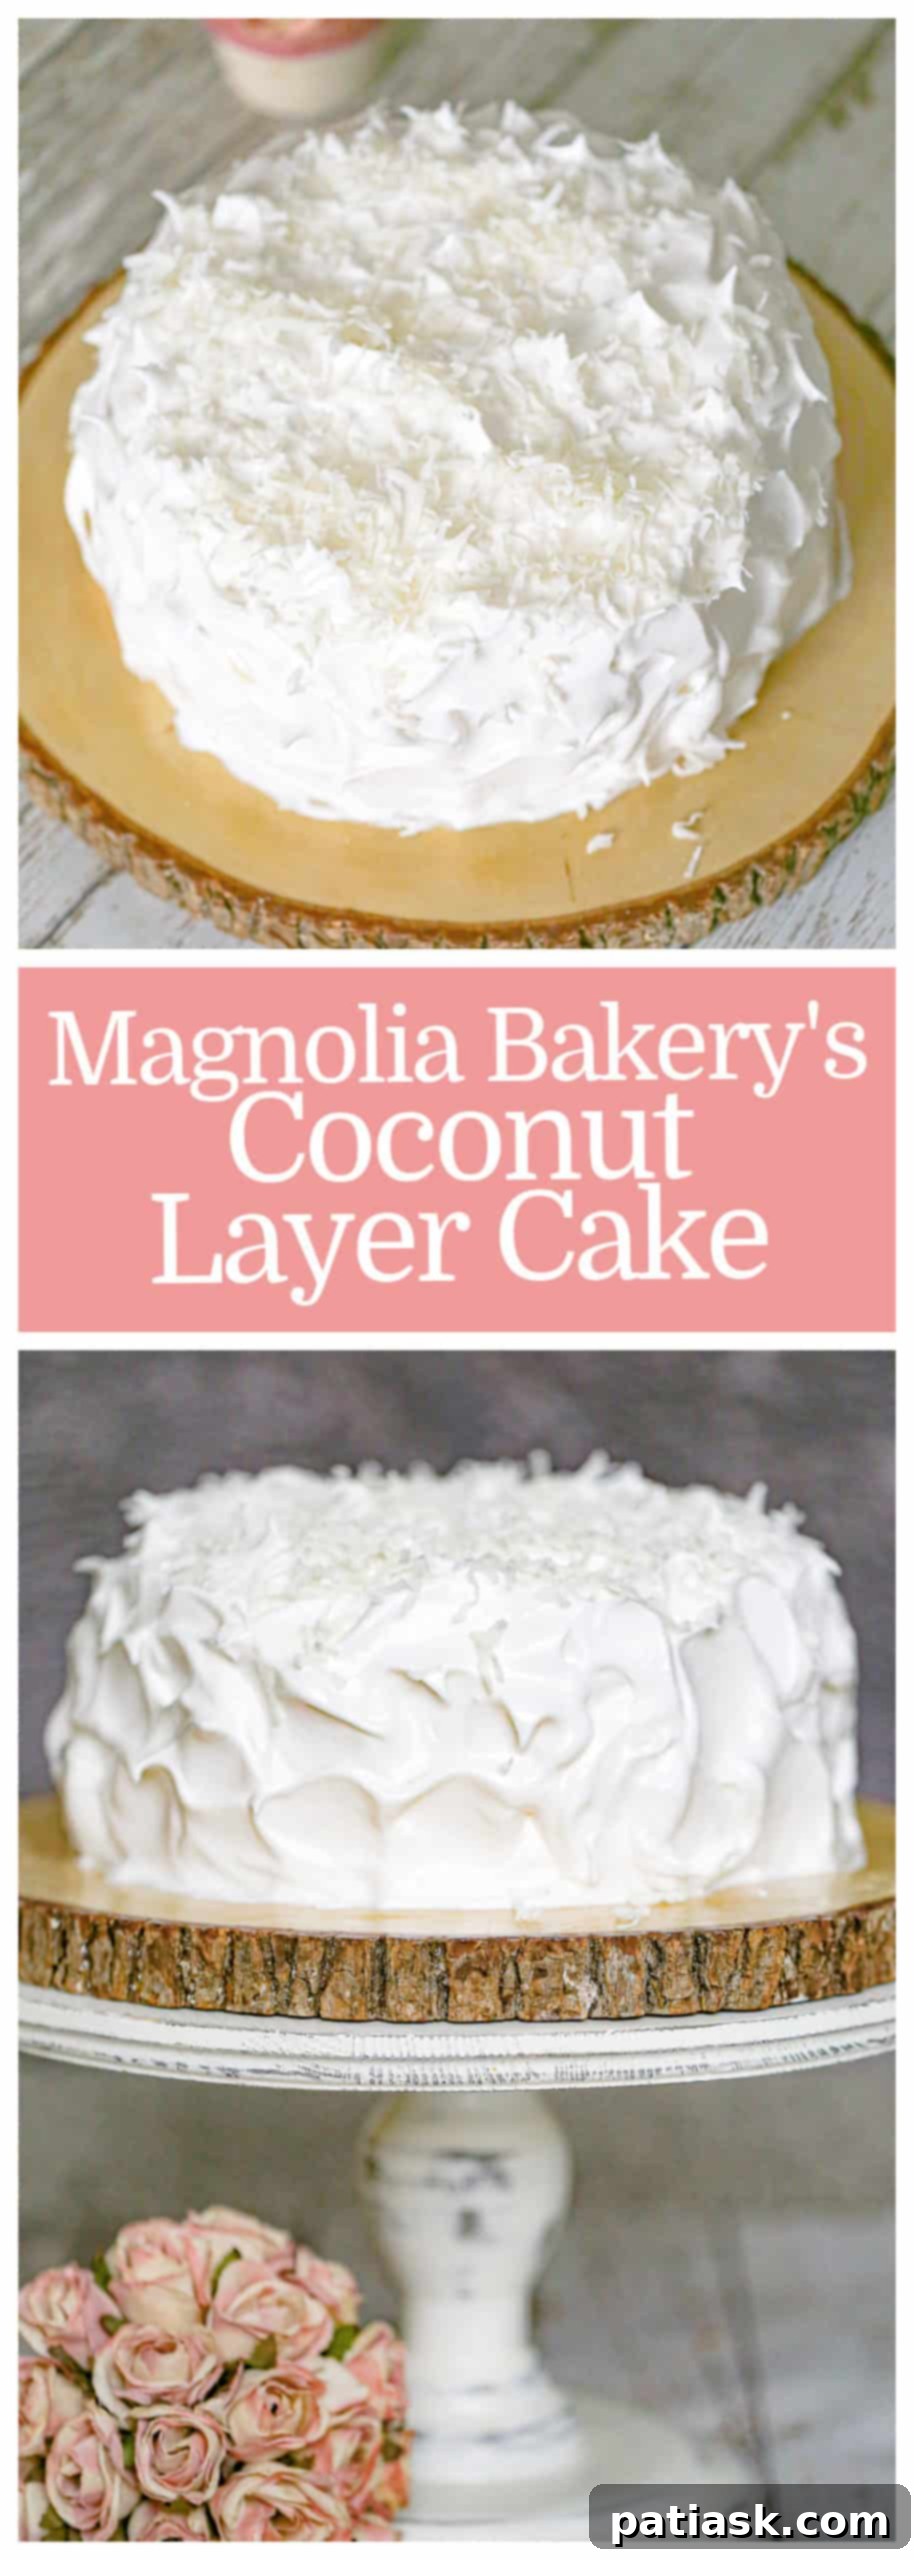
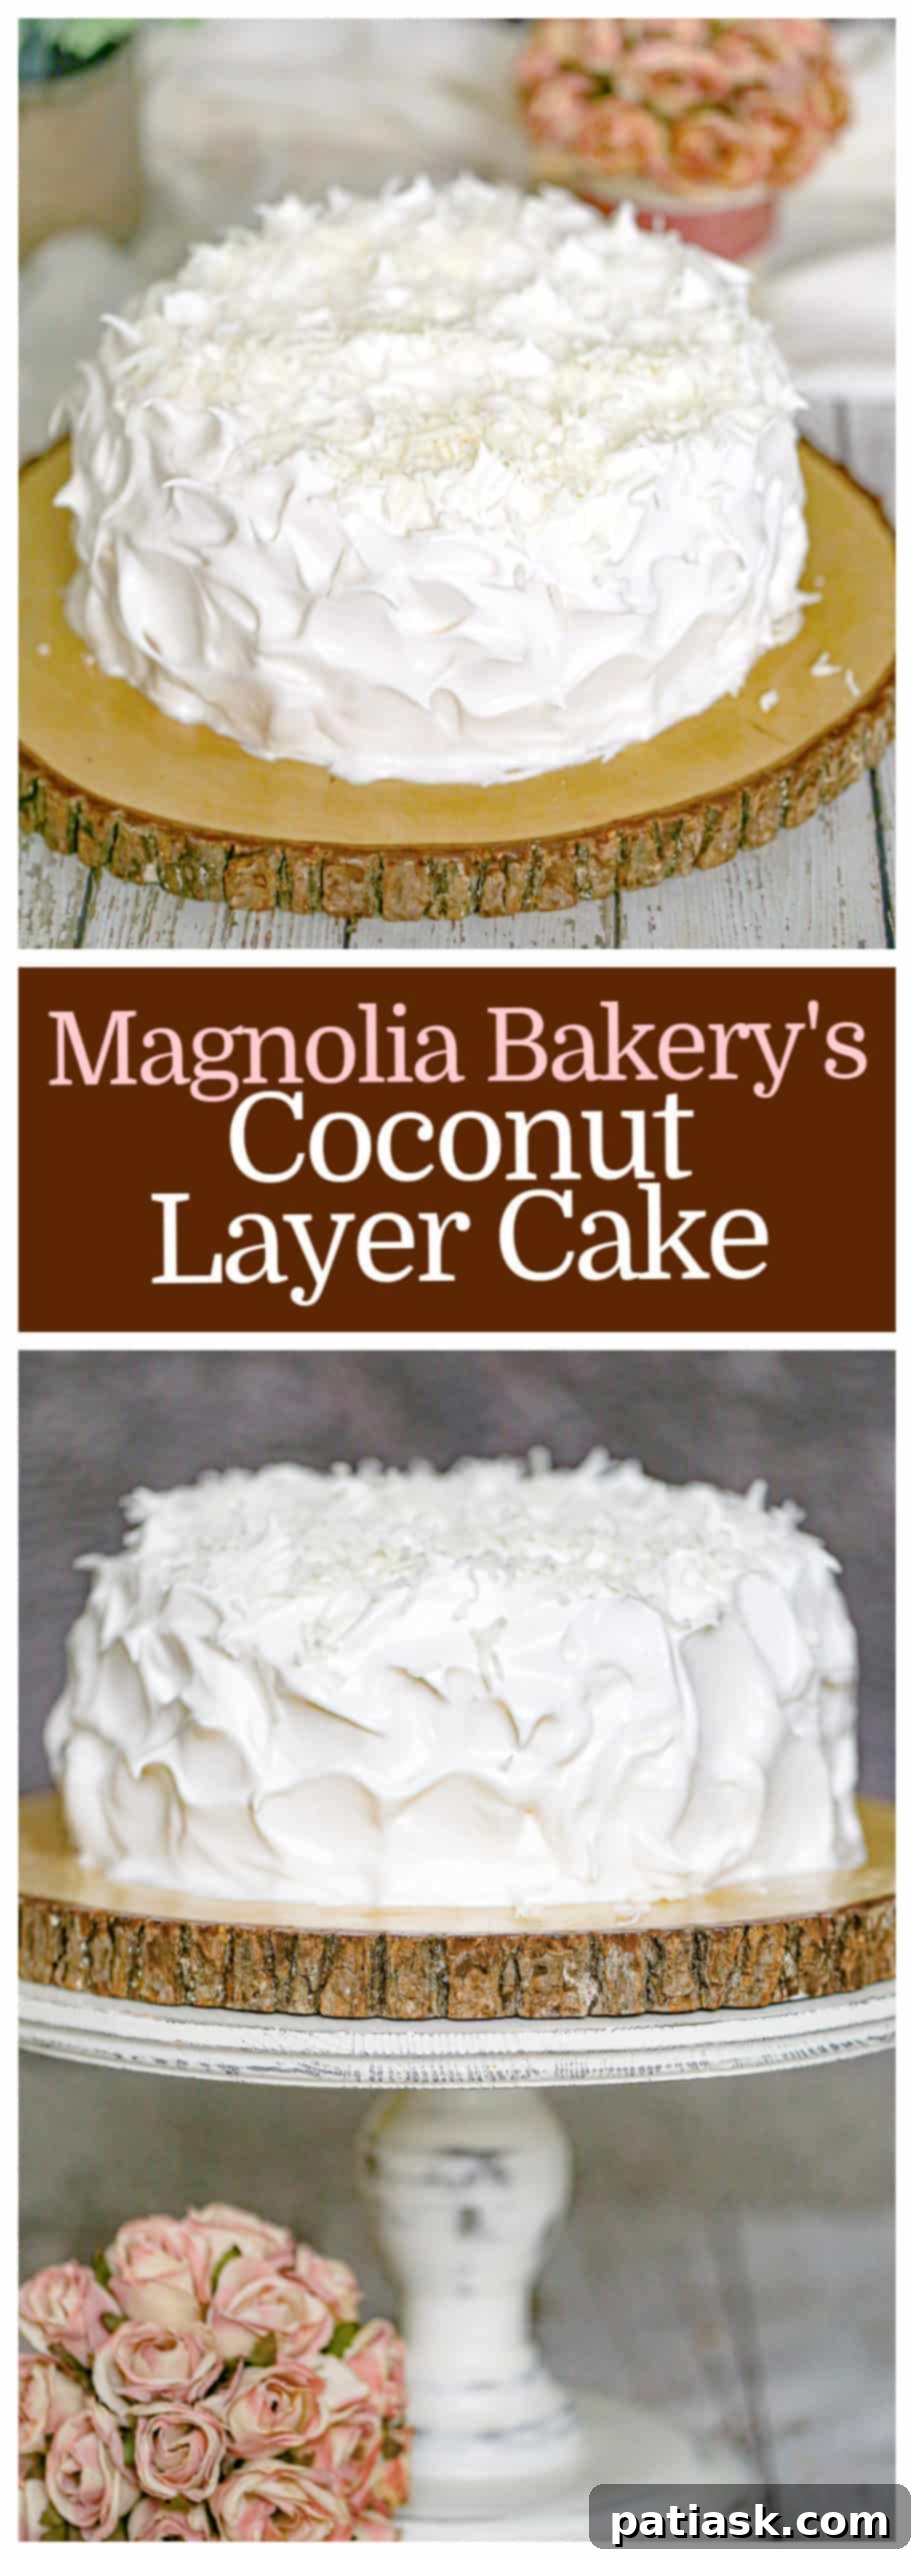
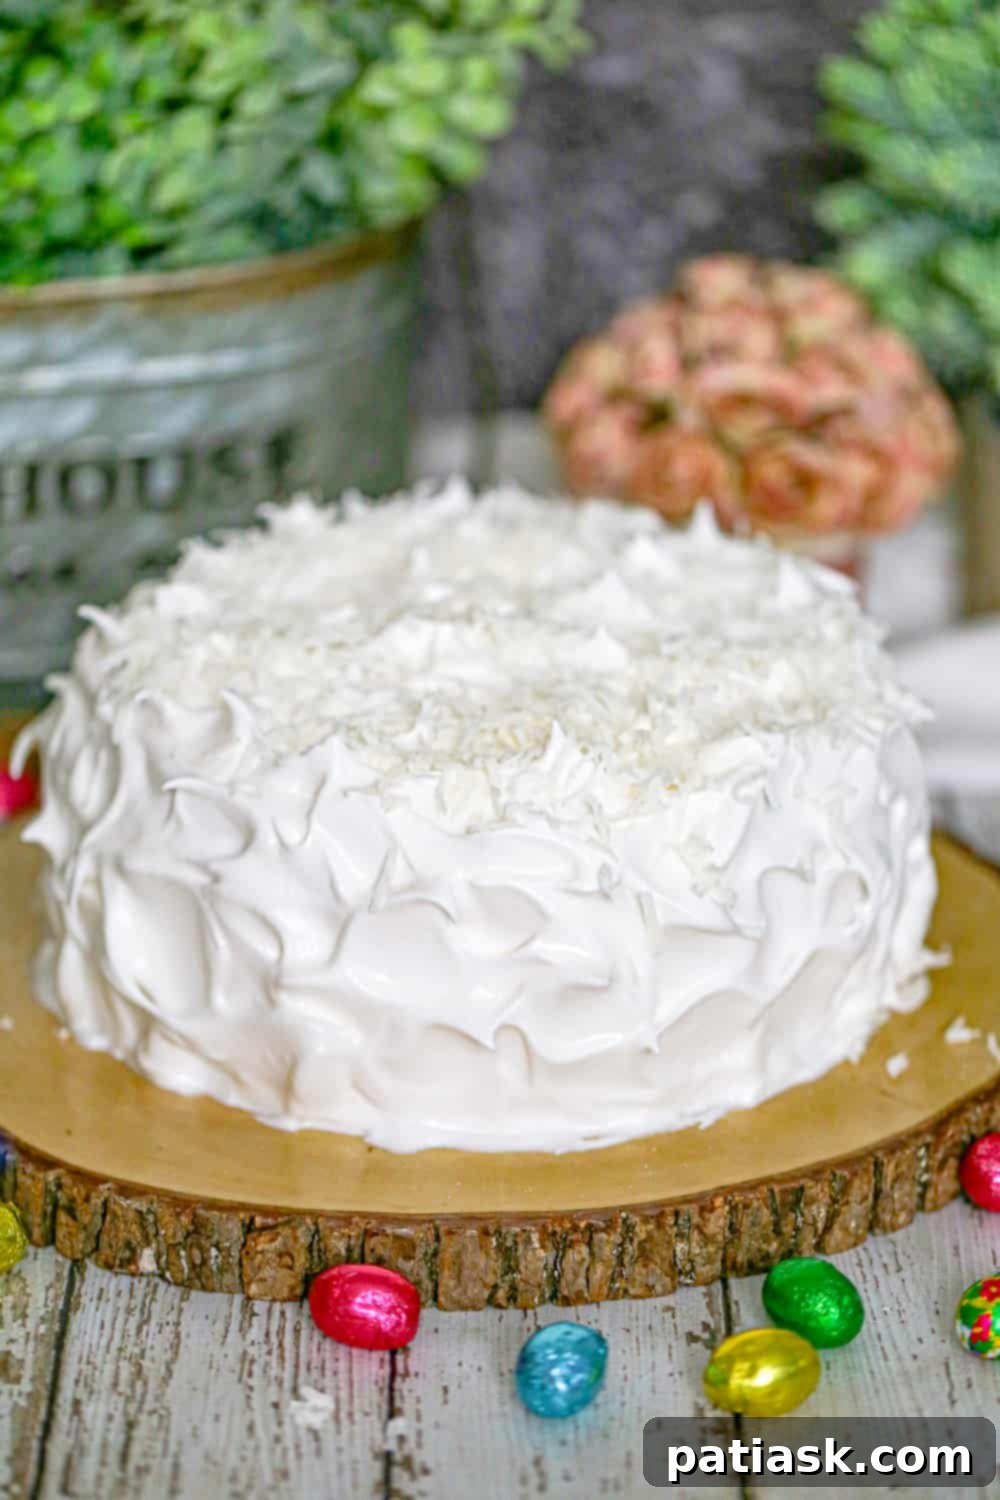
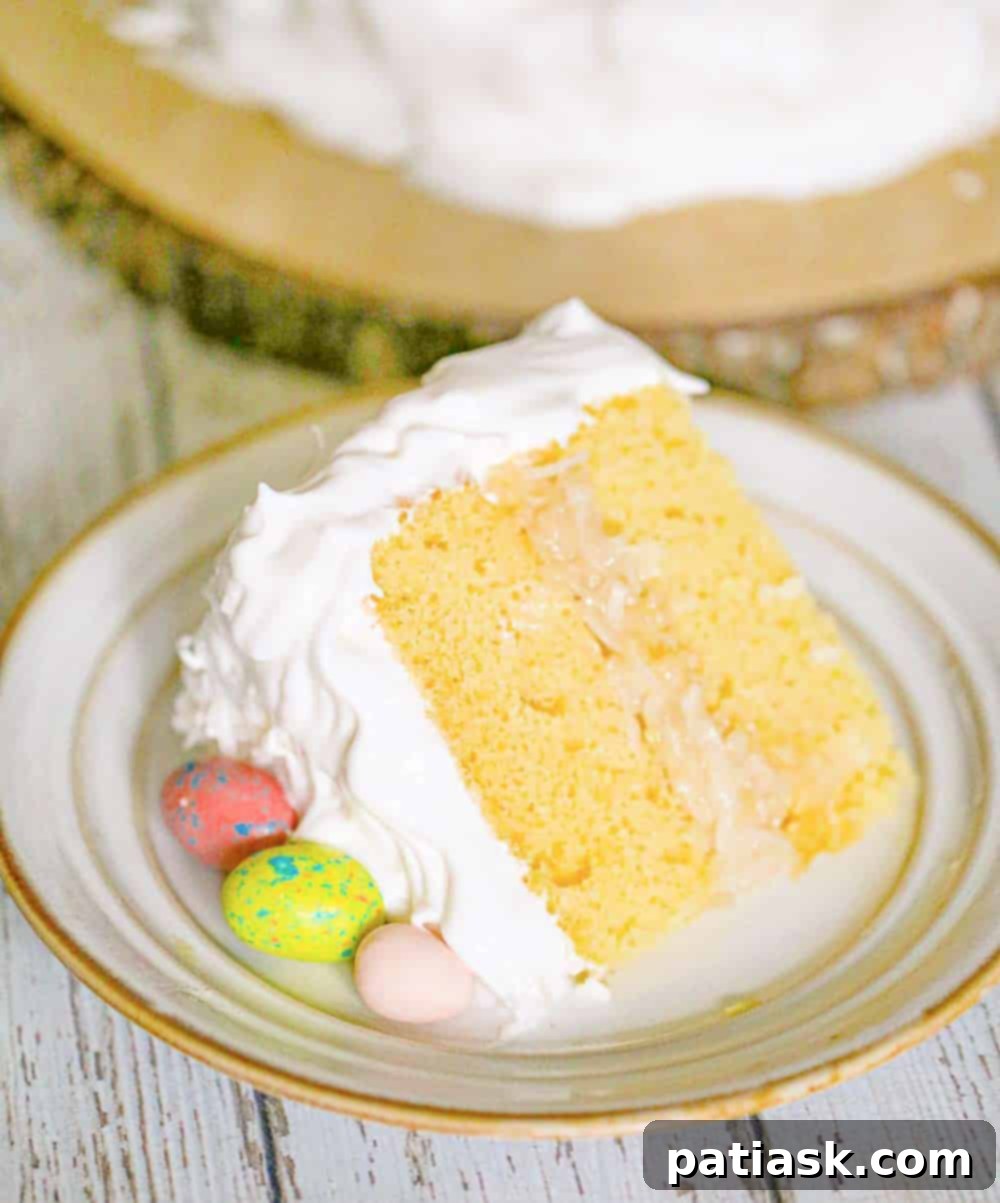
Prepare to be enchanted by this exquisite copycat Magnolia Bakery’s Coconut Layer Cake recipe – a true Southern delight that brings together layers of incredibly moist yellow cake, a luscious coconut filling, and a cloud-like 7-minute marshmallow frosting, all crowned with a generous sprinkle of sweetened shredded coconut. This dessert isn’t just a cake; it’s an experience, promising to transport your taste buds to a realm of pure, tropical bliss with every forkful.
There’s every reason to save a generous slice for yourself and your loved ones! If you’re eager to explore more delightful toppings, be sure to check out our comprehensive guide to 80 Best Homemade Frostings Recipes Roundup for endless inspiration.
About Our Irresistible Magnolia Bakery’s Coconut Layer Cake
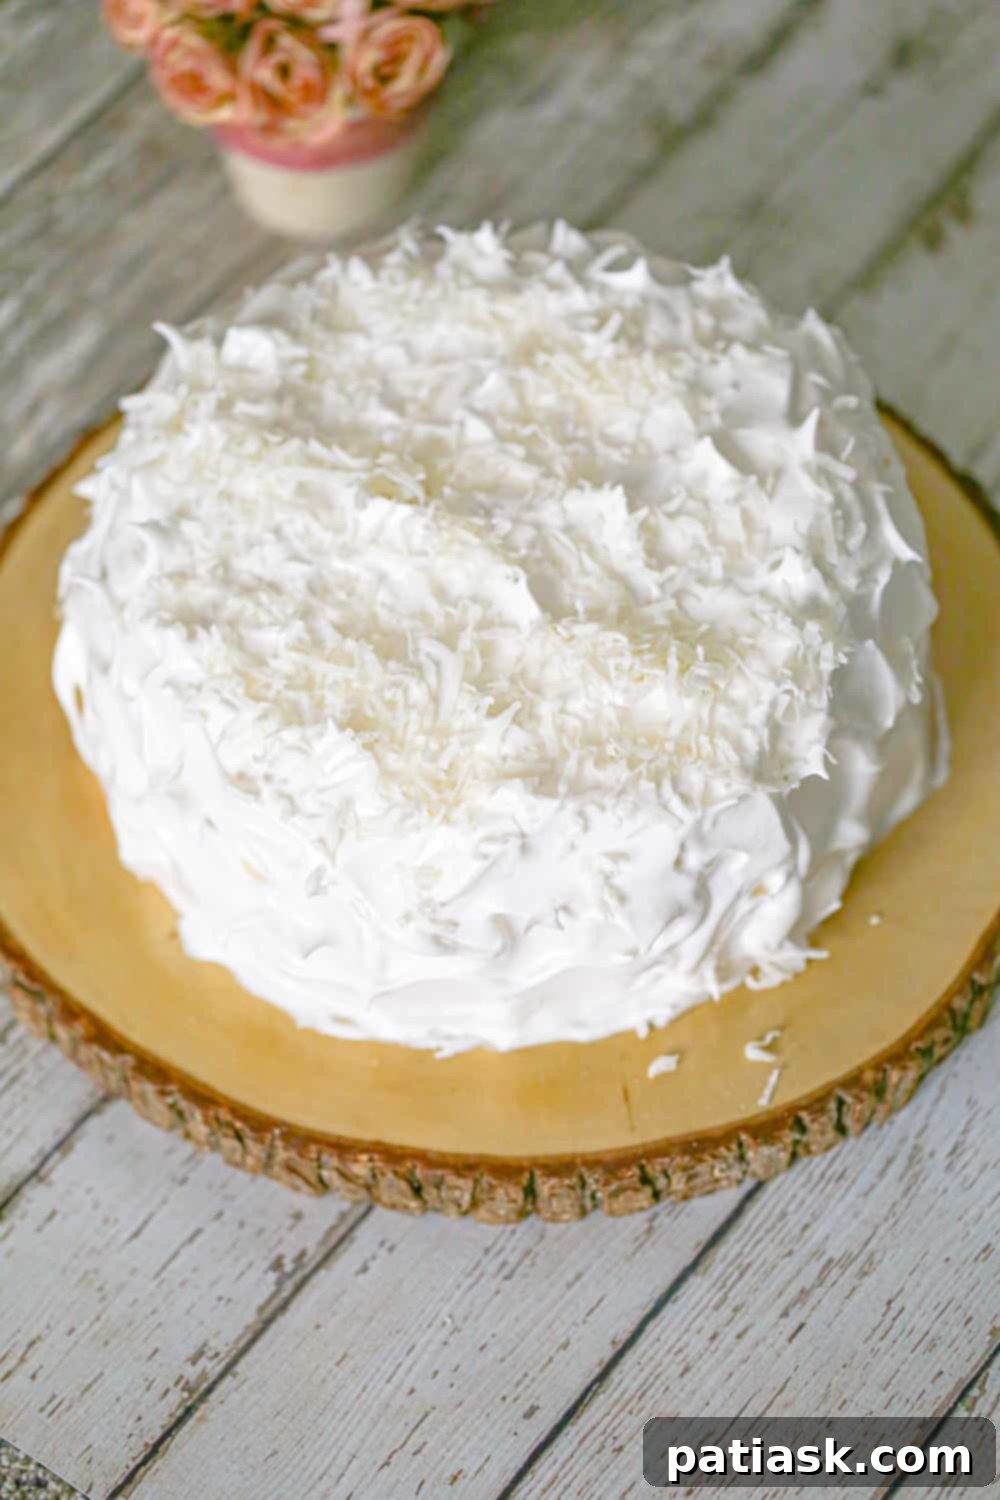
Indulge in the sheer decadence of our homemade Magnolia Bakery’s Coconut Layer Cake. This dreamy dessert is perfectly suited for any special occasion, especially as a highlight of your spring celebrations. Its velvety layers of coconut-infused cake, generously filled with a rich coconut cream, and topped with our signature creamy, ethereal 7-minute frosting, create a symphony of flavors and textures that will leave a lasting impression. This isn’t just a cake you eat; it’s a masterpiece designed to delight all your senses, a true testament to the joy of baking from scratch.
Inspired by the renowned Magnolia Bakery, our recipe ensures that every bite is a harmonious blend of tropical delight and delicate sweetness. We meticulously craft each layer of moist, airy cake, infusing it with the pure essence of coconut. This tender crumb is then lovingly paired with our luxurious coconut filling and finished with a billowy marshmallow-like frosting, creating an irresistible combination that will whisk you away to a tropical paradise. The balance of textures – from the soft cake to the creamy filling and the light, fluffy frosting – makes this cake an unforgettable treat for any dessert enthusiast.
Why This Magnolia Bakery’s Coconut Layer Cake is the Perfect Spring Dessert
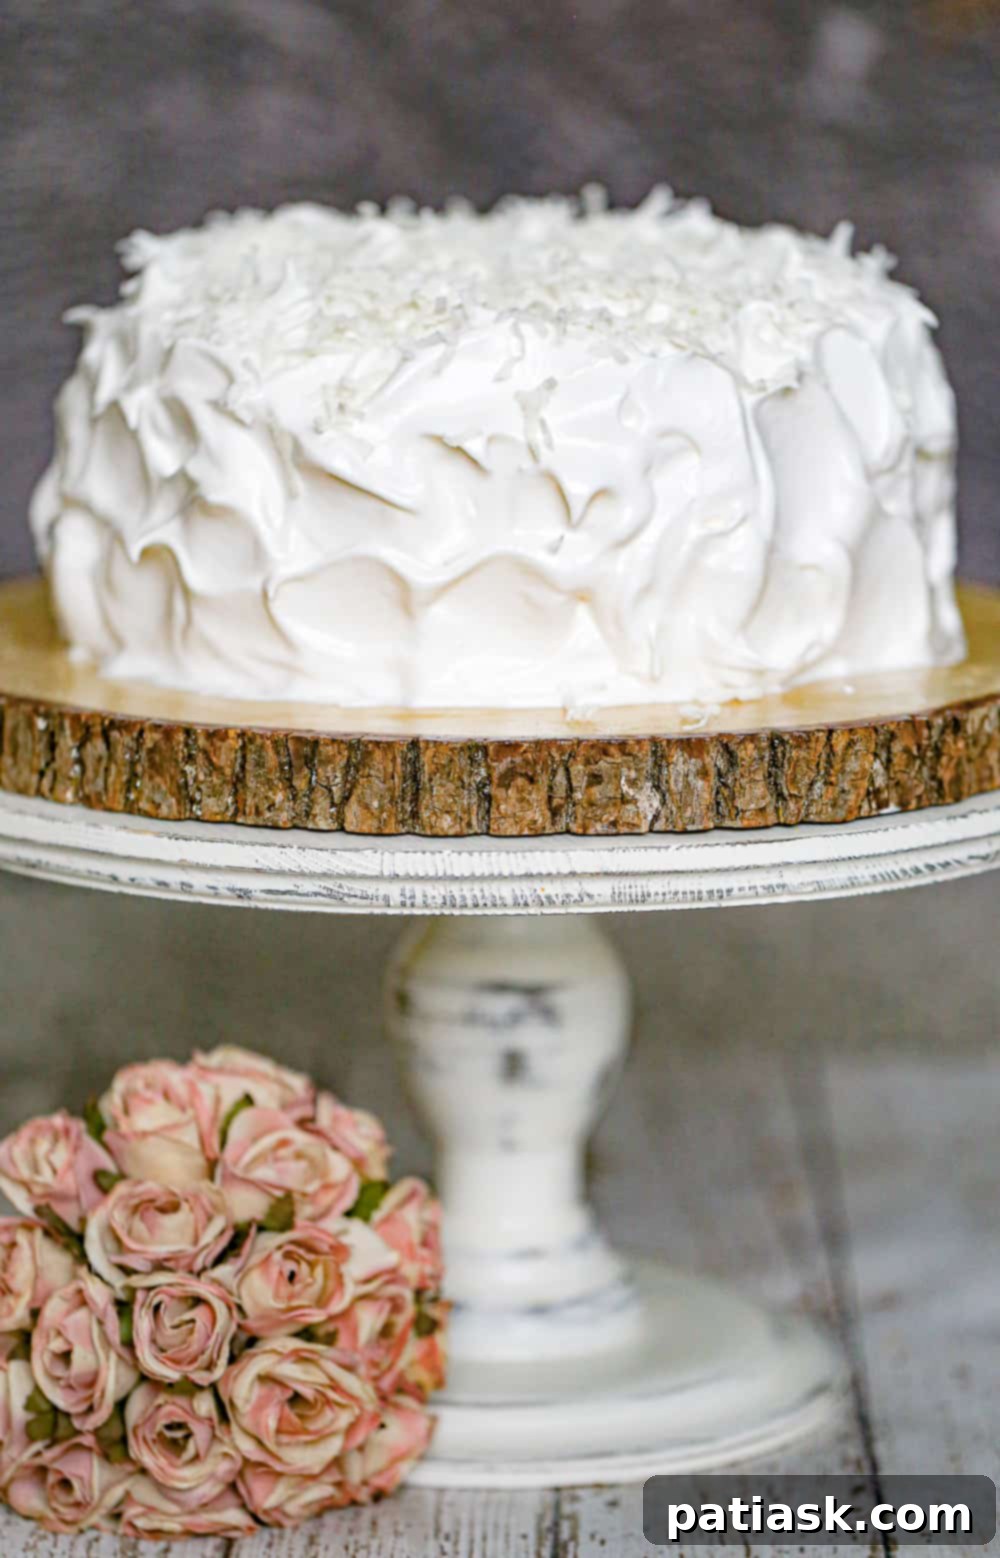
As spring approaches, bringing with it a season of renewal and celebration, this coconut cake emerges as the quintessential dessert. With Easter and Mother’s Day just around the corner, its bright, refreshing coconut flavor and elegant presentation make it an ideal centerpiece for all your festive gatherings. Imagine the joy of serving a cake that perfectly embodies the spirit of spring – light, flavorful, and utterly delightful.
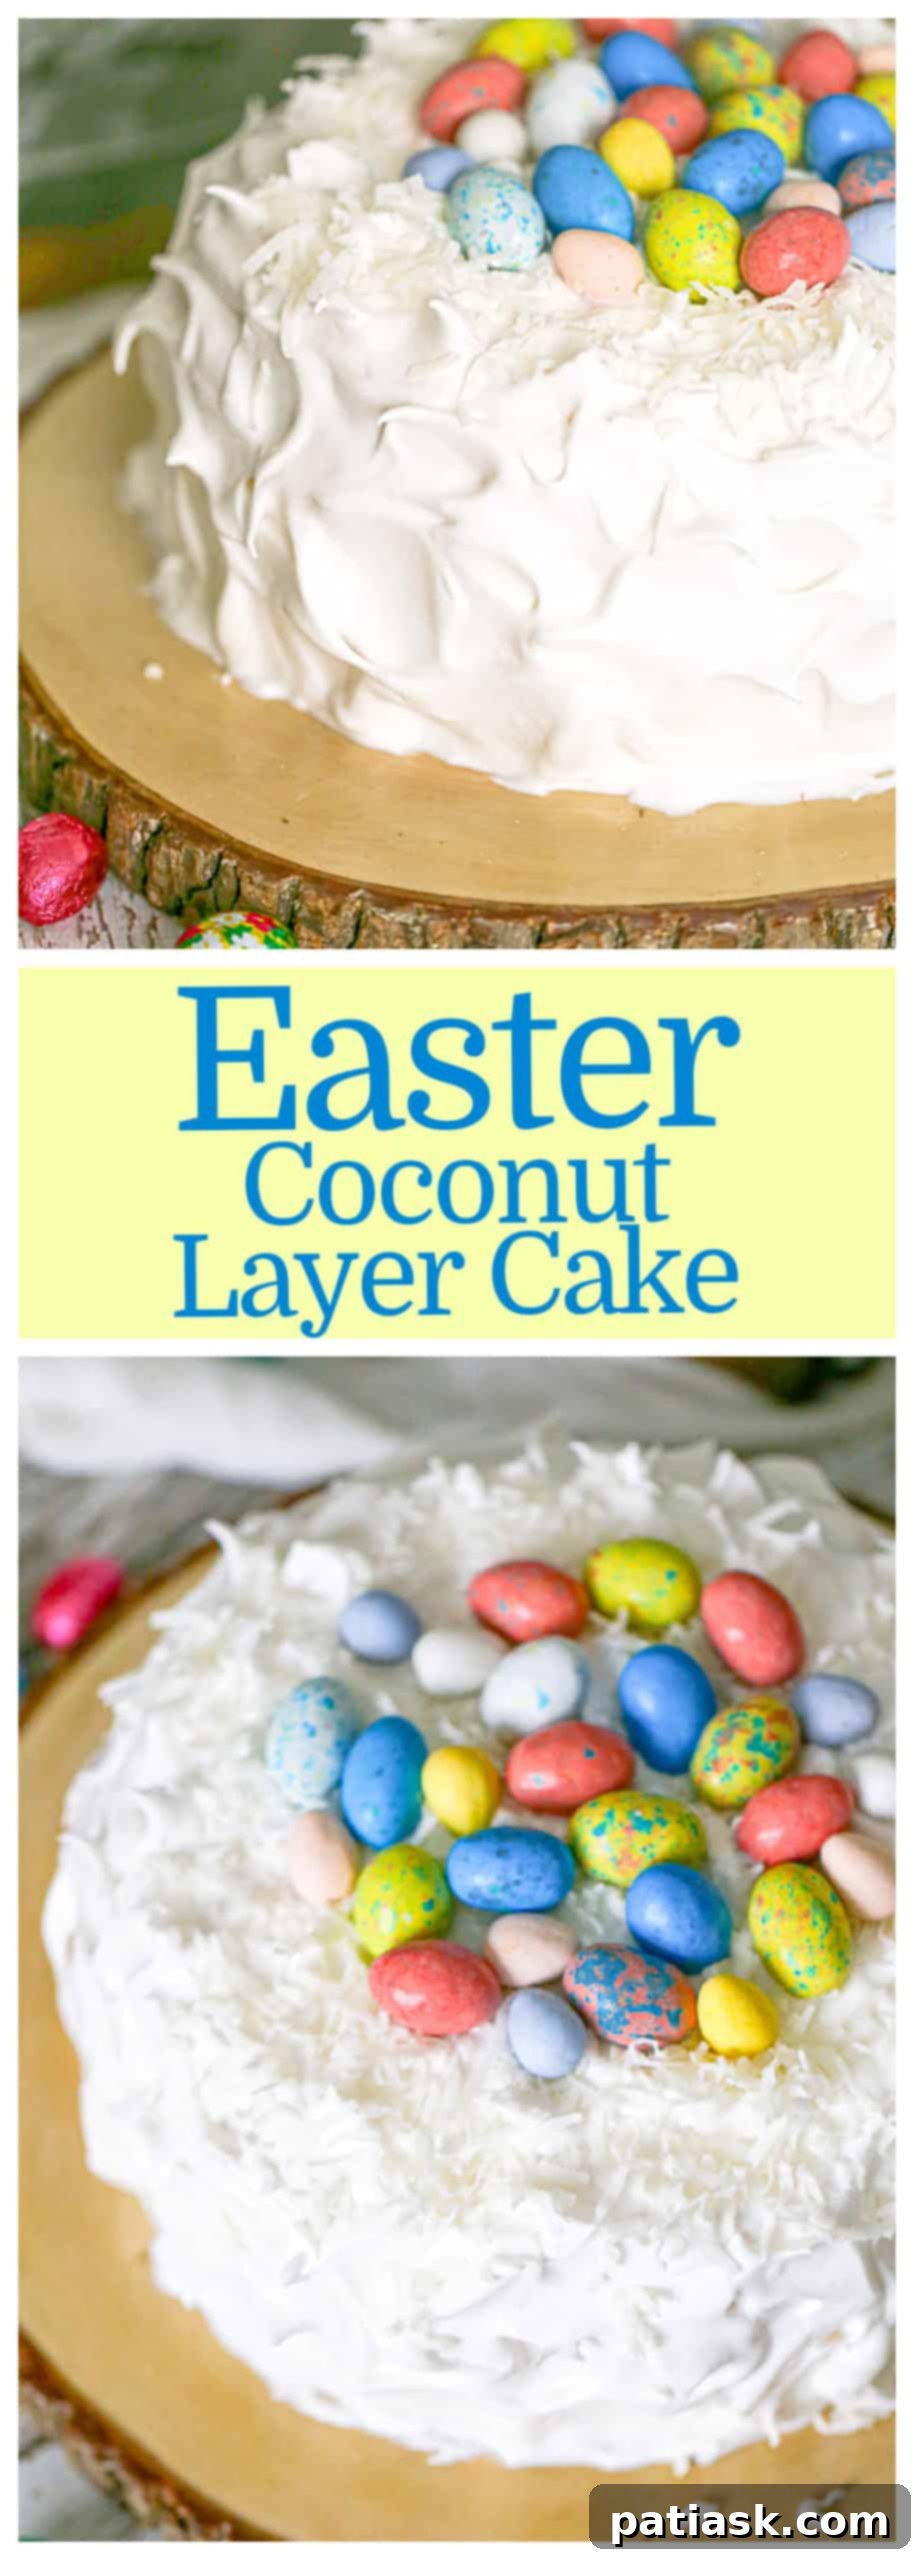
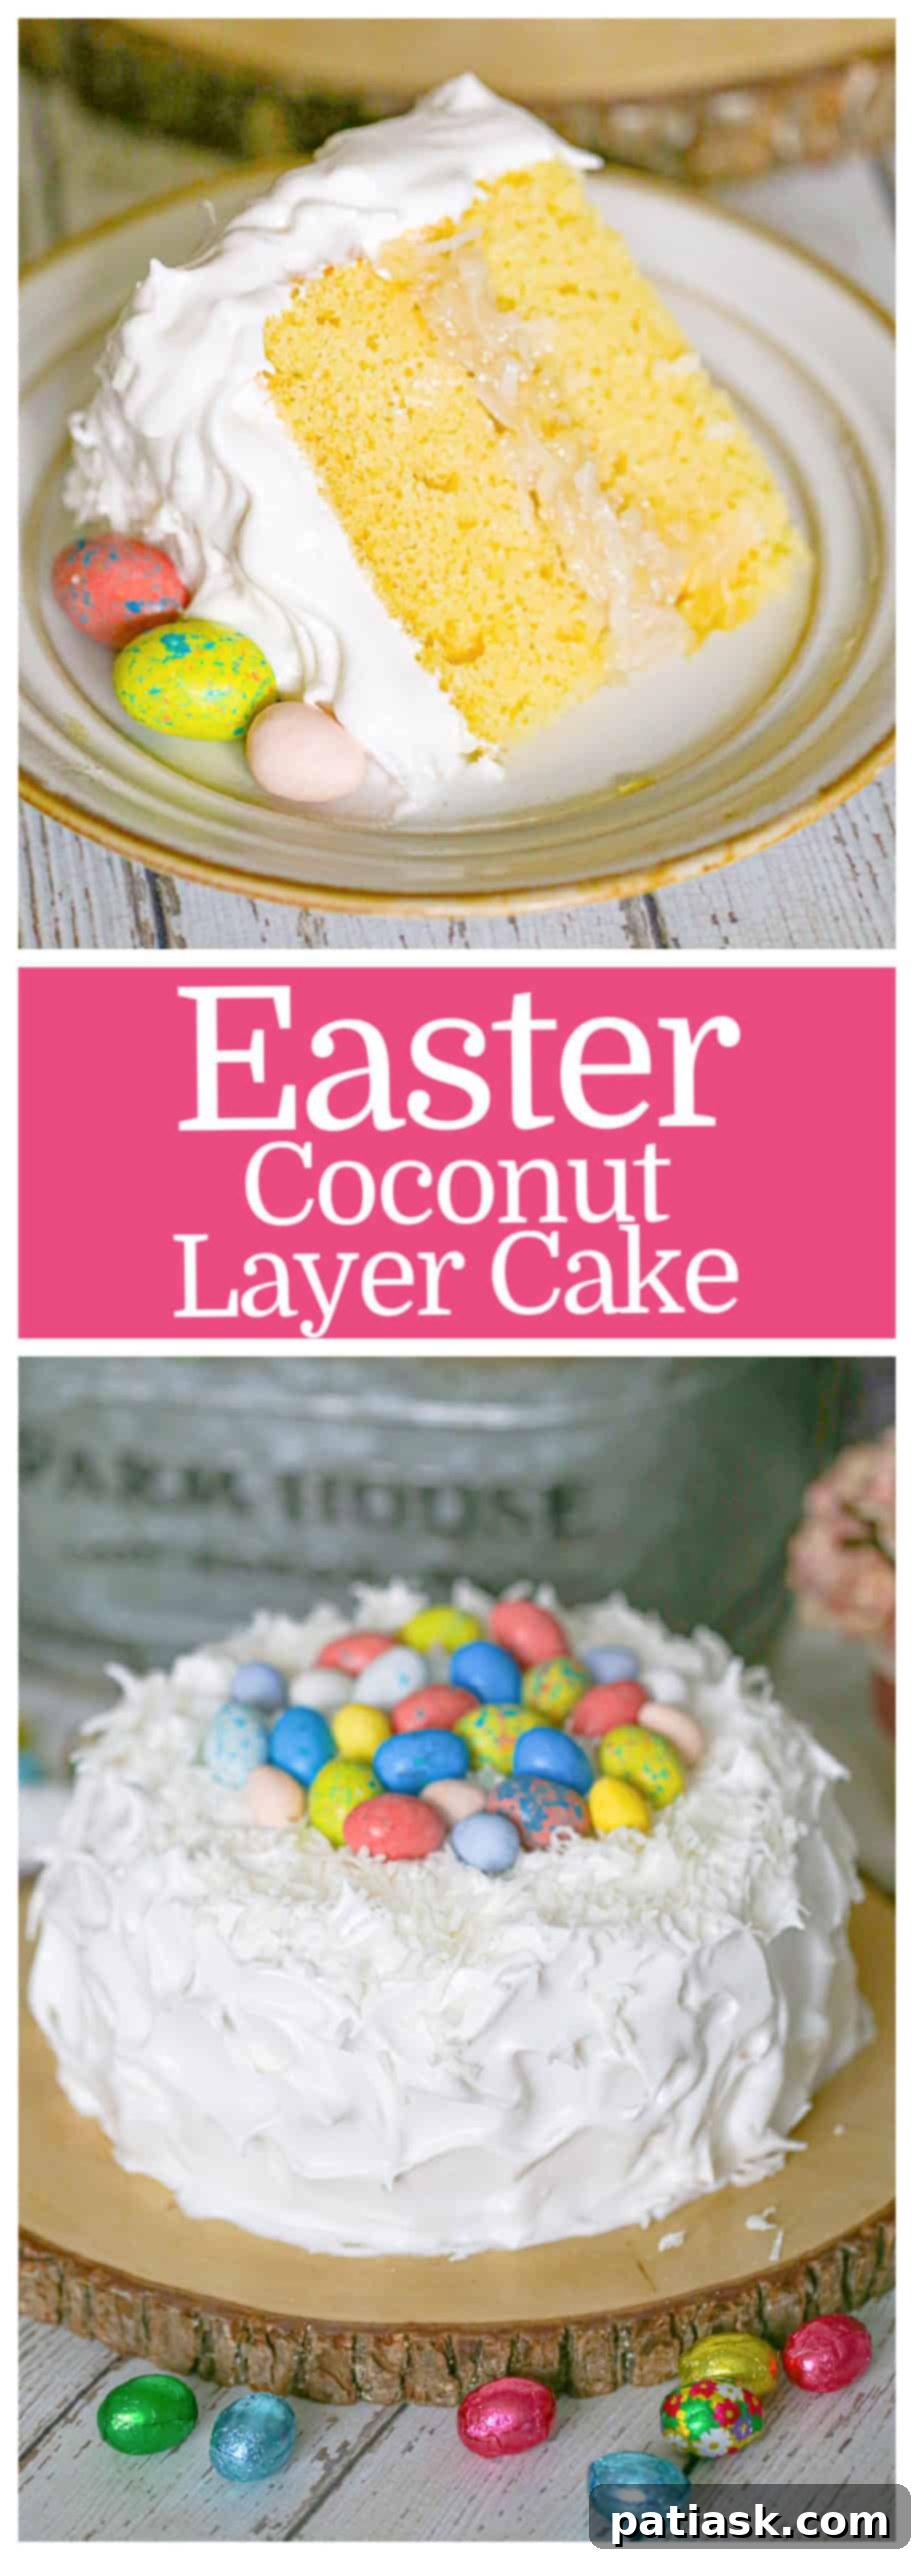
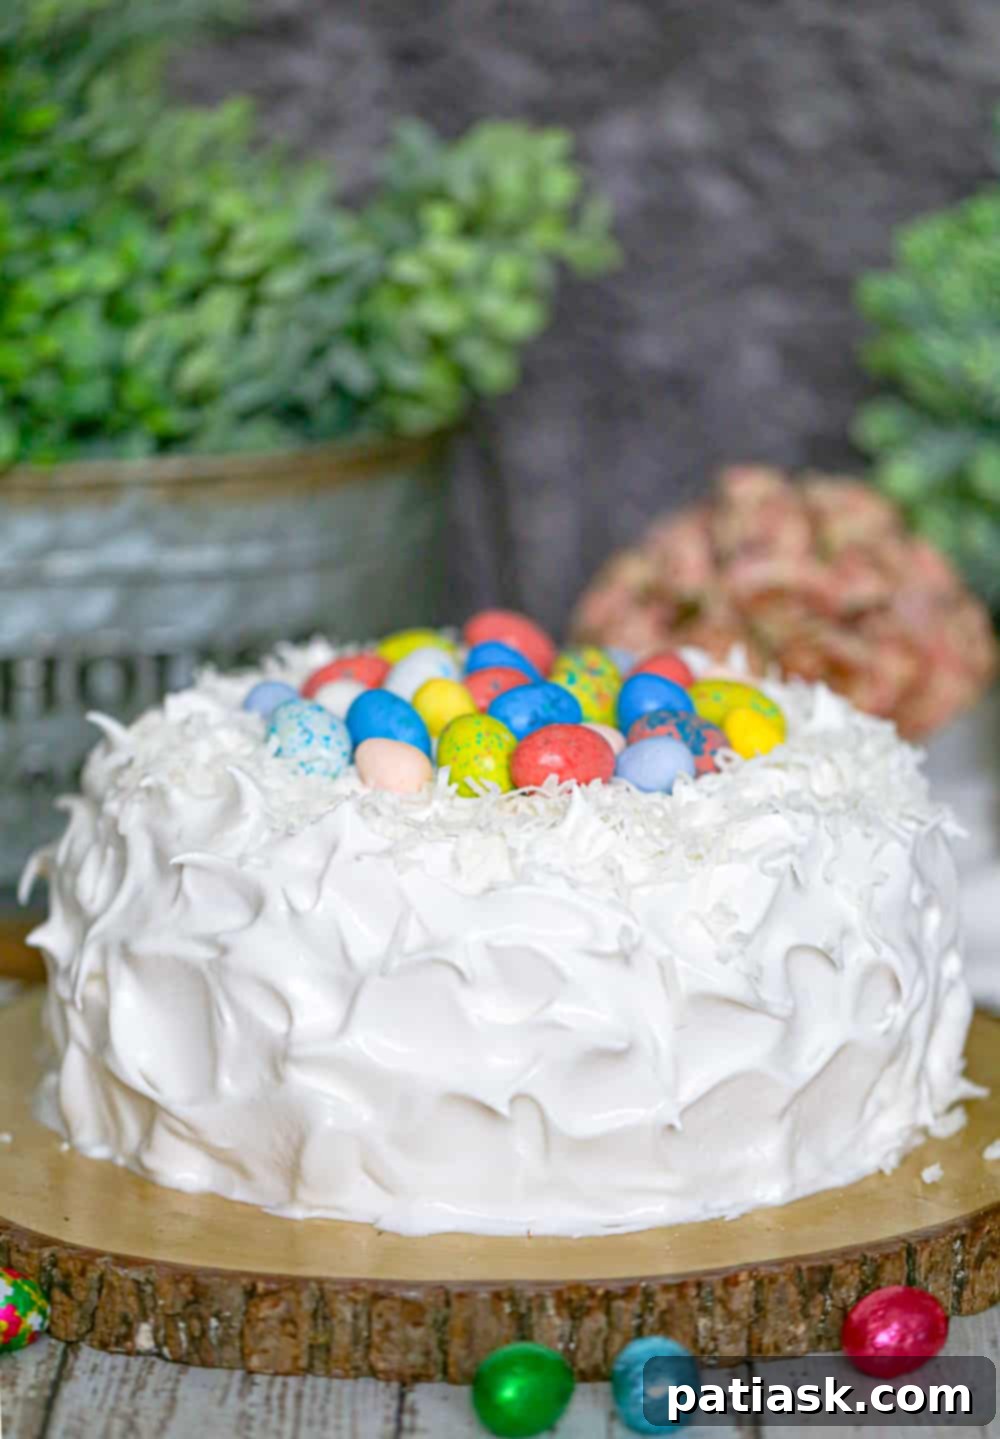
Beyond these cherished spring holidays, this versatile cake is a fantastic choice for a myriad of occasions. It’s an absolute must for coconut lovers year-round, but it also shines brightly at Birthdays, Christmas, and Thanksgiving. Its stunning appearance, coupled with its relatively easy preparation and decoration, makes it a stress-free yet impressive dessert. To truly embrace the festive mood, consider adorning the top of the cake with vibrant Easter candies, fresh berries, or even edible flowers, transforming it into a personalized masterpiece that reflects the joy of the season. This cake is designed to be displayed and savored, making every moment a little more special.
Ingredients for Your Homemade Magnolia Bakery’s Coconut Layer Cake
Crafting this iconic dessert requires a selection of fresh, high-quality ingredients, thoughtfully divided into three key components: the moist cake layers, the rich coconut filling, and the signature fluffy 7-minute frosting. Paying attention to ingredient quality and preparation, such as ensuring butter and eggs are at room temperature, will significantly impact the final texture and flavor of your cake. Gather your tools and let’s create something truly memorable!
For the Easy Coconut Cake Layers
- Unsalted butter (at room temperature for optimal creaming)
- Granulated sugar
- Extra large eggs (also at room temperature, for better emulsification)
- All-purpose flour (sifted for a lighter crumb)
- Baking powder (the leavening agent for lift)
- Salt (to balance and enhance flavors)
- Milk (for moisture and tenderizing)
- Vanilla extract (for a touch of warmth and aroma)
For the Rich Coconut Filling
This creamy, dreamy filling is what makes this coconut cake truly stand out. It’s a simple custard-like base enriched with plenty of sweetened coconut flakes.
- Milk
- Granulated sugar
- All-purpose flour (as a thickening agent)
- Sweetened shredded coconut (the star of the show!)
- Vanilla extract (to complement the coconut)
For the Fluffy 7-Minute Frosting
The hallmark of this cake, a marshmallow-like frosting that’s surprisingly easy to make and incredibly light.
- Egg whites (fresh is best for stability)
- Vanilla extract
- Cold water
- Granulated sugar
- Cream of tartar (a crucial stabilizer for meringue-based frostings)
How to Master Magnolia Bakery’s Coconut Layer Cake at Home
Creating this stunning coconut layer cake is a rewarding baking project that, while involving a few steps, is surprisingly straightforward. Follow these detailed instructions to achieve bakery-quality results right in your own kitchen.
Crafting the Best Coconut Cake Layers
The foundation of any great layer cake is a perfectly baked, moist, and tender crumb. Here’s how to achieve just that for your coconut masterpiece:
- Begin by preheating your oven to 350°F (175°C).
- Prepare two 9-inch round cake pans by buttering and lightly flouring them. For extra insurance against sticking, line the bottoms with parchment paper. While the original recipe sometimes calls for three pans, using two creates thicker, more substantial layers (and simplifies the process!).
- In a medium-sized bowl, whisk together the dry ingredients: all-purpose flour, baking powder, and salt. Set this mixture aside.
- In a separate glass measuring cup, combine the milk and vanilla extract. This ensures they are ready to be incorporated smoothly into the batter.
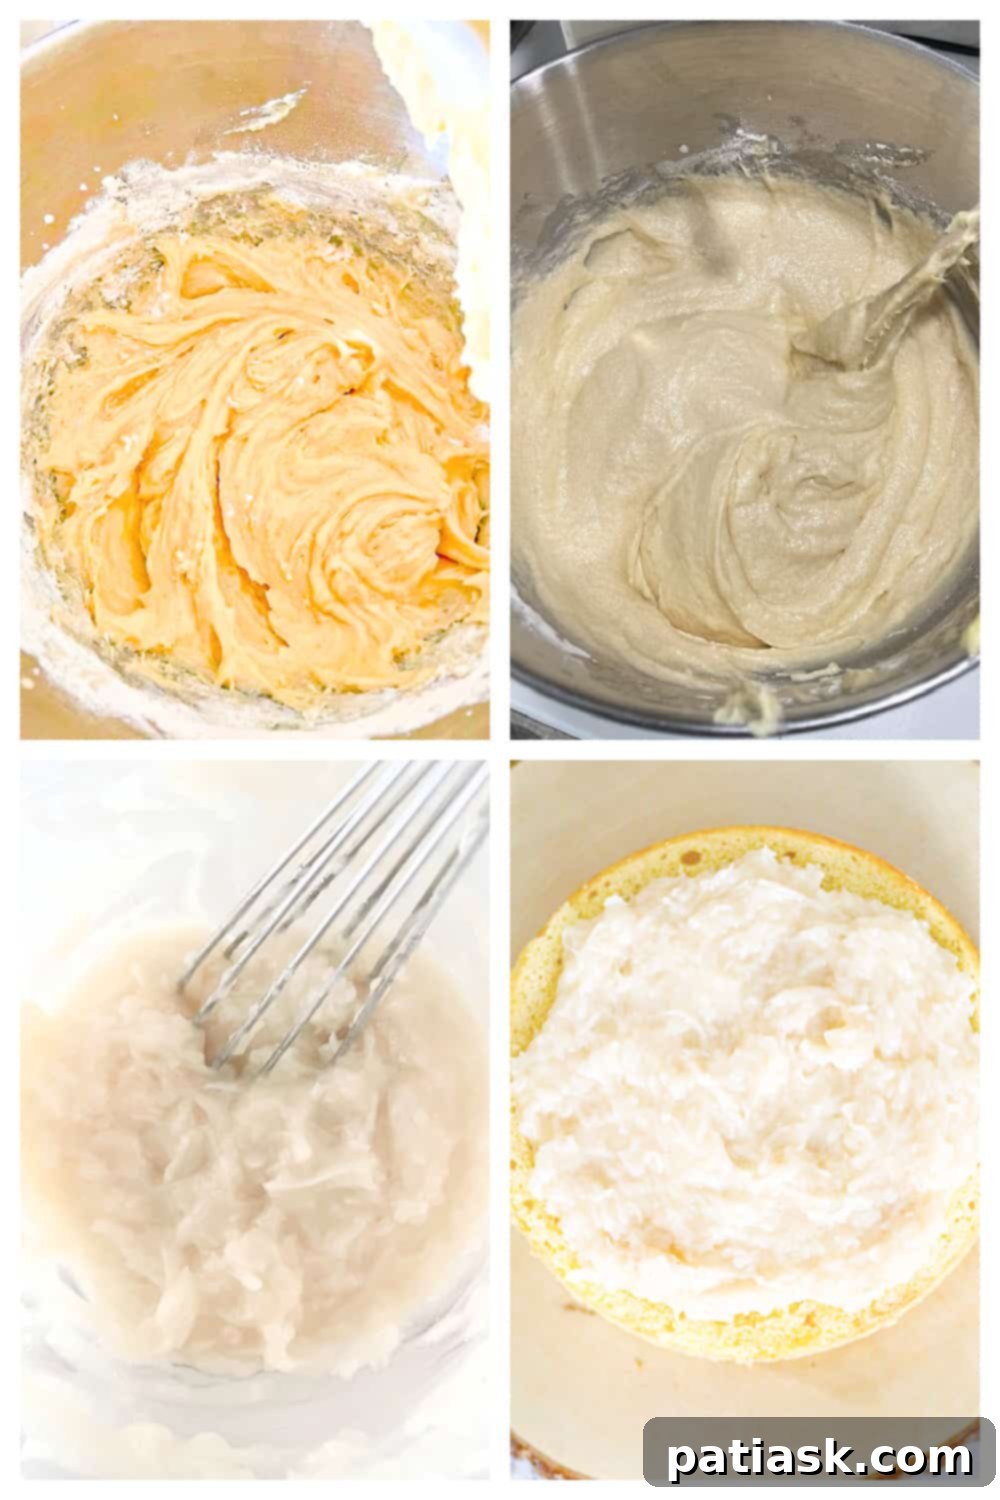
- Using a stand mixer fitted with a paddle attachment (or a hand mixer), cream the unsalted butter until it’s light and fluffy. Gradually add the granulated sugar and continue beating for a full three minutes until the mixture is pale and well-aerated. Incorporate the eggs one at a time, beating well after each addition to ensure they are fully integrated.
- Now, it’s time to combine wet and dry. With the mixer on low speed, alternately add the dry ingredient mixture and the milk-vanilla mixture to the wet ingredients. Start and end with the dry ingredients, adding them in four distinct groups. Beat well after each addition, but be careful not to overmix, which can lead to a tough cake. The final batter should be smooth and cohesive.
- Divide the cake batter evenly between your prepared pans. For accurate division, a kitchen scale is your best friend.
- Baking Times: For two 9-inch pans, bake for 25-30 minutes. If you opt for three 9-inch pans, reduce the baking time to 20-25 minutes.
- To confirm doneness, insert a wooden skewer or cake tester into the center of each cake. It should come out clean.
- Allow the cakes to cool in their pans for 10 minutes before carefully inverting them onto a wire rack to cool completely. This crucial step prevents them from breaking and ensures optimal frosting application later.
Preparing the Luscious Coconut Filling
This creamy filling is the heart of the coconut flavor in this cake, adding richness and a delightful texture between the layers.
- In a medium saucepan, whisk together the milk and granulated sugar. Gradually whisk in the all-purpose flour until no lumps remain.
- Place the saucepan over medium heat and bring the mixture to a boil, whisking continuously. Continue to whisk as it thickens and becomes bubbly, a process that typically takes about 5 minutes. The consistency should be thick enough to coat the back of a spoon.
- Remove the saucepan from the heat and immediately stir in the sweetened shredded coconut and vanilla extract.
- Cover the filling directly with plastic wrap to prevent a skin from forming and set it aside to cool completely to room temperature. A word of caution for ardent coconut lovers: while tempting, resist the urge to add significantly more coconut at this stage. Too much coconut can alter the delicate creamy consistency of the filling, making it less smooth and more crumbly.
How to Achieve Fluffy Perfection: The 7-Minute Frosting
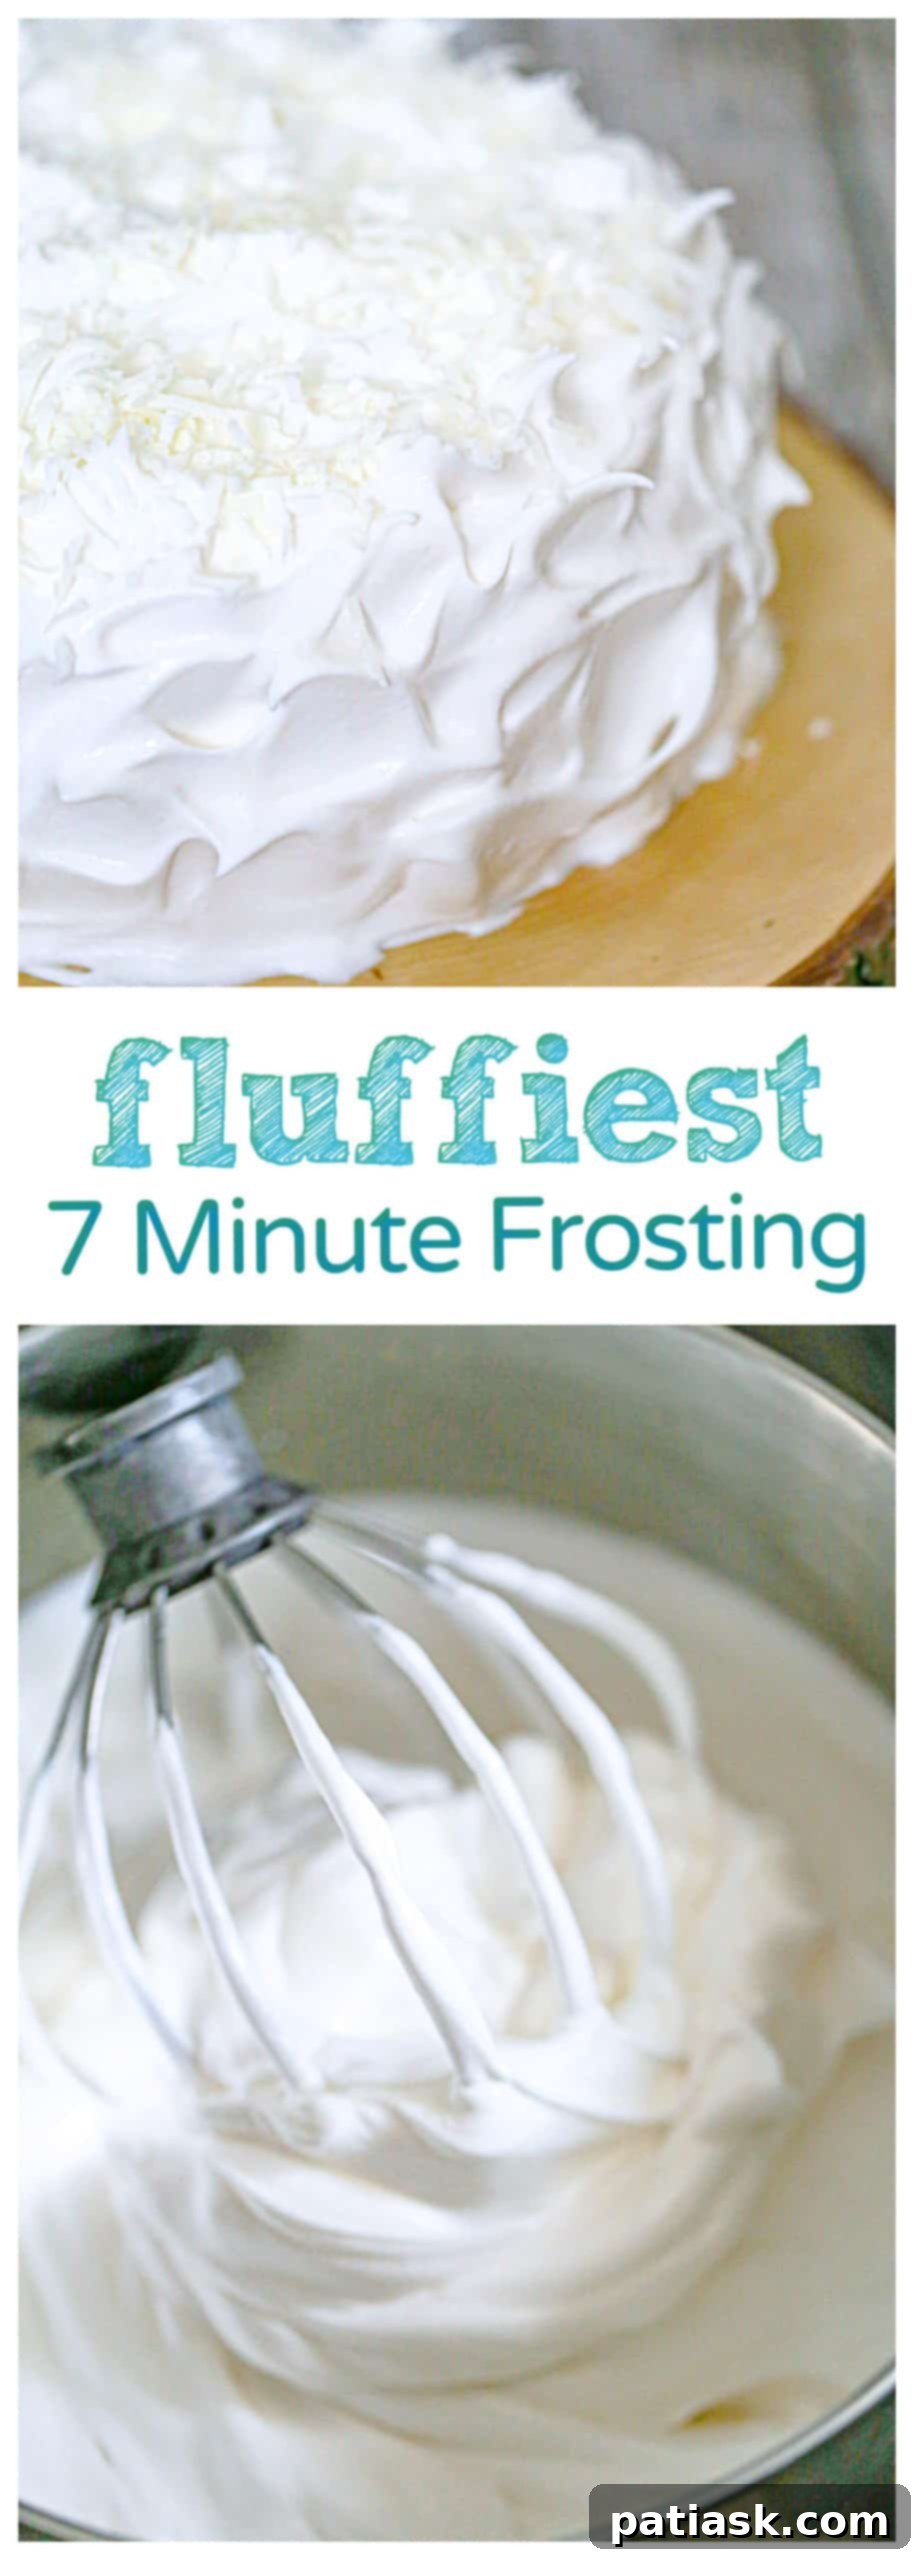
The iconic 7-minute frosting is a marvel of meringue-making – light, airy, and marshmallow-like. It adds an incomparable billowy elegance to this coconut cake.
- In a large, impeccably clean mixing bowl (free from any grease), combine the egg whites and vanilla extract. Set this bowl aside, ensuring it’s ready for whipping.
- In a small saucepan, combine the cold water, granulated sugar, and cream of tartar. Place this mixture over high heat and bring it to a rolling boil. Continue to boil for 2-3 minutes, timing from the moment the mixture begins to bubble vigorously around the edges. This process creates a hot sugar syrup crucial for the meringue’s stability. Once the boiling time is complete, remove the saucepan from the heat.
- Immediately, with your hand mixer or stand mixer set to medium-high speed, begin beating the egg whites and vanilla until they become foamy, which usually takes about 1 minute.
- While the mixer is still running on medium-high speed, slowly and carefully stream the hot sugar syrup into the foamy egg whites. Pour it in a thin, steady stream down the side of the bowl, avoiding the whisk to prevent splashing.
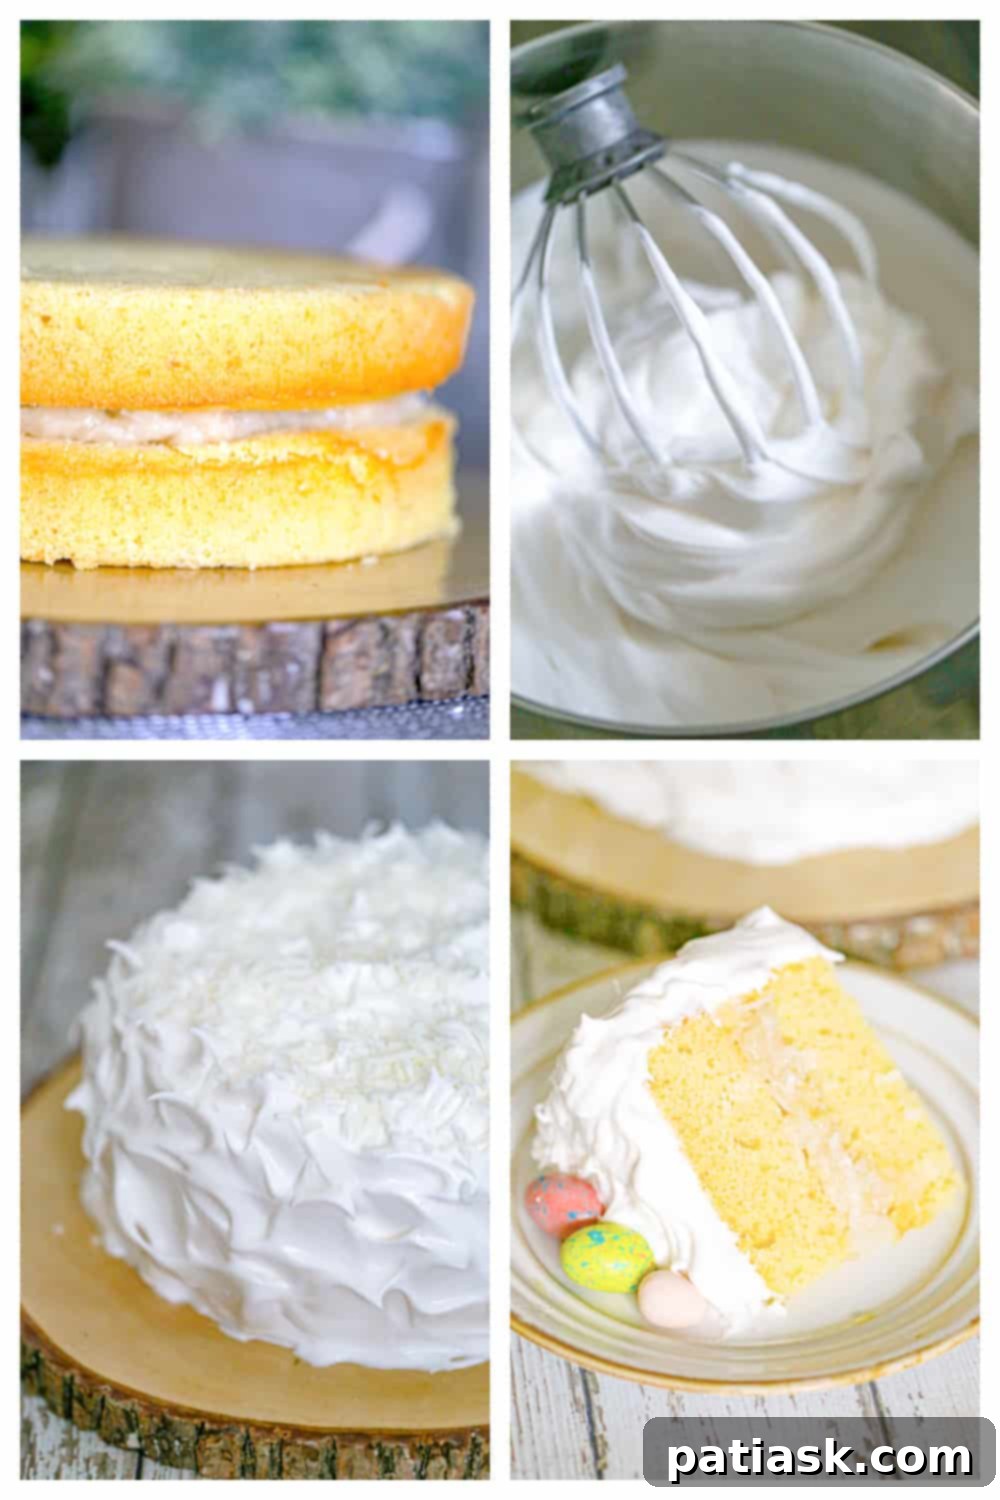
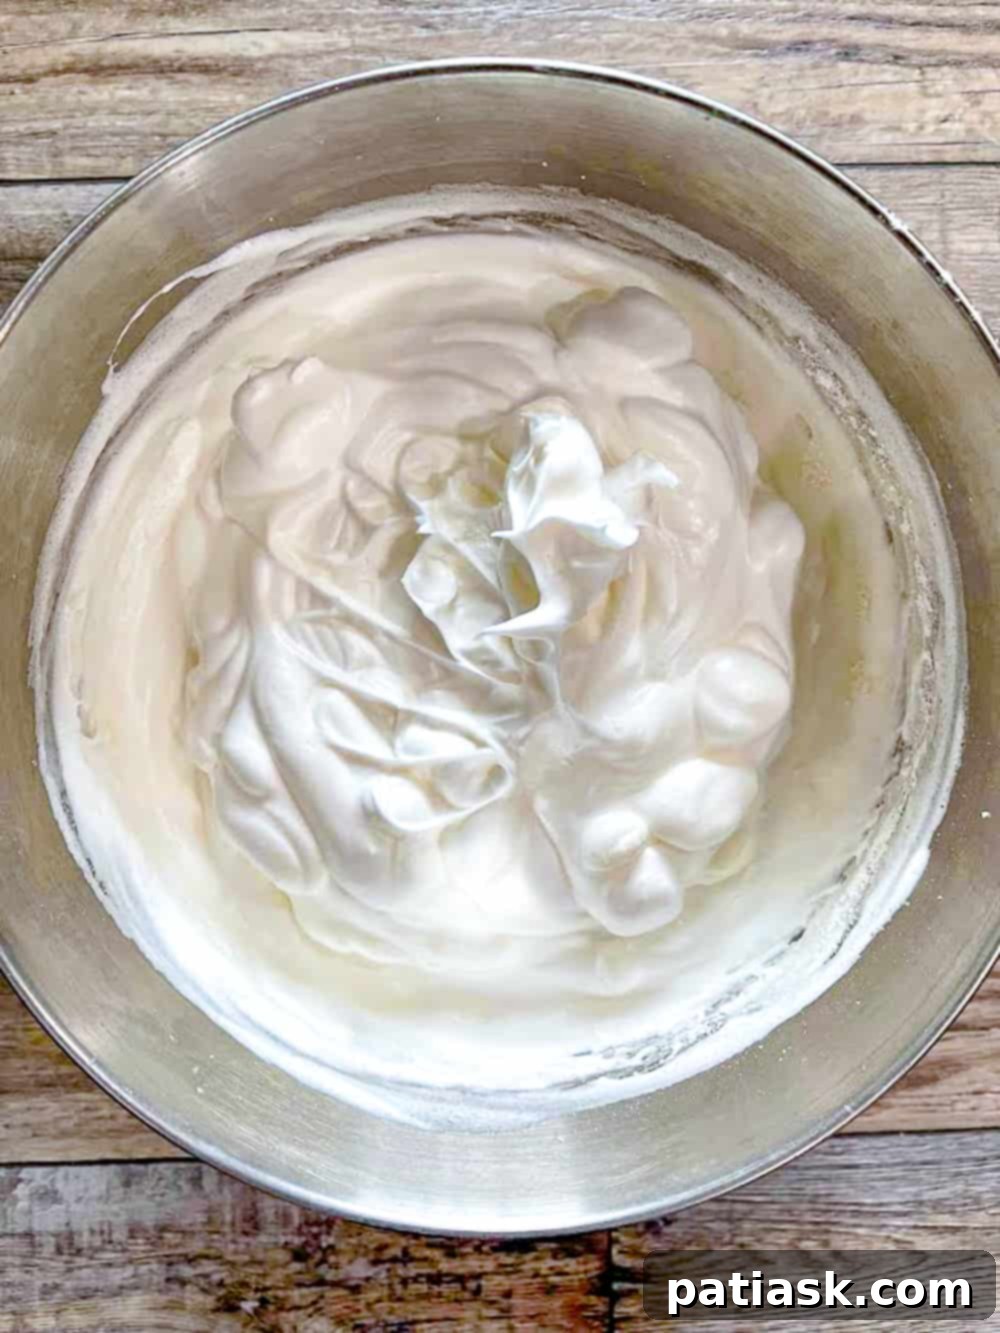
- Continue beating the mixture on medium-high speed for approximately 5 minutes, or until the frosting becomes incredibly fluffy, glossy, and forms stiff peaks. You’ll know it’s ready when you lift the whisk and the peaks hold their shape without drooping. The frosting will transform into a bright white, ethereal cloud, super glossy and utterly heavenly!
Assemble Your Stunning Coconut Layer Cake
Now for the most satisfying part: bringing all the delicious components together to create your masterpiece. Careful assembly ensures a beautiful and structurally sound cake.
- Place your first cooled cake layer on your chosen serving platter or cake plate. Spread about half of the prepared coconut filling evenly over this layer. If you decided to bake three layers, you’ll divide the filling accordingly. For two layers, use as much as you desire for the generous center filling.
- Carefully place the second cake layer on top of the filling, gently pressing down to secure it. If you’re doing a third layer, repeat step 1 by spreading the remaining filling.
- Using an offset spatula or knife, frost the top and sides of the entire cake with your freshly made fluffy 7-minute frosting. Work quickly but smoothly, as this frosting sets relatively fast. Aim for a generous, billowy application to achieve that classic marshmallow look.
- For the final coconut flourish, generously top the cake with extra sweetened shredded coconut. Gently press some onto the sides of the cake as well for a complete coconut embrace.
- To make it extra special and festive, especially for holidays like Easter, add some seasonal candies or decorations to the top. This personalizes your cake and adds a playful touch.
- This cake is truly at its best when enjoyed the same day it’s made, showcasing the frosting at its peak fluffiness. If you have any glorious leftovers, store the cake in an airtight container in the refrigerator. To restore its perfect texture before serving, allow it to come to room temperature for about half an hour.
Optional Flavor Enhancements
For those who simply can’t get enough coconut, or wish to deepen its exotic notes, consider this simple addition:
- Add 2 teaspoons of coconut extract to the cake batter. This can be used in conjunction with or as a substitute for the vanilla extract, depending on your desired intensity of coconut flavor. It’s a wonderful way to amplify the tropical essence without altering the cake’s texture.
Smart Cake Substitutions for Various Dietary Needs
We believe everyone should enjoy a delicious slice of cake! Here are some thoughtful substitutions to adapt this recipe:
- For an easier flour blend: When preparing the cake batter, you can replace the standard dry mixture (all-purpose flour, baking powder, salt) with 1 1/2 cups self-rising flour combined with 1 1/4 cups all-purpose flour. If you choose this option, remember to omit the baking powder and salt from the recipe, as self-rising flour already contains leavening and seasoning.
- For Gluten-Free Indulgence: To make this cake suitable for those with gluten sensitivities, simply replace the all-purpose flour in the cake layers with an equal amount of a high-quality gluten-free flour blend, such as Bob’s Red Mill Gluten-Free All-Purpose Baking Flour. Ensure your chosen blend is suitable for baking cakes.
Expert Tips for the Best 7-Minute Frosting!
The 7-minute frosting truly elevates this cake with its unique, fluffy, and marshmallow-like texture. Here are some essential tips to master this old-school classic:
- The Unbeatable Texture: This traditional frosting, made from whipped egg whites and hot sugar syrup, comes together surprisingly quickly to give your cakes and cupcakes towering piles of cloud-like swirls. Its meringue-like consistency practically melts in your mouth, making it incredibly hard to resist sneaking spoonfuls directly from the bowl! It’s distinctively lighter than buttercream and offers a delicate sweetness.
- Timing is Key for Perfection: One crucial aspect of 7-minute frosting is that it is best enjoyed the day it is made. Its signature fluffiness and soft texture are at their peak shortly after preparation. It’s also easiest to apply to cakes or cupcakes when it’s still slightly warm and pliable, right after you finish beating it. After about 4 hours, this delicate frosting tends to start deflating and can become a bit sticky. If refrigerated, the outside layer might develop a slight crunch. For the absolute best flavor and texture experience, plan to make and serve your 7-minute frosting on the same day.
- A Mixer is Non-Negotiable: Achieving the perfect, consistent fluffiness of 7-minute frosting is incredibly challenging without mechanical assistance. A stand mixer or a powerful hand mixer is an absolute must. The continuous high-speed beating is essential for incorporating air and creating the stable meringue structure. Don’t attempt this with a whisk by hand unless you have exceptional arm strength and patience!
- Piping Possibilities: This frosting is excellent for piping generous swirls and decorative elements using a large star or round tip. Its voluminous nature makes for dramatic and appealing designs. However, due to its tendency to set quickly, it is not ideal for intricate, fine detail work. Stick to broader strokes and simple, elegant designs.
- Beyond the Cake: Torch It! One of the fantastic advantages of 7-minute frosting (being a meringue) is its ability to be beautifully toasted. You can use a kitchen torch to lightly brown the peaks, much like you would for s’mores, a classic lemon meringue pie, or baked Alaska-type desserts. This adds a delightful caramelized flavor and a stunning visual appeal.
- Storage Limitations: Unfortunately, this frosting does not freeze well. The delicate structure of the meringue will break down upon thawing, resulting in a watery, deflated mess. Always make it fresh!
Smart Make-Ahead Tips for Stress-Free Baking
To make the process of baking this Magnolia Bakery Coconut Layer Cake more manageable, especially for special events, certain components can be prepared in advance:
- Cake Layers: You can bake and freeze the cake layers well ahead of time. Once they are completely cooled to room temperature, wrap each layer tightly in plastic wrap, then again in aluminum foil. Place the wrapped layers in large freezer bags to protect them from freezer burn, and freeze for up to a month. When you’re ready to assemble, defrost the cake layers completely in the refrigerator overnight. This ensures they remain moist and easy to handle.
- Coconut Filling: The creamy coconut filling can also be prepared the day before you plan to assemble the cake. After cooking, cover it directly with plastic wrap to prevent a skin from forming and store it in the refrigerator. Before using, allow the filling to come back to room temperature, or gently warm it slightly if needed, to ensure it’s spreadable.
- Fluffy 7-Minute Frosting: As noted previously, this marshmallow-like frosting is best made and applied on the day you plan to serve the cake. Its peak fluffiness and soft, pliable texture are short-lived. It’s easiest to spread when slightly warm and fresh. After about 4 hours, it will begin to deflate and might become sticky, losing its ethereal quality. Plan your baking schedule to create the frosting as close to serving time as possible for optimal enjoyment.
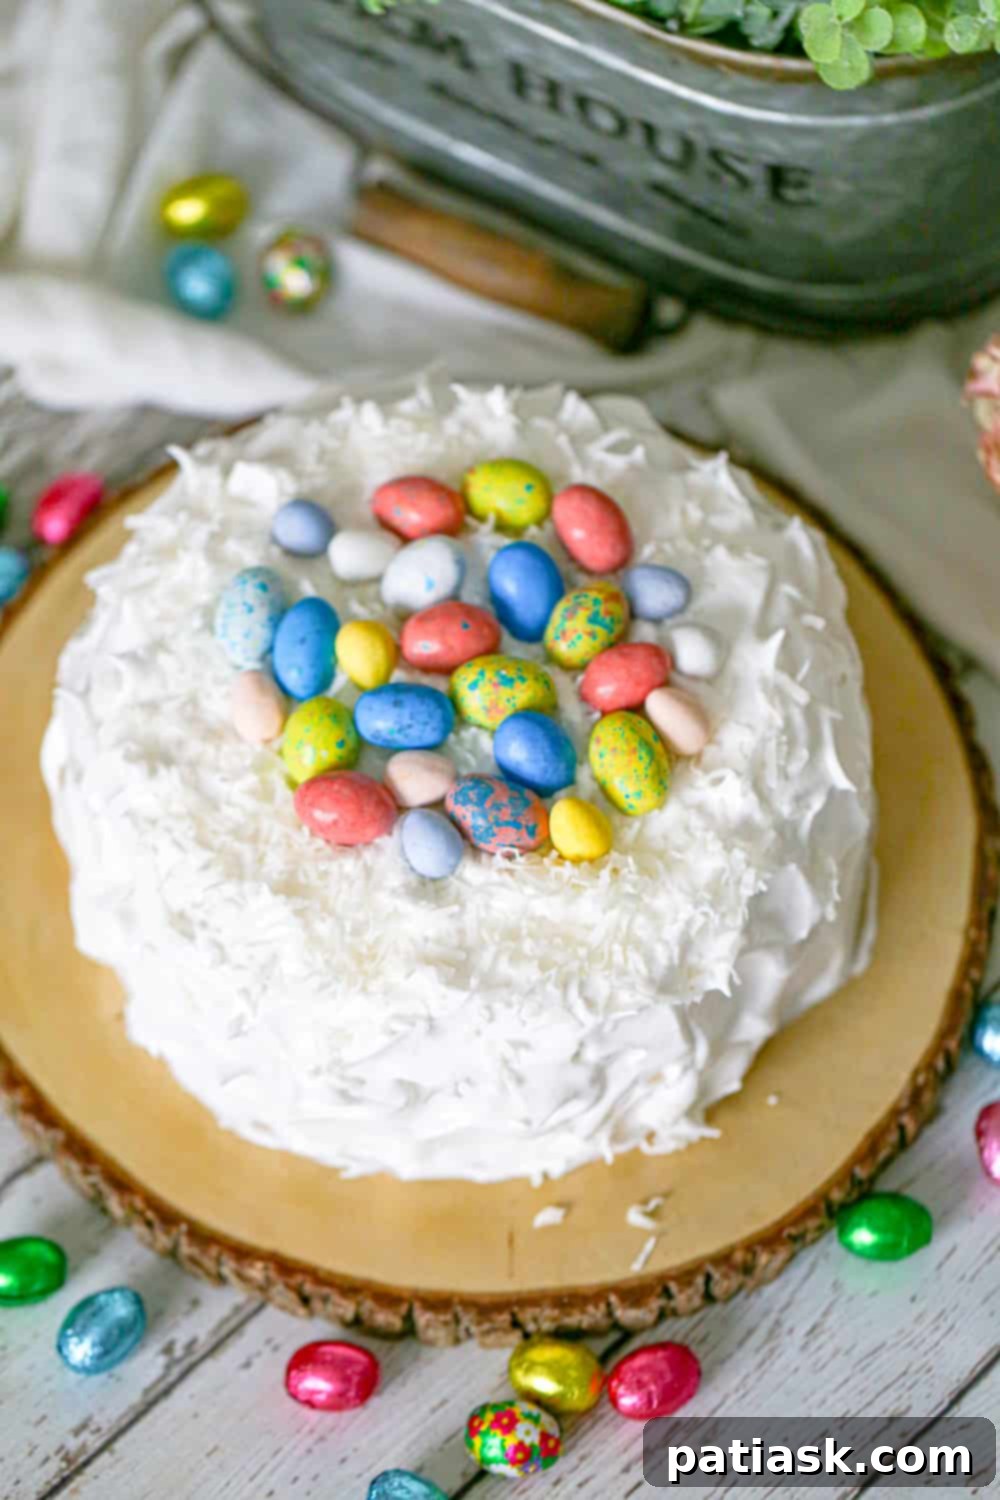
Whether you’re celebrating a joyous occasion with friends and family, or simply treating yourself to a moment of pure culinary bliss, our copycat Magnolia Bakery’s Coconut Layer Cake is the ultimate indulgence. Its rich coconut flavors, moist cake, and heavenly frosting make it a standout among spring cakes. So go ahead, take a generous bite, and savor the creamy, tropical goodness of this irresistible dessert. Trust us, your taste buds will send you their warmest thanks. We genuinely hope you give this elegant, yet retro-charming Magnolia Coconut Cake a try. It’s perfect when you desire something both traditional and stunningly beautiful. And while you’re at it, don’t miss out on our amazing Fudge Brownie Cookies!
More Irresistible Coconut Creations to Explore!
If you’re a devoted fan of coconut, you’re in for a treat! Discover more delightful recipes that showcase the versatility and deliciousness of coconut:
- Easy No-Bake Coconut Cream Pie
- Dove Easter Egg Coconut Macaroon Cookies
- Best Coconut Chocolate Chip Oatmeal Cookies
- Luscious Coconut Lime Margarita Pound Cake
- Creamy Lemon Coconut Custard Pie
- Irresistible Chocolate Coconut Truffles
- 25 Rockin’ Chocolate Chip Cookie Recipes (because sometimes you just need chocolate chips!)
- Decadent Coconut Flour Chocolate Brownies
More Classic Cakes & Muffins You’ll Love
For those who appreciate the comforting tradition of homemade baked goods, explore these other classic cake and muffin recipes from our collection:
- The Ultimate Carrot Cake
- Super-Moist Chocolate Cake with Rich Chocolate Buttercream
- “American Beauty” Retro Red Velvet Cake
- Decadent Red Wine Chocolate Cake
- Bakery-Style Blueberry & Blackberry Muffins
- Super-Moist Vanilla Cake with Silky Vanilla Buttercream
- Charming Easter Carrot Cake Cupcakes
- Classic Italian Cream Cake
Magnolia Bakery’s Coconut Layer Cake
Recipe by Kim Lange
Pin Recipe
15 min
40 mins
Dessert
10 Servings
(Nutritional information not provided, estimate based on ingredients)
Ingredients
Cake
- 1 cup unsalted butter room temperature
- 2 cups granulated sugar
- 4 larger eggs room temperature
- 2 ¾ cups all purpose flour or use gluten-free flour, like Bob’s Red Mill Gluten-Free Flour
- 2 ¼ teaspoons baking powder
- ½ teaspoon salt
- 1 cup milk
- 1 teaspoon vanilla extract
Coconut Filling
- ¾ cup milk
- ½ cup granulated sugar
- 2 tablespoons all purpose flour
- 1 7 oz package sweetened coconut
- 1 teaspoon vanilla extract
Fluffy 7 Minute Frosting
- 3 large egg whites
- 1 ½ teaspoons vanilla extract
- ½ cup cold water
- 1 ½ cups granulated sugar
- ¼ teaspoon plus ⅛ teaspoon cream of tartar
Instructions
Cake
- Preheat oven to 350°F (175°C).
- Butter and lightly flour two 9-inch cake pans and line with parchment paper. (The original recipe suggests three 9-inch cake pans; if you opt for a triple layer, remember to adjust baking time accordingly.)
- Whisk together the flour, baking powder, and salt in a medium bowl and set aside.
- Pour the milk and vanilla into a glass measuring cup and set aside.
- Using a mixer, cream the butter until light and fluffy. Gradually add the sugar and continue beating for three minutes. Add the eggs one at a time, beating well after each addition.
- To the wet ingredients, alternately add the dry ingredients with the milk and vanilla mixture in four groups, beating well after each addition and ending with the milk. This process ensures a smooth and well-combined batter.
- Divide the batter evenly among the prepared pans.
- Baking times: For two pans, bake for 25-30 minutes. For three pans, bake for 20-25 minutes.
- A cake tester inserted into the middle of the cake should come out clean when the cakes are done.
- Let cool for 10 minutes in the pan. Then, remove the cakes from the pans and transfer them to a wire rack to cool completely.
Coconut Filling
- Combine the milk and sugar in a medium saucepan. Whisk in the flour thoroughly. Bring to a boil over medium heat, continuously whisking until the mixture thickens and becomes bubbly, which should take approximately 5 minutes.
- Remove the saucepan from the heat and stir in the sweetened coconut and vanilla. Cover the filling directly with plastic wrap and set aside to cool completely.
Fluffy 7 Minute Frosting
- Place the egg whites and vanilla in a large mixing bowl, ready for whipping. Set aside.
- In a small saucepan, combine the water, sugar, and cream of tartar over high heat. Bring the mixture to a boil for 2-3 minutes, starting your timer once the edges begin to bubble. Remove from heat.
- With a hand or stand mixer on medium-high speed, beat the egg whites and vanilla until they are foamy, which typically takes about 1 minute.
- Keep the mixer running and slowly stream the hot sugar-water mixture into the egg whites. Continue to beat on medium-high speed until the frosting is fluffy, super glossy, and forms stiff peaks, typically around 5 minutes. This creates a light and heavenly frosting!
- Assemble the Cake:
- Place one cake layer on your serving platter. Spread half of the coconut filling on top. Adjust the amount of filling as desired if using two cake layers.
- If using a third layer, place the next cake layer on and repeat the previous step with the remaining filling.
- Frost the top and sides of the entire cake generously with the 7-minute frosting.
- Top the cake with extra sweetened shredded coconut for a beautiful finish.
- For a festive touch, add some seasonal candies or decorations.
- This cake is best enjoyed the day it’s made. If you have leftovers, store the cake in an airtight container in the fridge and allow it to come to room temperature for about half an hour before serving.
Notes
- Make, bake, and freeze cake layers ahead of time. Once completely cooled, wrap each layer tightly in plastic wrap, then in foil. Place them in large freezer bags and freeze. Defrost completely in the fridge overnight before frosting.
- The coconut filling can be made the day ahead. Store it in the refrigerator and bring it to room temperature before filling the cake.
- Make the marshmallow frosting the day you plan to serve the cake. This frosting is best enjoyed on the day it’s made, when it’s fluffy and soft. It’s easiest to apply when slightly warm and pliable, immediately after preparation. After approximately 4 hours, it will start to deflate and become sticky.
Cake Substitutions
- Replace the dry mixture with 1 1/2 cups self-rising flour and 1 1/4 cups all-purpose flour. In this case, omit the salt and baking powder from the recipe.
- For Gluten-Free: Replace all-purpose flour with a suitable gluten-free flour blend, such as Bob’s Red Mill Gluten-Free Flour.
cake, christmas, coconut, easter, filling, fluffy frosting, frosting, Mother’s Day, southern cake, Magnolia Bakery style
Recipe adapted from Leite’s Culinaria
