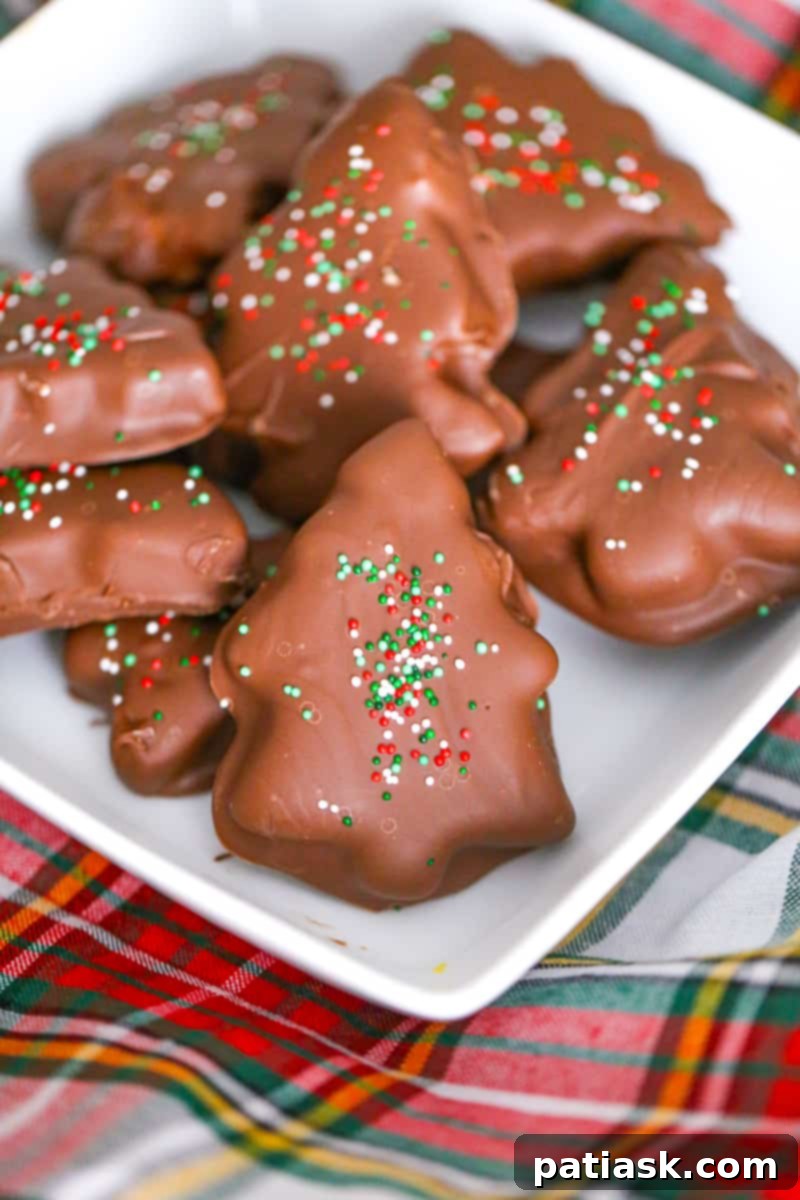
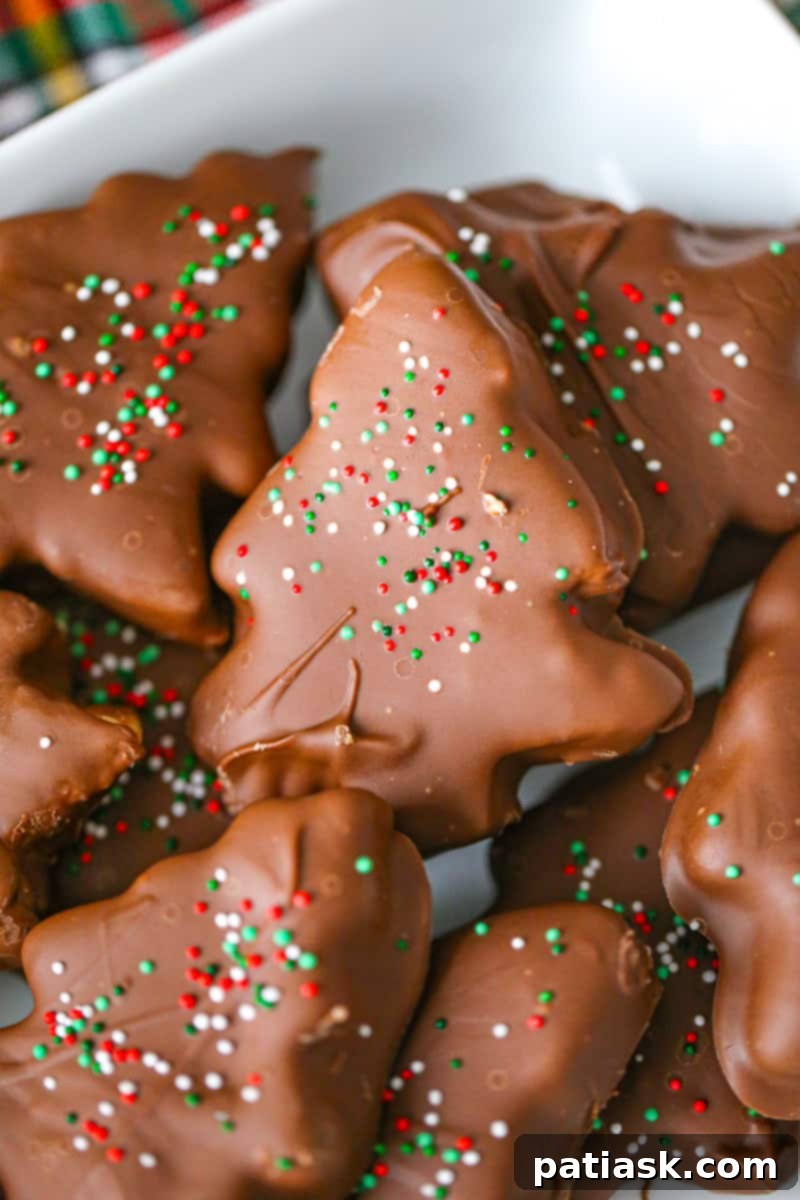
Step into a world of holiday magic and irresistible flavor with these delightful Chocolate Peanut Butter Christmas Trees! As the festive season approaches, there’s no better way to spread cheer than by sharing homemade treats. This easy-to-follow recipe brings together the timeless combination of rich chocolate and creamy peanut butter, shaped into whimsical Christmas trees that are guaranteed to bring smiles to faces of all ages. Perfect for baking with loved ones, gifting to neighbors, or simply enjoying as a cozy holiday snack, these treats are more than just dessert – they’re an invitation to create cherished memories.
If you’re enchanted by the festive charm of Christmas tree-themed desserts, you’re in for a treat! Explore more delightful ideas with our 40 Christmas Tree Desserts, get creative with Christmas Tree Pull Apart Cupcakes Cake, or whip up these super cute Easy Brownie Christmas Tree Treats to truly get your holiday party soaring!
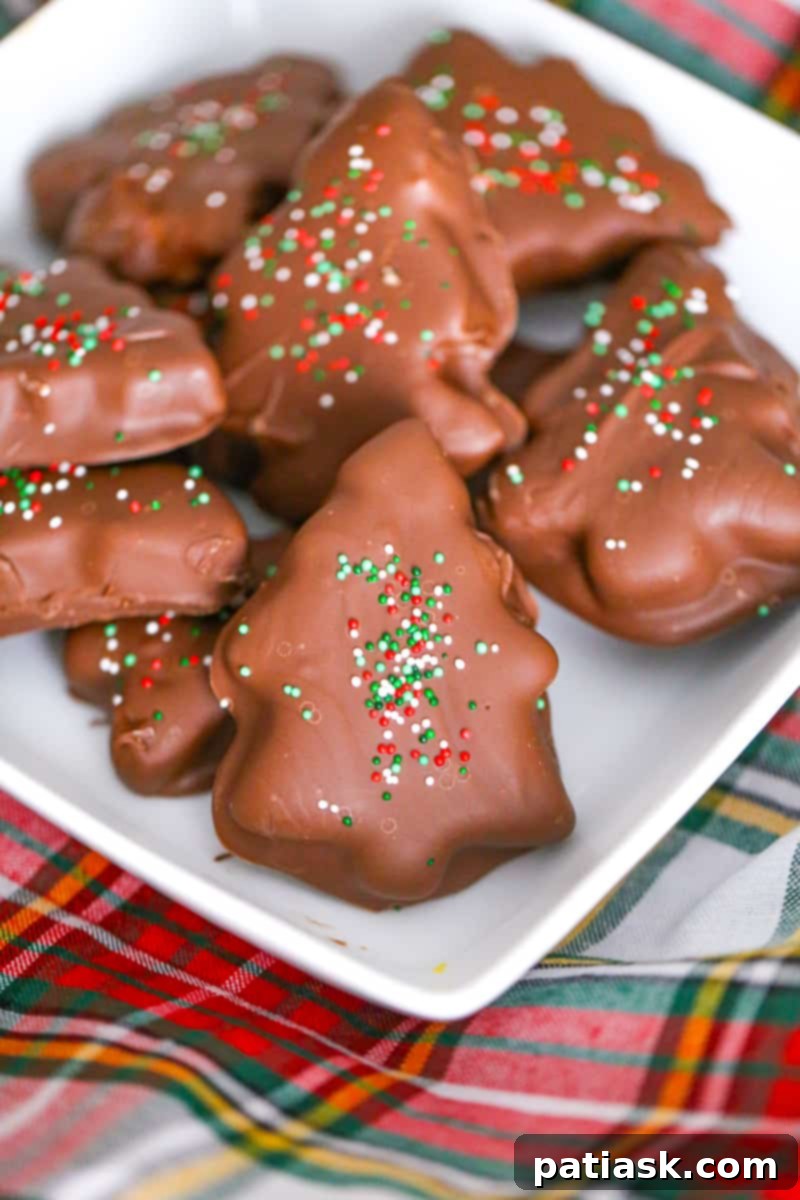
Why You’ll Adore These Chocolate Peanut Butter Christmas Trees
There’s something inherently joyful about a Christmas tree, and when it’s made of a delectable chocolate and peanut butter combination, the joy multiplies! These holiday treats are not just delicious; they embody the spirit of the season in every bite. Here’s why these Chocolate Peanut Butter Christmas Trees will become a staple in your holiday baking repertoire:
- Irresistible Flavor Pairing: The classic duo of chocolate and peanut butter is a crowd-pleaser for a reason. Its sweet and salty balance creates an addictively good taste that appeals to nearly everyone, making it ideal for festive celebrations and family gatherings.
- Effortlessly Easy & No-Bake: Forget complicated baking steps and lengthy oven times. This recipe is wonderfully simple, requiring just a few common ingredients and straightforward methods. Many steps are no-bake, making it perfect for novice bakers and busy holiday schedules.
- Fun for the Whole Family: Get everyone involved in the holiday cheer! Shaping and decorating these little trees is a fantastic activity for kids and adults alike. It’s a wonderful way to bond over a shared love for delicious treats and create lasting holiday memories.
- Charming & Festive Presentation: Their adorable Christmas tree shape makes them instantly festive and visually appealing on any dessert platter. You can personalize them with various sprinkles and decorations, turning each tree into a tiny edible masterpiece.
- Thoughtful Homemade Gifts: These treats are an inexpensive yet heartfelt homemade gift. Pack them in a festive box or cellophane bag with a ribbon, and you have a personalized present that truly shows you care. They’re perfect for teachers, colleagues, neighbors, and friends.
- A Tradition in the Making: Building new holiday traditions is what makes the season so special. These peanut butter trees can quickly become a beloved annual ritual, bringing your family together year after year to create and enjoy these scrumptious delights.
So, gather your ingredients, embrace the festive spirit, and prepare to decorate your holiday table with a batch of truly delicious and incredibly charming Chocolate Peanut Butter Christmas Trees! They’re sure to be a hit!
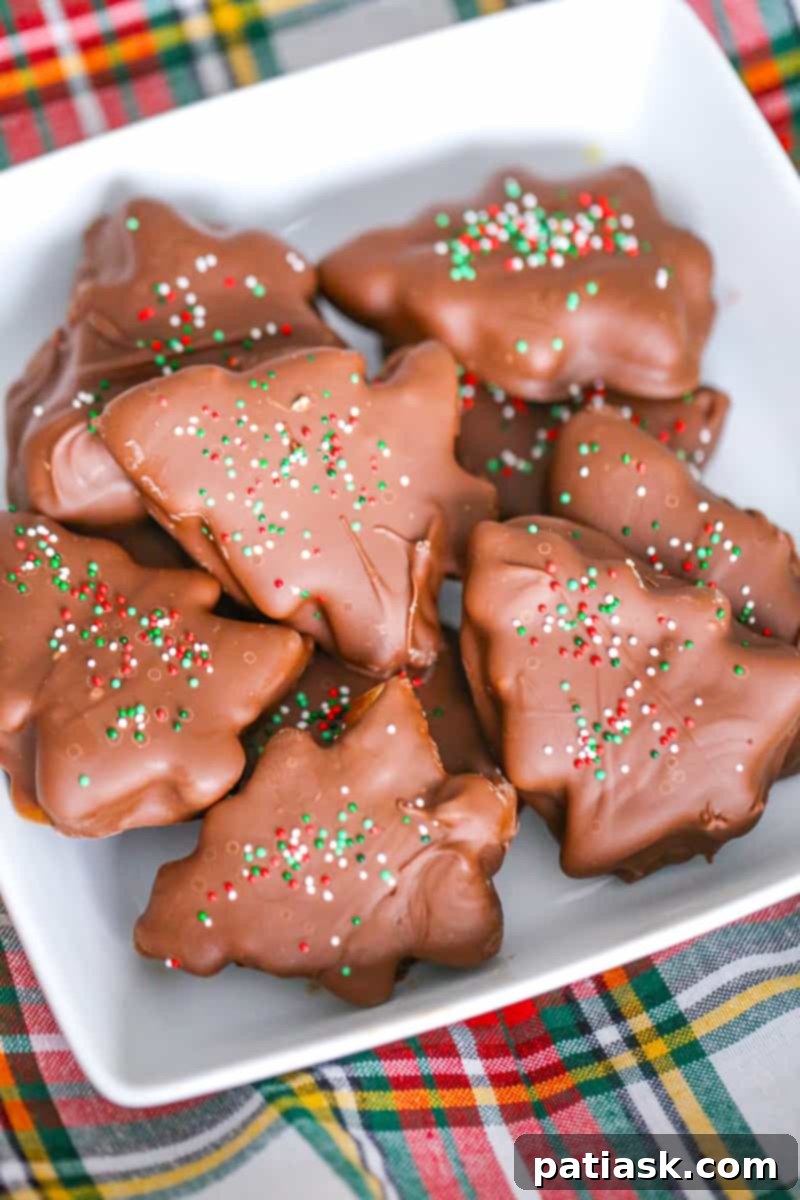
Essential Ingredients for Your Chocolate Peanut Butter Christmas Trees
Crafting these holiday masterpieces requires a few simple ingredients, most of which you likely already have in your pantry. Quality ingredients make a noticeable difference in the final taste and texture, ensuring your trees are as delightful as they look.
For the Creamy Peanut Butter Christmas Trees:
- Creamy Peanut Butter: The star of our show! Opt for a smooth, creamy peanut butter like Jif for the best consistency in your filling. Avoid natural peanut butter that separates, as it can make the dough oily and harder to work with.
- Unsalted Butter, Melted: Butter adds richness and helps bind the peanut butter mixture. Melting it ensures it combines seamlessly with the other ingredients.
- Brown Sugar: Light brown sugar lends a subtle caramel note and a soft texture to the peanut butter filling, enhancing its depth of flavor.
- Powdered Sugar (Confectioners’ Sugar): This is crucial for firming up the peanut butter mixture into a workable dough. It also contributes to the sweet, smooth texture of the tree filling.
- Salt: A dash of salt perfectly balances the sweetness and enhances the peanut butter flavor. It’s optional but highly recommended!
For the Smooth Chocolate Shell:
- Milk Chocolate Chips: Provide a classic, sweet chocolate coating that pairs beautifully with peanut butter.
- Semi-Sweet Chocolate Chips: Using a combination of milk and semi-sweet chocolate offers a more balanced, less intensely sweet chocolate flavor, appealing to a wider range of palates.
- Vegetable Shortening or Coconut Oil: Essential for achieving a smooth, dip-able chocolate coating that hardens nicely and has a beautiful sheen. It prevents the chocolate from seizing and makes it easier to work with.
- Optional – Festive Sprinkles: The fun part! Choose green, red, white, or various holiday-themed sprinkles to decorate your trees and make them truly sparkle. You could also drizzle with extra white chocolate for an elegant touch.
Having all your ingredients measured and ready before you start will make the process even smoother and more enjoyable!
Crafting Your Homemade Chocolate Peanut Butter Christmas Trees
Making these festive treats is a wonderfully rewarding experience, perfect for adding a personal touch to your holiday celebrations. Follow these simple steps to bring your Chocolate Peanut Butter Christmas Trees to life!
- Prepare Your Workspace: First, line a baking sheet or cookie sheet with wax paper or a sheet of parchment paper. This will prevent your peanut butter trees from sticking and make cleanup a breeze. Set it aside for later use.
Method 1: Microwave for Peanut Butter Tree Filling
This quick method is perfect for a fast and easy assembly of your peanut butter base.
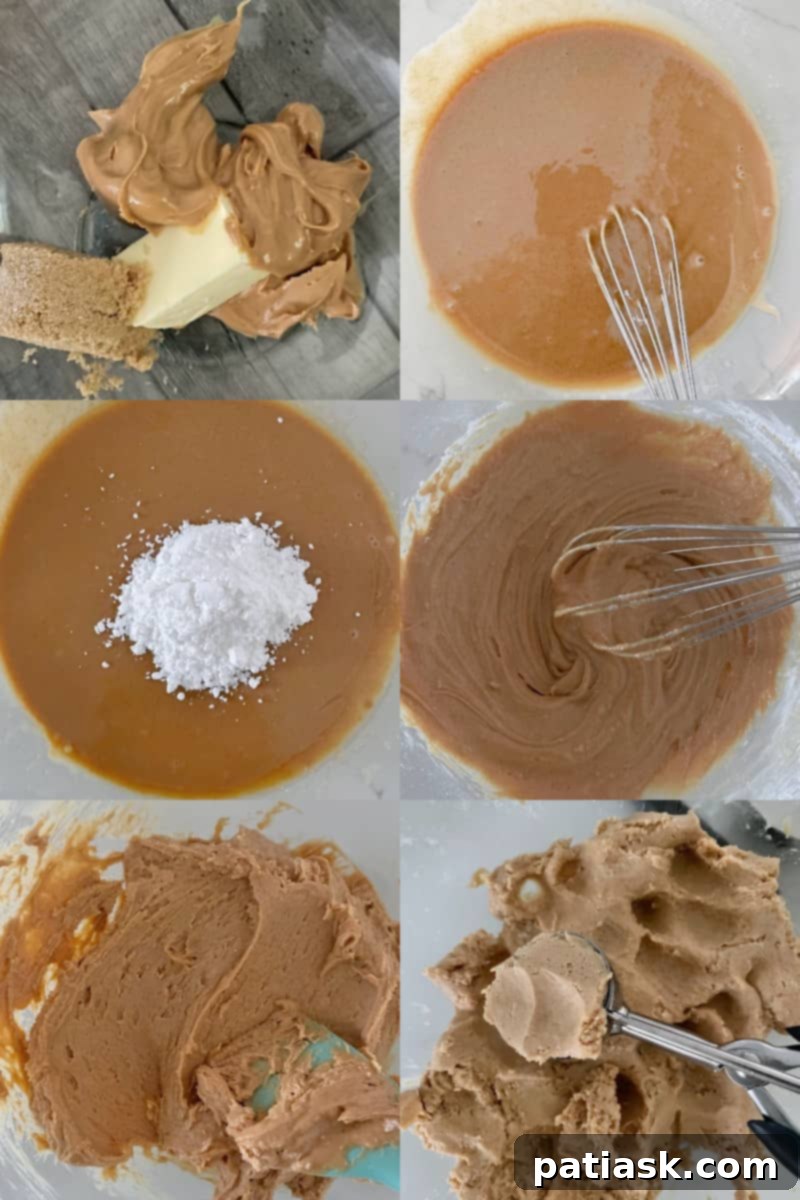
- Combine Wet Ingredients: In a microwave-safe bowl, melt the unsalted butter and brown sugar together. Heat in 15-30 second intervals, stirring after each, until fully melted and combined. Be careful not to overheat. Allow this mixture to cool slightly to avoid melting your peanut butter too much or making the dough too difficult to handle.
- Mix with Peanut Butter: Add the creamy peanut butter and a dash of salt to the cooled butter-sugar mixture. Stir well until all ingredients are thoroughly combined.
- Incorporate Powdered Sugar: Gradually add the powdered sugar, about ½ cup at a time, stirring continuously. Continue until the mixture transforms into a firm, pliable dough that is easy to handle. It should resemble a soft cookie dough. If it’s too sticky, add a little more powdered sugar; if too dry, a tiny bit more melted butter or peanut butter.
- Prepare for Shaping: Transfer the peanut butter dough to the prepared parchment-lined baking sheet or a shallow pan.
Method 2: Stovetop for Peanut Butter Tree Filling
For those who prefer a stovetop approach, this method ensures a perfectly smooth and integrated peanut butter filling.
- Gentle Melting: In a medium saucepan, combine the peanut butter, melted butter, brown sugar, and salt over medium-low heat. Stir constantly until the ingredients are just melted together and well combined. The goal is to melt and blend, not to cook or boil. Remove from heat immediately once smooth.
- Cool and Thicken: Let the mixture cool for a few minutes. It should be warm enough to mix but cool enough not to dissolve the powdered sugar too quickly.
- Add Powdered Sugar: Gradually add the powdered sugar, stirring until completely combined and the mixture forms a firm, workable dough consistency. Adjust with more powdered sugar if needed, as described in the microwave method.
- Ready for Molding: Transfer the cooled peanut butter dough to your parchment-lined baking sheet or pan.
Shaping and Chilling Your Festive Trees
Now comes the fun part – turning that delicious peanut butter dough into charming Christmas trees!
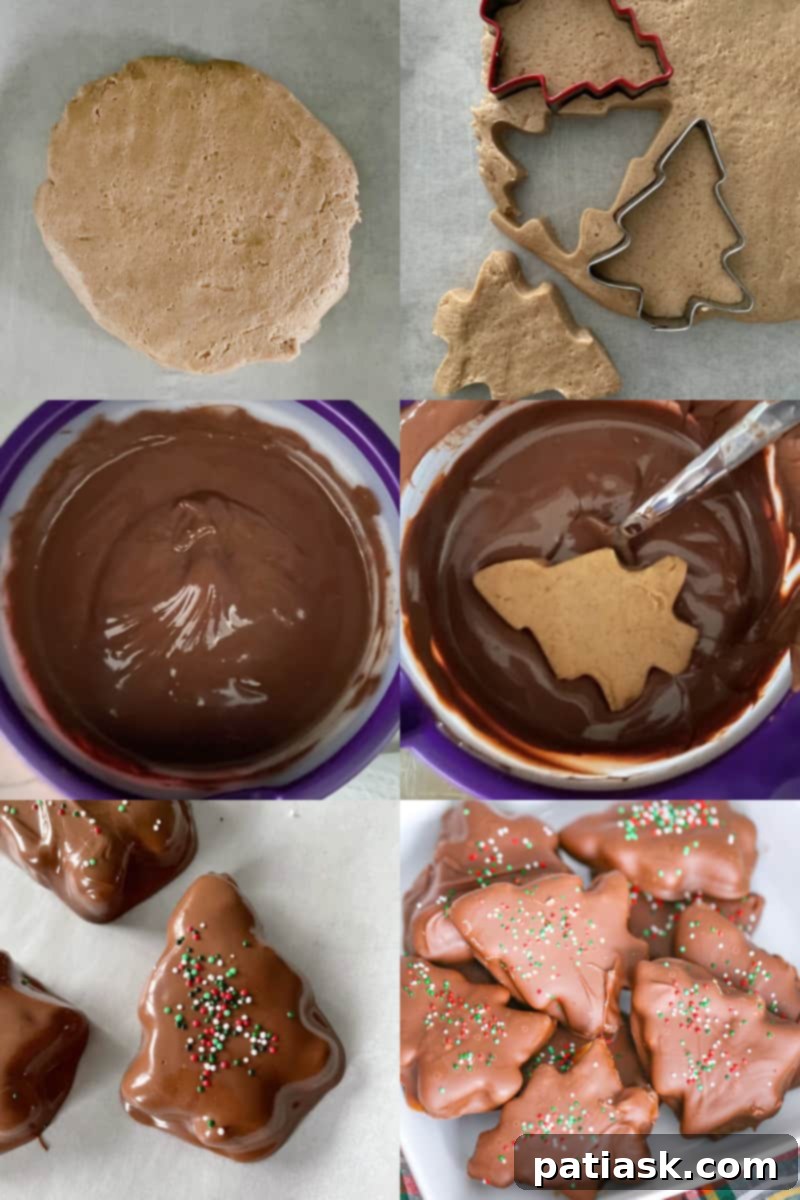
- Roll and Cut: Press or roll out your peanut butter dough to an even thickness of about ½ inch. Using a Christmas tree cookie cutter, carefully cut out your tree shapes. For neat edges, dip the cutter in powdered sugar between cuts.
- Chill to Set: Place the cut-out trees onto your prepared baking sheet. Refrigerate them for at least 30 minutes. This chilling time is crucial; it allows the peanut butter to firm up, making them much easier to dip in chocolate without falling apart.
- Maximize Your Dough: Gather any leftover dough scraps, gently press them together, and roll them out again to cut more trees. Continue until you’ve used all the dough. If you’re short on time, placing the trees in the freezer for 5-10 minutes can speed up the setting process.
Melting and Dipping Your Delicious Chocolate Trees
The final step brings everything together with a glossy, rich chocolate coating.
- Prepare the Chocolate: Once your peanut butter trees are firm and ready, it’s time to melt the chocolate. In a microwave-safe bowl, combine the milk chocolate chips, semi-sweet chocolate chips, and vegetable shortening (or coconut oil). Microwave in 30-second increments, stirring thoroughly after each interval. Continue this process until the chocolate is completely melted and smooth, typically taking about 1.5 to 2.5 minutes in total. Stir until there are no lumps.
- Dip Your Trees: Using a long-tined fork or a dipping tool, carefully dip each chilled peanut butter tree into the melted chocolate. Ensure the entire tree is coated. Gently tap the fork against the edge of the bowl to allow any excess chocolate to drip off.
- Decorate & Set: Immediately transfer the chocolate-covered tree back to the wax paper-lined baking sheet. If desired, add a small spoonful of melted chocolate to the top for a slightly thicker coating, but avoid overdoing it to prevent pooling. This is the perfect moment to add your festive sprinkles before the chocolate sets!
- Final Chill: Return the chocolate-covered trees to the refrigerator for about 30 minutes. This allows the chocolate coating to firm up completely, creating a crisp shell.
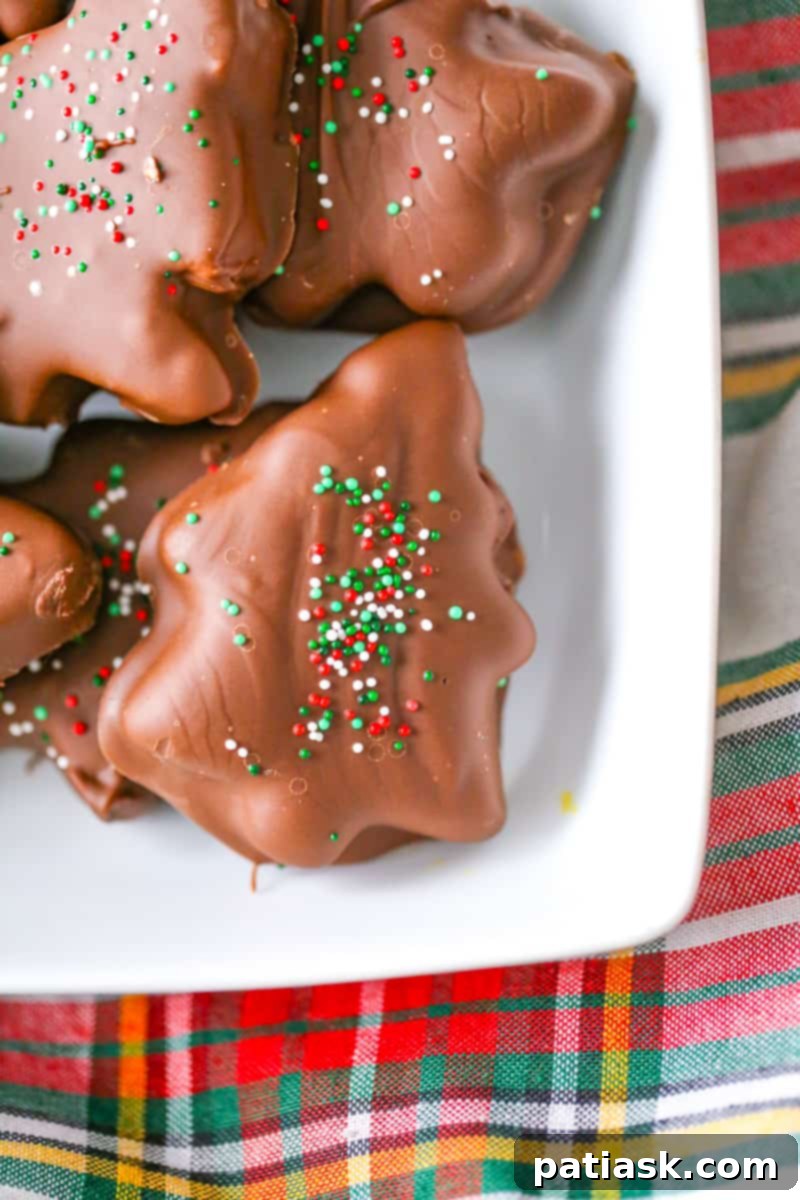
- Serve or Store: Once the chocolate is set, your magnificent Chocolate Peanut Butter Christmas Trees are ready to be enjoyed! Store them in an airtight container or ziplock bag in the refrigerator until you’re ready to serve. They look fantastic arranged on a holiday party tray or thoughtfully packaged as a homemade gift.
Expert Tips for Perfect Chocolate Peanut Butter Christmas Trees
Achieving bakery-worthy results with your homemade Chocolate Peanut Butter Christmas Trees is easy with a few insider tips. Pay attention to these details for the best possible outcome:
- Temperature Control is Key: When melting the butter for the peanut butter filling, ensure it’s not scorching hot when you combine it with the peanut butter and powdered sugar. If the butter is too hot, your dough will be oily, loose, and very difficult to handle and shape. Let it cool slightly before mixing. If you accidentally overheat it, don’t panic! Simply let the entire mixture cool down to room temperature before attempting to roll or cut your shapes.
- Powdered Sugar Consistency: The amount of powdered sugar needed can vary slightly depending on the brand and thickness of your peanut butter. Start with the recommended 1 ½ cups, but be prepared to add a tablespoon or two more if your dough feels too sticky, or slightly less if it becomes too stiff. The ideal consistency should be like a soft, pliable cookie dough that you can easily roll and cut.
- The Goldilocks Zone for Powdered Sugar: Adding too much powdered sugar will result in a drier, crumbly peanut butter center that lacks that creamy melt-in-your-mouth quality. Conversely, not adding enough will leave your peanut butter filling too soft, preventing the trees from firming up properly for dipping, and they might even fall apart in the chocolate. Aim for just right!
- Shaping for Success: Rolling out your peanut butter dough to a consistent ½ inch thickness creates uniform trees that look professional. While freehand cutting is an option, using a Christmas tree cookie cutter is highly recommended for perfectly shaped, consistent results. For extra ease, lightly dust your cutter with powdered sugar between cuts. For an alternative, you can also use candy molds for shaping, which can be even simpler!
- Perfecting the Chocolate Coating: If your melted chocolate mixture appears too thick for smooth dipping, simply add an additional teaspoon of vegetable shortening or coconut oil. Stir it in thoroughly until the chocolate reaches a pourable, smooth consistency. This will ensure an even, beautiful coating on your trees.
- Sprinkle Smart: Always add your festive sprinkles immediately after dipping each tree, while the chocolate is still wet. This ensures the sprinkles adhere well and don’t fall off once the chocolate hardens.
Storing Your Delightful Peanut Butter Trees
- Refrigeration is Best: To maintain their shape, prevent the chocolate from melting, and keep the peanut butter fresh, always store your Chocolate Peanut Butter Christmas Trees in an airtight container in the refrigerator. They can last for up to 2 weeks when stored properly.
- Freezing for Longer Enjoyment: For extended storage, these treats freeze beautifully! Place the hardened trees in a single layer on a baking sheet and freeze until solid (about 1-2 hours). Once frozen, transfer them to a freezer-safe airtight container or heavy-duty ziplock bag, separating layers with parchment paper to prevent sticking. They can be stored in the freezer for up to 3 months. Thaw in the refrigerator before serving.
- Thoughtful Gifting: These trees make incredible gifts! Once fully set, arrange them in clear cellophane bags tied with festive ribbons, or nestle them in small decorative boxes. They’re perfect as stocking stuffers, hostess gifts, or a sweet surprise for anyone on your holiday list.

This holiday season, transcend the ordinary and create a truly unique and memorable experience with these homemade Chocolate Peanut Butter Christmas Trees. Beyond just a dessert, they are an invitation to gather friends, family, and holiday party guests, fostering connection and joy as you create unforgettable moments around these decadent delights of chocolate and peanut butter.
With these straightforward steps and classic ingredients, anyone can whip up a festive and utterly delicious treat for their loved ones. So why not embrace your inner baker this holiday season? Get creative in the kitchen and indulge in the pure joy of these irresistible chocolate-covered peanut butter trees!
Don’t forget to share your amazing creations on Pinterest, Instagram, and Facebook! We love seeing your festive bakes!
More Amazing Christmas Dessert Ideas!
- 60 Easy No Bake Christmas Treats
- Butterscotch-Filled Chocolate Sandwich Cookies
- Christmas Chocolate Chip Cookies
- M&M Christmas Cookies
- Christmas Peppermint Oreo Truffles
- Red Velvet Cake Trifle
Chocolate Peanut Butter Christmas Trees
Kim Lange
Pin Recipe
Ingredients
Peanut Butter Christmas Trees
- 1 cup creamy peanut butter I used Jif
- ¼ cup unsalted butter melted
- ¼ cup light brown sugar
- 1 ½ cups powdered sugar add more if needed
- dash salt optional
Chocolate Shell
- 1 cup milk chocolate chips
- 1 cup semi-sweet chocolate chips
- 2 tablespoons vegetable shortening or coconut oil
- Sprinkles or drizzle with extra chocolate
Instructions
How to Make Homemade Chocolate Peanut Butter Christmas Trees
- Line a baking sheet with wax paper and set aside.
Microwave Method – Peanut Butter Tree Filling
- Melt butter and brown sugar together. Once melted add peanut butter and salt and mix. Add the powdered sugar a little at a time, stirring until completely combined with the peanut butter mixture. Transfer to a parchment lined baking sheet or pan.
Stovetop Method – Peanut Butter Tree filling
- In a medium saucepan over medium heat, combine the peanut butter, butter, and brown sugar and salt and heat until thoroughly melted stirring constantly until just melted together. Add the powdered sugar a little at a time, stirring until completely combined with the peanut butter mixture. Transfer to a parchment lined baking sheet or pan.
Molding The Trees
- Press or roll out your peanut butter dough about ½ inch thick and use a Christmas tree cookie cutter and cut out your trees. Place trees on the baking sheet and refrigerate the peanut butter trees to allow them to set for about 30 minutes. Continue making trees with leftover dough until you’ve used it all up. If you’re in a hurry, you could place them in the freeze for 5-10 minutes or longer.
Melting and Dipping Chocolate Trees
- Once the trees are set and firmed up enough to dip, melt the chocolate chips and shortening together in the microwave in 30-second increments, stirring after each, until completely melted, approximately 2 minutes or so.
- Use a long-tined fork to dip/flip each peanut butter tree when dipping it in melted chocolate to cover, letting excess chocolate drip off and place on waxed paper. Add an extra spoonful of chocolate to the top to give it some extra chocolate on top, but don’t go overboard. Decorate the trees however you like. Sprinkles are always good!
- Return the chocolate-covered peanut butter trees to the refrigerator to allow the chocolate to set, about 30 minutes.
- Store in the refrigerator in an airtight container until ready to serve.
Nutrition
