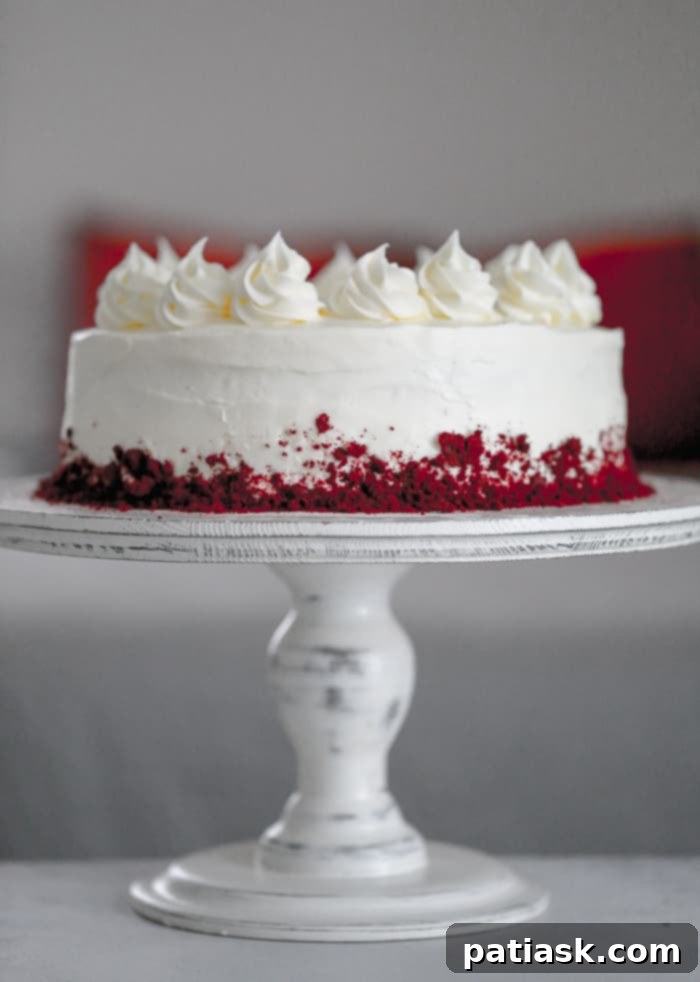
This “American Beauty” Retro Red Velvet Cake recipe stands as a testament to timeless elegance and irresistible flavor. It’s more than just a cake; it’s a romantic, vintage-modern dessert that captivates with its striking appearance and velvety texture. This recipe ensures a red velvet cake that is tender, profoundly moist, yet perfectly dense enough to deliver that signature “velvet” mouthfeel. Unlike overly chocolatey versions, it strikes an exquisite balance with just the right amount of cocoa, complemented by the subtle tang of buttermilk. This classic combination harks back to the cherished dessert traditions of the 1950s and 60s, while maintaining an elegant, sophisticated charm that resonates with modern palates.
Completing this culinary masterpiece is a luscious cream cheese buttercream frosting. Its rich, tangy, and incredibly smooth consistency perfectly harmonizes with the deep red cake, bringing the entire experience together in a truly unforgettable way. Imagine a happy, delicious red velvet dream come true – that’s precisely what this cake delivers, much like our beloved Strawberry Dream Cake and the indulgent Banana Snack Cake with Cream Cheese Frosting. Prepare to fall in love with baking all over again!
The Irresistible Allure of American Beauty Retro Red Velvet Cake
It’s no secret why red velvet desserts hold such a special place in our hearts – and on our dessert tables! The deep, alluring red hue of this cake is simply mesmerizing. It instantly draws you in, promising a delightful experience even before the first bite. Isn’t that vibrant color truly amazing? It evokes a sense of romance and luxury, making it the quintessential dessert for showcasing your affection on special occasions. Whether it’s Valentine’s Day, an anniversary, or simply a moment you wish to make memorable, the “American Beauty” Red Velvet Cake speaks volumes.
If you’re looking to truly impress and entertain your guests, this red velvet cake recipe is your secret weapon. Far from being just another dessert, it’s a statement piece that combines classic charm with a touch of modern sophistication. The minimal cocoa content allows the unique, slightly tangy flavor of traditional red velvet to shine through, distinguishing it from a standard chocolate cake. Guests will appreciate the care and artistry that goes into creating such a beautiful and delicious treat, making your gathering truly unforgettable.
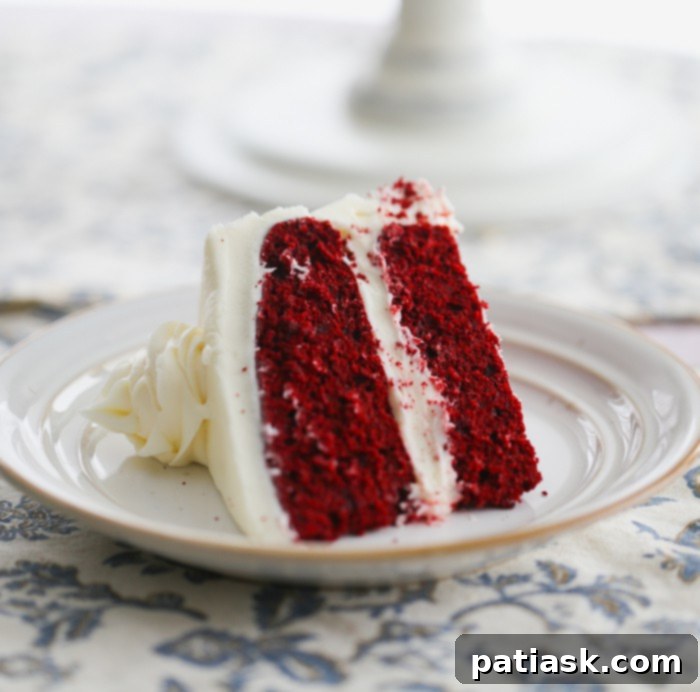
Crafting Your “American Beauty” Retro Red Velvet Cake: The Ultimate Recipe
Creating this magnificent red velvet cake is a rewarding experience, blending simple ingredients into a show-stopping dessert. Follow these detailed steps and tips for a perfect bake every time.
Essential Ingredients for a Perfect Red Velvet
The magic of red velvet begins with carefully selected ingredients, each playing a crucial role in achieving its signature flavor and texture.
Dry Ingredients:
- 2-¼ cups all-purpose flour or cake flour: Using cake flour is recommended for a higher, softer rise, contributing to the cake’s delicate velvet texture. All-purpose flour can also be used successfully.
- 2 tablespoons natural cocoa powder: Just enough to provide a subtle chocolate background without overpowering the unique red velvet tang.
- 1 teaspoon baking soda: The leavening agent that reacts with the buttermilk and vinegar to give the cake its lift.
- 1 teaspoon salt: Essential for balancing the sweetness and enhancing all the other flavors.
Butter, Sugar & Eggs Mixture:
- ½ cup unsalted butter, softened: Room temperature butter is crucial for creaming properly with sugar, creating air pockets for a light cake.
- 1-¼ cups granulated sugar: Provides sweetness and helps tenderize the cake.
- 2 large eggs, room temperature: Room temperature eggs emulsify better with the butter and sugar, resulting in a smoother batter and a more uniform, higher rise.
Wet Ingredients:
- 2 tablespoons liquid red food coloring (1 ounce) or red paste gel: The key to that iconic vibrant red hue. Adjust the amount to achieve your desired intensity. Paste gel often yields a deeper color with less liquid.
- 1 tablespoon white vinegar: This acid is vital. It reacts with the baking soda to create carbon dioxide, contributing to the cake’s light texture. It also helps set the red color.
- 1 teaspoon vanilla extract: A classic flavor enhancer that complements both the subtle cocoa and tangy buttermilk.
- 2 tablespoons oil of choice (e.g., canola oil): Adds extra moisture and richness, ensuring the cake remains tender.
- 2 teaspoons vanilla extract OR 2 tablespoons maraschino cherry juice: While vanilla is standard, cherry juice can add a subtle fruit note and enhance the red color, offering a delightful twist.
The Buttermilk Secret:
- 1 cup buttermilk: The cornerstone of red velvet’s characteristic tangy flavor and moistness. The acidity of buttermilk is essential for activating the baking soda.
- Buttermilk Substitute Tip: If you don’t have buttermilk, you can easily make your own. Pour 1 tablespoon of white vinegar or lemon juice into a 1-cup measuring cup, then fill the rest of the cup with regular milk (dairy or non-dairy). Stir gently and let it sit for 5-10 minutes until it slightly curdles.
For the Luxurious Cream Cheese Buttercream Frosting:
- 2 (8-ounce) packages cream cheese, room temperature and softened: The foundation of this classic frosting. Ensure it’s very soft for a smooth consistency.
- ¾ cup (12 tablespoons) unsalted butter, softened: Also at room temperature to cream perfectly with the cream cheese.
- 4 & ½ cups powdered sugar: The primary sweetener and thickener for the frosting. Sifted powdered sugar will prevent lumps.
- Alternatively: You can use 5 tubs of store-bought cream cheese frosting for convenience, though homemade is highly recommended for superior flavor and texture.
Step-by-Step Baking Instructions
- Preheat your oven to 350°F (175°C). Prepare two 8-inch or 9-inch round baking pans by lightly greasing and flouring them. For best results, consider lining the bottoms with parchment paper for easy release.
Preparing the Cake Layers:
- Combine Dry Ingredients: In a medium bowl, thoroughly whisk together the flour, cocoa powder, baking soda, and salt. Set this mixture aside.
- Cream Butter and Sugar: In a large mixing bowl, using an electric mixer, cream together the softened butter and granulated sugar on medium speed until the mixture is light, fluffy, and pale in color. This process incorporates air, essential for a tender cake.
- Add Eggs: Add the eggs to the creamed butter and sugar, one at a time, beating well after each addition. Scrape down the sides of the bowl as needed to ensure everything is thoroughly combined.
- Introduce Wet Ingredients (excluding buttermilk): Into the butter-sugar-egg mixture, add the red food coloring, white vinegar, oil, and vanilla extract (or cherry juice). Beat until well combined. At this stage, resist the urge to add the buttermilk.
- Alternate Dry and Wet: Gradually add the dry ingredients to the wet mixture, alternating with the buttermilk. Begin and end with the dry ingredients. Beat well on medium speed after each addition, just until combined. Be careful not to overmix, as this can lead to a tough cake. Scrape down the sides of the bowl frequently to ensure a uniform batter.
- Bake to Perfection: Divide the batter evenly between your two prepared baking pans. Bake for 20-25 minutes, or until a wooden toothpick inserted into the center of the cakes comes out clean.
- Cooling the Cakes: Allow the cake layers to cool in their pans for about 10 minutes before carefully inverting them onto wire cooling racks. Let them cool completely to room temperature before frosting. Warm cakes will melt the frosting!
- Leveling the Layers: For a professional look, once the cakes are completely cool, you can use a serrated knife to gently level the tops of the cakes if they have domed. This creates flat surfaces for stacking. For a charming, old-fashioned vintage look, you might choose to level only the bottom layer and leave the top layer slightly rounded, as done here.
Mastering the Cream Cheese Frosting:
- Prepare the Frosting: In a large bowl, using an electric mixer, beat together the softened cream cheese and butter until the mixture is light, fluffy, and completely smooth. Add the vanilla extract and beat until combined. Gradually add the powdered sugar, one cup at a time, beating on low speed until the sugar is incorporated, then increase to medium-high speed and beat until the frosting is smooth, thick, and spreadable.
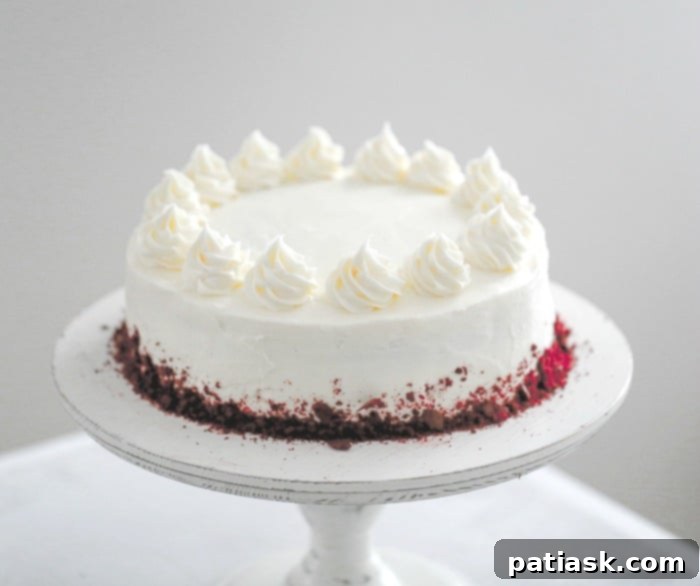
- Assemble and Frost: Once the cake layers are completely cool, place one layer on your serving plate. Spread a generous amount of cream cheese frosting evenly over the top. Carefully place the second cake layer on top. Frost the top and sides of the entire cake, smoothing it out for a polished finish.
- Add Cake Crumbles (Optional): If you leveled your cake layers, you can use the trimmed cake scraps to make beautiful crumbles. Simply break the scraps into fine crumbs and gently press them onto the sides or sprinkle them over the top of the frosted cake for an added decorative touch and texture.
- Extra Frosting (if needed): If you find you need more frosting for elaborate swirls or a thicker coating, you can quickly whip up a half batch of the cream cheese buttercream recipe.
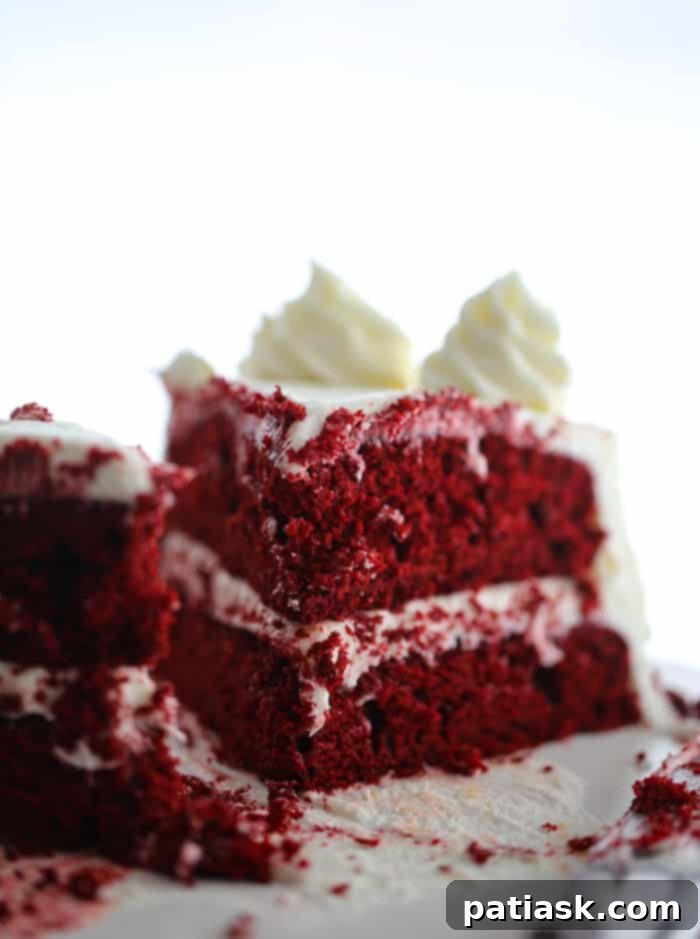
Expert Tips for Red Velvet Cake Perfection
Achieving a truly outstanding red velvet cake is easy with these simple yet effective tips:
- Prepare Your Cake Pans Properly: Using parchment paper is a game-changer for effortless cake release! Simply place your round cake pans upside down on parchment paper, trace the bottom circle, cut them out, and place them inside the greased pans. Spray the parchment and the sides of the pans with non-stick cooking spray, then dust lightly with flour, shaking out any excess. This ensures your cake layers come out beautifully every time.
- Accurate Flour Measurement is Key: For a tender, moist cake, measure your flour correctly. Spoon flour into your measuring cup and level it off with a straight edge, rather than scooping directly from the bag, which can compact the flour and lead to a dense, dry, or crumbly cake.
- Avoid Overbaking: Start checking your cake for doneness at 20 minutes. While 20-25 minutes is generally sufficient, oven temperatures can vary. Overbaking will result in a dry cake, so remove it as soon as a toothpick inserted into the center comes out clean.
- Room Temperature Ingredients for Success: Especially for eggs and butter, ensuring they are at room temperature is vital. Room temperature ingredients emulsify much better, creating a smoother batter and promoting a more even and higher rise. Cold eggs can be quickly brought to room temperature by placing them in a bowl of warm water for a few minutes.
- Buttermilk Substitute: If you don’t have buttermilk on hand, don’t fret! Simply pour 1 tablespoon of distilled white vinegar or lemon juice into a liquid measuring cup, then fill the rest of the cup to the 1-cup line with regular milk. Let it sit for 5-10 minutes until it slightly thickens and curdles.
- Don’t Overmix the Batter: After adding the dry ingredients and buttermilk, mix only until just combined. Overmixing develops gluten, which can make your cake tough and less tender.
- Consider Cupcakes: This versatile recipe can easily be adapted for red velvet cupcakes! You should yield approximately 18-24 cupcakes, depending on the size of your liners. Adjust baking time accordingly (usually 18-22 minutes for standard cupcakes).
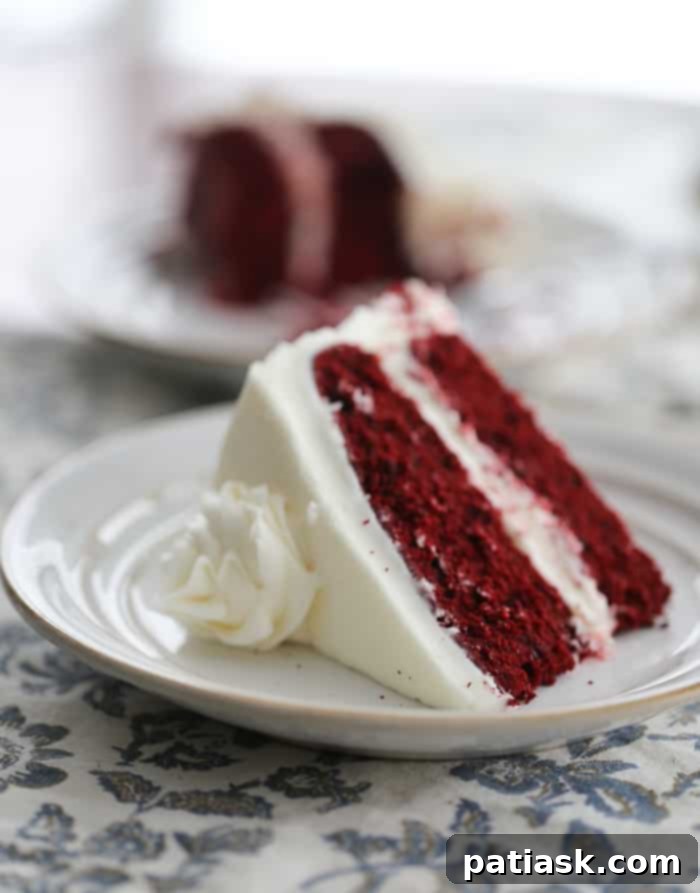
Storing Your Beautiful Creation
Proper storage ensures your red velvet cake remains delicious and fresh for as long as possible:
- Refrigeration is Essential: Because of its cream cheese frosting, red velvet cake must be stored in an airtight container in the refrigerator. It will stay fresh for up to 3 days. Always bring it to room temperature for about 30-60 minutes before serving for the best flavor and texture.
- Freezing for Longer Storage: Red velvet cake freezes exceptionally well! For best results, freeze individual slices or whole unfrosted layers wrapped tightly in plastic wrap, then aluminum foil. It can be stored in the freezer for up to 3 months. Thaw overnight in the refrigerator, then bring to room temperature before serving or frosting.
Frequently Asked Questions about Red Velvet Cake
What does red velvet cake taste like?
Red velvet cake has a unique flavor profile that is more than just chocolate. It’s a mild cocoa flavor, often described as a subtle chocolate with a slight tanginess from the buttermilk and vinegar. The cream cheese frosting adds a rich, sweet, and tangy counterpoint that complements the cake perfectly, creating a balanced and delightful experience.
Why is red velvet cake red?
Historically, the red color in red velvet cake came from a chemical reaction between the natural cocoa powder, buttermilk, and vinegar. Non-Dutched cocoa powder, rich in anthocyanins, would turn reddish-brown when exposed to acid. Today, due to different processing of cocoa, food coloring (either liquid or gel) is typically added to achieve the vibrant, deep red color that has become synonymous with the cake.
Can I make red velvet cake ahead of time?
Absolutely! The cake layers can be baked one day in advance, wrapped tightly, and stored at room temperature or refrigerated. The cream cheese frosting can also be made a day or two in advance and stored in the refrigerator. Just ensure both are at the appropriate temperature (cakes cool, frosting softened slightly) before assembly. As a frosted cake, it can be kept refrigerated for up to 3 days.
Conclusion: A Dessert to Cherish
In conclusion, the “American Beauty” Retro Red Velvet Cake is a truly special dessert that beautifully marries a rich history with exquisite flavor and presentation. From its origins in the early 20th century to its enduring popularity today, this indulgent cake has captivated hearts and taste buds for generations. Its tender, moist crumb, subtle tangy flavor, and luxurious cream cheese frosting make it an unparalleled choice for any occasion. This recipe provides a delightful journey into the art of classic baking, promising a dessert that is as beautiful to behold as it is to savor.
This red velvet cake recipe is a firm favorite for celebrating cherished holidays like Valentine’s Day, Mother’s Day, and Christmas, or simply whenever you desire a classic cake that everyone will adore. Its charm is timeless, and its appeal is universal.
Explore More Red Velvet Dessert Ideas!
- Easy Dreamy Red Velvet Cream Cheese Poke Cake
- Red Velvet Cookie Bars
- Mini Red Velvet Brownies with Vanilla Bean Cream Cheese Frosting
- ‘Kiss Me’ Red Velvet Brownies
- Red Velvet Cake Donuts with Cream Cheese Frosting
- Valentine Red Velvet Party Blast Cookie Pie
- Red Velvet Luv Truffles
- 3 Easy Halloween Cupcake Ideas
- Easy Red Velvet White Chocolate Chip Brownies – 5 Ingredients
