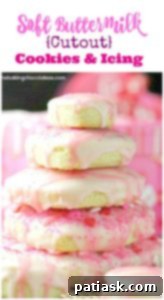
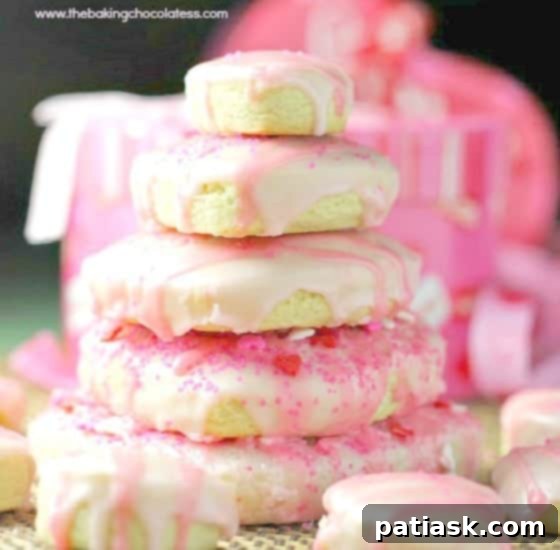
The Ultimate Guide to Soft Buttermilk Cutout Cookies with Vanilla Glaze
There’s something truly magical about a batch of homemade cookies that just melts in your mouth. These Soft Buttermilk Cutout Cookies are precisely that – a recipe designed to capture hearts and taste buds alike. With a delightful hint of tang from the buttermilk and a comforting whisper of vanilla, these cookies aren’t just delicious; they are incredibly delightful, staying wonderfully soft and moist for days on end. We’ve taken them to the next level with a smooth vanilla glaze, adding an extra layer of sweetness that makes them utterly irresistible. Perfect for any occasion, from a festive holiday gathering to a simple afternoon treat, these cookies bring a touch of old-fashioned charm to your kitchen.
Whether you’re celebrating Valentine’s Day, a birthday, or simply craving a comforting dessert, these Old Fashioned Buttermilk Cookies are a proven winner. Their unique texture and flavor profile set them apart, making them a staple in any baker’s repertoire.
More Sweet Treats to Explore
If you’re a fan of delightful baked goods, you’ll definitely want to try these other fantastic recipes:
- Super Soft Lemon Glazed Sugar Cookies
- Raspberry Cinnamon Swirl Coffee Cake
- Best No Chill Sugar Cut Out Cookies
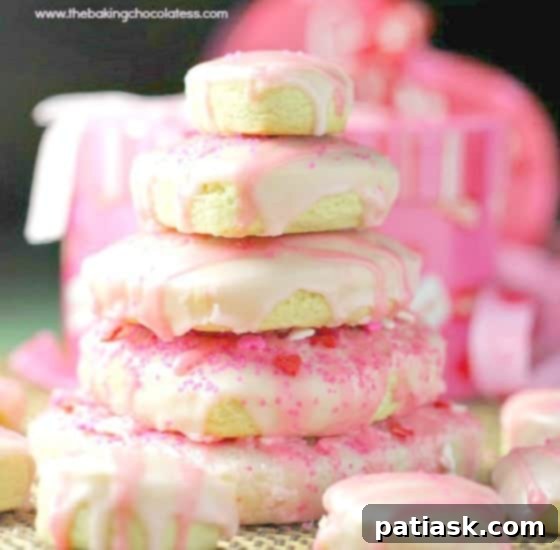
The Irresistible Charm of Homemade Buttermilk Cookies
Imagine this: freshly baked, comforting, old-fashioned soft sugar cookies, elevated by the distinct richness of buttermilk. Is there anything more delightful? These buttermilk sugar cookies don’t just taste good; they evoke a sense of warmth and nostalgia, making you feel all cozy inside. They are truly that “special” kind of treat.
What truly sets these cookies apart is their incredible ability to stay fresh and soft. I once baked a batch before a seven-day trip. Upon my return, I discovered a few forgotten cookies in the container. To my absolute amazement, they were just as soft, moist, and fresh as the day I baked them! This impressive quality means you can prepare them ahead of time for parties, bake sales, or simply to have a delicious treat on hand throughout the week. They maintain their perfect consistency, never becoming dry or cakey, which is a testament to the magic of buttermilk in baking.

Why Buttermilk is a Baker’s Best Friend
Buttermilk might seem like an unusual ingredient for cookies, but it’s the secret weapon behind their incredible texture and subtle tang. Buttermilk is slightly acidic, and when combined with baking soda (a base), it creates a chemical reaction that produces carbon dioxide bubbles. This reaction leads to a lighter, more tender crumb in baked goods. Beyond leavening, the acidity in buttermilk helps to break down gluten, resulting in a wonderfully soft and moist cookie that resists drying out. It also imparts a delicate, tangy flavor that beautifully complements the sweetness of the vanilla and sugar, adding depth and complexity to these old-fashioned buttermilk cookies.
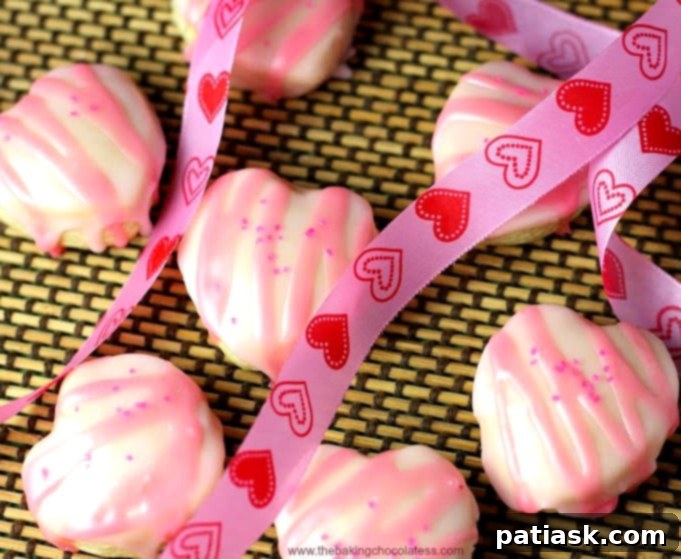
Essential Ingredients for Soft Buttermilk Cutout Cookies
Crafting these exquisite buttermilk sugar cookies requires a few simple, high-quality ingredients. Each component plays a crucial role in achieving the perfect balance of flavor and texture that makes these cookies so beloved.
For the Soft Buttermilk Sugar Cookies:
- All-purpose flour: The foundational structure of our cookies.
- Baking powder & Baking soda: Our leavening agents, working in harmony with the buttermilk to create a soft, airy texture.
- Salt: A pinch of salt enhances all the other flavors, balancing the sweetness.
- Granulated sugar: Provides sweetness and contributes to the tender crumb.
- Unsalted butter, very softened: Crucial for creaming with sugar, adding richness and contributing to the cookie’s spread and texture. Ensure it’s at room temperature for best results.
- Buttermilk: The star ingredient, offering its signature tang and moisture. If you don’t have buttermilk on hand, don’t worry! You can easily make your own: Add 1 tablespoon of lemon juice or white vinegar to a measuring cup. Then, pour any type of milk (dairy or non-dairy) up to the 1-cup line. Stir gently and let it sit for 5 minutes until it slightly thickens and curdles. This ratio works for any amount you need.
- Egg: Acts as a binder, adding structure and moisture.
- Vanilla extract: Essential for that classic, comforting cookie flavor.
- Almond extract (optional): A fantastic addition for an extra layer of sophisticated flavor. Use sparingly, as it can be quite potent.
For the Smooth Vanilla Icing:
- Powdered sugar: The base for our smooth, quick-drying glaze.
- Almond milk or regular milk: Used to achieve the desired consistency for your icing.
- Optional additions: Food coloring to add festive hues and sprinkles for a decorative touch.
- Vanilla extract: Infuses the icing with a lovely aroma and taste. Other extracts can be used, but remember to add them gradually to avoid overpowering the flavor.
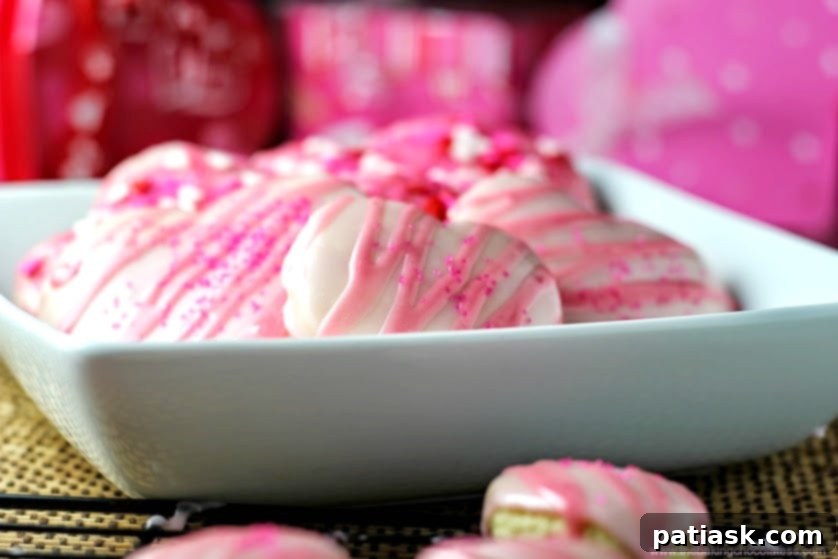
Baking Your Own Old Fashioned Buttermilk Cookies
Follow these detailed steps to create a batch of the best soft buttermilk cutout cookies you’ve ever tasted. This recipe is designed to be straightforward, ensuring perfect results every time.
Soft Buttermilk Cutout Cookies Recipe Instructions:
- Combine Dry Ingredients: In a medium bowl, thoroughly sift together the all-purpose flour, baking powder, baking soda, and salt. Sifting helps to aerate the flour and prevent lumps, ensuring an even texture in your cookies.
- Cream Wet Ingredients: In a separate large bowl, using either a stand mixer fitted with a paddle attachment or a hand mixer, cream together the very softened butter and granulated sugar until the mixture is light, fluffy, and pale in color. This step incorporates air, which contributes to the cookies’ softness.
- Add Liquids: Beat in the buttermilk, egg, and vanilla extract (and optional almond extract, if using) into the creamed butter and sugar mixture. Mix until just combined.
- Gradually Add Dry to Wet: With the mixer on low speed, gradually add the sifted flour mixture to the wet ingredients. Mix only until the dough comes together and no streaks of dry flour remain. Be careful not to overmix, as this can lead to tough cookies.
- Chill the Dough: Wrap the cookie dough tightly in plastic wrap. For best results with cutout cookies, chilling is essential. Freeze the dough for at least 2 hours, or refrigerate it overnight, or until it’s firm and easy to handle. This prevents the cookies from spreading too much during baking.
- Preheat Oven: Once your dough is chilled and you’re ready to bake, preheat your oven to 375°F (190°C).
- Roll Out Dough: Lightly flour a clean work surface and your rolling pin. Roll out the chilled dough to your preferred thickness. For a wonderfully chewy and substantial cookie, aim for about ⅓ inch thick. If you prefer a slightly crispier edge, ¼ inch thick also works beautifully.
- Cut Shapes: Use a lightly floured cookie cutter to create your desired shapes. Place the cutout cookies onto a baking sheet lined with parchment paper.
- Re-chill if Needed: If at any point the dough becomes too warm or sticky to work with easily, pop it back into the refrigerator for a few minutes to firm up.
- Bake to Perfection: Bake the cookies for 6-7 minutes. They should be set around the edges and slightly firm to the touch, but the tops should not be browned. The bottoms of the cookies will be a light golden brown. Overbaking can make them dry, so keep a close eye!
- Cool Completely: Carefully transfer the baked cookies to a wire rack and allow them to cool completely before applying any icing. This prevents the icing from melting or sliding off.
- Yield: This recipe typically yields 2-3 dozen cookies, depending on the size of the cookie cutters you use.
How to Prepare Your Vanilla Icing Frosting:
- Mix Icing Base: In a bowl, combine the powdered sugar and milk. Whisk thoroughly until the mixture is smooth and all the powdered sugar has dissolved.
- Adjust Consistency: You can easily adjust the thickness of your icing. For a thinner, more pourable glaze, add a little more milk a teaspoon at a time. For a thicker, more opaque frosting, gradually whisk in more powdered sugar.
- Color Your Icing (Optional): If you plan to use multiple colors for decorating, divide the icing into separate bowls and mix in food coloring as desired.
- Decorate Your Cookies: There are several fun ways to ice your cookies:
- Dipping Method: For a simple, elegant look, dip the front side of each cooled cookie into the icing and then place it on a wire rack to allow the glaze to set.
- Piping & Spreading: For more detailed designs, transfer the icing to a Ziploc bag (snip a tiny corner off for piping) or a piping bag. You can outline the cookies and then fill them in, using a knife or small offset spatula to spread the icing evenly. Feel free to get creative with zigzags, dots, or intricate patterns!
- Add Sprinkles Quickly: The vanilla glaze dries relatively quickly, so if you’re adding any decorative sprinkles, be sure to do so immediately after icing each cookie to ensure they adhere properly.
Expert Tips for Perfect Buttermilk Cutout Cookies
Achieving beautifully soft and perfectly shaped cutout cookies is easy with a few insider tricks.
- Allow Icing to Harden: Once decorated, let your cookies sit undisturbed until the icing has fully set and hardened. This won’t take long, but it’s essential if you plan to stack or store them.
- Homemade Buttermilk Advantage: As mentioned in the ingredients section, if you don’t have buttermilk, making it at home is a fantastic and reliable alternative. The acid from the lemon juice or vinegar curdles the milk, mimicking the properties of store-bought buttermilk and ensuring your cookies retain their signature softness and tangy flavor.
- Don’t Overmix the Dough: Overmixing can develop the gluten in the flour too much, leading to tough, less tender cookies. Mix just until the ingredients are combined.
- Proper Chilling is Key: Chilling the dough thoroughly (whether in the freezer or refrigerator) is critical for preventing the cookies from spreading excessively in the oven, helping them maintain their crisp cutout shapes.
- Even Rolling: Try to roll your dough to an even thickness. This ensures that all your cookies bake uniformly, preventing some from being undercooked while others are overbaked.
Storing Your Delicious Buttermilk Cookies
Proper storage ensures your soft buttermilk cutout cookies remain fresh and enjoyable for as long as possible.
Store undecorated or fully set iced cookies at room temperature in an airtight container for up to 5-7 days. To prevent sticking if stacked, place a sheet of parchment or wax paper between layers.
Freezing Buttermilk Cookies for Future Enjoyment
These cookies are fantastic for making ahead! You have two great options for freezing:
Freezing Cookies Before Baking (Dough):
Prepare the cookie dough as directed in the recipe. Instead of rolling and cutting, you can scoop out portions of dough (or roll and cut shapes) onto a parchment-lined baking sheet. Freeze them until solid, which usually takes about an hour. Once firm, transfer the solid cookie dough balls or cutout shapes into an airtight container or a heavy-duty freezer bag, removing as much air as possible to prevent freezer burn. When you’re ready to bake, you can place these frozen cookies directly onto a baking sheet. Just remember to add an extra 1-3 minutes to the usual baking time.
Freezing After Baking (Baked Cookies):
Ensure your baked and completely cooled cookies (especially if iced and the icing has set) are placed in an airtight container. Arrange them in single layers, using wax paper or parchment paper between each layer to prevent them from sticking together. These cookies can be stored in the freezer for up to a few months. Thaw them at room temperature before serving.

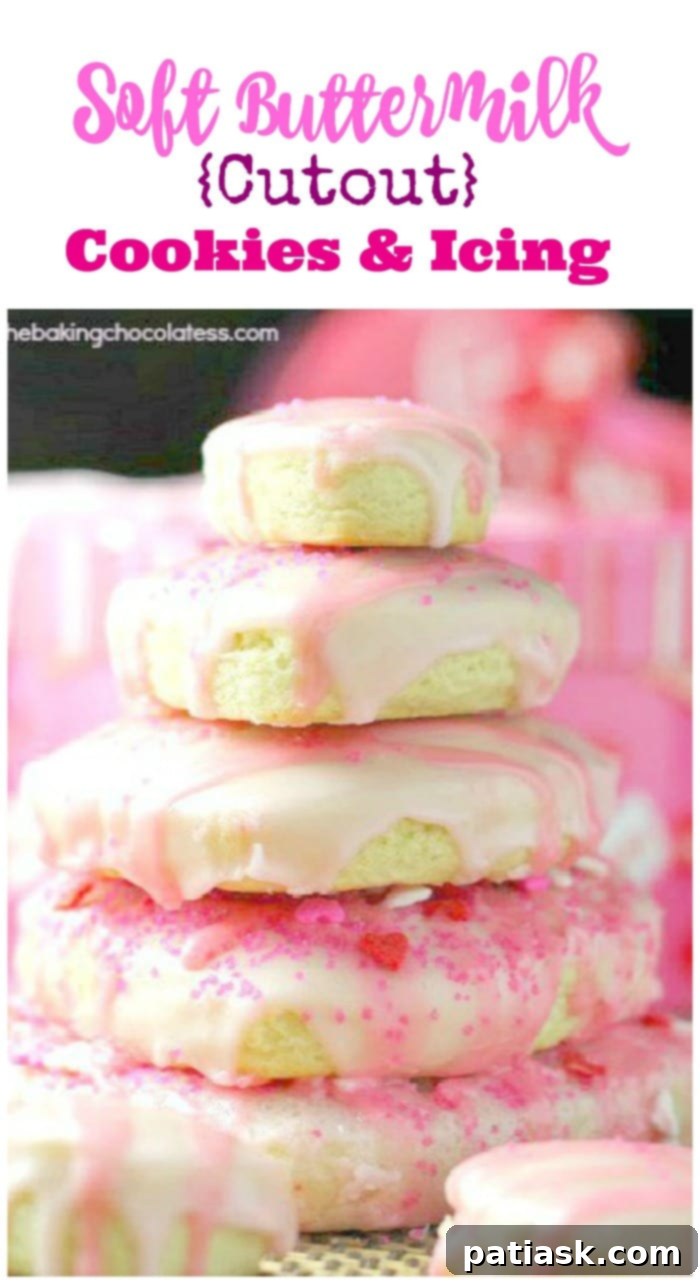
Embrace the Joy of Baking with Buttermilk!
This soft buttermilk cookie recipe is truly exceptional! While I’ve made some slight adjustments to the original, the core essence of a truly wonderful soft buttermilk cookie recipe remains. It’s versatile enough for every holiday, every ordinary day, and every special moment worth celebrating. You’ll find yourself “swooning and drooling” over these delightful treats! Happy baking, and enjoy every melt-in-your-mouth bite!
Looking for more heart-shaped cookie ideas to make for loved ones? You might adore these Chocolate Heart Peanut Butter Cookies or these charming Homemade Oreo Heart Sandwich Cookies!
Even More Delicious Dessert Yums!
- White Chocolate Covered Soft Chocolate Cut-Out Cookies
- Best No Chill Sugar Cookies
- Buttermilk Blueberry Explosion Cake
- Homemade Oreo Heart Sandwich Cookies!
- ‘Ugly Sweater’ Buttercream Frosted Christmas Cookies
- Grinch Sugar Cookies
- Valentine Chocolate Peanut Butter Hearts
- Country Cinnamon Swirl Buttermilk Loaf
- Soft Almond Cookies with Almond Buttercream

