“This post has been sponsored by General Mills. All thoughts and opinions are my own.”
Indulge in the Ultimate Summer Treat: Reese’s Puffs Treat Ice Cream Sundae Cake
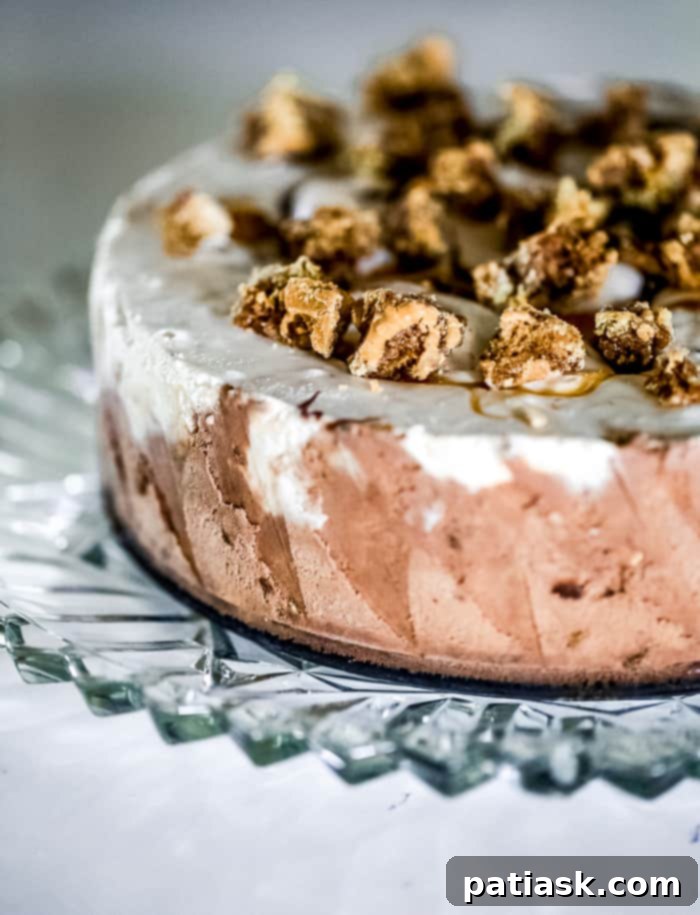
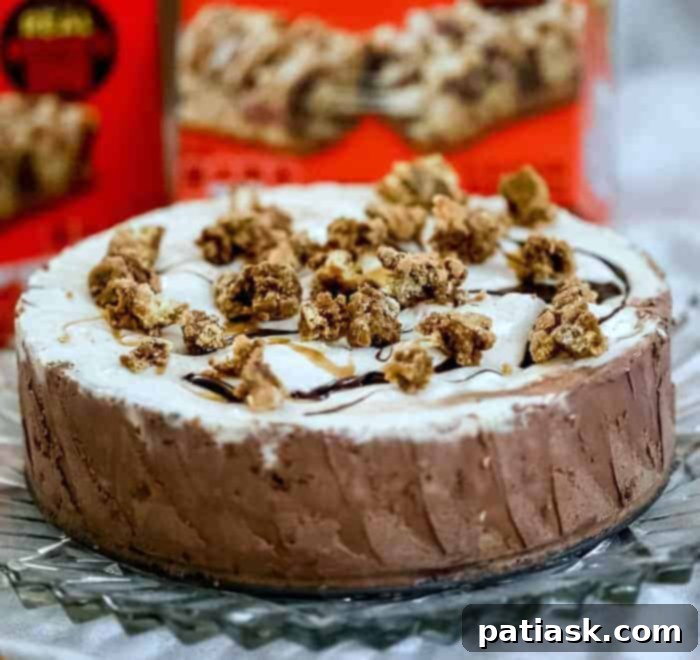
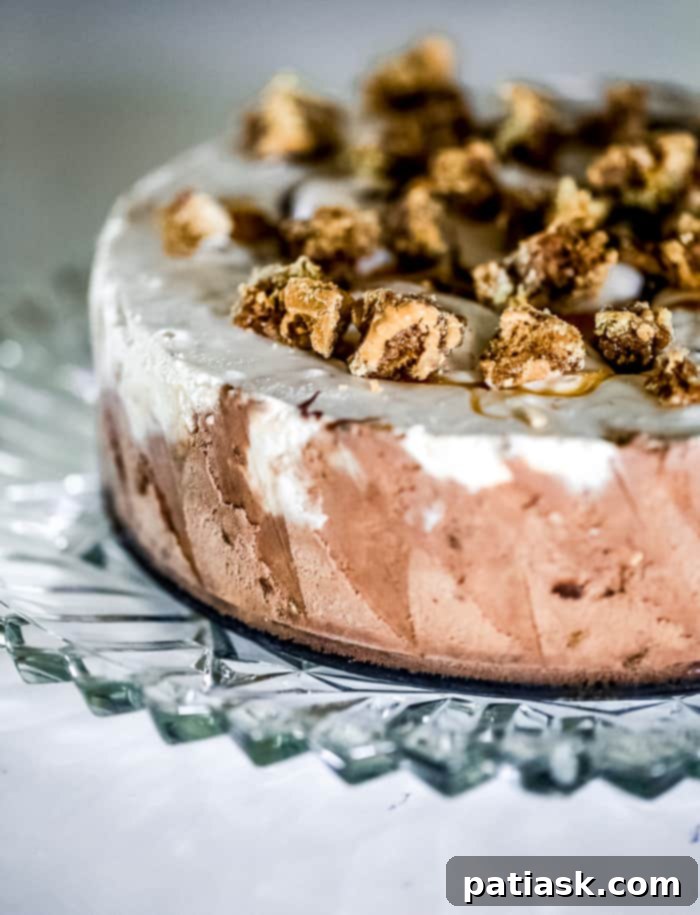
Summer never felt cooler or tasted better! Prepare to transform your dessert game with this incredible Reese’s Puffs Treat Ice Cream Sundae Cake. Imagine the classic, universally adored combination of rich chocolate and creamy peanut butter, elevated to a show-stopping dessert that promises smiles all around. This isn’t just an ice cream cake; it’s a delightful experience packed with layers of beloved flavors and textures, making it an absolute must-try for any warm-weather gathering.
Your Go-To Easy Summer Dessert Solution
Busy parents, rejoice! We’ve found the perfect summer dessert that effortlessly combines impressiveness with unparalleled ease. This Reese’s Puffs Treat Ice Cream Sundae Cake is the ultimate make-ahead delight, freeing you from last-minute dessert stress when hosting summer gatherings, barbecues, or even a cozy indoor picnic. Its layered perfection means you can assemble it hours, or even a day, in advance, allowing the flavors to meld beautifully while you focus on enjoying time with loved ones. Can’t you already picture everyone eagerly diving into a generous slice?
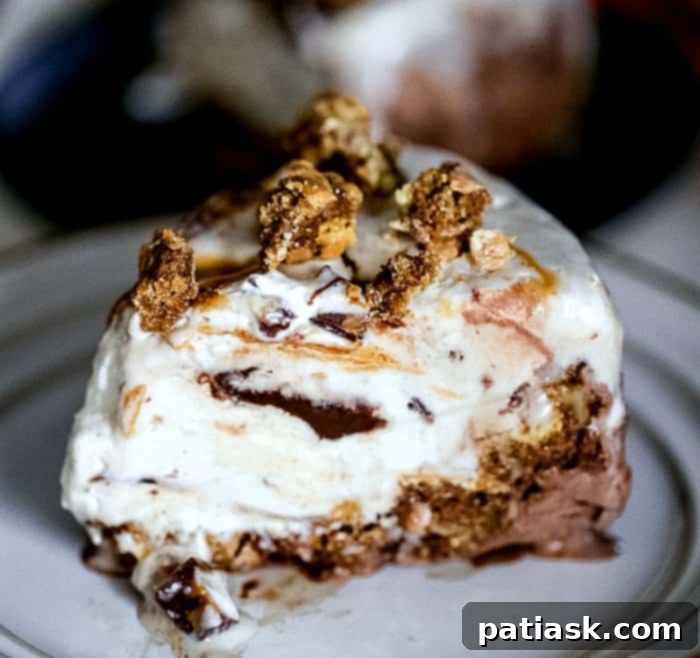
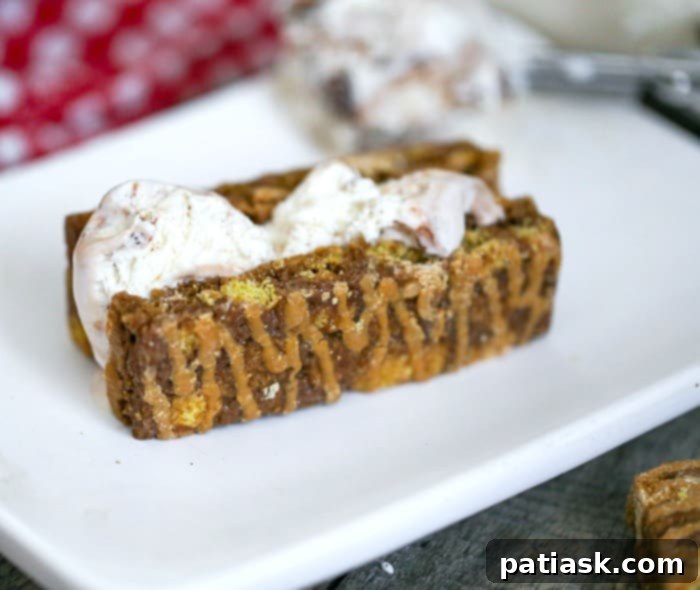
Each indulgent slice of this double ice cream cake is a symphony of flavor and texture. It’s generously drizzled with rich ribbons of hot fudge and creamy peanut butter sauces, then loaded with delectable, sweet, and crispy bits of Reese’s Puffs Treat Bars. This tempting combination creates an irresistible dessert that will undoubtedly have your guests (and family!) clamoring for seconds. It’s a dessert that not only satisfies the sweetest cravings but also leaves a lasting impression.
A Family-Friendly Dessert Creation
Beyond its incredible taste, this ice cream cake offers a fantastic opportunity for a fun and memorable activity with the kids. Involve them in the assembling process and watch their excitement build! Let them take charge of scooping the softened ice cream, drizzling the decadent sauces, and breaking up the crispy Reese’s Puffs Treat Bars into small, delightful bits. It’s a hands-on project that fosters creativity and creates lasting memories, making the dessert taste even sweeter.
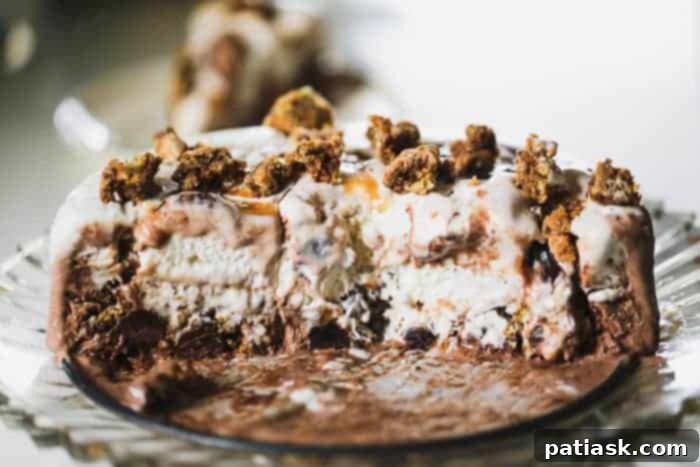
To truly amplify the beloved peanut butter and chocolate flavor profile, we took this dessert to a whole new level. Instead of just vanilla, we opted for rich Peanut Butter Cup and indulgent Chocolate Fudge Brownie ice creams for our layers. This thoughtful choice ensures every bite is packed with intense flavor, creating a dessert that’s truly unforgettable. The alternating layers of creamy ice cream, crunchy treat bars, and gooey sauces create a dynamic eating experience that’s simply divine.
Get everyone involved in the assembly line: Begin with a layer of ice cream scoops, followed by generous cereal bits, then a drizzle of peanut butter sauce, and finally, chocolate sauce. Repeat these layers until your springform pan is full, building a masterpiece of flavor and fun!
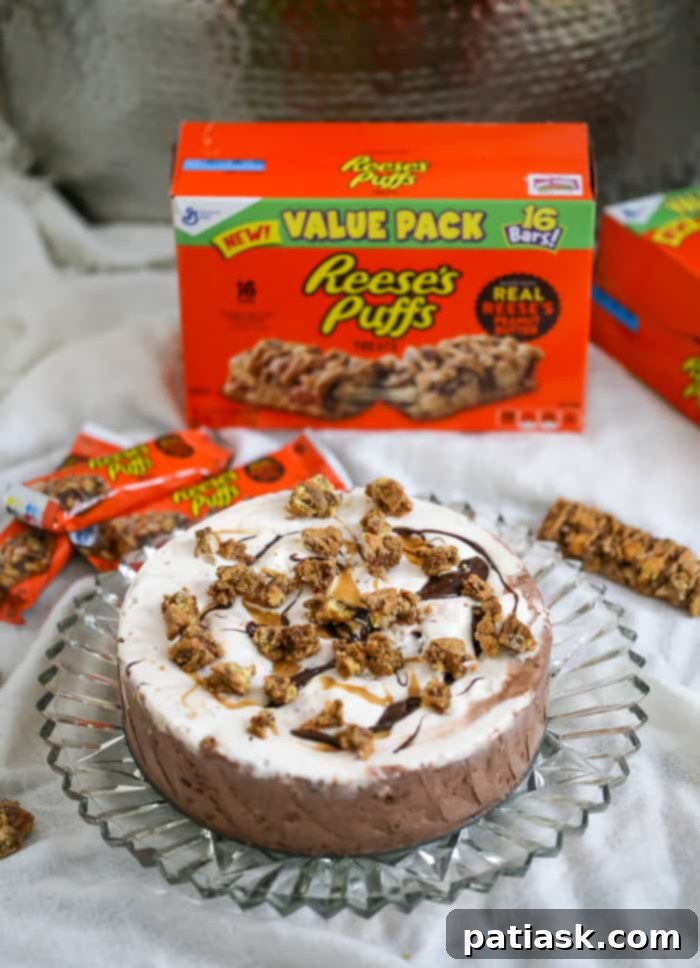
The Secret Ingredient: Reese’s Puffs Treat Bars
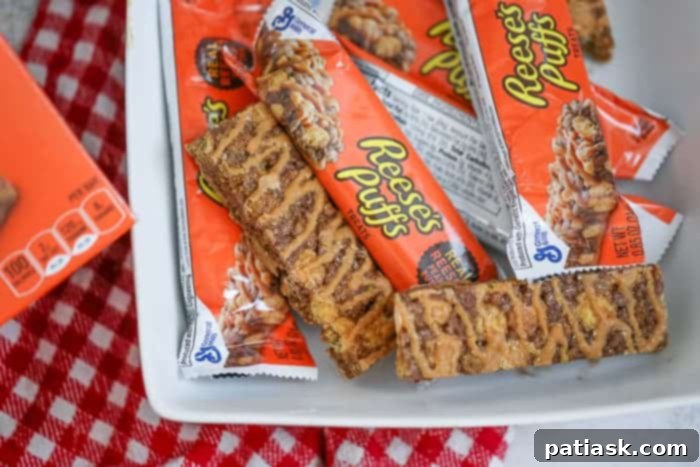
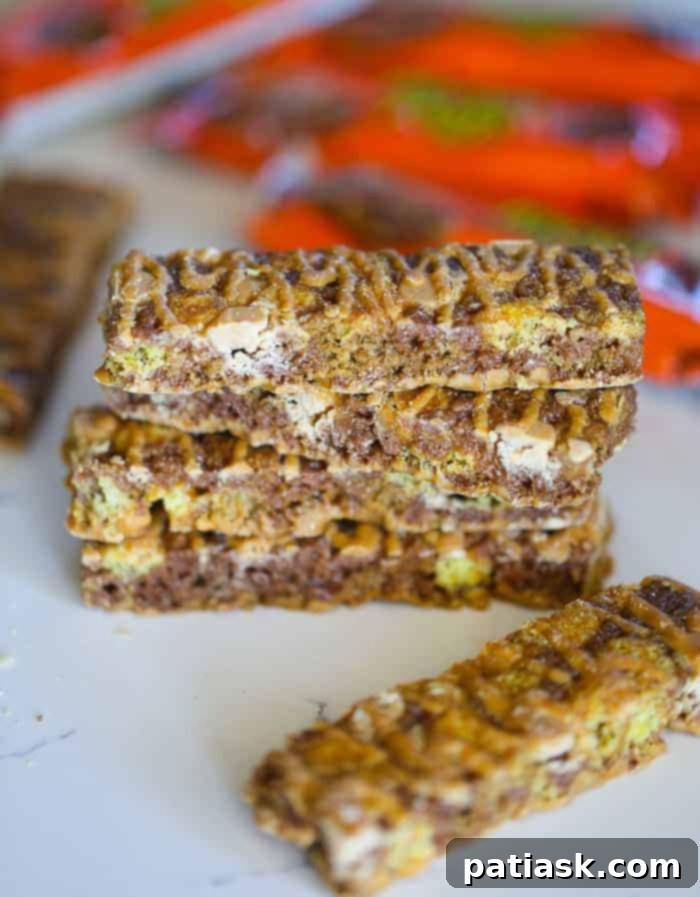
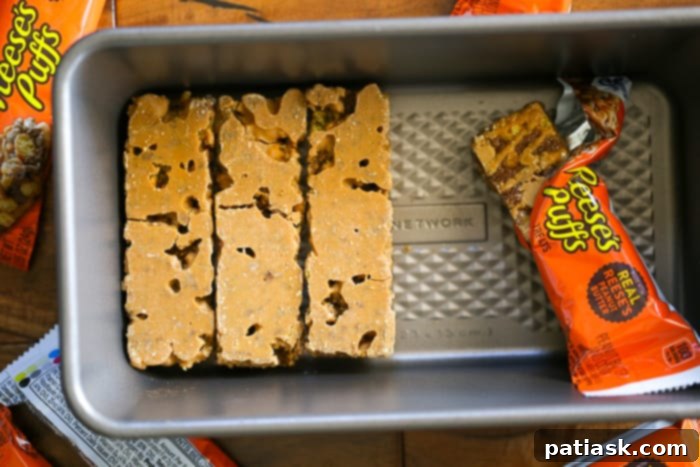
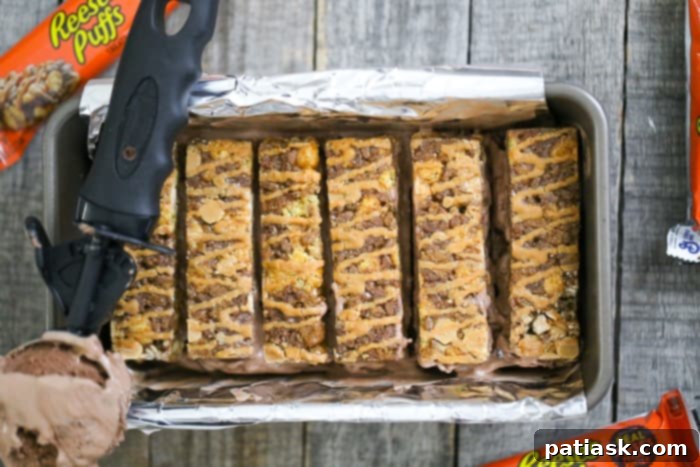
The star of this sensational ice cream cake is undoubtedly General Mills’ Reese’s Puffs Treat Bars. These delightful cereal bars are a symphony of sweet and salty notes, offering a satisfyingly gooey and subtly crunchy texture, all beautifully complemented by drizzles of melted chocolate and peanut butter. They capture the essence of your favorite Reese’s Puffs cereal in a convenient, bar format, making them an ideal inclusion for this no-bake dessert.
Not only are these bars perfect for adding a unique crunch and flavor burst to this ice cream cake, but they are also fantastic as an on-the-go snack for your family. Whether you’re packing lunches, heading to the park, or just need a quick treat, these bars deliver that irresistible chocolate and peanut butter goodness. If you’re a fan of Reese’s Puffs Cereal, you will absolutely adore these bars and understand just how incredibly good they are when incorporated into a creamy, dreamy ice cream cake.
Effortless Ingredient Shopping at Walmart
As always, gathering all the necessary goodies for this recipe was a breeze thanks to Walmart. It’s my go-to destination for its unmatched convenience and affordability. I love being able to grab everything on my shopping list, from the ice cream to the treat bars and sauces, all in one place. This saves precious time and makes the entire baking (or in this case, no-baking) process even more enjoyable. You know exactly what I mean – the fewer stops, the better!
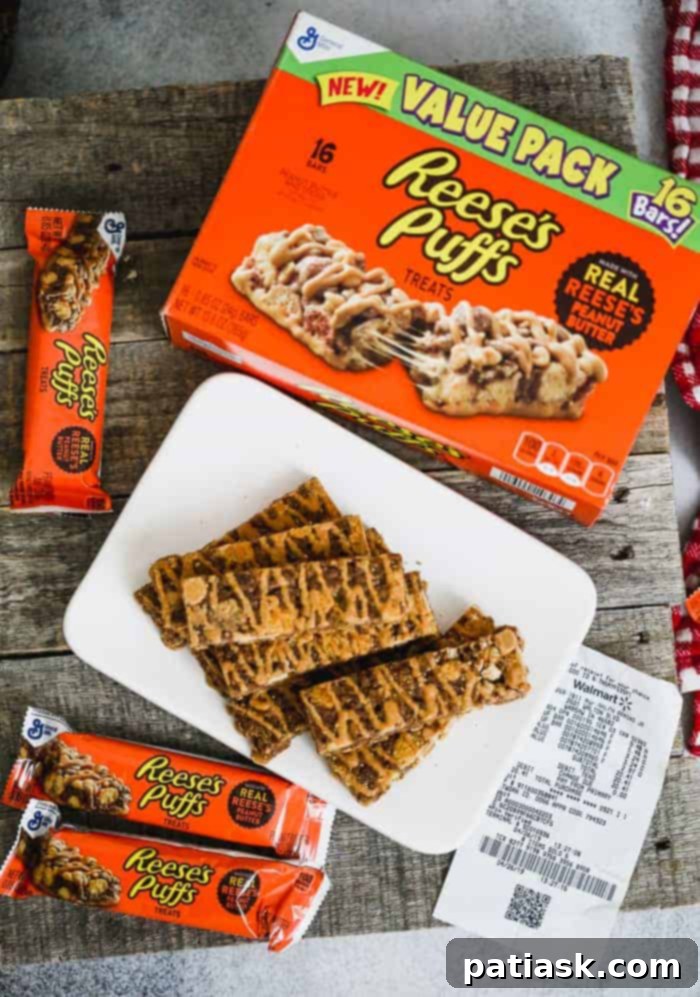
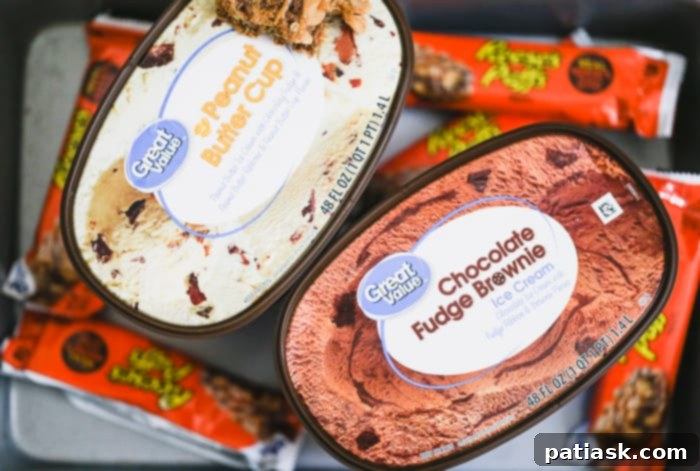
So, on your next trip to Walmart, make sure to add these essentials to your cart: several packs of Reese’s Puffs Treat Bars, two quarts of your absolute favorite ice cream flavors (we highly recommend Peanut Butter Cup and Chocolate Fudge Brownie for this recipe!), and of course, those irresistible hot fudge and peanut butter toppings. With these simple ingredients, you’ll be ready to “rock and roll” out an awesome make-ahead dessert without any last-minute fuss or stress. You can typically find the Reese’s Puffs Treat Bars in the cereal aisle, while the ice creams and toppings are conveniently located in the freezer section.
Serve with Ease and Indulgence
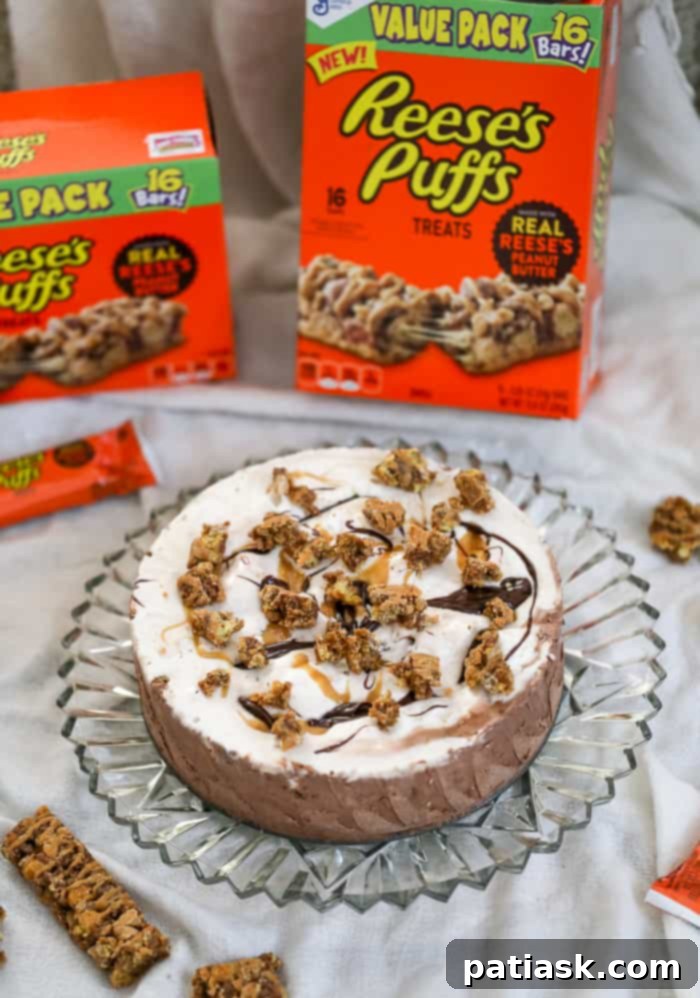
This chocolaty, peanut butter layered treat is destined to become one of your summer’s most-requested recipes. Its rich flavors and satisfying textures make it a crowd-pleaser for all ages. The best part? Preparing it ahead of time means serving is an absolute breeze. Simply pull it from the freezer about 10-20 minutes before you’re ready to serve, allowing it to soften just enough for perfect slices.
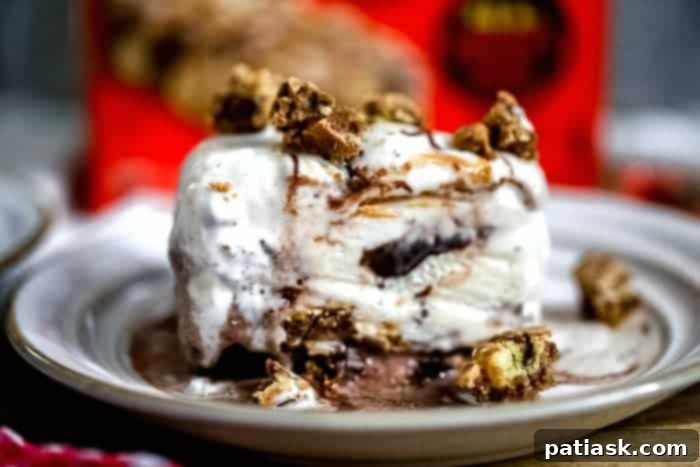
To achieve the cleanest cuts, dip a sharp knife into a tall glass of hot water, wipe it clean with a towel, and then slice. Repeat this process before each cut for beautifully presented portions. Just one bite, and you’ll understand why this ice cream dessert is sheer indulgence. You’re welcome!
Beyond this stunning cake, you can also create individual ice cream bars on the spot or ahead of time using your favorite ice cream flavors and Reese’s Puffs Treat Bars. When freezing individual sandwich bars, remember to separate them with parchment paper to prevent sticking, ensuring they remain perfectly intact until ready to enjoy. This versatility means endless possibilities for quick and delightful frozen treats all summer long.
Summer Lovin’ Here We Come with Reese’s Puffs Treat Ice Cream Sundae Cake!
More Irresistible Summer Treats For You!
- 25 Slices of Summer Heavenly Desserts
- Creamy Custard Pie
- Easy Caramel Apple Galette
- Patriotic Chex Party Mix
- Top 15 Luscious Lemon and Berry Desserts for Spring and Summer!
- 13 Eclair Cakes for Summer-Time Impressing!
- Soft Sugar Cookies
- Heavenly Boston Cream Puffs
Reese’s Puffs Treat Ice Cream Sundae Cake
By Kim Lange
Pin Recipe
Ingredients
- 1 1.5 quart container chocolate fudge brownie ice cream, softened (I used Walmart’s Great Value)
- 1 1.5 quart container peanut butter cup ice cream, softened (I used Walmart’s Great Value)
- 8 Reese’s Puff Treat Bars broken into small bits (can use food processor)
- 1 cup hot fudge sauce
- 1 cup peanut butter sauce
- Optional decorations: sprinkles nuts
Instructions
- Place a layer of parchment paper over the bottom of a 9-inch springform pan, and lightly spray with non-stick spray or lightly butter the sides.
- Scoop the chocolate fudge brownie ice cream over the bottom of the pan, making sure to fill all the edges.
- Optional: If you want distinct layers – Place in the freezer for at least 30 minutes, otherwise go ahead and sprinkle 1/2 of the small Reese’s Puff Treat Bar bits over the chocolate fudge brownie ice cream.
- Dollop 2/3rds of the hot fudge sauce and peanut butter sauce over the Reese’s Puff Treat Bar layer. (Microwave 20-30 seconds for easier dolloping.)
- If you want distinct layers – return to the freezer for at least 30 minutes more.
- Next, scoop the peanut butter cup ice cream over the chocolate/peanut butter sauce layer.
- Add remainder of hot fudge and peanut butter sauce and Reese’s Puff Treat Bar bits to the top of the dessert.
- Freeze for at least 8 hours or overnight.
- At least 30 minutes before serving, release the latch from the spring-form cake pan and release the ring. Place on serving platter.
- Remove the cake from the freezer 10-20 minutes before serving (depending on how long it’s been frozen and how warm/cool the room is), to soften it enough to slice. A hot, dry knife will produce the cleanest cuts. To do this easily, dip the knife in a tall glass of hot water, wipe it clean with a towel, and cut a slice. Repeat before cutting the next slice. Enjoy!
