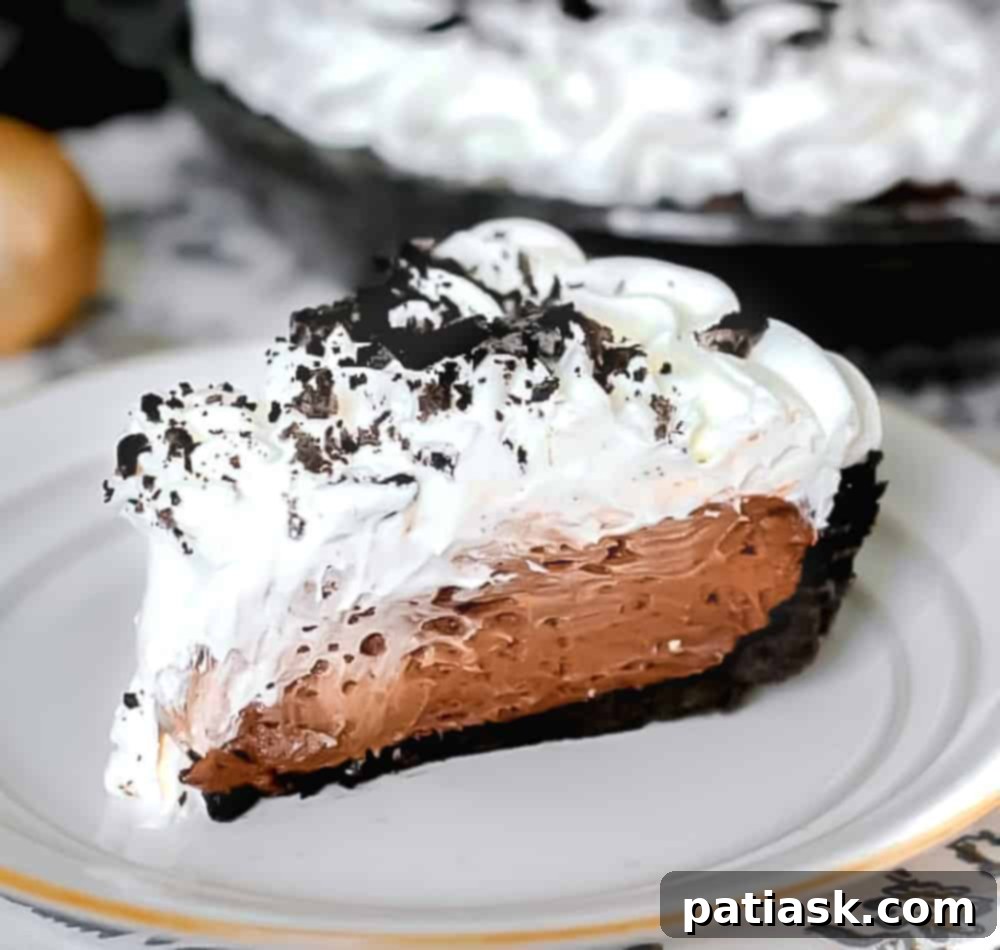
The Ultimate Easy Homemade Oreo Pie Crust Recipe: Your Go-To Dessert Base!
Hello, sweet friends! Are you ready to elevate your dessert game with the easiest, most delicious homemade Oreo pie crust? Forget bland, store-bought alternatives; this recipe is a game-changer. With just two simple ingredients and my step-by-step instructions, you’ll create a rich, chocolatey foundation that will have everyone asking for your secret. Whether you’re a seasoned baker or a kitchen novice, this recipe guarantees a perfect crust every time, ready to embrace your favorite fillings.
Craving more Oreo magic? Explore these delightful treats: Double Stuf Oreo Brownie Trifle, 20 Easy Oreo Desserts For Oreo Lovers, and this incredible Easy Oreo Pie!
The Irresistible Charm of a Homemade Oreo Cookie Crust
Imagine a pie where the crust isn’t just a container but a star in its own right—a decadent, chocolatey dream that perfectly complements every bite of your filling. This is precisely what our **Divine Oreo Pie Crust** offers. It’s more than just a base; it’s an experience, a symphony of flavor and texture that delights your palate and leaves a lasting impression.
What makes this Oreo cookie pie crust so special? It’s the elegant simplicity of a two-ingredient wonder. We combine the iconic, chocolatey goodness of Oreo cookies with a touch of butter to form a truly divine foundation. Unlike many recipes that discard the creamy center, we celebrate every part of the Oreo, ensuring that unique chocolate-and-cream flavor permeates throughout the crust. The result is a firm, rich, and incredibly satisfying base that’s just the right balance of indulgence, making it the perfect homemade Oreo crust for any sweet creation.
Creating this easy homemade Oreo crust means you’re not just baking; you’re crafting a dessert that tastes fresher, more vibrant, and undeniably superior to any pre-made version you might find. The aroma alone as it bakes (or chills!) will fill your kitchen with anticipation, promising a slice of heaven.
Crafting Your Perfect Divine Oreo Pie Crust: A Step-by-Step Guide
Every bite of this Divine Oreo Pie Crust is a testament to simple ingredients yielding spectacular results. The process is straightforward, ensuring success even for beginner bakers. Here’s a detailed look at how to bring this easy Oreo pie crust to life:
1. Crushing Your Oreos to Perfection
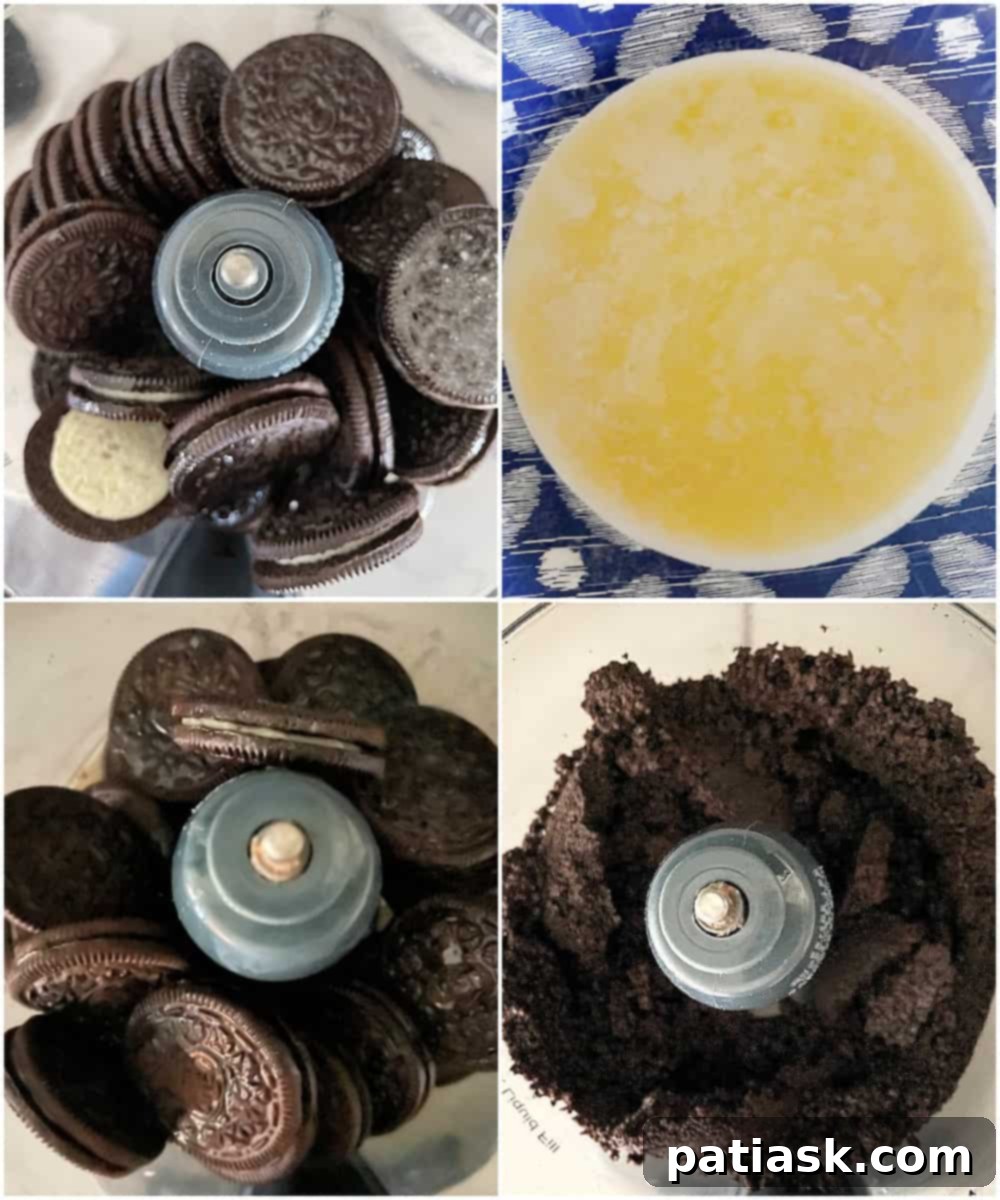
The first step is transforming those delightful Oreo cookies into fine, uniform crumbs. For the quickest and most consistent results, a food processor is your best friend. Simply add all 24 whole Oreo cookies (yes, including the cream filling!) to the processor. Pulse until they resemble fine, dark sand. This ensures an even texture that will bind beautifully. If you don’t have a food processor, don’t despair! Place the cookies in a large Ziploc bag, seal it tightly, and use a rolling pin or the bottom of a heavy pan to crush them into fine crumbs. This method might take a little more effort but is just as effective.
2. The Buttery Bond: Mixing for a Flawless Crust
Once your Oreo crumbs are ready, it’s time to introduce the butter. Melt 5 tablespoons of butter in a separate, medium-sized microwave-safe bowl until it’s completely liquid. Pour the melted butter over your Oreo crumbs and stir thoroughly. You want every crumb coated in butter, transforming the dry mixture into a moist, cohesive blend. This buttery coating is what binds the crumbs together, ensuring your chocolate cookie crust holds its shape beautifully.
3. Pressing Your Crust: The Foundation of Flavor
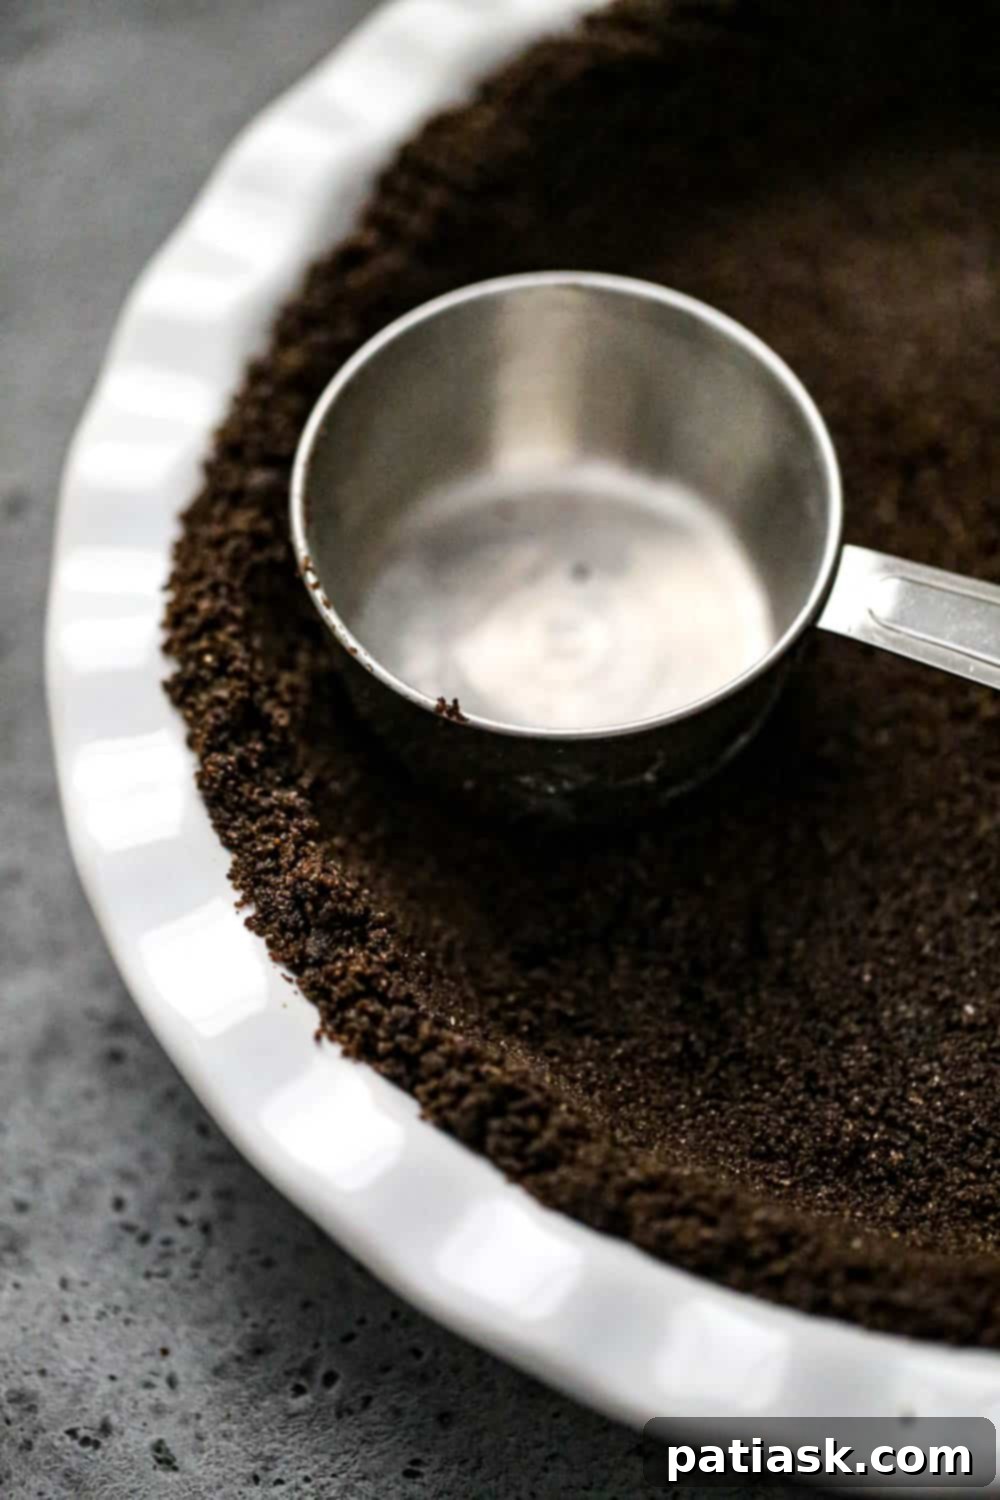
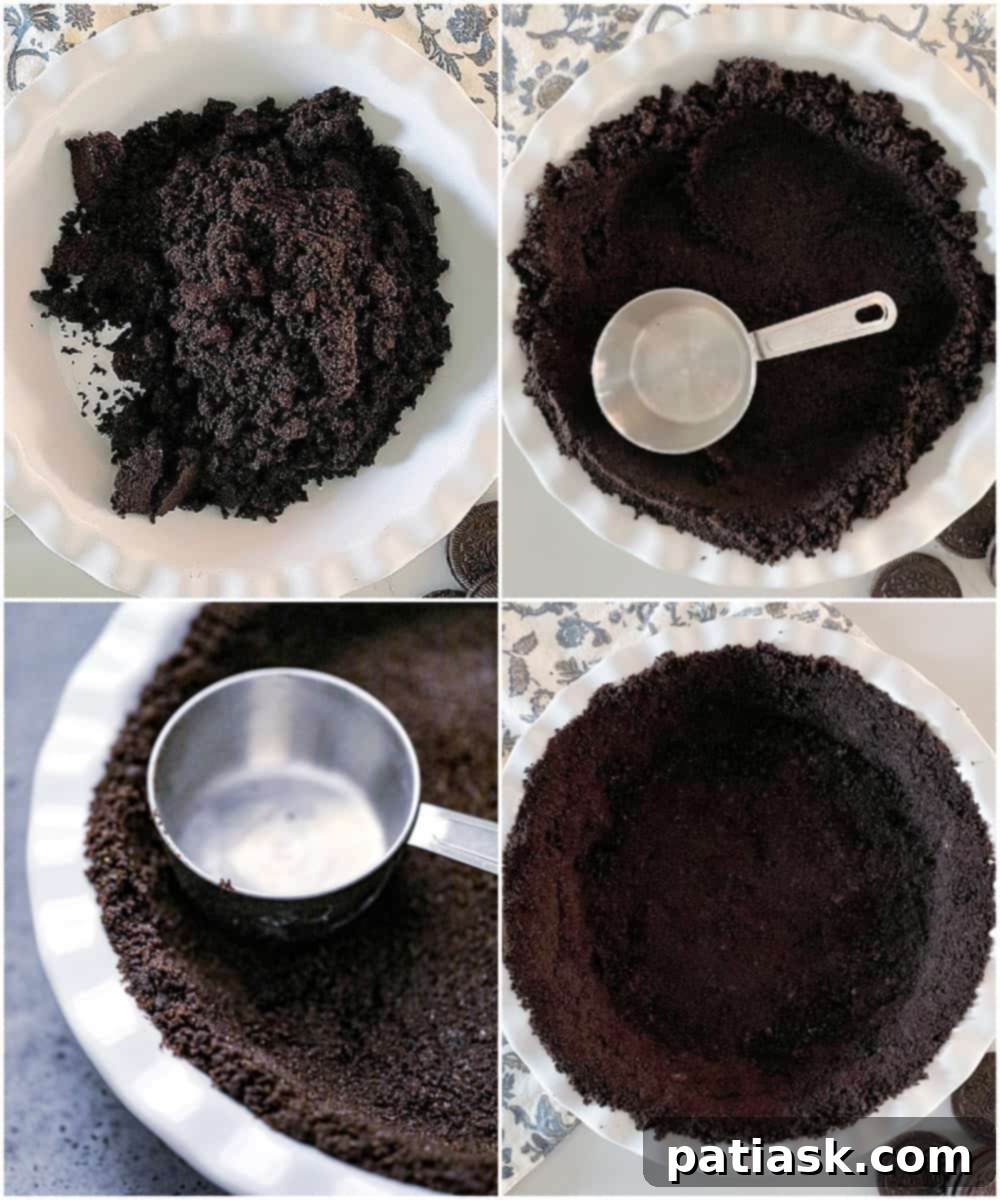
Now, pour the buttery Oreo crumb mixture into your chosen pie dish. This recipe is versatile and works perfectly in a 9-inch pie plate, a 9-inch springform pan, or even a 9-inch square pan. The key here is firm and even pressing. Use your hands, the bottom of a clean glass, or a measuring cup to firmly tamp the crumbs into the bottom and up the sides of the pan. Apply consistent pressure to ensure the crust is compact and uniform. A well-pressed crust won’t crumble when sliced and will provide a sturdy base for your filling. Think of it as laying the perfect foundation for your culinary masterpiece.
4. The Warmth It Deserves: Baking for Crispness (Optional but Recommended)
If your chosen filling requires baking, or if you simply prefer a crunchier, more robust crust, a quick bake is in order. Pop your meticulously pressed crust into a preheated oven at 350 degrees Fahrenheit (175°C) for 8-10 minutes. This short “spa session” sets the butter and crumbs, ensuring a beautifully crisp texture that can withstand even the most luscious fillings. Once baked, allow it to cool completely before adding your filling. This step is crucial for preventing a soggy bottom and achieving that perfect crisp chocolate cookie crust.
Stay Ahead of the Game: Prep Your Oreo Pie Crust Early
Life can be busy, but that doesn’t mean you have to compromise on delicious homemade desserts. This easy Oreo pie crust is incredibly forgiving and perfect for making ahead of time. Once pressed into the pan, you can store it in the refrigerator for up to 3-4 days, tightly covered. For longer storage, wrap it well in plastic wrap and then foil, and tuck it into the freezer for up to a month. When you’re ready to assemble your pie, simply retrieve the crust from the fridge or freezer, and it will be ready to play its part without missing a beat. This make-ahead capability makes it an ideal choice for holiday baking, special occasions, or just when you want a quick dessert fix. It’s truly an easy homemade Oreo crust that fits into your schedule.
To Bake or Not to Bake: Choosing Your Crust’s Destiny
The beauty of this homemade Oreo pie crust recipe lies in its versatility. Depending on your chosen filling, you have the option of baking or chilling your crust. Both methods yield fantastic results, but understanding their nuances ensures the perfect pairing for your dessert.
For Warm, Baked Fillings: The Crispy, Set Crust
If your pie calls for a warm, baked filling—think fruit pies, custard pies, or baked cheesecakes—then pre-baking your chocolate cookie crust is highly recommended. This step, often referred to as “blind baking,” serves several purposes:
- Achieves a Crunchier Texture: Baking the crust at 350°F (175°C) for 8-10 minutes sets the butter and toasts the cookie crumbs slightly, resulting in a delightfully crisp and firm crust that holds up well to moist fillings.
- Prevents Soggy Bottoms: Pre-baking creates a barrier, preventing your filling from making the crust soggy. This is especially important for fillings with high moisture content.
- Enhances Flavor: The gentle baking process deepens the chocolatey flavor of the Oreo crumbs, adding another layer of deliciousness to your pie.
After baking, allow the crust to cool completely on a wire rack before adding your filling. This is a crucial step to ensure the crust remains crisp.
For Cool, Creamy No-Bake Desserts: The Chilled, Tender Crust
If your recipe is a cool, creamy, no-bake delight—like a no-bake cheesecake, ice cream pie, or a rich chocolate mousse pie—then letting the fridge do the work is your best option. This method is incredibly simple:
- Effortless Setting: After pressing the Oreo crumbs into your pan, simply refrigerate or freeze the crust for 10-20 minutes. The cold temperature will solidify the butter, binding the crumbs together into a perfectly firm crust.
- Ideal for Delicate Fillings: A chilled crust provides a tender, melt-in-your-mouth texture that beautifully complements light and creamy fillings that don’t require oven heat.
- Maximum Convenience: This no-bake option makes dessert preparation incredibly fast and perfect for hot summer days when you want to avoid turning on the oven.
For most no-bake cheesecakes or desserts, this crust does not need to be pre-baked unless the specific recipe you are following instructs otherwise. Just chill it, fill it, and enjoy!
Shake It Up: Creative Variations for Your Oreo Pie Crust
While the classic Oreo pie crust is divine, this recipe is a fantastic canvas for your culinary creativity. Don’t be afraid to experiment and make it truly your own:
- Golden Oreo Crust: For a lighter, vanilla-flavored base, swap the classic chocolate Oreos for their golden cousins. This variation is perfect for lemon, key lime, or berry-filled pies, offering a bright contrast.
- Mint Oreo Crust: Elevate your holiday desserts or a simple chocolate pie by using Mint Oreos. The refreshing minty notes add a festive twist, pairing wonderfully with chocolate or even a grasshopper pie filling.
- Peanut Butter Bliss: For peanut butter lovers, consider incorporating a few tablespoons of melted peanut butter into your butter-crumb mixture, or even using Nutter Butter cookies instead of Oreos for a rich, nutty base that’s perfect for chocolate or banana cream pies.
- Seasonal Flavors: Keep an eye out for seasonal Oreo flavors! Pumpkin spice Oreos for fall pies, or peppermint bark Oreos for winter desserts can create unique and memorable crusts.
- Add-ins for Extra Texture: Fold in a tablespoon or two of finely chopped nuts (like pecans or walnuts) or mini chocolate chips into your crumb mixture before pressing for an added layer of texture and flavor.
And if you’re feeding a crowd, easily double up the recipe and press it into a 9×13 inch pan for a larger dessert that’s sure to impress!
What to Nestle in Your Divine Oreo Pie Crust
This easy homemade Oreo pie crust is incredibly versatile, serving as the perfect partner for an array of fillings. Its rich chocolate flavor and satisfying texture make it an ideal base for:
- Classic Chocolate Cream Pie: A natural pairing, the chocolate crust enhances the creamy chocolate filling.
- Peanut Butter Pie: The salty-sweet combination of chocolate and peanut butter is simply irresistible.
- Cheesecakes (Baked or No-Bake): From classic vanilla to rich chocolate or even fruit-swirled cheesecakes, the Oreo crust adds a delightful crunch.
- Ice Cream Pies: A fantastic base for any flavor of ice cream, creating a delightful frozen treat.
- Mousse Pies: Light and airy chocolate, coffee, or raspberry mousses find a perfect counterpoint in the dense cookie crust.
- Banana Cream Pie: The sweetness of bananas and vanilla cream is beautifully complemented by the chocolate base.
- Grasshopper Pie: Minty, creamy, and wonderfully refreshing, especially with a mint Oreo variation.
- Salted Caramel Pie: The rich caramel and hint of salt are balanced by the sweet chocolate crust.
Whether you’re aiming for nutty richness, minty freshness, or luxurious depth, this easy Oreo pie crust is your ultimate canvas.
The Nitty-Gritty: Time and Tools for Your Oreo Crust
One of the many reasons to love this homemade Oreo pie crust is its minimal time commitment:
- Prep Time: A quick 5 minutes of joyful crushing and mixing.
- Cook Time: An optional 8-10 minutes for baking, or 10-20 minutes for chilling.
- Total Time: You’re just about 20 minutes away from a blissful dessert foundation.
Tools of the Trade: What You’ll Need
Gathering your simple equipment is the first step to success:
- A food processor for effortless cookie crushing (or your trusty rolling pin and a large Ziploc bag!).
- A pie pan (9-inch pie plate, springform, or square pan) for your crust to call home.
- A microwave-safe bowl for melting butter.
- A spoon or spatula for mixing.
- The bottom of a glass or measuring cup for pressing the crumbs (optional, but helpful!).
On Your Mark, Get Set, Make! Ingredients You Need
The beauty of this easy homemade Oreo crust is its simplicity:
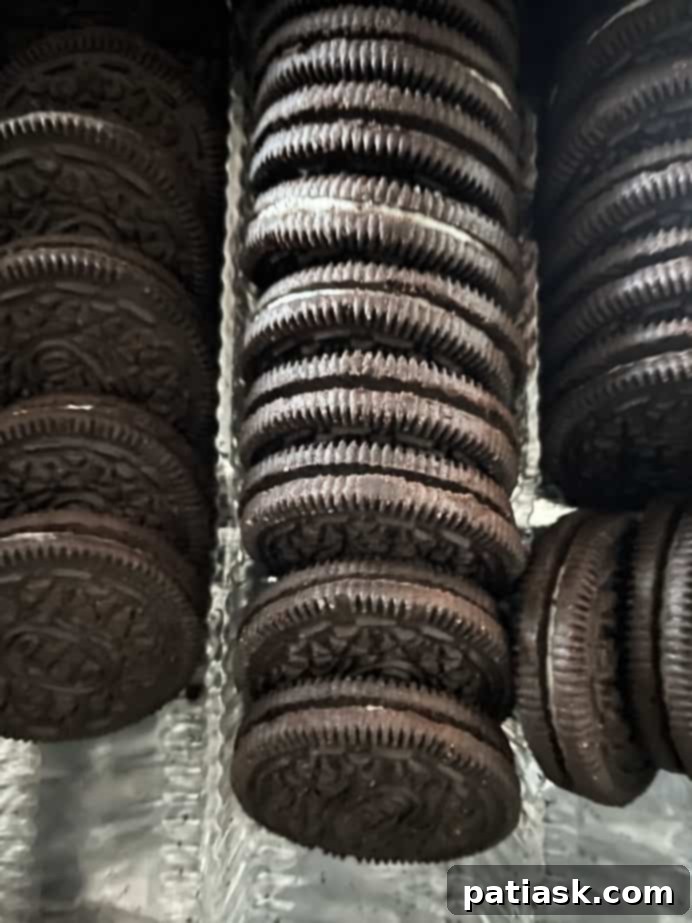
- 24 whole Oreo cookies: With their creamy filling, they are the star of our show, providing both flavor and structure.
- 5 tablespoons of butter: This acts as the binding agent, holding the crumbs together whether baked or chilled. You can use salted or unsalted butter; just be aware of the slight flavor difference.
How to Make a Homemade Oreo Pie Crust: The Divine Recipe
Course: Dessert
Prep Time: 5 mins | Cook Time: 8-10 mins (optional bake) | Servings: 8 Servings | Calories: 230 kcal
Ingredients:
- 24 Oreo cookies (with filling)
- 5 Tablespoons butter (salted or unsalted butter, melted)
Instructions:
- This versatile Oreo pie crust recipe can be used with three different pan types: a 9-inch pie plate, a 9-inch springform pan, or a 9-inch square pan. Choose the pan that best suits your dessert.
- To begin, place all 24 Oreo cookies, including their creamy filling, into a food processor. Pulse until you achieve very fine, uniform crumbs. If a food processor isn’t available, place the cookies in a large Ziploc bag and use a rolling pin to crush them thoroughly into fine crumbs.
- In a separate, medium-sized microwave-safe bowl, heat the butter until it is completely melted.
- Pour the finely crushed Oreo cookie crumbs into the bowl with the melted butter. Stir the mixture together until all the crumbs are thoroughly coated and well-combined, forming a moist, cohesive blend.
- Pour the buttered Oreo crumbs into your chosen prepared pan. Use your hands and/or the clean bottom of a glass or a measuring cup to firmly and evenly tamp the crumbs into the bottom and up the sides of the pan. This tight compaction is essential for a sturdy crust.
- For a no-bake recipe: Refrigerate or freeze the crust for 10-20 minutes before adding your filling. This allows the butter to solidify, setting the crust without baking.
- For a baked recipe (or crunchier crust): Bake the crust in a preheated oven at 350°F (175°C) for 8-10 minutes. This step creates a crispier and more robust crust. After baking, allow it to cool completely before filling.
Notes for Perfection:
To Bake or Not to Bake:
- If you’re planning a warm, baked filling, give your crust a quick bake to set the stage. To achieve a crunchier crust, bake on 350°F (175°C) for 8-10 minutes, then allow it to cool completely before filling or bake according to your specific pie recipe instructions.
- If a cool, creamy no-bake recipe is more your style, let the fridge do the work. Refrigerate or freeze the crust for 10-20 minutes before filling. For no-bake cheesecakes or other no-bake desserts, this crust does not need to be pre-baked unless your specific recipe explicitly instructs otherwise.
Other Crust Ideas:
- Golden Oreo Crust: For a delightful vanilla flavor, simply use Golden Oreo cookies instead of the classic chocolate sandwich cookies.
- Nutter Butter Cookie Crust: Craving a peanut butter kick? Replace the chocolate sandwich cookies entirely with Nutter Butter cookies for a rich, nutty base.
- Mint Oreos: Infuse a festive and refreshing minty vibe by using Mint Oreos. Perfect for holiday desserts or chocolate-mint concoctions!
Divine Oreo Cookie Pie Crust FAQs: Your Questions Answered
Can I make this easy homemade Oreo crust without a food processor?
- Absolutely! If you don’t have a food processor, simply place the Oreo cookies in a sturdy plastic bag (like a Ziploc freezer bag) and use a rolling pin to crush them into fine crumbs. It might take a little more elbow grease, but the result will be just as delicious.
Is it possible to make this Oreo pie crust recipe vegan?
- Yes, indeed! To make this crust vegan, ensure you use a dairy-free butter alternative that melts well. Also, double-check that your chosen Oreo cookies are certified vegan-friendly, as some varieties may contain dairy.
How do I know when the baked crust is perfectly done?
- A perfectly baked Oreo pie crust will have a slightly firmer texture and a deeper, more pronounced chocolate color. It should feel sturdy to the touch and smell wonderfully fragrant. Be careful not to overbake, as the thin crumbs can burn quickly.
Can I use this chocolate cookie crust for a savory pie?
- While the sweet profile of Oreos is undeniably best suited for desserts, don’t let that stop your culinary experiments! However, for savory pies, a traditional pastry or cracker crust would typically be a more complementary choice. If you’re feeling adventurous, though, who are we to judge?
Is it recommended to use Double Stuf or Mega Stuf Oreos for the Divine Oreo Pie Crust?
- While traditional Oreos are generally preferred for their balanced ratio of cookie to cream, you can certainly use Double Stuf or Mega Stuf varieties. Just be aware that the increased amount of cream filling might make the crust a bit softer and potentially more challenging to set firmly. If using these, you may need to increase the chilling time to ensure the crust firms up properly before adding your filling.
How can I prevent my easy Oreo pie crust from crumbling when I slice my pie?
- The key to a non-crumbling crust lies in proper compaction. Ensure you press the crumbs very firmly into the pan, especially along the bottom and sides. If baking, ensure it cools completely. If no-bake, make sure it’s sufficiently chilled. Using a sharp knife that has been run under hot water and wiped dry before each slice can also help achieve clean cuts.
What are the benefits of making a homemade Oreo pie crust over buying a pre-made one?
- Making your own homemade Oreo pie crust offers several advantages: superior freshness and flavor, complete control over ingredients (e.g., butter quality, cookie type), cost savings, and the ability to customize for dietary needs (like vegan options) or flavor variations. Plus, there’s immense satisfaction in knowing you created something delicious from scratch!
This homemade Oreo cookie pie crust is not only incredibly easy to make but also budget-friendly and far more delicious than any store-bought version. You’ll save money, indulge in a fresher, tastier dessert experience, and impress everyone with your baking prowess. This easy Oreo pie crust recipe truly offers a guilt-free indulgence.
We encourage you to try making your own homemade Oreo pie crust and experience firsthand how simple and rewarding it can be. Now, go forth and fill this perfect chocolate cookie crust with your most decadent dreams! Happy baking, darlings!
Share your delightful creations with us on Pinterest, Instagram, and Facebook!
More Divine Desserts & Tips to Inspire You!
- Milk Chocolate Hazelnut Brownie Mousse Trifle
- 4 Ingredient No Bake Lemon Pie
- Cookie Dough Brownies
- Carrot Cake Cream Cheese Bars
- Easy Chocolate Pudding Pie
- Quickest Ways to Soften Butter
- Freezing & Thawing Bananas
- No Bake Berry Cheesecake
- Pretzel Pie Crust


