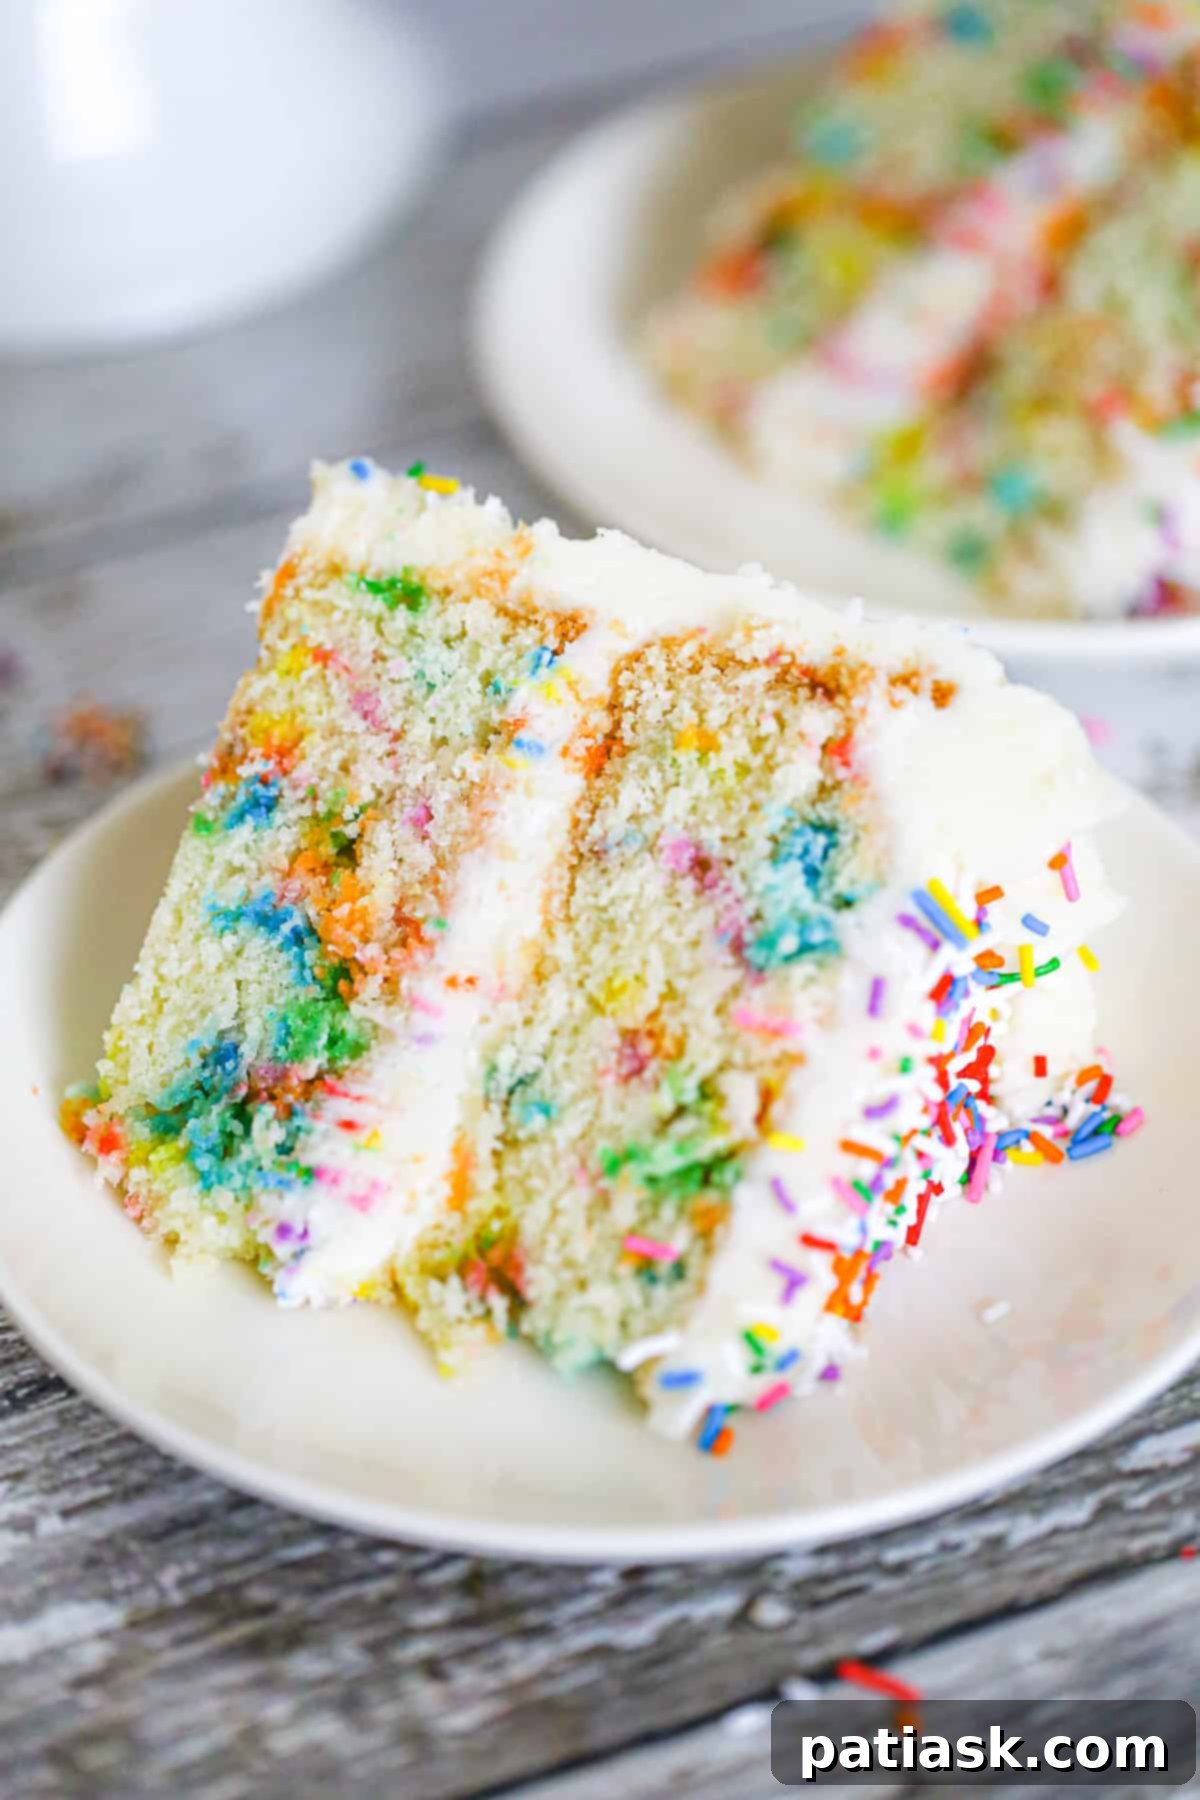
Prepare to infuse your next gathering with an explosion of joy and vibrant color with our sensational Rainbow Sprinkle Cake! This isn’t just any dessert; it’s a celebration in every slice, a masterpiece of fluffy vanilla layers generously adorned with cheerful, multi-colored sprinkles. Paired with a luscious vanilla buttercream frosting, also speckled with even MORE sprinkles, this cake promises to be the dazzling centerpiece of any event. Whether it’s a birthday bash, an anniversary, a graduation, or simply a spontaneous moment of joy, a funfetti layer cake is the ultimate crowd-pleaser that guarantees smiles and delightful memories.
There’s an undeniable magic in a cake that bursts with color, and our Rainbow Sprinkle Cake delivers on that promise. Each forkful is a symphony of soft, moist vanilla cake intertwined with the playful crunch of sprinkles, all enveloped in the silken sweetness of homemade buttercream. It’s a dessert that speaks to the inner child in all of us, reminding us of carefree fun and the sheer delight of a special treat. If you adore sprinkles, you’ll also love exploring other fun recipes like our Sprinkle Sugar Cookies, festive Birthday Cake Cookies, and the whimsical Easy Cosmic Chocolate Cookies!
The Irresistible Appeal of This Vanilla Rainbow Sprinkle Cake
What makes this particular vanilla cake with rainbow sprinkles so utterly captivating and a true labor of love for any baker? It boils down to a few key elements that elevate it from a simple dessert to an unforgettable experience:
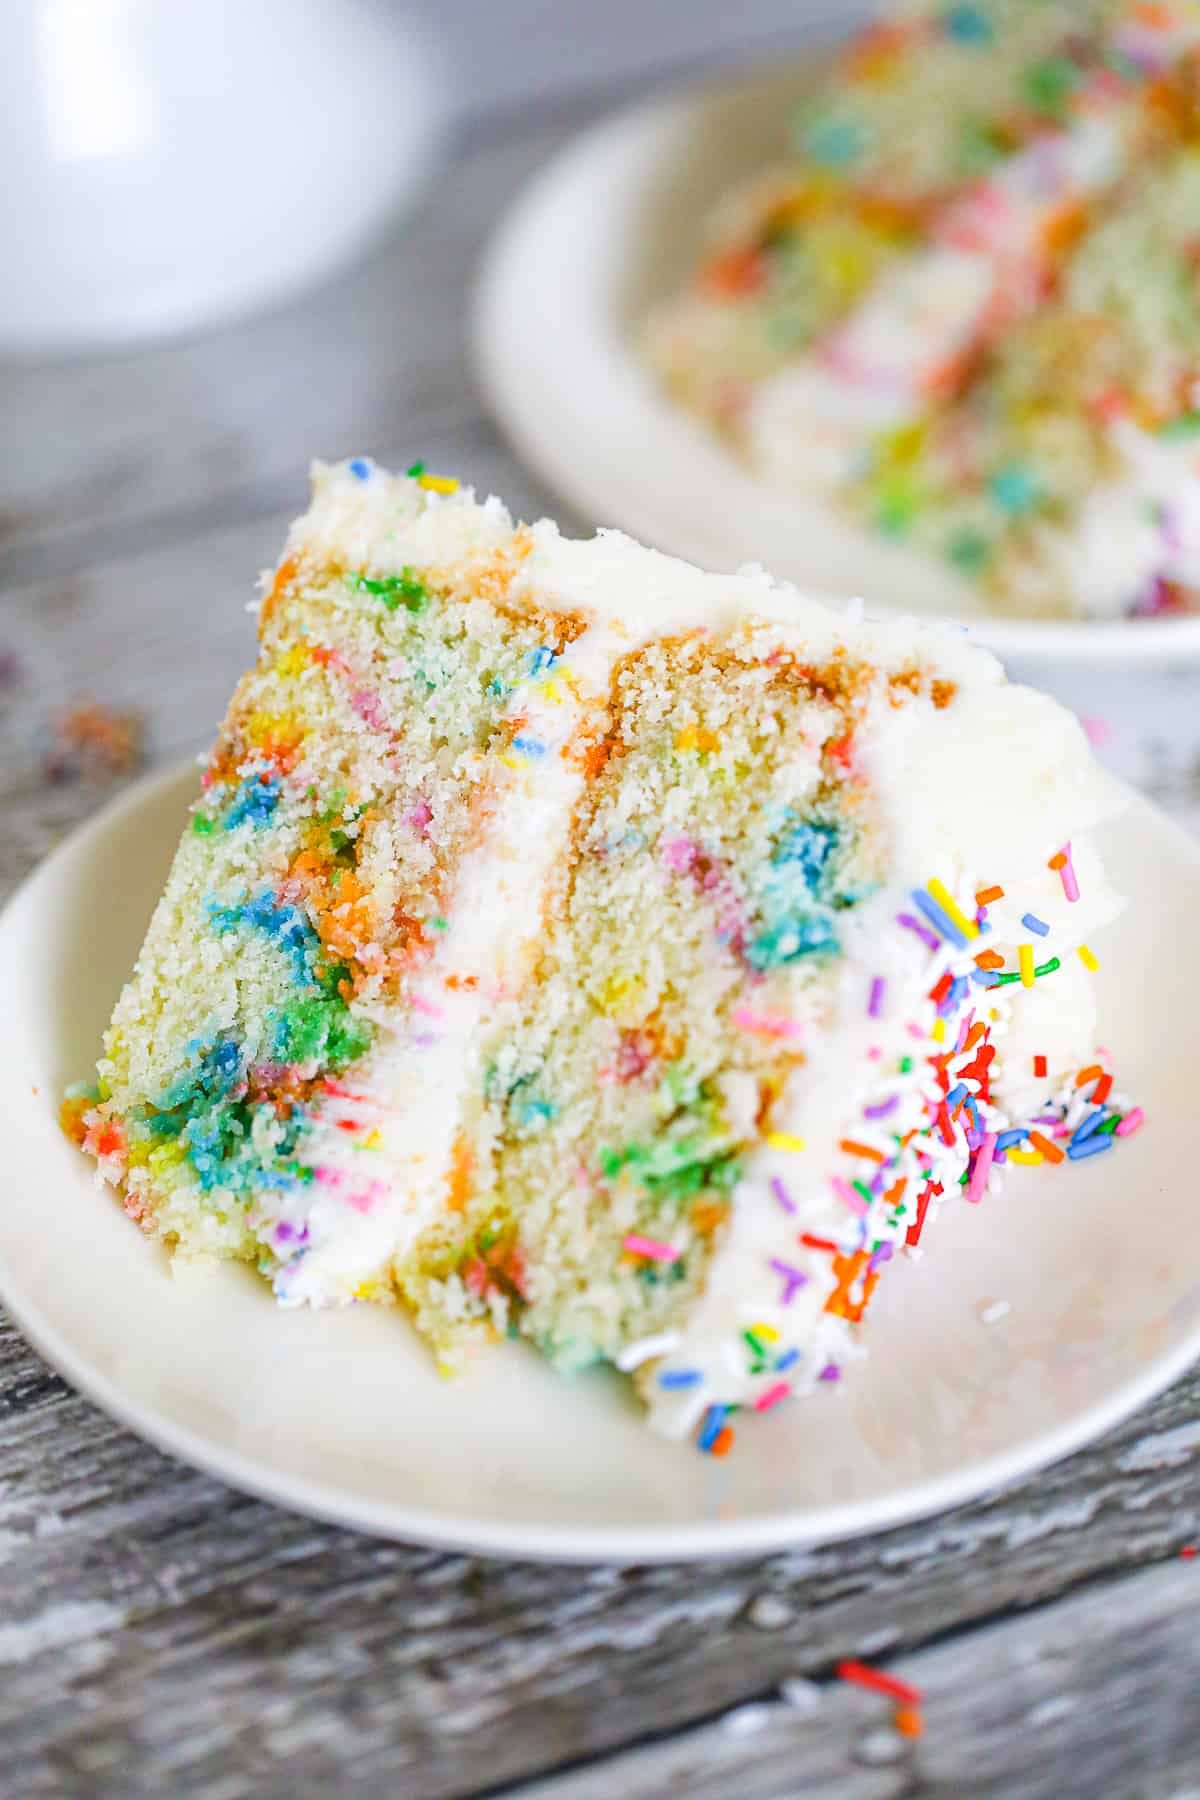
- A Sprinkle Sensation: Let’s be honest, who can resist sprinkles? We’ve embedded them directly into the cake batter, creating a festive mosaic within each slice, and then showered them generously over the creamy frosting. This double dose of vibrant sprinkles ensures every bite is a delightful surprise, adding both visual appeal and a gentle texture contrast. It’s pure, unadulterated fun, baked right in!
- Effortless Celebration Baking: While the final presentation is undoubtedly impressive, this funfetti cake recipe is surprisingly straightforward to create. Designed for home bakers of all skill levels, it simplifies the process without compromising on taste or quality. This makes it an ideal choice for busy parents, aspiring bakers, or anyone looking to whip up a show-stopping dessert for birthdays, holidays, or any special occasion that calls for a celebration.
- A Masterpiece of Flavor and Texture: Beyond its playful appearance, this cake boasts an exceptional internal structure. It’s incredibly moist, wonderfully tender, and infused with the rich, sweet essence of pure vanilla. The buttery crumb melts in your mouth, leaving a lingering sweetness that will have everyone asking for a second slice. The depth of flavor is a testament to quality ingredients and careful technique, promising a truly gourmet experience that surpasses typical box mixes.
- Incredible Versatility: This isn’t just a recipe for a grand layer cake. The adaptability of this vanilla cake batter is one of its greatest strengths. You can easily transform it into delightful individual portions, baking 12 perfect vanilla cupcakes (with a baking time of approximately 22 minutes), or a convenient 9×13 inch sheet cake (requiring about 30-35 minutes in the oven, or until a toothpick comes out clean). This flexibility makes it suitable for gatherings of any size, from intimate family dinners to larger festive events.
Crafting the Perfect Funfetti Cake: Essential Ingredients
Creating this delightful funfetti cake starts with selecting the right ingredients. Each component plays a crucial role in achieving the cake’s signature light, moist, and flavorful texture. Here’s a detailed look at what you’ll need and why each ingredient is important:
- All-Purpose Flour: The foundational dry ingredient, providing the cake’s structure. Ensure it’s accurately measured, preferably by weight or by the spoon-and-level method, to prevent a dense cake.
- Baking Powder: Our primary leavening agent, responsible for creating that beautiful rise and airy texture. Check its freshness for optimal results.
- Salt: A small but mighty ingredient that balances the sweetness and enhances all the other flavors in the cake.
- Unsalted Butter, Softened: Crucial for richness, flavor, and texture. Using unsalted butter allows you to control the total salt content. Ensure it’s truly softened (room temperature, but not melted) for proper creaming with the sugar, which incorporates air and contributes to a tender crumb.
- Granulated Sugar: Sweetens the cake and aids in moisture retention. When creamed with butter, it creates tiny air pockets that expand during baking, contributing to the cake’s light structure.
- Large Eggs, Room Temperature: Provide structure, richness, and emulsification. Using room-temperature eggs helps them incorporate more evenly into the batter, leading to a smoother, more uniform cake.
- Vanilla Extract: The star flavor for this classic cake. Use a good quality pure vanilla extract for the best taste.
- Buttermilk, Room Temperature: This acidic ingredient reacts with the baking powder to create lift, and its acidity also tenderizes the crumb, resulting in an exceptionally moist cake. If you don’t have buttermilk, you can easily make a substitute by adding 1 tablespoon of fresh lemon juice or white vinegar to a 1-cup measuring cup, then filling the rest with whole milk and letting it sit for 10 minutes until it slightly curdles.
- Sprinkles: The fun in funfetti! Use good quality, vibrant multi-colored sprinkles that hold their color well during baking. You’ll want approximately 2/3 cup, but don’t hesitate to add more if you desire an extra festive look!
Step-by-Step Guide: Baking Your Rainbow Sprinkle Confetti Cake
Follow these detailed instructions to bake a perfectly light and fluffy Rainbow Sprinkle Confetti Cake:
- Prepare Your Oven and Pans: Begin by preheating your oven to 350°F (175°C). Prepare two 9-inch round cake pans or two deep 8-inch pans. Line the bottoms with parchment paper circles and lightly grease the sides. This ensures easy removal and prevents sticking. Set the prepared pans aside.
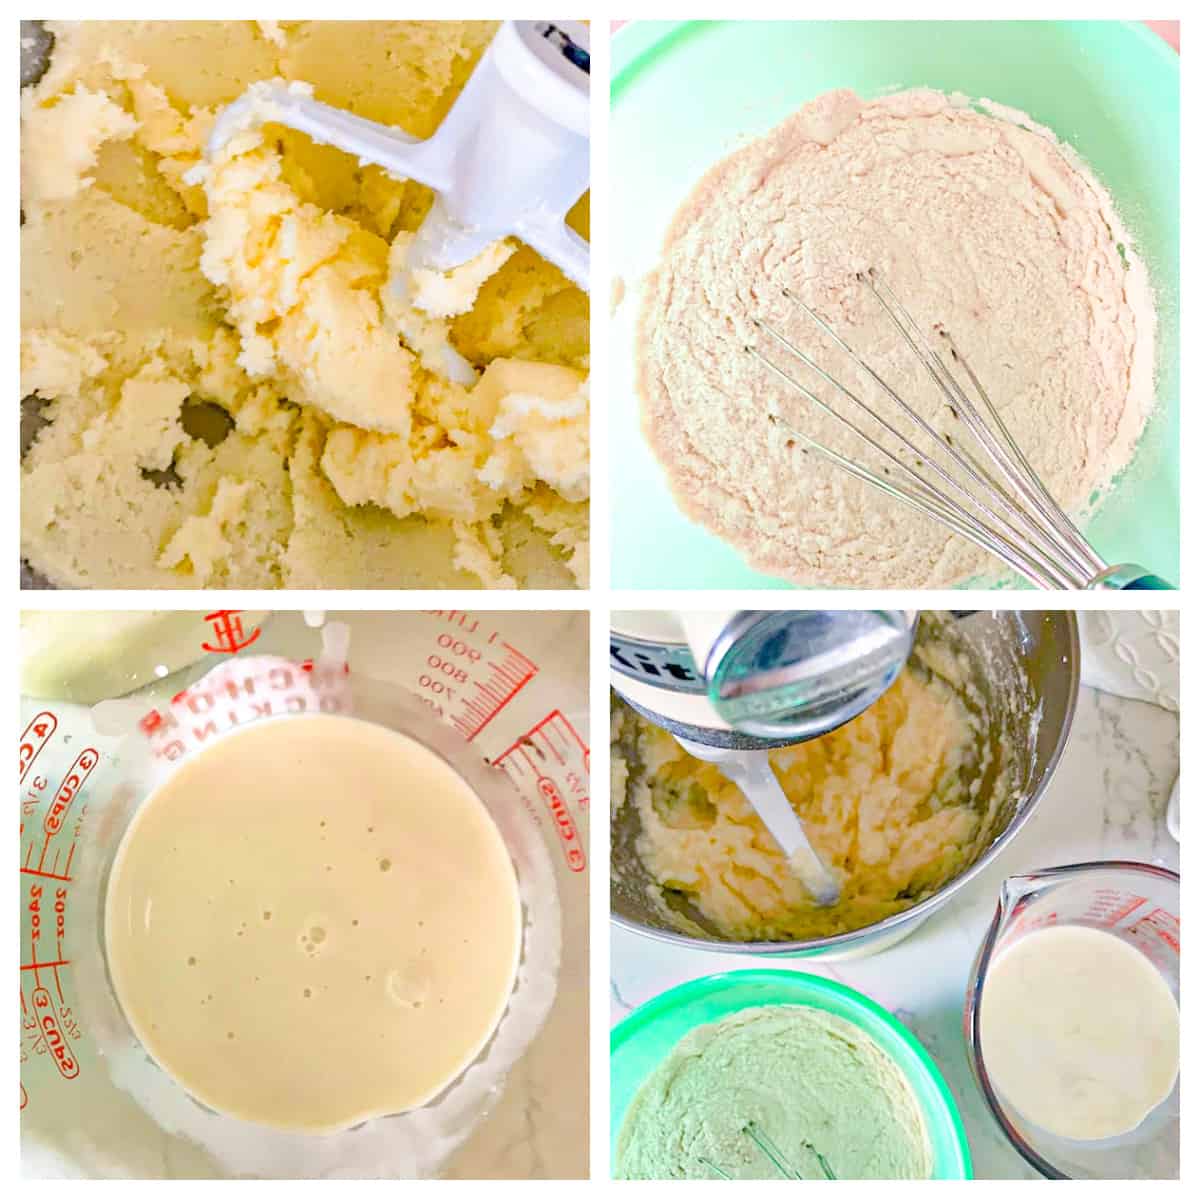
- Combine Dry Ingredients: In a medium-sized bowl, whisk together the all-purpose flour, baking powder, and salt until well combined. Whisking thoroughly ensures the leavening agent is evenly distributed throughout the flour. Set this dry mixture aside.
- Cream Butter and Sugar: In a large mixing bowl, using an electric mixer, beat the softened unsalted butter and granulated sugar on medium-high speed for about 5 minutes. The mixture should become noticeably light in color, thick, and fluffy. This “creaming” process incorporates air, which is essential for a tender cake. Remember to scrape down the sides of the bowl periodically to ensure even mixing.
- Incorporate Eggs and Vanilla: Add the large eggs to the butter-sugar mixture one at a time, beating well after each addition until fully incorporated. Follow this by adding the vanilla extract and mixing just until combined. Avoid overmixing at this stage.
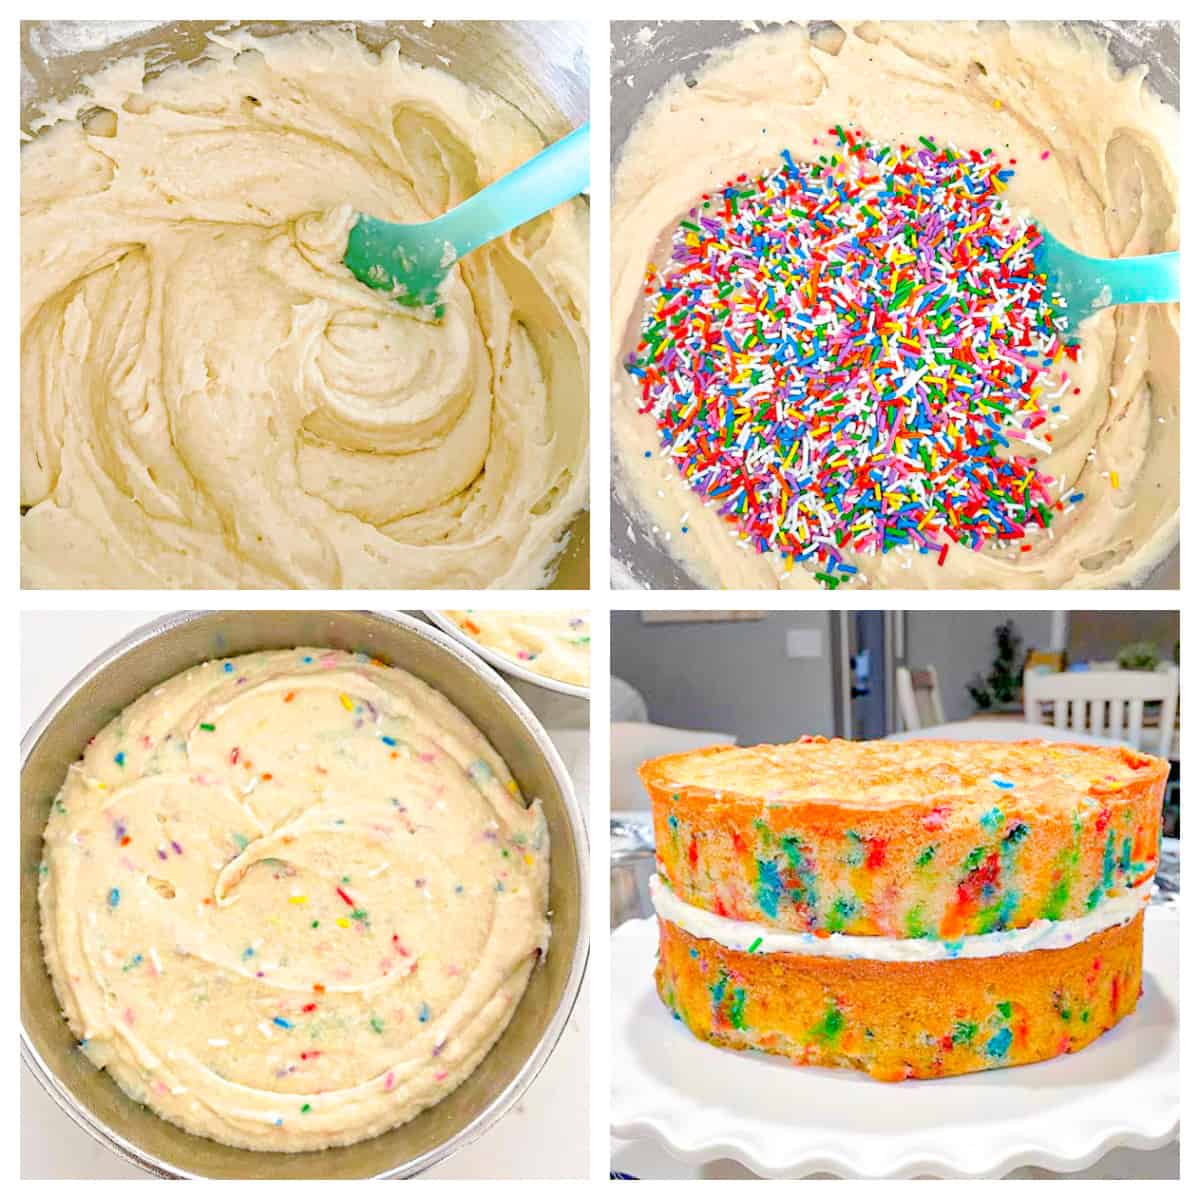
- Alternate Wet and Dry Ingredients: Reduce the mixer speed to medium-low. Gradually add the whisked flour mixture in three additions, alternating with the room-temperature buttermilk in two additions, beginning and ending with the flour. Mix each addition just until incorporated and the batter is smooth. Be careful not to overmix; overmixing can develop the gluten in the flour, resulting in a tough cake.
- Fold in Sprinkles: Gently fold in the sprinkles by hand using a spatula. Mix just enough to distribute them evenly throughout the batter without crushing them or letting their colors bleed too much.
- Bake the Cake Layers: Evenly divide the cake batter between your two prepared cake pans. Bake for 30-35 minutes, or until the cakes are golden brown and a wooden toothpick inserted into the center comes out mostly clean with a few moist crumbs attached (no wet batter). The surface of the cake should also spring back lightly when gently touched.
- Cool Completely: Allow the cakes to cool in their pans on a wire rack for 10-15 minutes. This allows the cakes to firm up before handling. After this initial cooling, carefully invert the cakes onto the cooling rack to cool *completely* before attempting to frost them. Frosting a warm cake will cause the buttercream to melt.
The Quintessential Vanilla Buttercream Frosting: Ingredients
No Rainbow Sprinkle Cake is complete without a velvety, perfectly sweet vanilla buttercream. This recipe yields a frosting that is both easy to work with and incredibly delicious. Here’s what you’ll need to create the best vanilla frosting:
- Unsalted Butter, Room Temperature: As with the cake, unsalted butter is key for flavor and texture. It must be at true room temperature – soft enough to leave an indentation when pressed, but still cool to the touch. This ensures it creams smoothly and incorporates plenty of air.
- Salt: Just a pinch helps to cut through the sweetness of the powdered sugar and enhances the overall flavor profile of the frosting, preventing it from tasting one-dimensional.
- Powdered Sugar (Confectioners’ Sugar): The main sweetening agent and thickener for the buttercream. Sifting it before use is highly recommended to prevent lumps and ensure a super smooth frosting.
- Cream or Milk: Adds liquid to achieve the desired consistency. Heavy cream will result in a richer, slightly thicker frosting, while milk provides a lighter texture. Start with the recommended amount and adjust as needed.
- Vanilla Extract: The essential flavoring for classic vanilla buttercream. Use a high-quality pure vanilla extract for the best results. You can adjust the amount to your taste.
- Optional: ½ teaspoon Butter Extract: This secret ingredient can truly elevate your frosting, imparting a rich, deep buttery flavor reminiscent of professional bakery or wedding cakes. It adds an extra layer of deliciousness that is highly recommended for an even more exquisite taste.
Mastering Vanilla Buttercream Frosting: The How-To
Achieving perfectly smooth and fluffy vanilla buttercream is easier than you think. Follow these steps for a frosting that’s ideal for decorating:
- Cream the Butter: In a large mixing bowl, using an electric mixer fitted with a paddle attachment, beat the room-temperature unsalted butter on medium speed for 2-3 minutes until it becomes light, creamy, and pale in color. This is a crucial step for incorporating air.
- Gradually Add Powdered Sugar: With the mixer on low speed, begin adding the powdered sugar, about 1-2 cups at a time. Mix until each addition is fully incorporated before adding more. This prevents a cloud of powdered sugar from enveloping your kitchen.
- Introduce Liquids and Flavoring: Once about half of the powdered sugar has been added, pour in the cream or milk and the vanilla extract (and optional butter extract). Mix on low speed until just combined.
- Finish Mixing: Add the remaining powdered sugar and continue to beat on low speed. Once fully incorporated, increase the mixer speed to medium-high and beat for another 2-3 minutes. This final beating whips more air into the frosting, making it incredibly light and fluffy.
- Adjust Consistency: Reduce the mixer speed to low and mix for an additional minute to remove any large air bubbles, resulting in a super smooth frosting. If your frosting is too thick, add more cream or milk, a tablespoon at a time, until you reach your desired consistency. If it’s too thin, gradually beat in more powdered sugar until it stiffens appropriately for piping and spreading.
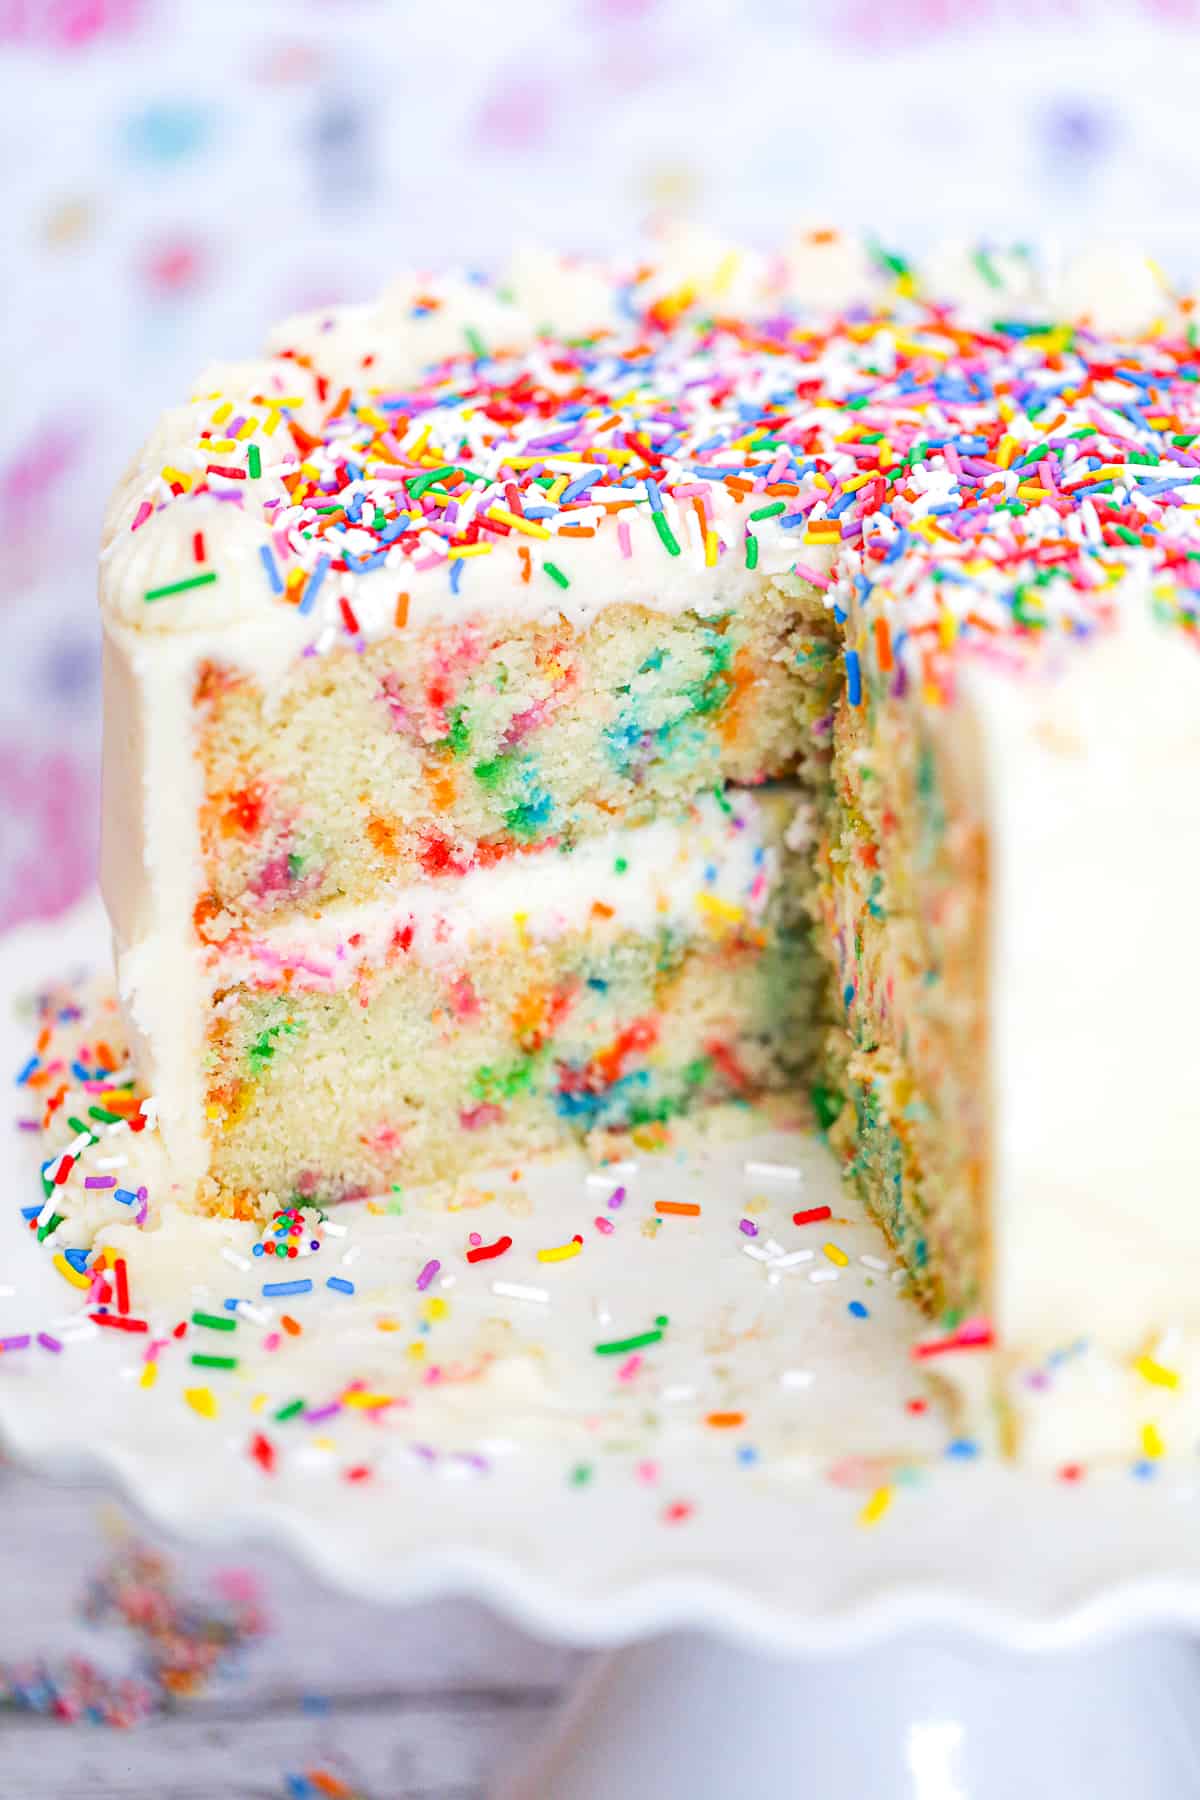
Assembling Your Stunning Rainbow Sprinkle Cake
Once your cake layers are completely cooled and your buttercream is ready, it’s time for the exciting part: assembling and decorating your beautiful Rainbow Sprinkle Cake!
Pro Tip: Ensure your cake layers are thoroughly cooled before frosting. You can even wrap cooled layers tightly in plastic wrap and refrigerate them for a few days, or freeze them for longer storage (up to a month) until you’re ready to assemble. Slightly chilled cakes are often easier to handle and frost.
- Position the First Layer: Carefully place one of your cooled cake layers onto your chosen cake stand, serving platter, or a sturdy cake plate. If desired, you can place strips of parchment paper under the edges of the cake to keep your serving plate clean during frosting, removing them once you’re done.
- Prepare the Sprinkle Filling: In a separate small bowl, take about 1 ½ cups of your vanilla frosting. Add a few tablespoons of multi-colored sprinkles and gently mix them in until evenly distributed. This will be your vibrant surprise filling!
- Frost the First Layer: Using a piping bag fitted with a round tip (or simply a spoon), pipe a “dam” of plain vanilla frosting (about ½ inch high and wide) around the outer edge of the first cake layer. This dam will act as a barrier to keep the sprinkle filling contained. Then, spoon the sprinkle vanilla frosting you just prepared into the middle, spreading it evenly within the dam.
- Add the Second Layer: Carefully place the second cooled cake layer directly on top of the frosted first layer, aligning it as best as possible. Gently press down to ensure it’s secure.
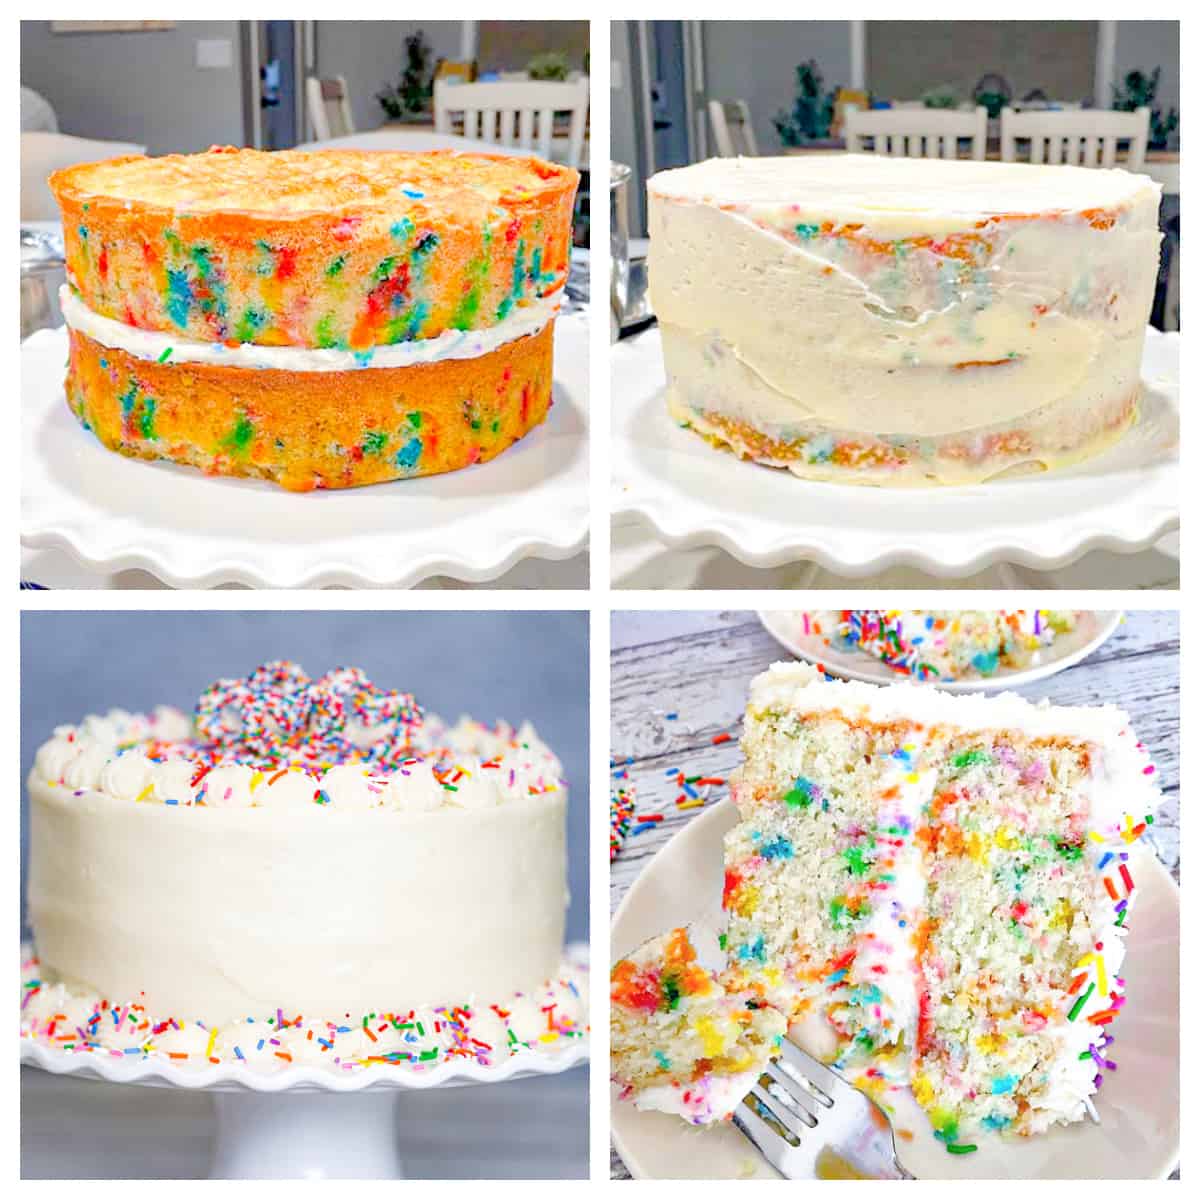
- Apply the Final Frosting Coat: Now, using an offset spatula, begin to frost the top and sides of the entire cake with the remaining plain vanilla frosting. If you plan to add decorative borders later, reserve a small portion of frosting. Work to achieve a smooth and even coat. Don’t worry if it’s not absolutely perfect yet – we’ll address that with crumb coating tips!
- Decorate with More Sprinkles: This is where the rainbow magic truly comes to life! Generously add more sprinkles all over the top and sides of your cake. You can gently press them into the frosting or simply cascade them over the edges for a playful, spontaneous effect.
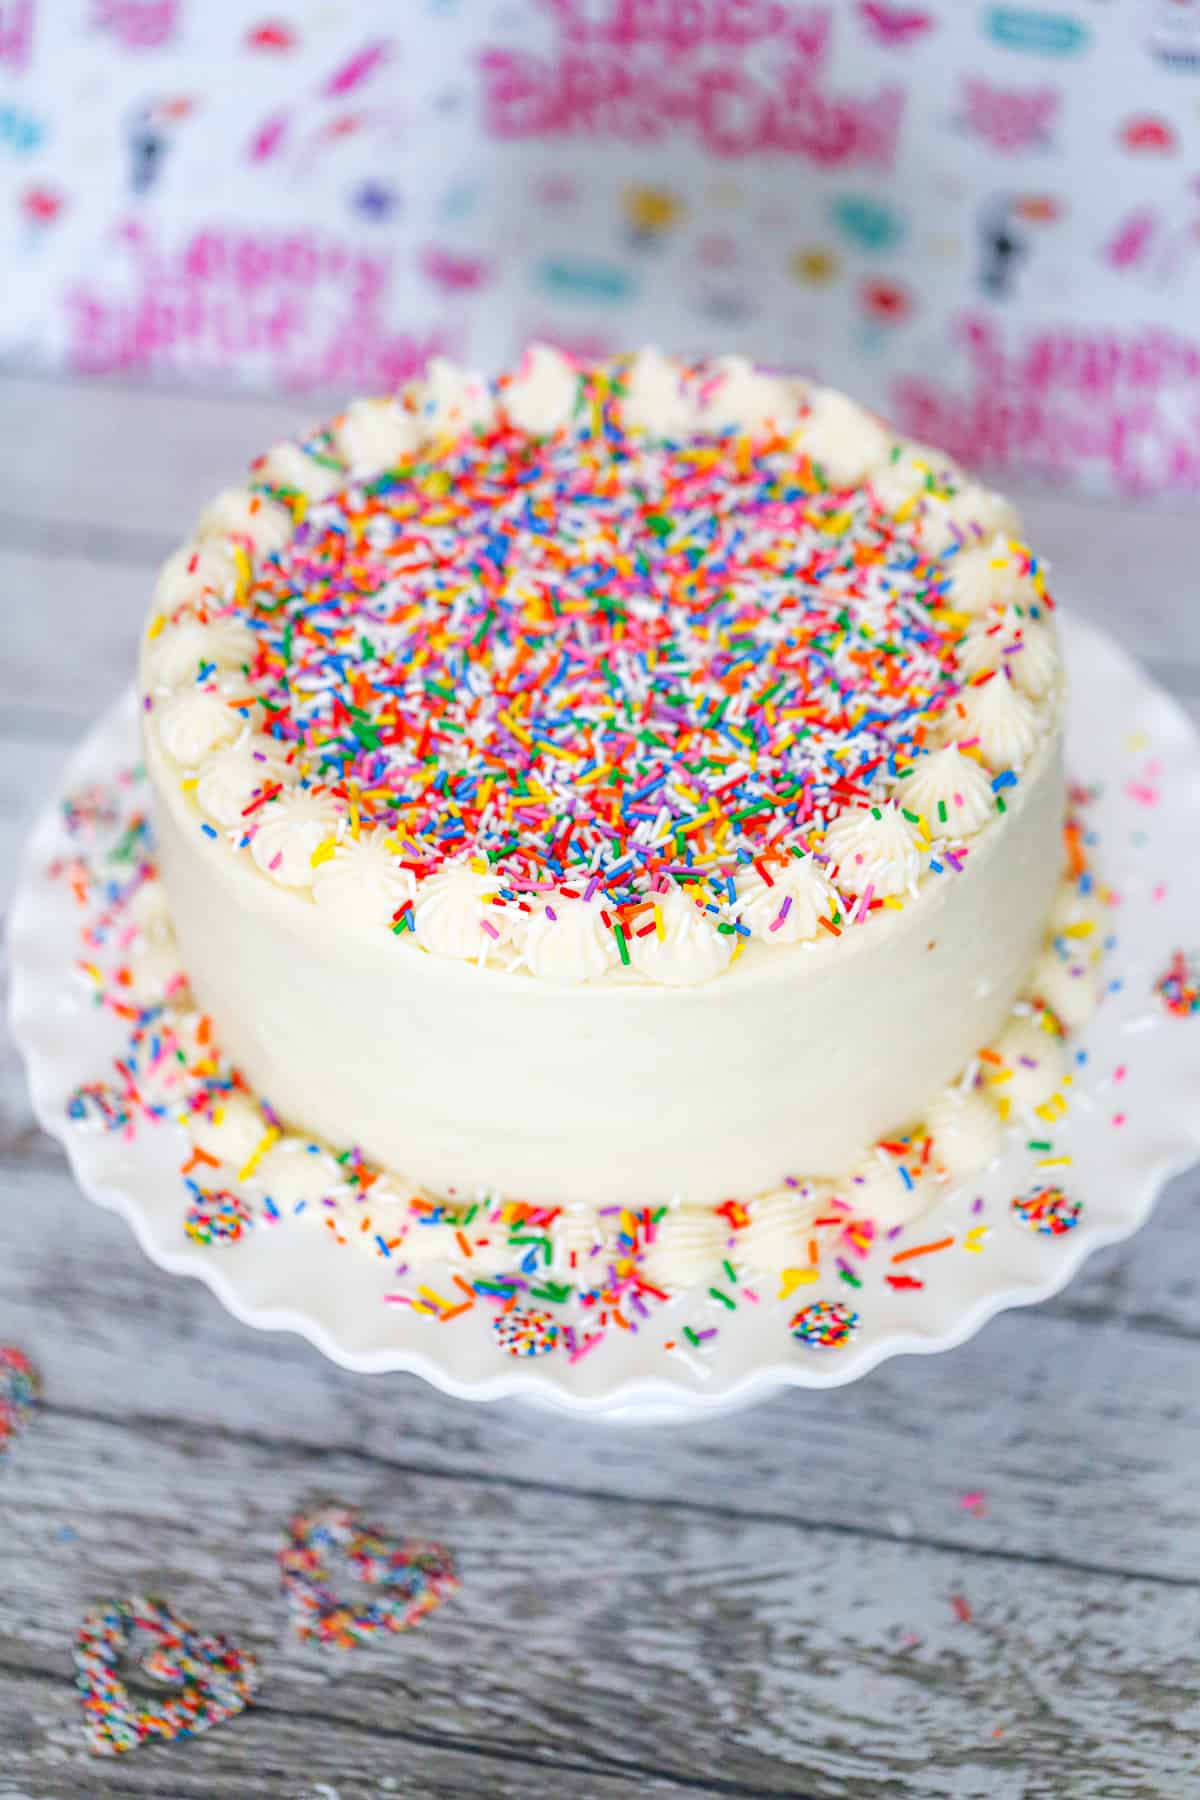
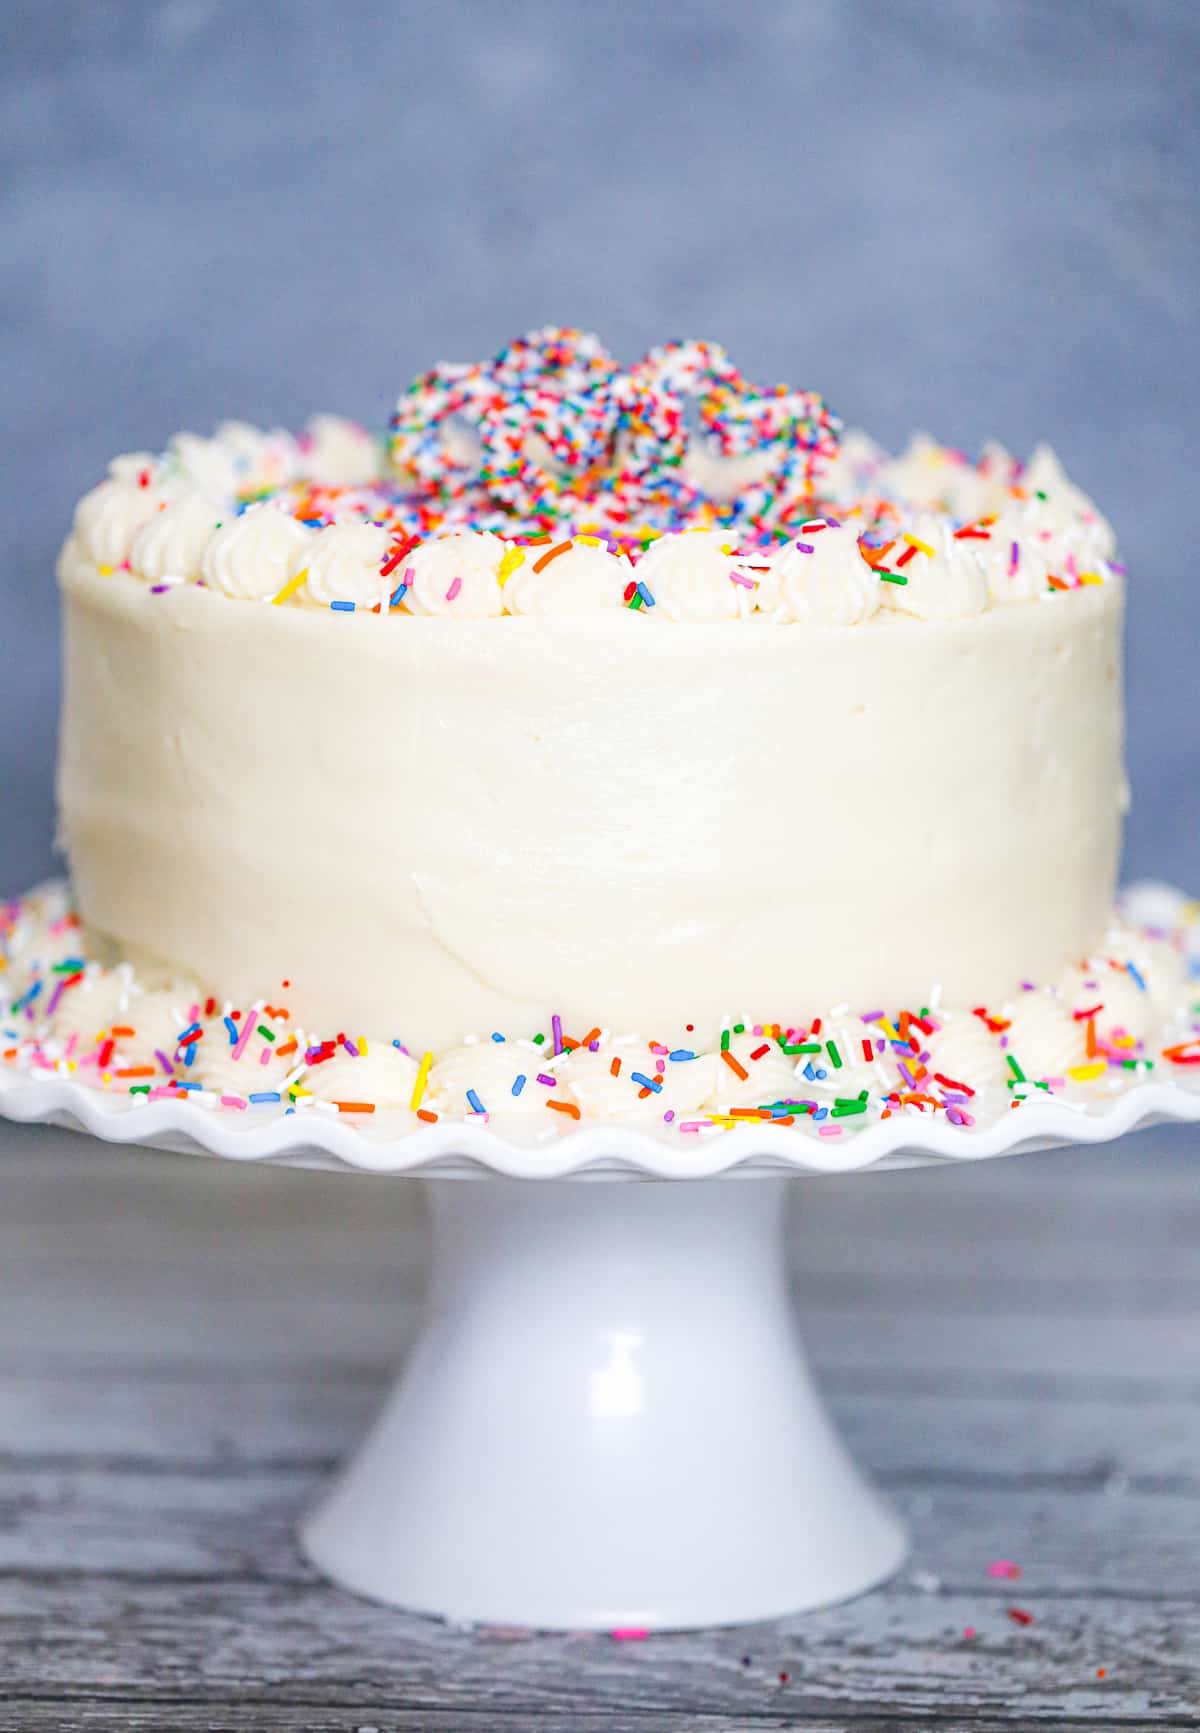
- Personalize Your Cake (Optional Decorations): For an extra touch of charm, consider piping decorative borders around the top and bottom edges of your cake using a star tip and the reserved frosting. For the cake pictured, melted white chocolate was piped into heart shapes, sprinkled, allowed to set, and then placed delicately on top for a simple yet adorable adornment. Feel free to get creative with your own unique embellishments!
Achieving Perfection: Crumb Coat and Advanced Frosting Tips
For those who aspire to a professional-looking, flawlessly smooth cake, mastering the art of the crumb coat is essential. It’s a simple technique that makes a significant difference in the final appearance of your Rainbow Sprinkle Cake.
- The Purpose of a Crumb Coat: Think of a crumb coat as the primer for your cake. It’s a very thin layer of frosting applied directly to the cake layers. Its primary function is to trap any loose crumbs, preventing them from mixing into your final, visible layer of frosting. This ensures a clean, smooth, and crumb-free finish for your exterior buttercream. Beyond aesthetics, it also helps to seal in the cake’s moisture, keeping it fresher for longer.
- Applying the Crumb Coat: Once your cake layers are completely cool (and ideally slightly chilled from the refrigerator), take a small amount of your prepared vanilla frosting. Using an offset spatula or a small palette knife, smear a very thin, even layer of frosting over the top and all sides of the cake. Don’t worry about perfection here; it’s okay if it looks a bit messy, and crumbs are showing through – that’s its job! The goal is to create a thin barrier that traps all those loose bits.
- Chilling the Crumb Coat: After applying the crumb coat, place the cake in the refrigerator for 20 to 30 minutes. This chilling time is crucial, as it allows the crumb coat to firm up completely. You’ll know it’s ready when you can lightly touch it without leaving a fingerprint. This firm base provides the ideal surface for applying your final coat of frosting without any crumbs disturbing the smooth finish.
- Applying the Final Frosting Layer: Once the crumb coat is firm, remove the cake from the refrigerator. Now you can apply a generous and smooth finish coat of frosting to the top and sides of the cake. Aim for an even thickness. For a truly professional, ultra-smooth surface, consider using dedicated frosting decorating tools, such as a smooth-edged scraper for the sides and an offset spatula for the top. A rotating decorator table (turntable) can also make this process significantly easier, allowing you to achieve consistent results.
- Decorate and Personalize: After your final frosting layer is applied and smoothed, it’s time for the final touches! Add your chosen sprinkles, piped borders, candied decorations, or any other creative elements you desire. Let your imagination run wild to make your Rainbow Sprinkle Cake truly unique and spectacular.
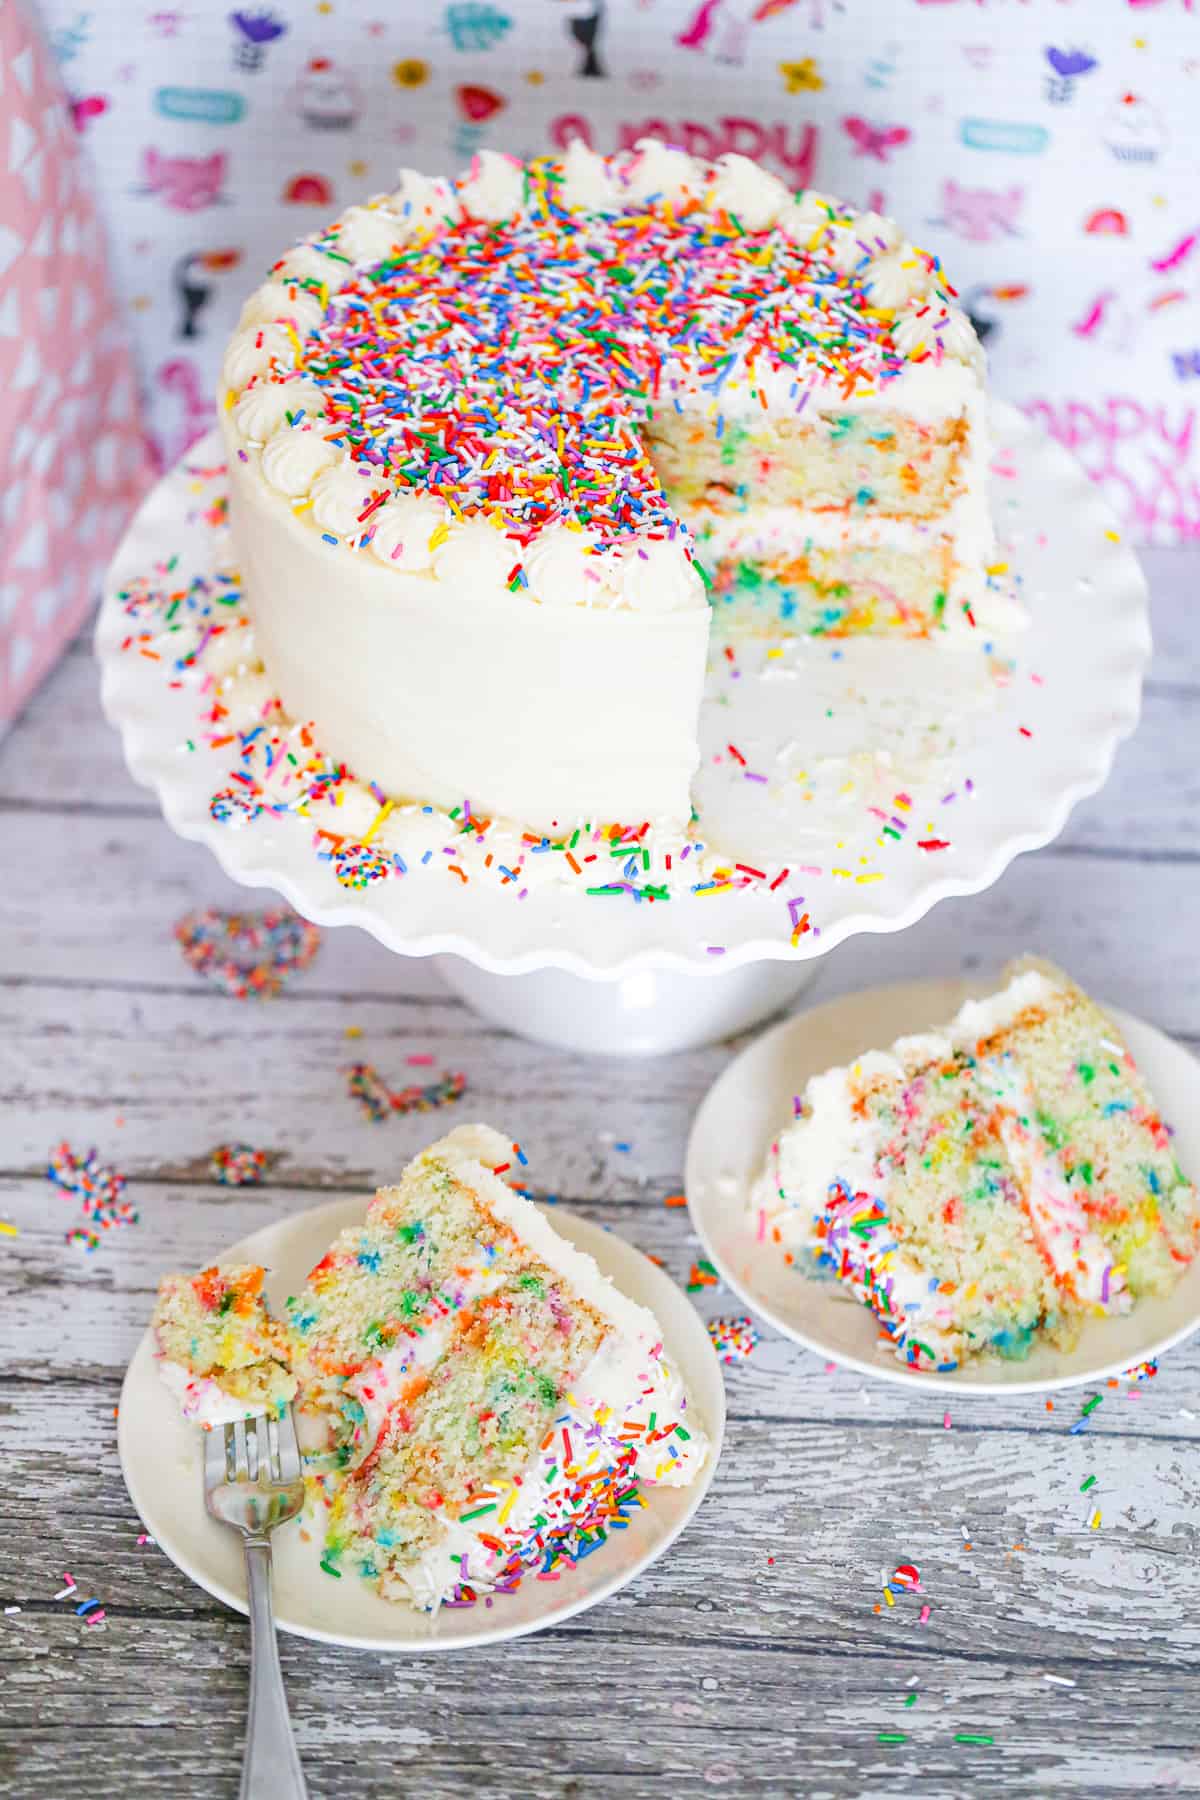
Every celebration, big or small, deserves a special treat, and nothing says “party” quite like this sprinkle birthday cake, loaded with sprinkles galore! Its cheerful appearance and irresistible vanilla flavor make it the perfect dessert for commemorating any milestone. Whether you’re celebrating a birthday, a new job, an engagement, or simply the joy of togetherness, our Rainbow Sprinkle Layer Cake is designed to bring happiness and a touch of magic to all occasions. Get ready for compliments and requests for seconds – this cake is a guaranteed showstopper!
More Fantastic Celebration Dessert Ideas!
- Ultimate Oreo Cupcakes
- Best Angel Food Cake
- Magnolia Bakery’s Coconut Layer Cake
- Awesome Rainbow Cookies
- Funfetti Protein Smoothie Shake
- Rainbow Rice Krispie Treats
- Cherry Chip Cookies
- Orange Creamsicle Cake
- Mermaid Cookie Bars
- Funfetti Party Cookie Bars
- Cosmic Brownies
- Best Soft Lofthouse Cookies
- Ultimate Blueberry Cheesecake Recipe
Rainbow Sprinkle Cake Recipe
It’s always a celebration when the Rainbow Sprinkle Cake comes to the party! This layered vanilla cake is light, fluffy, and melt-in-your-mouth yummy with lots of fun, vibrant multi-colored sprinkles, paired with the best vanilla frosting with even MORE sprinkles on top! No celebration is complete without a funfetti layer cake!
Author: Kim Lange
Prep Time: 15 minutes
Cook Time: 30 minutes
Course: Dessert
Servings: 10 Servings
Ingredients
Sprinkle Vanilla Cake
- 2 ½ cups all-purpose flour
- 2 ½ teaspoons baking powder
- 1 teaspoon salt
- 1 cup unsalted butter, softened
- 1 ½ cups granulated sugar
- 4 large eggs, room temperature
- 1 tablespoon vanilla extract
- 1 cup buttermilk, room temperature (can also use milk of choice)
- ⅔ cup sprinkles, add more if desired
Best Vanilla Frosting
- 1½ cups unsalted butter, room temperature
- ½ teaspoon salt
- 6 cups powdered sugar
- ¼ cup cream or milk plus more as needed
- 2 teaspoons vanilla, add more to taste if desired
- Optional: ½ teaspoon butter extract
- Sprinkles, add if frosting middle layer and wherever you would like!
Instructions
- Preheat the oven to 350°F (175°C) and prepare two 9-inch or two deep 8-inch cake pans by lining the bottoms with parchment paper and lightly greasing the sides. Set aside.
Sprinkle Vanilla Cake
- In a medium bowl, whisk together flour, baking powder, and salt. Set aside.
- Using mixer, beat butter and sugar on medium-high speed 5 minutes until thick and fluffy, scraping down the bowl as needed.
- Add eggs one at a time, beating well with each addition. Add vanilla and mix in to combine.
- Reduce mixer speed to medium and add the flour mixture in thirds alternating with the buttermilk, mixing to incorporate with each addition and beat until just combined and smooth.
- Add in sprinkles and mix in to combine.
- Evenly divide batter into your prepared cake pans, and bake on 350F (175C) for 30-35 minutes. When the cake is done, the surface should spring back to the touch and a toothpick inserted in the center should come out mostly clean with few moist crumbs (no wet batter).
- Allow cakes to cool in their cake pans for 10-15 minutes before inverting onto cooling rack to cool completely before frosting.
Best Vanilla Frosting
- Using mixer, cream the butter.
- Add the sugar a few cups at a time and mix on low.
- Add in the cream and vanilla and mix together. Add in the remaining powdered sugar and beat on low, then increasing to medium to high speed for about 2-3 minutes.
- Reduce the speed to low and mix an additional minute. Add in more powdered sugar if too thin or add more cream if too thick to get texture desired for frosting.
How to Assemble Layered Cake
- Once cakes have cooled, go ahead and frost or place cakes in fridge tightly wrapped in saran wrap until you are ready to frost. If it’s more than a couple of days, you may be better off placing them in the freezer.
- Place one of cake layers on the pedestal or cake plate.
- Take 1 ½ cups of the vanilla frosting and add a few tablespoons of sprinkles and mix it in.
- Frost the cake layer with the sprinkle vanilla frosting you just made, by first piping a dam ½” around the border, then continue filling in the middle with the rest of your sprinkle vanilla frosting.
- Add the next layer of cake on top.
- Frost cake with remainder of the vanilla frosting, (reserving some to the side if you want to add borders) and then add more sprinkles wherever you want for some pop of color!
Notes
- I piped a shell border around the top and bottom of my cake. Then I made some white chocolate hearts by melting white chocolate and piping heart shapes and added sprinkles. Once them were set up, I placed them in the middle of my cake for a simple and cute decorative!
- You can also make your own buttermilk at a ratio of 1 cup whole milk to 1 tablespoon fresh lemon juice. Combine and let it sit 10 minutes to curdle then stir and use.
Keyword: birthday cake, cake, party dessert, sprinkles, vanilla cake, vanilla frosting
Tried This Recipe? Let us know how it was by commenting below!


