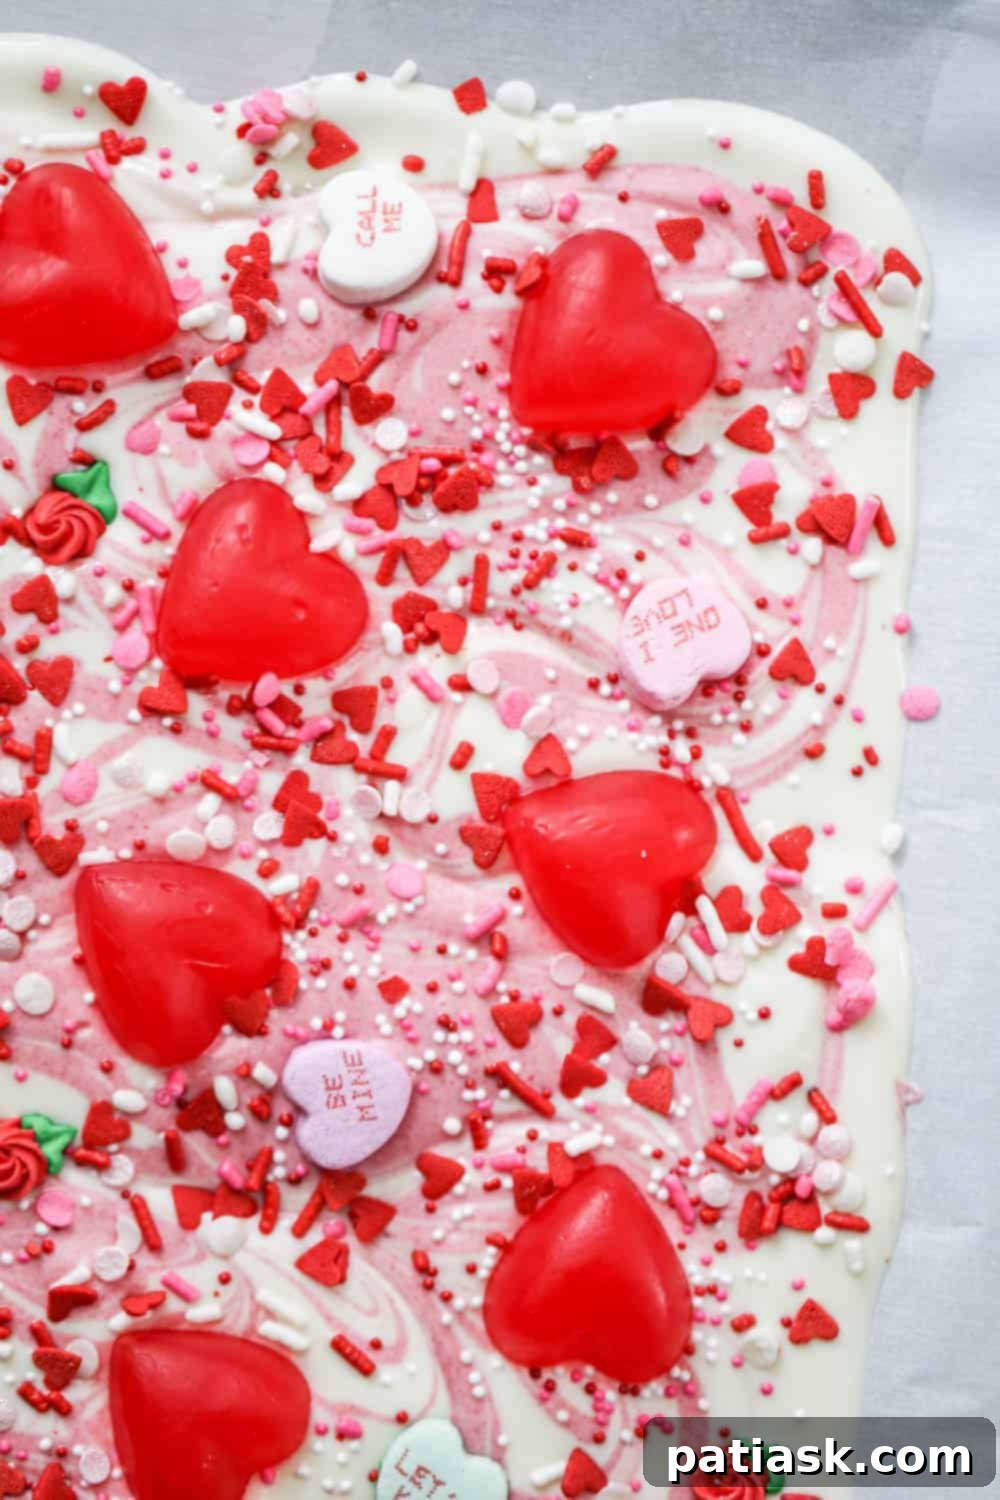
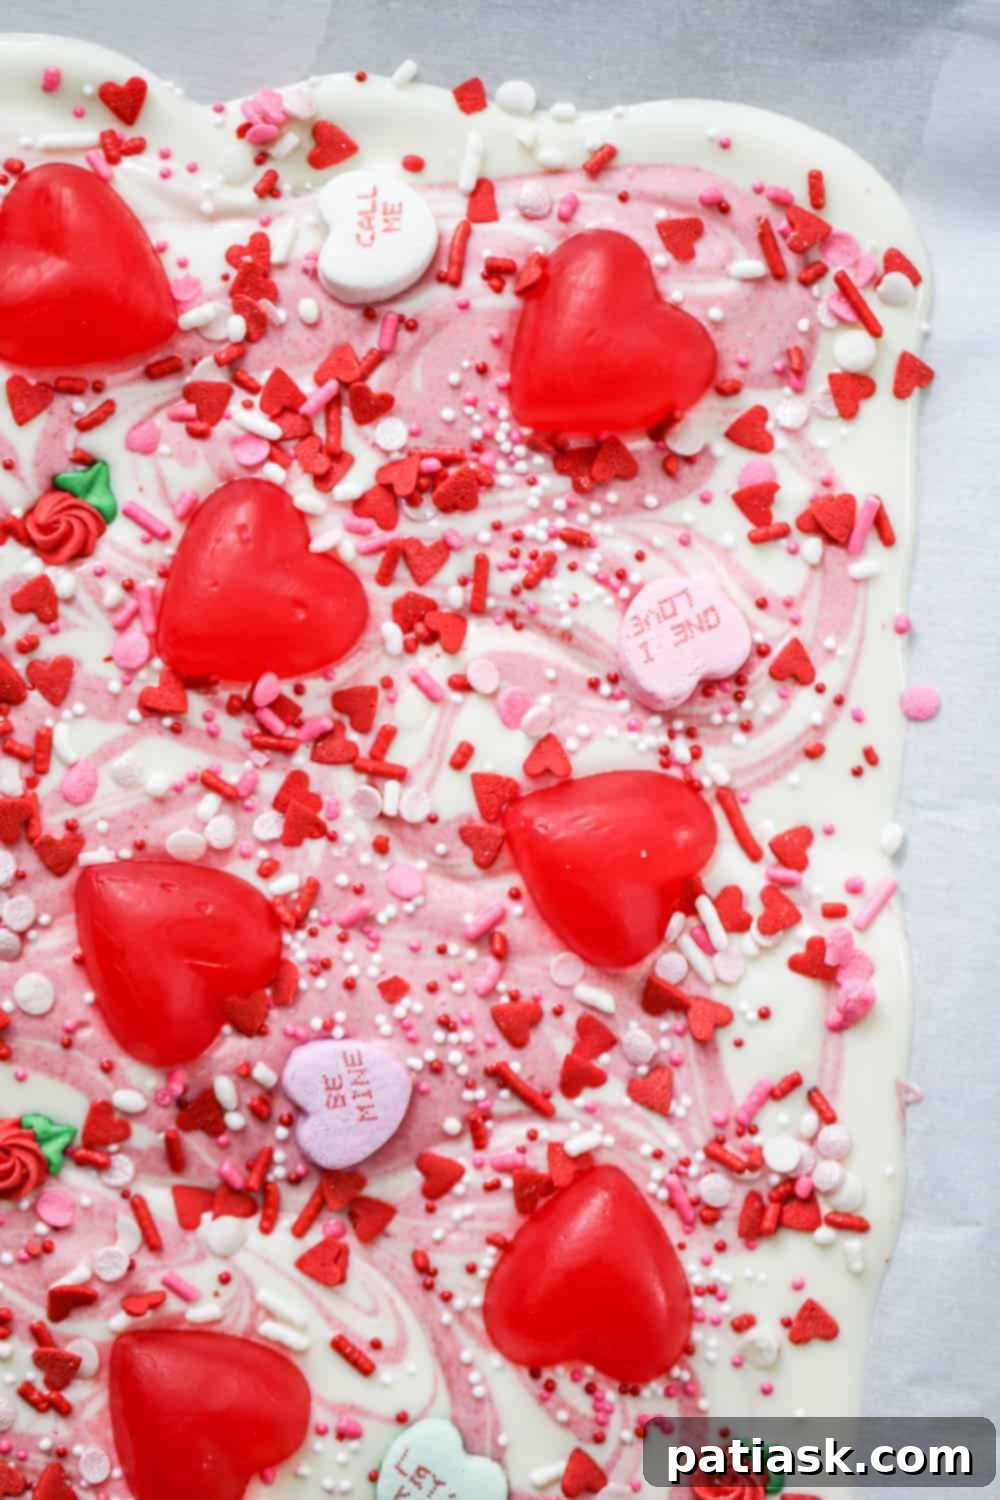
Delight in the sweet simplicity of our Easy Valentine Chocolate Bark Recipe, a perfect way to celebrate love and friendship on Valentine’s Day. This festive treat, adorned with vibrant sprinkles and romantic pink swirls, is a true indulgence for anyone who cherishes chocolate and candy. Imagine a beautifully marbled chocolate canvas, generously sprinkled with your favorite Valentine’s themed candies – it’s not just a dessert, but a heartfelt edible gift or a joyous centerpiece for any celebration of love.
For those who love to explore the versatile world of chocolate bark, you’re in for a treat! Expand your culinary adventures with our Loaded Caramel Apple Pretzel Bark, embrace whimsy with Easy Unicorn Bark, or get ready for spring with M&M® Easter Egg Chocolate Bark. Each recipe offers a unique flavor profile and a burst of creativity, proving that chocolate bark is a canvas for endless delicious possibilities.
Why This Valentine Chocolate Bark Will Melt Your Heart
Preparing delectable treats for Valentine’s Day doesn’t have to be complicated. This Valentine Chocolate Bark stands out as one of the simplest yet most impressive candy recipes you can whip up. Its charm lies in its effortless customization and the sheer joy it brings, making it a beloved choice for all ages. Here are compelling reasons why this recipe will become your go-to Valentine’s Day confection:
- Unmatched Simplicity: Seriously, this recipe defines easy. With minimal steps and ingredients, even novice bakers can achieve stunning results. It’s the perfect project for a busy schedule, promising a homemade touch without the stress.
- Limitless Customization: The beauty of chocolate bark is its adaptability. You are the artist! Choose your favorite chocolates – be it creamy white, rich milk, or intense dark – and an assortment of candies and sprinkles to reflect your unique taste or the preferences of your loved ones. This flexibility ensures every batch is distinctively yours.
- Festive & Visually Stunning: The addition of cheerful sprinkles and elegant pink swirls elevates this bark from a simple sweet to a festive masterpiece. It’s a delightful visual treat that instantly sets a celebratory mood, perfect for Valentine’s Day gatherings or as a charming gift.
- Kid-Friendly Fun: This recipe is an excellent opportunity to get children involved in the kitchen. They’ll love selecting and decorating with candies and sprinkles, making it a fun and memorable activity for the whole family. It fosters creativity and provides a sweet reward for their efforts.
- Cost-Effective Gifting: Homemade gifts carry a special sentiment, and this chocolate bark is no exception. It’s an economical alternative to expensive store-bought chocolates, allowing you to create personalized, high-quality treats that convey thoughtfulness and affection.
- Versatile for Any Occasion: While designed for Valentine’s Day, the core recipe is incredibly versatile. By simply changing the colors of your swirls and the types of toppings, you can adapt this bark for any holiday or special event throughout the year – think green and red for Christmas, pastels for Easter, or autumnal hues for fall celebrations.
Essential Ingredients for Your Valentine’s Day Chocolate Bark
Crafting the perfect Valentine Chocolate Bark begins with a careful selection of ingredients. Quality truly makes a difference in the flavor and texture of your finished product. Here’s what you’ll need to create this enchanting treat, alongside ideas for making it truly yours:
- 10 ounces Chocolate Melts: The foundation of your bark. While the recipe suggests 10 ounces for a standard batch, feel free to adjust based on your desired thickness and quantity. We recommend using high-quality chocolate melts for a smooth, even texture and superior flavor. Consider Ghirardelli chocolate melts for their renowned quality. If you plan to add a decorative swirl, have extra colored candy melts on hand, such as pink or red, or prepare to color a portion of your white chocolate melts (instructions included below).
- Valentine Candies: This is where your creativity shines! The options are endless and can cater to any preference. Think sweet heart gummies, classic conversation hearts, mini chocolate candies, crushed pretzels for a salty crunch, chopped nuts for texture, dried cranberries for a tart counterpoint, or even small marshmallows. Choose what speaks to your heart and adds visual appeal.
- Sprinkles: No festive bark is complete without sprinkles! Opt for Valentine’s color-coordinated sprinkles in shades of red, pink, and white. You can use classic jimmies, tiny nonpareils, sanding sugar for a glistening effect, or elaborate sprinkle mixes designed for the holiday. They add both texture and a burst of celebratory color.


Understanding Your Chocolate Melts for Perfect Bark
The secret to a truly exceptional chocolate bark lies in the quality and type of chocolate you choose. Selecting the right melting chocolate ensures a smooth texture, vibrant finish, and holds toppings securely. Here’s a deeper look into the world of chocolate melts:
- The Ghirardelli Difference: For an unparalleled melting experience and exquisite taste, we highly recommend Ghirardelli Melting Chocolate Wafers. These wafers are renowned for their smooth melting properties, making them ideal for a variety of confectionery applications, including fondues, candy dipping, and of course, chocolate bark. Their consistent quality guarantees a luxurious base for your Valentine’s treat.
- Effortless Melting & Setting: Ghirardelli wafers are designed to melt evenly and set firmly, providing a satisfying snap when broken. This characteristic is crucial for bark, preventing it from being too soft or crumbly. They are perfectly suited for use in delicate creations like cake pops and fruit dipping, adding a touch of gourmet sweetness to any dessert.
- Convenience in Every Bag: Forget the tedious task of chopping chocolate bars! These wafers are uniformly sized, ensuring they melt consistently and quickly. Plus, the convenient zip-up pouch allows for easy portioning and keeps your leftover melts fresh for future baking endeavors.
- Exploring Other Options: Wilton Candy Melts are another fantastic choice, especially if you’re looking for a wide array of colors for your swirls or base. They perform similarly to Ghirardelli and are widely available. While you can certainly melt down chocolate chips or chopped candy bars, always opt for good quality chocolate. A superior base chocolate will always translate to a great-tasting bark. After all, the chocolate is the star of the show!
- Color Your World: For our Valentine bark, we chose a classic white chocolate base with elegant pink swirls, creating a romantic aesthetic. However, don’t limit yourself! Feel free to experiment with dark chocolate for a rich, intense flavor, milk chocolate for a creamy, familiar sweetness, or semi-sweet chocolate for a balanced profile. Each choice will yield a delicious and unique bark that caters to different palates.

Step-by-Step Instructions: Crafting Your Valentine Chocolate Bark
Creating this festive Valentine Chocolate Bark is a straightforward and rewarding process. Follow these detailed steps to ensure a beautifully smooth, perfectly topped, and irresistibly delicious treat. Get ready to impress your loved ones with your confectionery skills!
- Prepare Your Workspace: Begin by lining a standard baking sheet (approximately 9×13 inches) with parchment paper. This crucial step prevents the chocolate from sticking and makes for easy removal and cleanup. Ensure the parchment paper extends slightly over the edges for a clean lift.
- Melt Your Base Chocolate: Place 10 ounces of your chosen chocolate melts (such as white, milk, or dark chocolate) into a microwave-safe bowl. Heat the chocolate in your microwave at 20 to 30-second intervals. After each interval, remove the bowl and stir the chocolate thoroughly with a rubber spatula. This gentle, consistent stirring is vital for properly tempering your chocolate, ensuring it melts smoothly without seizing and achieves a glossy finish with a satisfying snap once set. Continue until the chocolate is completely melted and creamy.
- Prepare Your Swirl Color (Optional): If you desire a beautiful colorful swirl, take approximately 3-4 tablespoons of your melted base chocolate and transfer it to a separate small container. Add a few drops of oil-based food coloring (like Wilton Candy Colors) to tint it. Remember, do NOT use water-based food coloring, as this will cause your chocolate to seize and become unusable. Oil-based colors blend seamlessly without affecting the chocolate’s texture. Alternatively, to simplify this step, you can simply purchase pre-colored candy melt wafers (e.g., pink or red) and melt them separately. Set your colored chocolate aside for the swirling step.
- Spread the Chocolate Base: Pour the majority of your melted base chocolate onto the prepared parchment-lined baking sheet. Using the back of a spoon or an offset spatula, carefully spread the chocolate into an even layer, aiming for a thickness of about ¼ inch. Ensure it reaches close to the edges for a uniform bark.
- Add the Swirl (if using): Drizzle your prepared colored chocolate randomly over the spread-out base chocolate. You can create dots, lines, or abstract patterns – there’s no wrong way to do it!
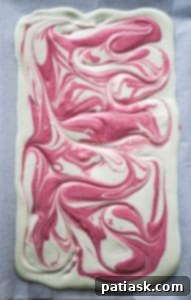
- Create the Swirl Effect: Take a knife, a toothpick, or a lollipop stick and gently drag it through both chocolates on the baking sheet. Use swirling, zigzagging, or figure-eight motions to artfully combine the colors, creating a beautiful marbled effect. Be careful not to overmix, as this can cause the colors to blend too much and lose their distinct swirl.
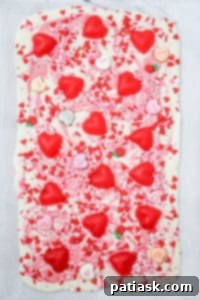
- Decorate with Toppings: Immediately after swirling, while the chocolate is still perfectly melted and pliable, generously scatter your chosen Valentine candies and decorative sprinkles over the entire surface. Press them down gently to ensure they adhere well to the warm chocolate. This is the fun part where you truly personalize your bark!
- Chill to Perfection: Carefully transfer the baking sheet with your freshly decorated chocolate bark to the refrigerator. Allow it to chill for at least one hour, or until the chocolate is completely set and firm to the touch. This chilling process helps the bark harden properly and ensures a clean break.
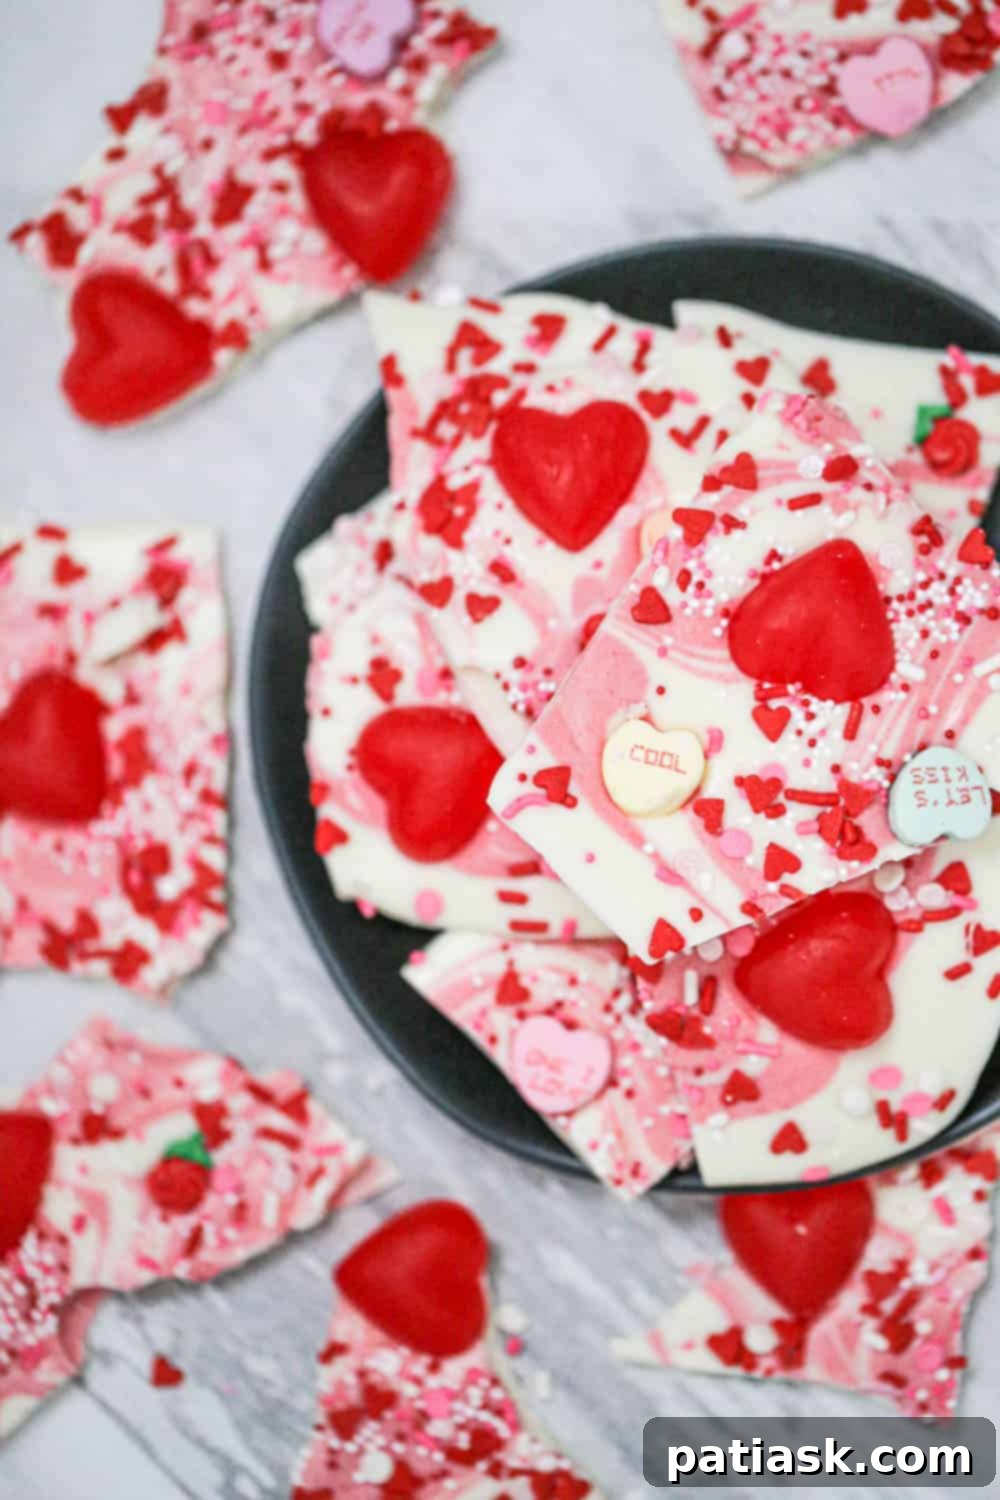
- Break and Serve: Once fully set, remove the bark from the refrigerator. Gently lift the parchment paper from the baking sheet. Break the large sheet of chocolate into irregular, bite-sized pieces using your hands. Arrange the beautiful pieces on a platter and serve this delightful Valentine Chocolate Bark to share the love!
Storing Your Valentine Bark for Lasting Freshness
Proper storage is key to maintaining the delicious taste and crisp texture of your homemade Valentine Chocolate Bark. Follow these simple guidelines to ensure your festive treat stays fresh for as long as possible:
- Airtight is Right: Once your chocolate bark has fully set and been broken into pieces, transfer them to an airtight container. This prevents exposure to air, which can cause the chocolate to oxidize, leading to a dull appearance and stale taste.
- Cool, Dry Place: Store the airtight container in a cool, dry place. The ideal temperature is typically below 70ºF (21ºC). Avoid areas prone to humidity or direct sunlight, as these conditions can cause the chocolate to bloom (develop a white, powdery film) or melt.
- Room Temperature is Fine: Properly tempered chocolate bark, made with quality ingredients, does not require refrigeration for long-term storage. It will remain perfectly fresh and delightful at room temperature for several weeks, if stored correctly. Refrigeration can sometimes introduce moisture, leading to sugar bloom, and may dull the chocolate’s flavor. However, if your kitchen is particularly warm, a quick chill before serving can be beneficial.
- Avoid Extreme Temperatures: Rapid temperature changes can also affect the chocolate’s appearance and texture. Try to keep the bark in a stable environment.
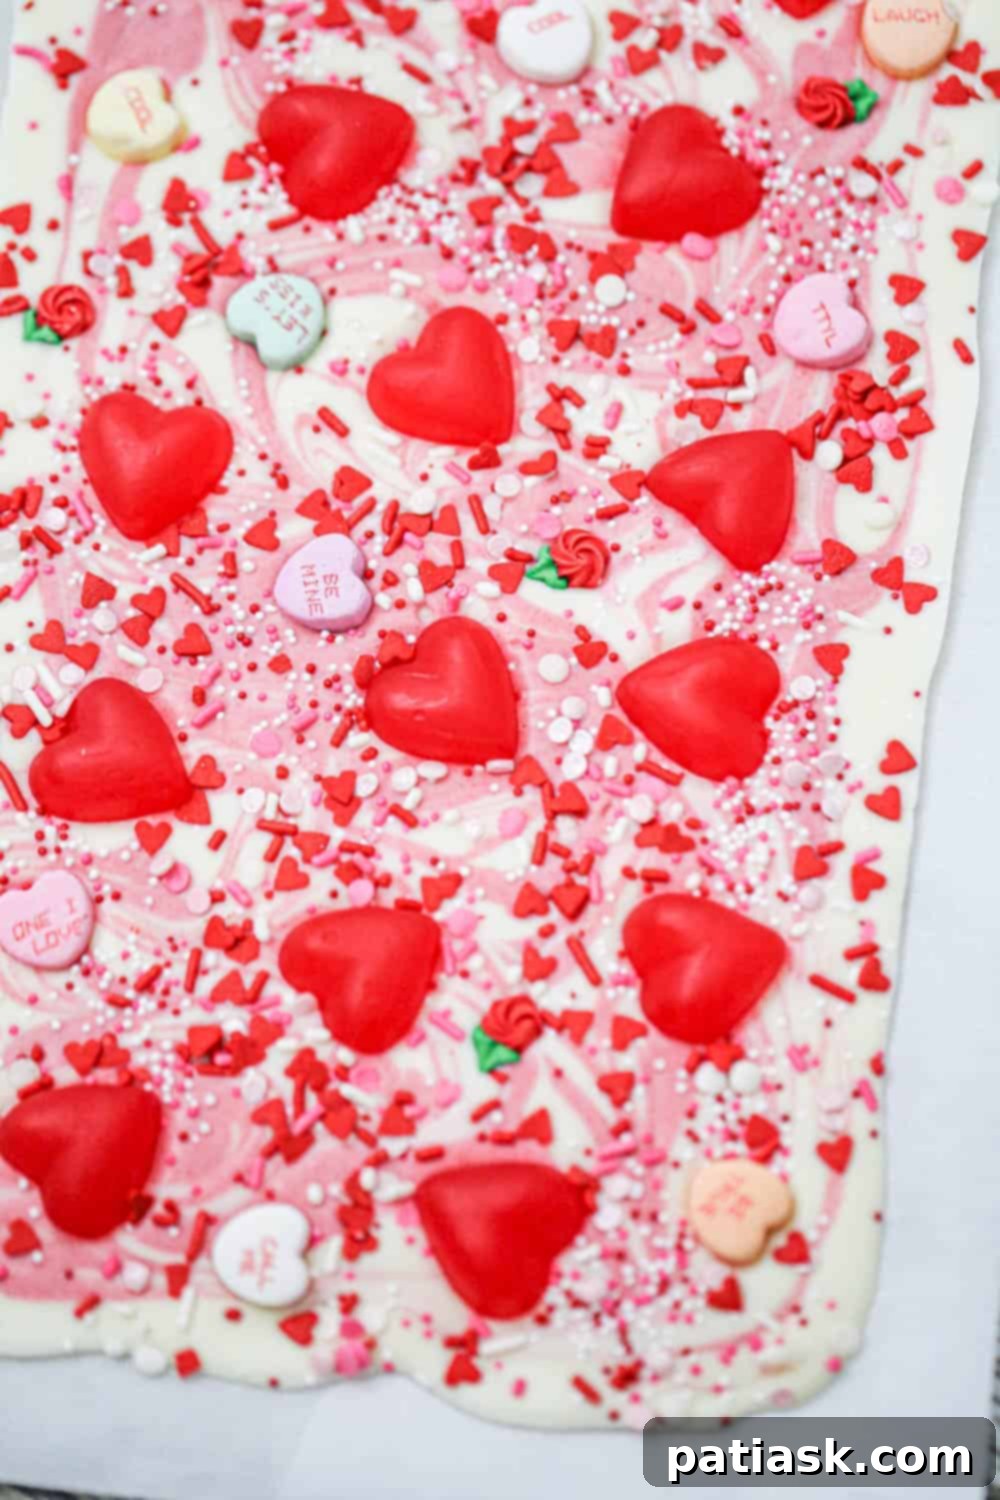
This delightful Valentine’s Day chocolate bark recipe is a testament to how quick and easy homemade treats can be. Requiring just 5-10 minutes of active preparation time, it’s perfect for anyone looking to create something special without spending hours in the kitchen. Both kids and adults alike will be absolutely thrilled to dive into this fun and festive Valentine chocolate bark. It’s an ideal choice as a heartfelt gift for the loves of your life, or as a quick and utterly delicious sweet treat for any party or gathering where you want to spread a little joy and sweetness!
Beyond Valentine’s Day, this versatile recipe encourages endless creativity. You can invent your own unique versions for every season and holiday simply by changing the colors of your chocolate swirls and adapting the toppings to match the theme. Imagine spooky Halloween bark, vibrant Easter bark, or sparkling Christmas bark! For an extra special touch, break pieces of this candy bark and place them artfully on top of cookies or cupcakes to elevate your desserts. Enjoy the process of creating and, most importantly, savor every delicious bite!
Discover More Irresistible Chocolate Bark Ideas!
If you’ve fallen in love with the ease and versatility of chocolate bark, you’re in for a treat! Explore a world of flavors and themes with our collection of other fantastic bark recipes. Whether you’re craving something fruity, nutty, or intensely chocolatey, there’s a bark recipe waiting to become your next favorite indulgence.
- M&M® Easter Egg Chocolate Bark – A colorful, candy-studded delight perfect for spring.
- 3 White Chocolate No-Bake Festive Candy Recipes – Quick and easy no-bake options featuring creamy white chocolate.
- Sour Gummi & Starburst Jelly Bean Bark {Easter Bunny Approved!} – A tangy and sweet bark bursting with fruity flavors.
- Ooh-la-la Chocolate Peppermint Marshmallow Bark – A refreshing and minty bark, perfect for the holiday season.
- Keto Chocolate Almond Joy Bark – A low-carb option that doesn’t compromise on flavor.
- 17 Valentine Treats To Swoon Over! – A comprehensive list of romantic desserts for your special someone.
- 4 Holiday Chocolate Bark Recipes – Versatile bark ideas for various festive occasions.
- Valentine Milk Chocolate Brownie Bites – Rich and decadent bites for chocolate lovers.
- Valentine Chocolate Peanut Butter Hearts – A classic flavor combination in a festive heart shape.
Easy Valentine Chocolate Bark
By Kim Lange
Pin Recipe
Ingredients
- 10 ounces Chocolate Melts (plus, extra colored melts if adding swirl to your bark or see how to make swirl colored in instructions)
- Valentine Candies (whatever you like)
- Sprinkles (whatever you like)
Instructions
- Prepare a baking sheet with parchment paper. Melt 10 ounces of chocolate melts in the microwave in a microwave-safe bowl at 20 or 30 second intervals until completely melted, make sure to stir in between each interval to properly temper your chocolate.
- If you are adding a colorful swirl to the chocolate bark, take about 3-4 tablespoons of your melted chocolate into another container and add some type of oil based food color to color your candy melts. Do not use water-based as this will seize up your chocolate. The only way to maybe salvage it is to add some vegetable or canola oil to it, but not guaranteed. Use something like Wilton Candy Colors or something similar. It’s concentrated oil-based colors that blend easily with candy melts. Or to simplify, just buy some red or pink colored candy melt wafers, melt them, then swirl them in. Set aside to make the chocolate bark.
- Pour the chocolate onto the parchment paper and spread it out in an even layer using the back of a spoon or offset spatula.
- Add the colored chocolate by pouring it randomly over the chocolate.
- Using a knife, toothpick or lollipop stick, make swirling motions all over the pan to combine chocolates together.
- While the chocolate is still melted, add candies and decorative sprinkles on top, so they stick to your bark.
- Place chocolate in fridge for at least one hour. Once it is set up, break into pieces and serve.


