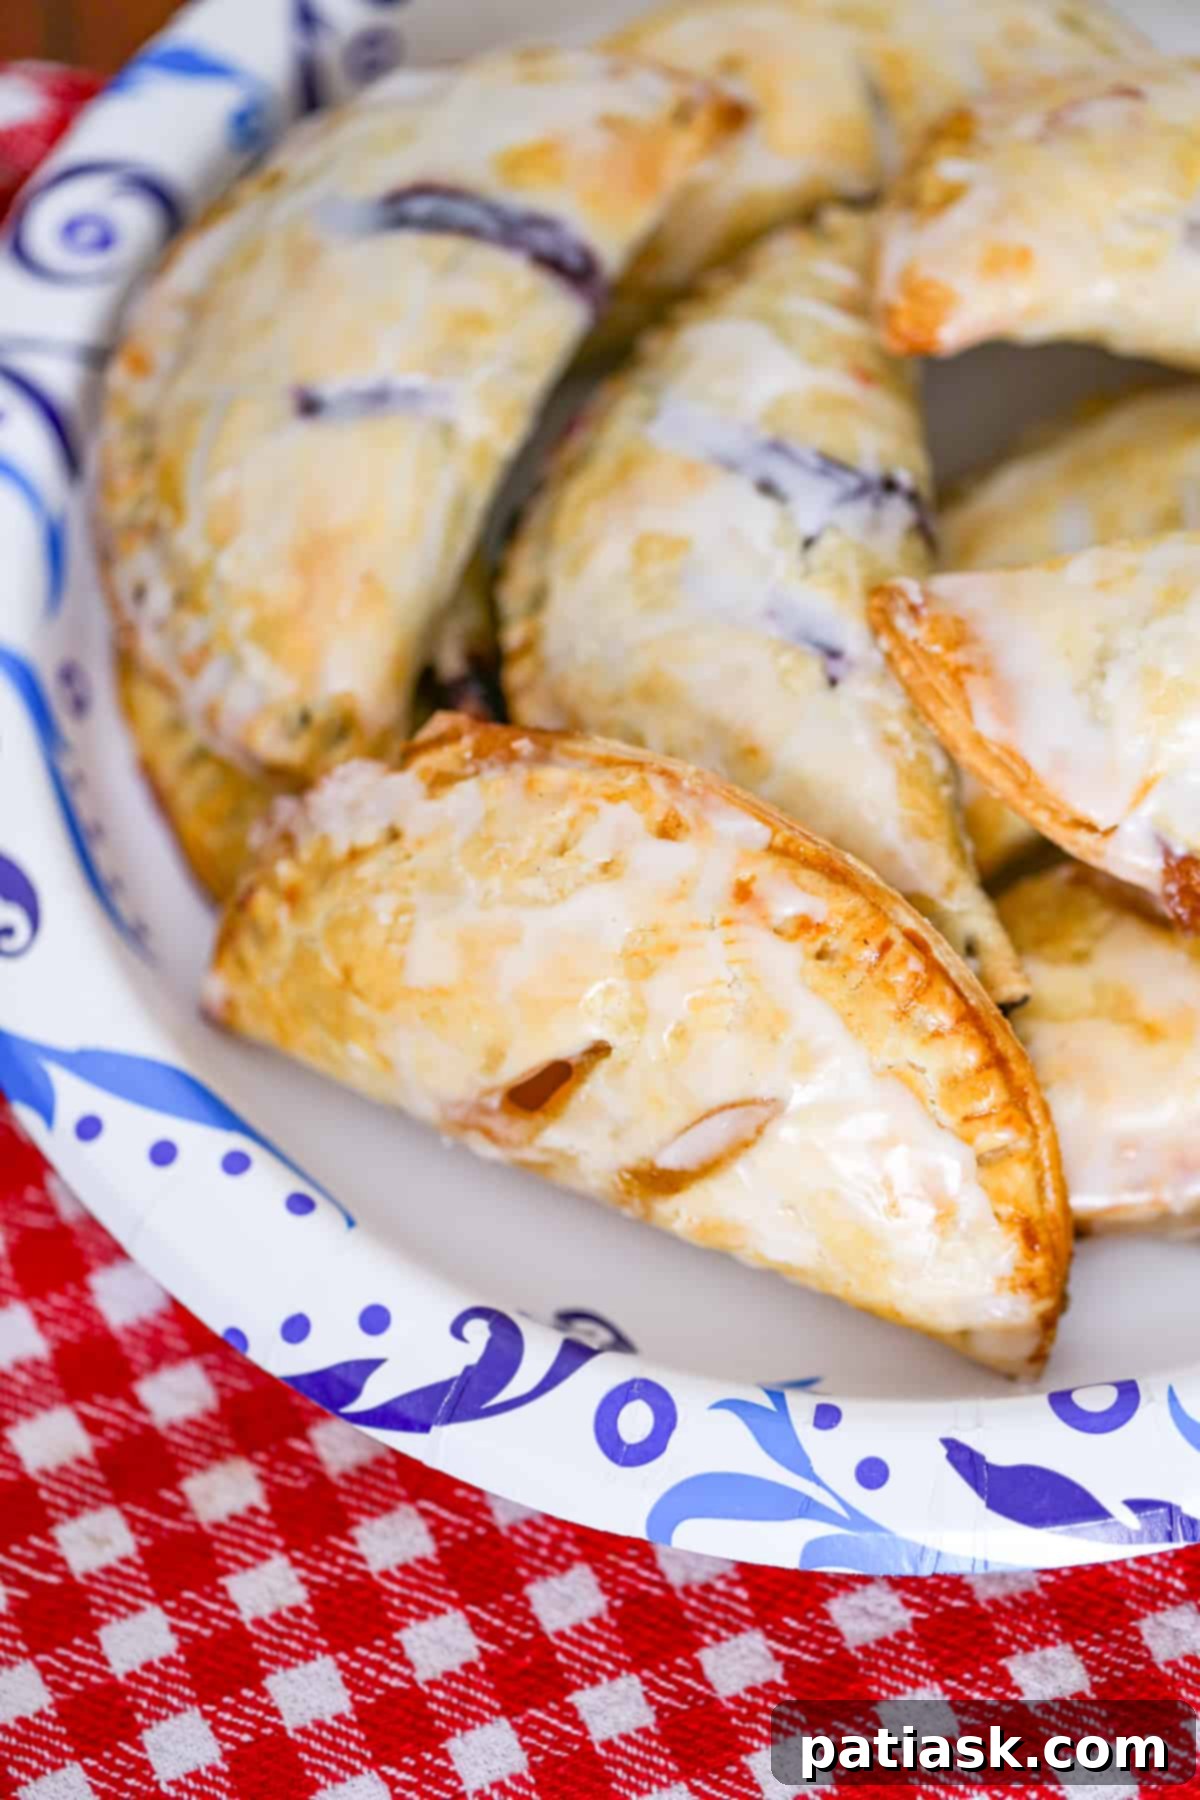
Easy Fruit Hand Pies: Your Go-To Recipe for Delicious, Portable Treats
Indulge in the delightful taste of homemade goodness without spending hours in the kitchen! These easy-to-make mini fruit hand pies offer a perfect blend of convenience and deliciousness. Whether you crave the sweet tang of blueberry, the juicy softness of peach, the classic comfort of apple, or the vibrant burst of strawberry, these handheld treasures are guaranteed to satisfy your sweet tooth with minimal effort.
Looking for more pie inspiration? You’ll also love these Easy Mini Pumpkin Pies, discover 15 Popular Easy Cream Pies You’ll Love, and don’t miss this decadent Reese’s Peanut Butter Pie!
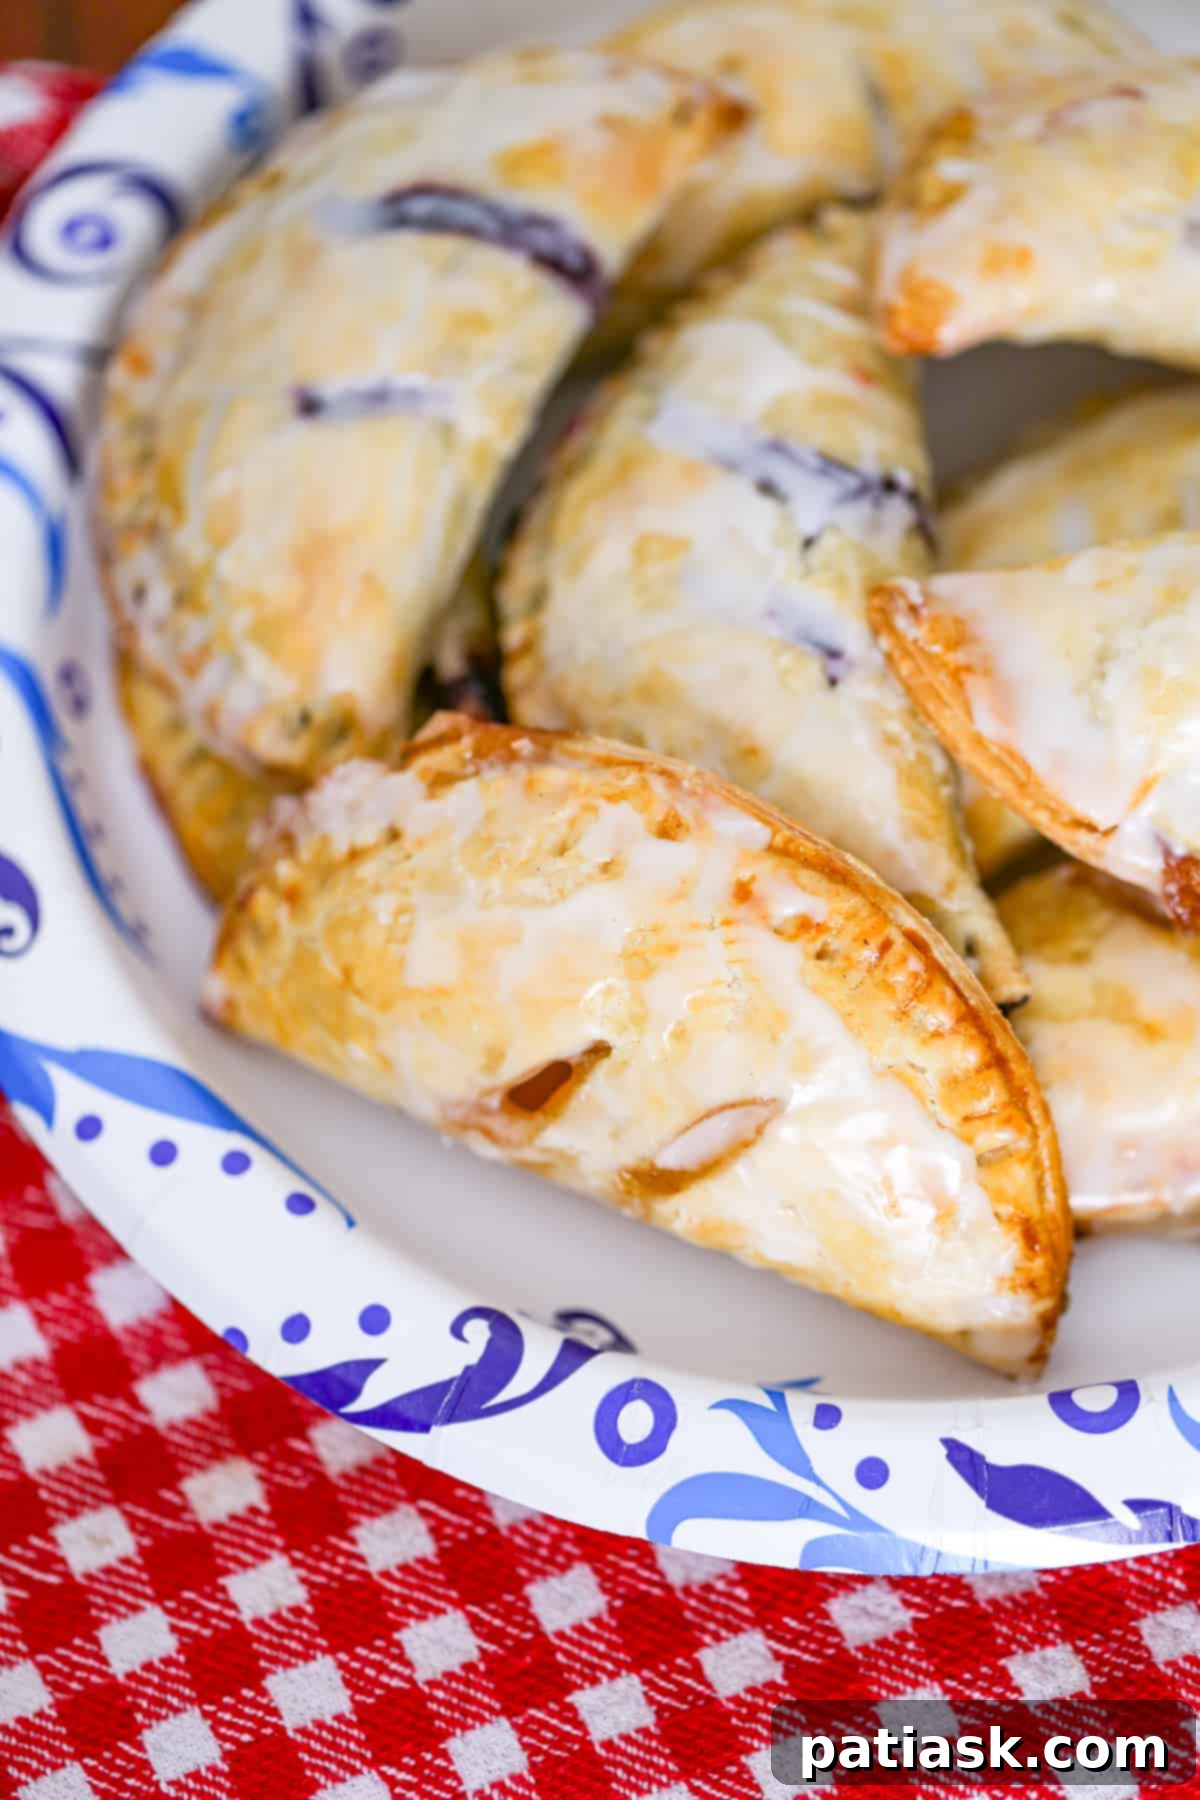
What Exactly Are Fruit Hand Pies?
A hand pie is essentially a mini, individual-sized pie, perfectly proportioned to fit in the palm of your hand. These delightful pastry pockets can be either sweet or savory, though our focus today is on the irresistible sweet fruit varieties. To create a hand pie, a small dollop of filling is placed onto a piece of pie dough—typically cut into a round or rectangular shape—then folded over and carefully sealed. The beauty of these small wonders lies in their simplicity; they are surprisingly much easier and quicker to assemble and bake than a traditional, full-sized pie. Imagine all the deliciousness of your favorite pie, but in a convenient, portable format that requires no plates or forks!
Why You’ll Fall in Love with This Easy Hand Pie Recipe
There’s nothing quite as comforting as the aroma of freshly baked fruit pies filling your home. With this incredible shortcut recipe, you can achieve that comforting feeling without any of the fuss, in hardly any time at all. Making delectable fruit hand pies at home truly is a cinch!
With just a few simple ingredients and straightforward steps, you can have a batch of these delectable pies ready in no time. They offer the perfect harmony of sweet and tart flavors that everyone will adore. This easy fruit hand pie recipe, featuring smart shortcuts, allows you to create an impressive dessert that tastes like you’ve been baking all day, even when you haven’t!
Here’s why these easy fruit hand pies will become your new favorite:
- Effortlessly Easy: Whether you opt for clever shortcuts or prefer to craft them from scratch, the process is straightforward and the results are consistently amazing.
- Perfectly Portable: These sweet treats are ideal for lunchboxes, quick after-school snacks, picnics, road trips, or simply whenever a craving for a fruity pie strikes.
- Highly Customizable: Get creative! Choose any type of fruit filling you desire to tailor them to your taste.
- Versatile Cooking Methods: While baking is classic, you can also use an air fryer or a toaster oven for quick, crispy results. (Air fryer instructions are included!)
- Irresistible Warm or Cold: Enjoy them straight from the oven with a scoop of vanilla ice cream, or savor them chilled as a refreshing treat.
What truly makes this hand pie recipe shine are the options it provides! We designed this recipe with an easy shortcut in mind, using convenient store-bought pie crust and pre-made pie filling. However, for those who love the satisfaction of baking from scratch, you can easily make your own pie filling or prepare a homemade pie crust. So, grab your apron, gather your ingredients, and let’s get started on baking some adorable and delicious fruit hand pies!
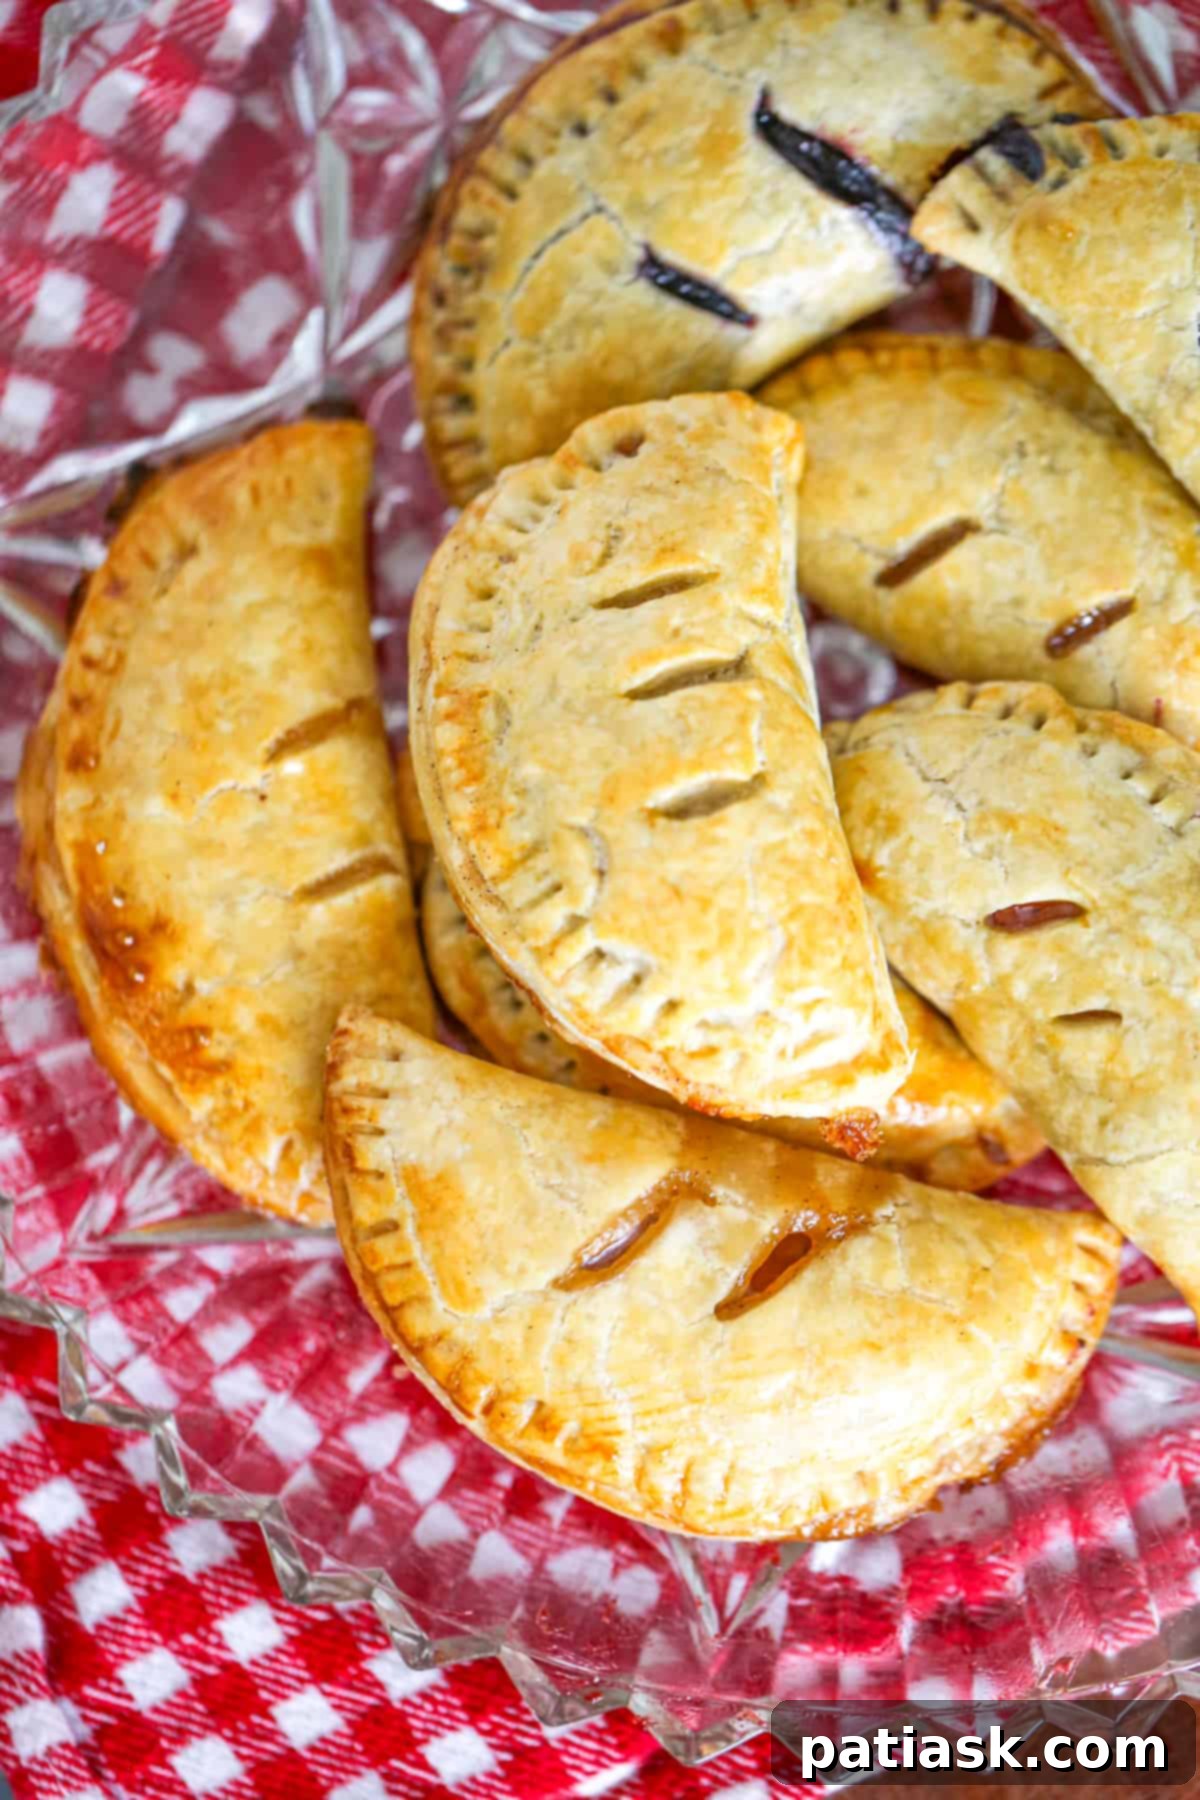
Gathering Your Ingredients: Shortcuts or Homemade, Your Choice!
The Shortcut to Deliciousness (For the Hand Pies)
This version focuses on speed and convenience, perfect for busy bakers!
- Pie Crust: One package of refrigerated pie crusts for a 9-inch double-crust pie (like Pillsbury premade pie crusts) is ideal for an easy shortcut. Alternatively, use your favorite homemade pie crust recipe if you prefer to make it from scratch.
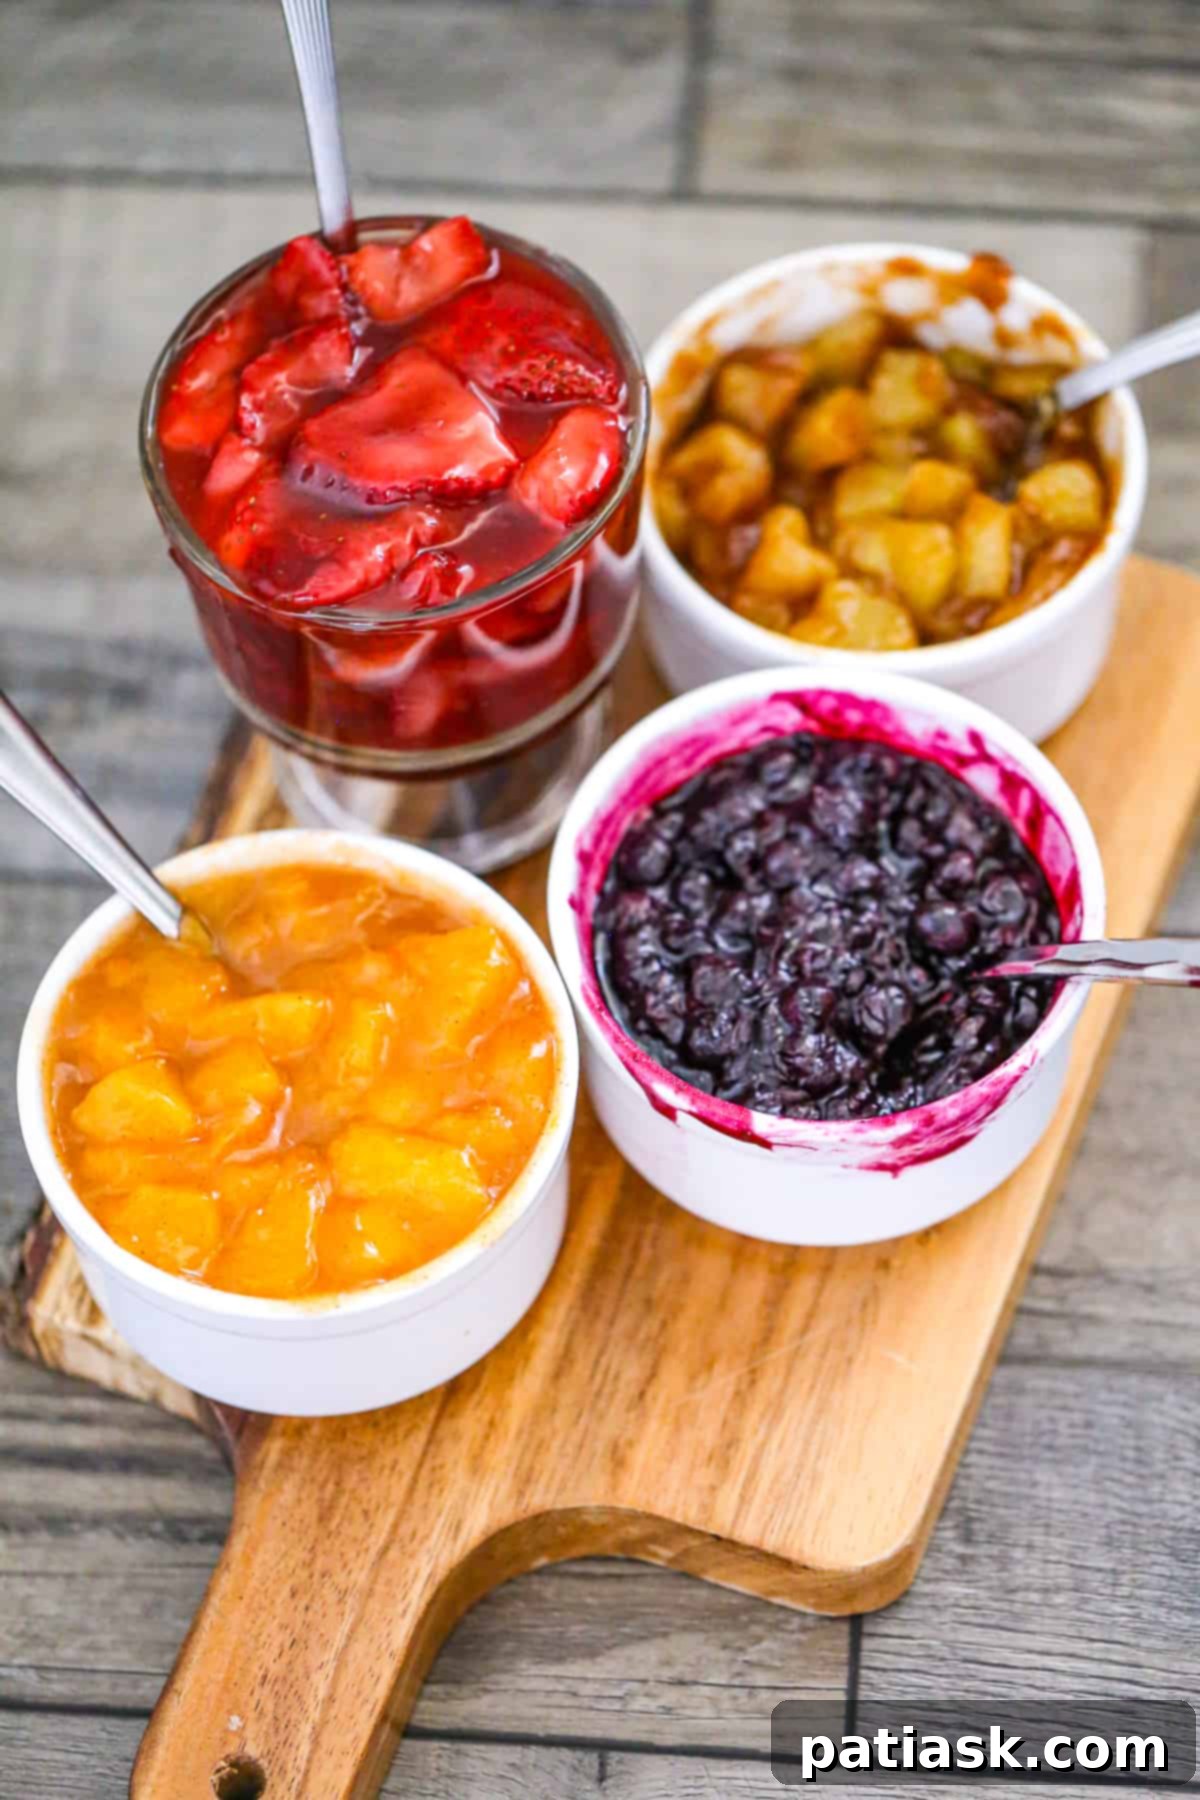
- Pie Filling: Approximately 2 cups of any canned pie filling of your choice. Popular options include blueberry, apple, peach, or strawberry. Using pre-made filling saves significant time and effort.
- Optional Toppings: A sprinkle of coarse sugar before baking for a sparkling finish, or a drizzle of simple powdered sugar glaze after cooling for extra sweetness and appeal.
Essentials for the Perfect Golden Crust (For the Egg Wash)
An egg wash provides a beautiful golden-brown color and a slight sheen to your baked hand pies, making them look professionally made.
- Egg Wash: 1 large egg, lightly beaten.

Crafting Your Own Irresistible Fruit Pie Filling
While canned pie filling offers incredible convenience, making your own homemade fruit filling is surprisingly easy and allows you to control the sweetness and flavor profile. You can use any type of fresh or frozen fruit that you have on hand or that is in season at your local market. This section guides you through creating a luscious, thick fruit filling from scratch.
For roughly 8-10 hand pies, you’ll need about 2 cups of fruit filling. To achieve this, start with approximately 4 cups of fresh or frozen (and defrosted) fruit. If you’re planning to make different homemade fruit or berry fillings, simply adjust the quantities of fruit and other ingredients proportionally to get your desired amount.
Ingredients for Homemade Fruit Filling
- Fruit: 4 cups of sliced or chopped fresh fruit, or frozen and defrosted fruit. Excellent choices include strawberry, apple, peach, blueberry, cherry, or raspberry.
- Thickener: 1/4 cup cornstarch to give the filling its desired consistency.
- Liquid: 2-3 tablespoons water to mix with the cornstarch.
- Flavor Enhancer: A pinch of salt to balance the sweetness.
- Sweetener: 1/2 cup sugar. Adjust this amount based on the natural sweetness of your fruit and your personal preference.
- Acidity: A squeeze of lemon or orange juice to brighten the fruit flavors.
- Optional Spices: Consider adding a dash of cinnamon, nutmeg, or cardamom, especially with apple or peach fillings, for extra depth of flavor.
Step-by-Step: Making Your Fruit Filling
- Stovetop Method:
- In a small bowl, briskly whisk the cornstarch into the water until smooth. This creates a slurry that will thicken your filling.
- In a medium saucepan, combine your chosen fruit, sugar, salt, and any additional spices or flavorings over medium heat.
- Cook the fruit mixture, stirring occasionally, for about 6 to 10 minutes, or until the fruit begins to soften and release its juices.
- Pour the cornstarch mixture into the softened fruit, stirring vigorously in a figure-eight pattern to prevent lumps. Continue stirring while bringing the mixture to a boil. Cook for an additional 2 minutes, or until the mixture thickens to a jelly-like consistency.
- Remove the pot from the stove. Transfer the hot filling into a bowl and allow it to cool for at least 15 minutes before using. This cooling step is crucial to prevent a soggy pie crust.
- Microwave Method: For a quicker alternative, you can also prepare the fruit filling in the microwave. Combine all ingredients in a microwave-safe bowl and cook on high for 3-5 minutes, stirring halfway through, until the fruit is soft and the mixture has thickened.
How to Bake Up Perfect Fruit Hand Pies Every Time
Now that your ingredients are ready, it’s time to assemble and bake these delightful fruit hand pies. Follow these steps for a perfect batch of golden, flaky treats.
Preparing Your Hand Pies (Shortcut Fruit Hand Pie Recipe)
- Prepare Your Oven: Preheat your oven to a precise 400°F (200°C). Line a large baking sheet with parchment paper or a silicone baking mat to prevent sticking and make cleanup easier.
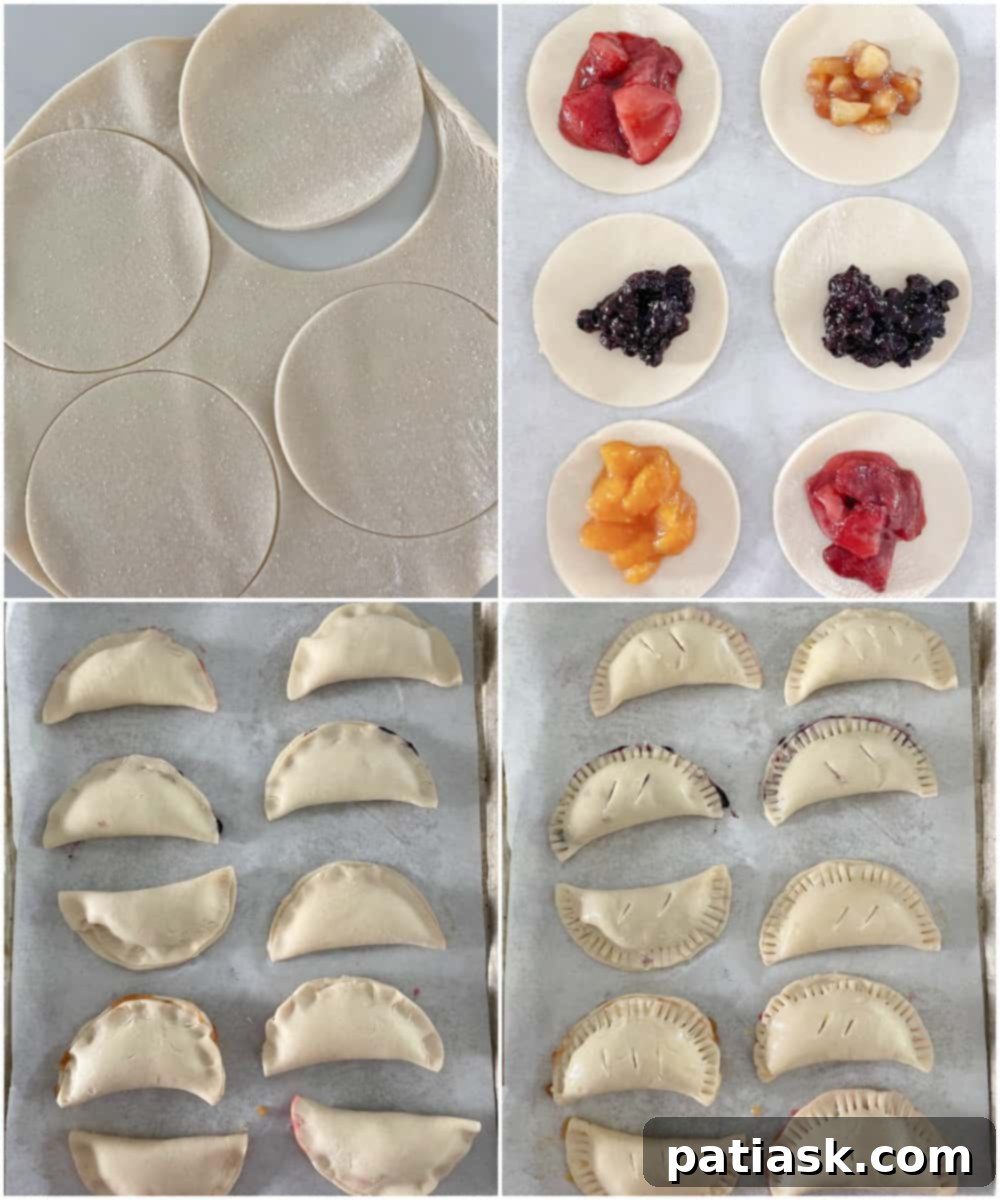
- Roll Out the Dough: Lightly sprinkle your clean working surface with a bit of flour. Carefully unroll your chilled pie crust. Using a rolling pin, gently expand the dough to approximately 12 inches long and 20 inches wide, ensuring an even thickness. Then, using a 5-inch round cookie cutter or a sharp knife, cut the dough into 8-10 circles. For a rustic look or if you prefer a different shape, you can also cut the dough into smaller rectangular sizes, each measuring about 5 inches wide and 6 inches long.
- Fill and Seal: Place about 2 generous spoonfuls of your favorite (and cooled!) pie filling into the center of each dough circle or rectangle. Using a pastry brush or your finger, lightly moisten the edges of the dough with the beaten egg wash. Carefully fold one half of the dough over the filling to meet the other edge, creating a semi-circle or a smaller rectangle. Gently press down around the edges of the folded pastry packet to seal it securely. Then, use the tines of a fork to crimp the edges, not only adding a decorative touch but also ensuring a tight seal that prevents the filling from escaping during baking.
- Vent and Brush: Carefully transfer the assembled hand pies to your prepared baking sheet, leaving some space between each one. With a sharp knife, cut 2-3 small slits into the top of each pie. These vents allow steam to escape, preventing the pies from bursting and ensuring a beautifully flaky crust. Finally, brush the tops of the pies generously with the remaining egg wash. If desired, sprinkle a little coarse sugar over the tops for a sparkling, slightly crunchy finish.
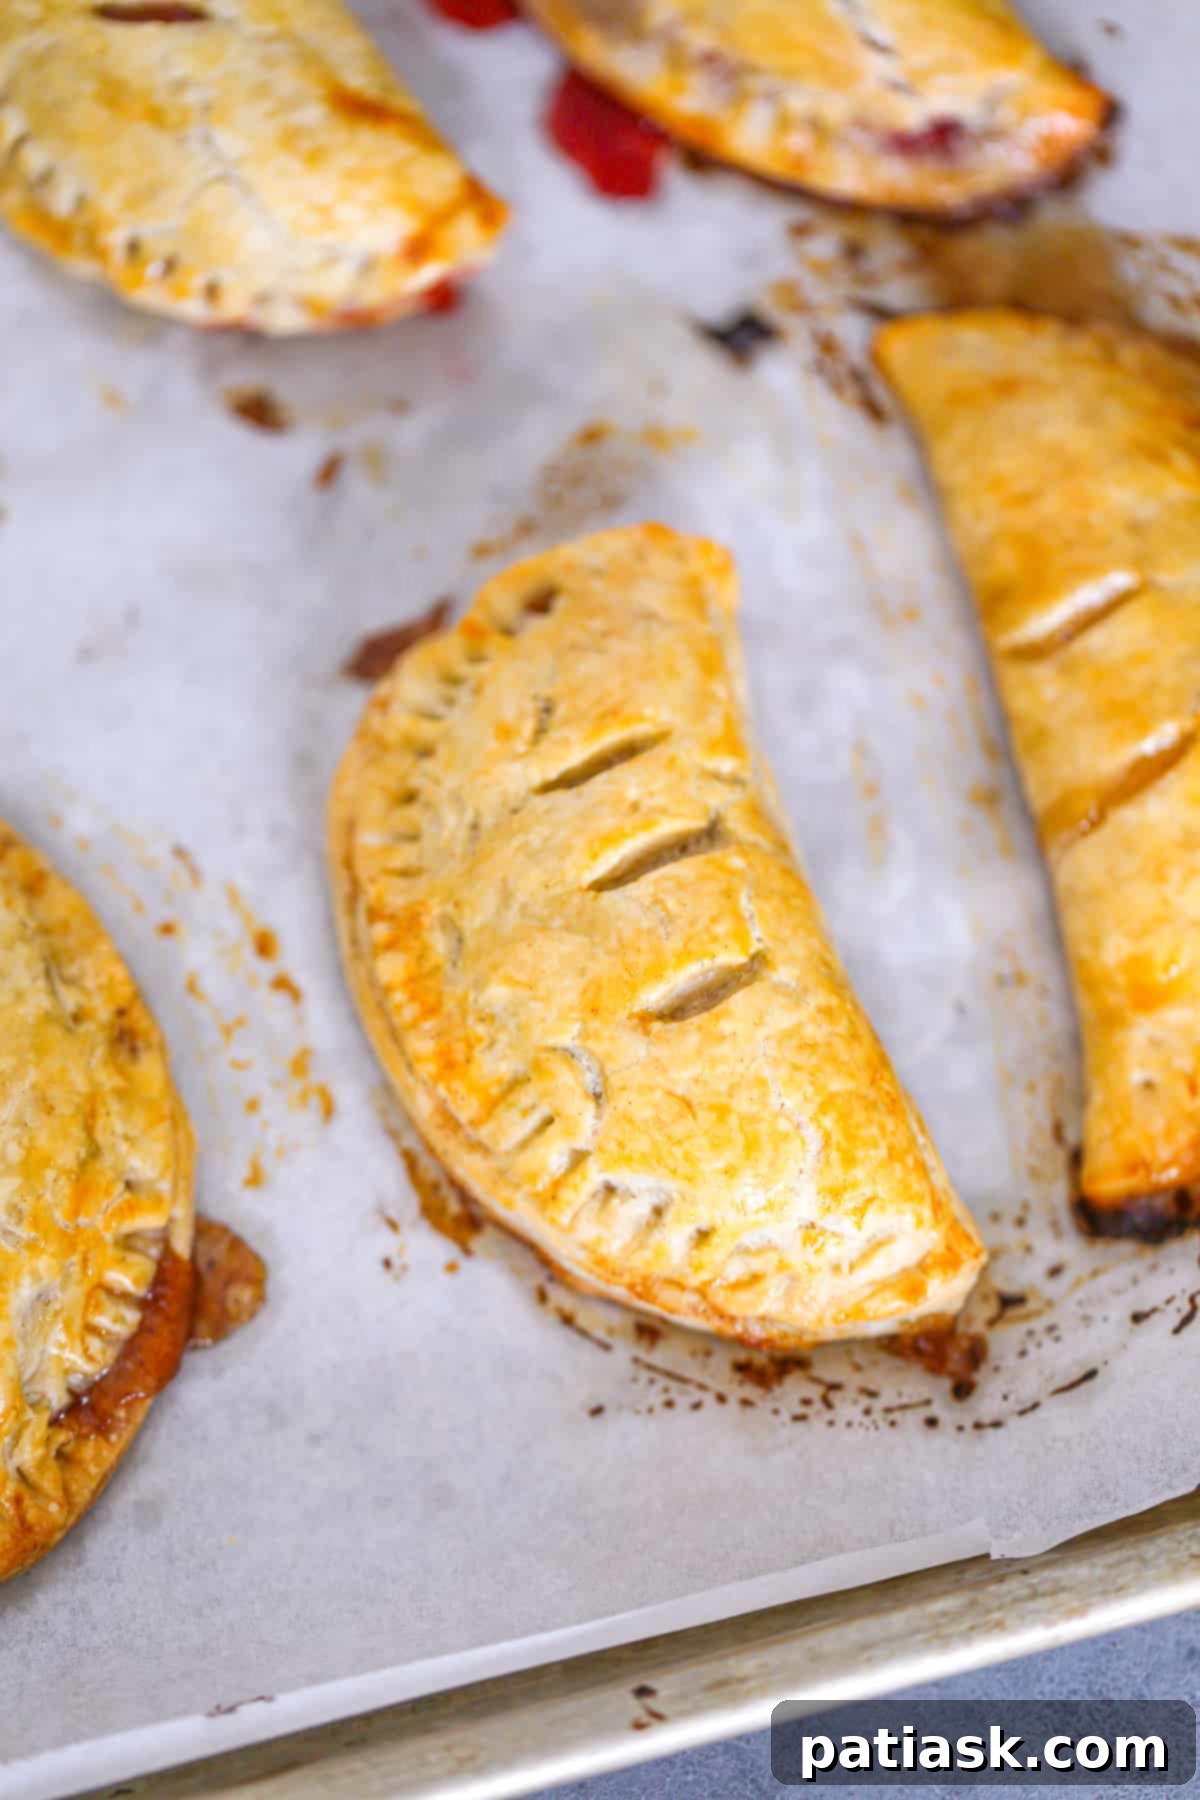
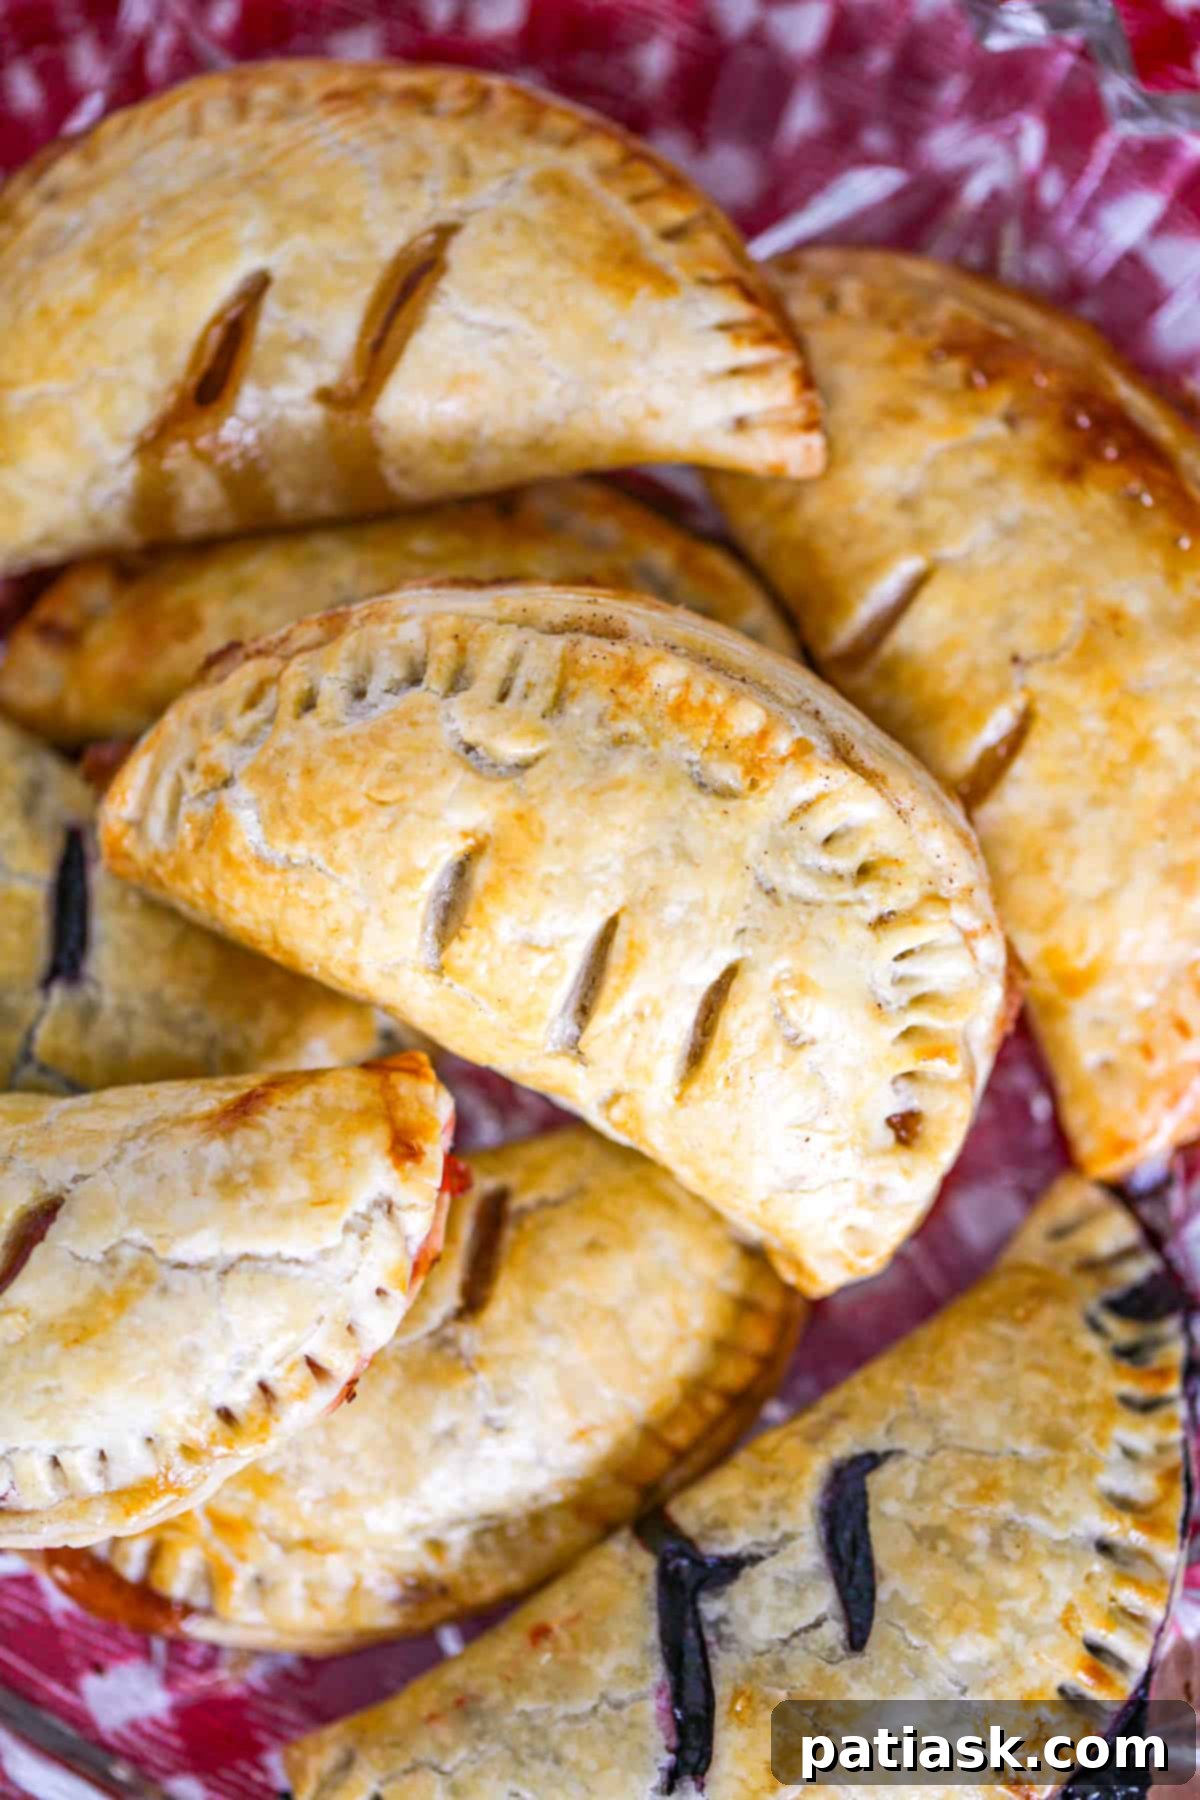
- Bake to Golden Perfection: Place the baking sheet into the preheated oven and bake for approximately 20 minutes. The pies are done when the crust is a beautiful golden-brown color and the fruit filling is visibly bubbling through the vents. This bubbling indicates that the filling is hot and properly set.
- Cool and Glaze: Allow the baked hand pies to cool on the baking sheet for about 5 minutes. Then, carefully transfer them to a wire rack to cool completely for at least another 5 minutes before glazing. While the hand pies are cooling, prepare your simple powdered sugar glaze (see instructions below). Once slightly cooled, drizzle the glaze generously over the warm pastries. Serve warm or at room temperature and prepare to enjoy the fruity, flaky deliciousness!
The Final Touch: Glazing Your Hand Pies
A simple glaze adds an extra layer of sweetness and a beautiful finish to your fruit hand pies. It’s incredibly easy to prepare while your pies are cooling.
Simple Powdered Sugar Glaze Ingredients:
- 1 cup powdered sugar
- 1-2 tablespoons milk (or water, or lemon juice for a zippier glaze)
- 1/4 teaspoon pure vanilla extract
- Optional: 1/2 teaspoon ground cinnamon (especially good with apple or peach pies)
Instructions:
While your hand pies are cooling on the wire rack, whisk together the powdered sugar, milk (start with 1 tablespoon and add more drop by drop until you reach your desired consistency), and vanilla extract in a small bowl. If using, stir in the cinnamon. The glaze should be smooth and pourable, but not too thin. Drizzle this delicious glaze generously over the slightly warm or fully cooled hand pies. Serve them warm or cold and savor every bite of this fruity, flaky yumminess!

Expert Tips for Hand Pie Success
Achieving the perfect fruit hand pie involves a few key techniques. These tips will help ensure your pies are flaky, crispy, and delicious every time.
Mastering Your Pie Dough
- Keep it Cold: If your dough becomes too soft to handle or is sticky, place it in the fridge or even the freezer for 10-15 minutes before rolling or baking. This is especially important on warm days. Cold dough is easier to work with and helps ensure a flaky crust. You can also place the assembled hand pies in the fridge or freezer for 15-20 minutes before baking to keep them firm.
- Avoid Overworking: Handle the pie dough as little as possible. Overworking the dough develops the gluten, leading to a tough, rather than flaky, crust.
- Even Thickness: Roll your dough to an even thickness to ensure consistent baking. Thin spots can burn, while thick spots may not cook through properly.
Achieving a Beautifully Crispy Crust (And Not a Soggy One!)
A crispy, golden crust is key to a perfect hand pie. Here are the essential tips to prevent a soggy bottom and achieve that desirable texture:
- Egg Wash is Your Friend: Brushing the dough with an egg wash not only gives it a lovely golden sheen but also helps create a barrier that can slightly reduce moisture absorption, contributing to a crispier crust.
- Chilled Dough: As mentioned, keeping the dough cold is crucial. A cold dough hits the hot oven, creating steam that separates the layers, resulting in flakiness.
- Cooled Filling: Always ensure your fruit filling is completely cooled (or even chilled) before spreading it onto the pie crust. Hot or warm filling will quickly melt the butter in the dough, leading to a greasy, soggy crust.
- High Temperature Baking: Baking at a relatively high temperature (like 400°F or 200°C) allows the crust to set and crisp up quickly before the filling has too much time to release excess moisture into the dough.
- Understand the Limits: Even with all these precautions, fruit fillings contain liquid. While these tips will give you the crispiest hand pies possible, the filling will naturally soften the crust over 24-48 hours. They are truly best enjoyed fresh!
Creative Customization Ideas
- Fruit Blends: Don’t limit yourself to single fruit fillings. Try combinations like apple-blackberry, peach-raspberry, or mixed berry.
- Spice it Up: Beyond cinnamon, experiment with cardamom, nutmeg, allspice, or a hint of ginger in your fruit fillings.
- Citrus Zest: Add a pinch of lemon or orange zest to your filling for an extra bright flavor.
- Nutty Crunch: Before sealing, sprinkle a few chopped nuts (pecans, walnuts) over the filling for added texture.
Storing and Enjoying Your Fruit Hand Pies Later
These delicious hand pies are best enjoyed fresh, but knowing how to properly store or freeze them means you can savor them for longer!
Storage Guidelines
- You can keep freshly baked fruit hand pies at room temperature, loosely covered, for up to 2 days. For optimal freshness, it’s a good idea to cover them to prevent them from drying out.
- To extend their freshness, place them in an airtight container and store them in the refrigerator for 3-4 days. While they will still be delicious, the crust might lose some of its crispness over time. For the best taste and texture, consume them as soon as possible!
Can You Freeze Hand Pies? (Yes!)
Freezing hand pies is a fantastic way to prepare them in advance and enjoy homemade treats whenever a craving strikes. You can freeze them either before or after baking.
To Freeze Unbaked Hand Pies:
- Place the assembled, unbaked hand pies (after cutting slits but *before* brushing with egg wash) on a baking sheet lined with parchment paper.
- Freeze until they are completely solid, which usually takes a few hours.
- Once solid, transfer the frozen pies to a freezer-safe zip-top bag or an airtight container. Label with the date. They can be stored this way for up to 3 months.
- When ready to bake, place the frozen pies on a foil or parchment-lined baking sheet. Brush with egg wash and sprinkle with sugar if desired. Bake at 400°F (200°C) for 20 to 25 minutes, or until golden brown and the filling is bubbling. No need to thaw!
To Freeze Baked Hand Pies:
- Allow baked hand pies to cool completely.
- Wrap each hand pie individually in plastic wrap, then place them in a freezer-safe bag or container.
- Freeze for up to 1-2 months.
- To reheat, you can thaw them at room temperature and warm them gently in the oven (around 300°F/150°C for 10-15 minutes) or air fryer for a crispier crust.
Air Frying for Speedy, Crispy Results
The air fryer is a fantastic tool for achieving wonderfully crispy hand pies in a fraction of the time, perfect for a quick snack or dessert.
- Preheat: Preheat your air fryer to 350°F (175°C) for about 5 minutes.
- Prepare Basket: Lightly spray the air fryer basket with nonstick cooking spray to prevent sticking.
- Air Fry: Place two hand pies (or as many as can fit in a single layer without touching) in the basket. Air fry for approximately 10 minutes, or until the crust is a beautiful golden brown and the filling is bubbling hot.
- Cool and Glaze: Carefully remove the pies from the air fryer and place them on a wire rack to cool. Repeat with the remaining pies. Glaze if desired once cooled slightly.


Endless Possibilities: Your Favorite Fruit Hand Pies Await!
The true charm of easy fruit hand pies lies in their incredible versatility. They can be crafted in a variety of shapes and sizes, using virtually any fruit filling you can imagine. Whether you’re whipping up a batch for a special celebration, preparing a quick dessert for a weeknight family dinner, or simply looking to satisfy an unexpected sweet tooth craving, this shortcut hand pie recipe is both quick to make and utterly delicious to eat. For an extra special treat, serve them warm with a generous scoop of vanilla bean ice cream!
Go ahead and create a batch of these charming pies that everyone will enjoy. From holiday gatherings and birthday parties to “just because” moments, you simply can’t go wrong with the classic appeal of a homemade-tasting pie. So, don’t hesitate to spread the love—break out your rolling pin and dive into this easy fruit hand pie recipe. Whether you prefer classic apple pie filling, tart cherry hand pies, sweet peach hand pies, or your favorite combination of berry filling, the possibilities are endless!
What’s your personal favorite? I find myself constantly torn between classic blueberry and vibrant cherry pie dessert flavors, always with a generous scoop of ice cream, of course!
Share your delicious creations and favorite flavors on Pinterest, Instagram, and Facebook!
More Delectable Desserts to Explore
- Easiest No-Churn Strawberry Ice Cream
- Jumbo Soft Batch M&M Cookies
- Halloween Rice Krispie Treats
- No-Churn Fresh Fruit Ice Cream
- 6 Fall Apple Baking Recipes
Recipe Card: Easy Fruit Hand Pies
Enjoy a delicious homemade treat with minimal effort with these easy to make mini fruit hand pies. There is nothing quite like the smell of fresh-baked fruit pies, and now you can make them without all the fuss in no time. Whether you are in the mood for blueberry, peach, apple or strawberry, these easy fruit hand pies will satisfy your cravings.

Author: Kim Lange
Prep Time: 20 mins
Cook Time: 20 mins
Servings: 8 Servings
Course: Dessert
Ingredients
For the hand pies:
- Pie crust for 9-inch double-crust pie (like Pillsbury premade pie crusts, or your favorite homemade recipe)
- 2 cups pie filling of choice (e.g., blueberry, apple, peach, strawberry, canned or homemade)
- Toppings: Sprinkle with coarse sugar before baking, or drizzle with a simple powdered sugar glaze after cooling.
For the egg wash:
- 1 large egg, beaten
For the icing:
- 1 cup powdered sugar
- 1-2 tablespoons milk
- ¼ teaspoon pure vanilla extract
- Optional: ½ teaspoon cinnamon
Instructions
- Preheat oven to 400°F (200°C). Line a baking sheet with parchment paper or a silicone baking mat.
- Sprinkle a bit of flour onto your working surface. Roll out the pie crust so it’s 12 inches long and 20 inches wide. Then cut it into 8-10 circles that are 5 inches in diameter. (Can also do smaller rectangular sizes that are each 5 inches wide and 6 inches long.)
- Put 2 spoonfuls of pie filling in the middle of each sheet of dough. Put some egg wash around the edges of the dough and fold the dough in half. Push down around the edges of the packet with a fork to crimp and close.
- Put the pies on the baking sheet. Cut 2-3 slits in the tops. Brush the tops with egg and sprinkle with sugar, if desired.
- Bake for 20 minutes. When it’s a golden brown color and the filling is bubbling, it’s done.
- Allow to cool for about 10 minutes, transferring to a wire rack after 5 minutes on baking sheet. While the pies cool, whisk together the icing ingredients. Drizzle over the pies. Serve warm.
Notes
How to Make Homemade Fruit Filling:
- 4 cups sliced or chopped fresh fruit or frozen defrosted fruit (e.g., strawberry, apple, peach, blueberry, cherry, raspberry)
- 1/4 cup cornstarch
- 2-3 tablespoons water
- Pinch of salt
- 1/2 cup sugar (adjust based on fruit sweetness)
- Squeeze of lemon or orange juice
- Stovetop: In a small bowl, briskly whisk the cornstarch into the water. In a medium saucepan over medium heat, combine the fruit, sugar, salt and any other spices or flavors you want. Cook the fruit, stirring every so often, for about 6 to 10 minutes until it is soft. Add the cornstarch mixture, stir it vigorously in a figure-eight pattern while bringing it to a boil, and cook for 2 more minutes until thickened. Take the pot off the stove. Pour the mixture into a bowl and wait 15 minutes until it cools down.
- Microwave: Alternatively, combine all ingredients in a microwave-safe bowl and cook on high for 3-5 minutes, stirring halfway, until the fruit is soft and the mixture thickens.
Want to Air-Fry These Mini Hand Pies?
- Preheat the air fryer to 350°F (175°C) for 5 minutes.
- Spray the basket with nonstick cooking spray.
- Put two pies in the basket (or as many as fit in a single layer without touching). Air fry them for around 10 minutes, until the crust is golden brown and the filling is bubbling.
- Take them out with care and place on a wire rack to cool. Do the same with the remaining pies.
Keywords: filling, fruit, glaze, pie
Tried This Recipe? Let us know how it was by commenting below!


