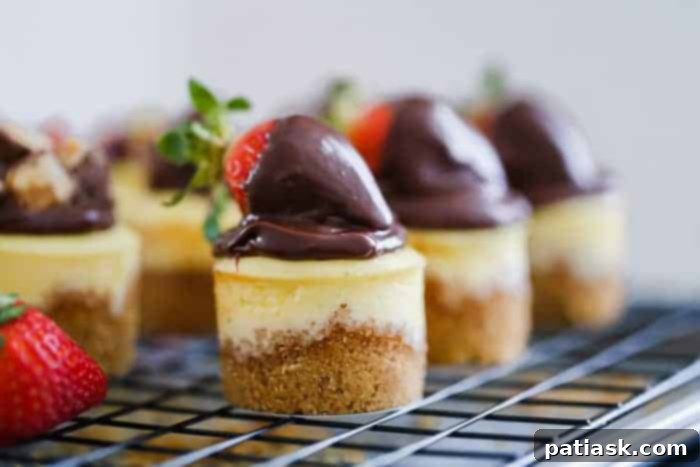
Are you searching for the perfect bite-sized dessert that encapsulates all the rich flavor and luxurious decadence of a full-sized cheesecake? Look no further! Mini cheesecakes are an exquisite solution, offering delightful single-serving portions that are guaranteed to impress. You’ll fall in love with their velvety smooth, creamy texture and the classic sweet-tart balance that defines a traditional cheesecake, all conveniently packaged for individual enjoyment. These charming treats are not just delicious; they are a celebration in every bite, making them ideal for any gathering or special occasion.
If you’re a fan of adorable, perfectly portioned desserts, you’ll also adore these Easy Cherry Cheesecake Cookie Cups and these elegant Vanilla White Bundt Cakes. Expanding your repertoire of mini desserts ensures you’re always ready to delight guests with a variety of sweet sensations.
Why Mini Cheesecakes Are Your Go-To Dessert for Any Occasion
These decadent mini cheesecakes are more than just a treat; they’re a statement. They effortlessly bring a touch of elegance and cheer to your table, whether it’s for a festive holiday celebration, a lively party, or an intimate dinner with guests you wish to impress. Imagine the delight on your friends’ and family’s faces as they are presented with their very own perfect cheesecake! It’s a dessert option that people will genuinely swoon over, remembered long after the last crumb is gone.
Many home bakers find the idea of baking a cheesecake intimidating, often worrying about cracks, uneven baking, or getting the perfect texture. However, these mini cheesecakes are surprisingly easy to make, and they’re bursting with rich flavor. This comprehensive guide will walk you through each simple step to create these delicious individual cheesecakes. Furthermore, we’ll explore exciting ways to customize your mini cheesecake recipe with fun and creative topping ideas, ensuring each batch is uniquely yours. Prepare to discover the joy of baking these irresistible mini desserts, making your baking journey both fun and rewarding.
So, if you’re ready to embark on a delightful baking adventure and satisfy your sweet tooth with minimal fuss and maximum flavor, read on! With upcoming holidays like Valentine’s Day, these mini cheesecakes are an ideal choice to serve the whole family or share with someone special, offering a personal touch to your dessert spread.
Essential Ingredients for Your Mini Cheesecake Recipe
Crafting the perfect mini cheesecake starts with a selection of high-quality ingredients. Each component plays a crucial role in achieving that signature creamy texture and rich flavor. Here’s a detailed look at what you’ll need:
For the Irresistible Graham Cracker Crust
The foundation of any great cheesecake is its crust, and for these mini delights, a buttery graham cracker crust is absolutely perfect. It provides a delightful contrast to the smooth filling.
- Graham Crackers: You’ll need about one sleeve or 9 sheets, crushed into fine crumbs. These provide the classic sweet, slightly spiced base.
- Granulated Sugar: A small amount of sugar complements the graham crackers, enhancing their natural sweetness.
- Salted Butter, Melted: Butter binds the crumbs together, creating a firm and flavorful crust. Using salted butter adds a subtle depth of flavor that balances the sweetness.
For the Silky Smooth Cheesecake Filling
The heart of your mini cheesecakes is this luxurious, creamy filling. Ensure all cold ingredients are at room temperature for the best results.
- Cream Cheese: Opt for full-fat cream cheese, softened and at room temperature. This is key for a lump-free, ultra-smooth filling.
- Granulated Sugar: Sweetens the cream cheese base, creating the classic cheesecake flavor profile.
- All-Purpose Flour: A small amount of flour helps stabilize the cheesecake, preventing cracks and ensuring a smooth, dense texture.
- Large Eggs: Eggs provide structure and richness to the cheesecake. Ensure they are at room temperature and avoid over-beating.
- Vanilla Extract: A splash of pure vanilla extract enhances all the flavors, adding warmth and depth to the filling.
- Sour Cream or Greek Yogurt: These ingredients add a touch of tanginess, moisture, and contribute to the cheesecake’s characteristic creamy texture.
- Heavy Whipping Cream: Incorporating heavy cream further enriches the filling, making it exceptionally smooth and decadent.
For the Decadent Chocolate Ganache Topping
A simple yet elegant chocolate ganache is the perfect crown for these mini cheesecakes, offering a rich, glossy finish.
- Heavy Whipping Cream: Heated cream is essential for melting the chocolate chips into a smooth ganache.
- Semi-Sweet Chocolate Chips: These provide the rich, chocolatey flavor and ideal consistency for drizzling or dipping.
Step-by-Step Guide: How to Make Mini Cheesecakes Like a Pro
Creating these delightful mini cheesecakes is a straightforward process, even for novice bakers. Follow these simple steps for perfectly baked, creamy results every time.
1. Preparing Your Mini Cheesecake Pan or Muffin Tin
- Preheat your oven to 350 degrees F (175 degrees C). Proper preheating is crucial for even baking.
- Prepare your baking vessel. You have a few options:
- Muffin Pan: Line a 12-cup muffin pan with paper liners or cupcake liners. Spray the inside of each liner generously with nonstick cooking spray to prevent sticking.
- Mini Cheesecake Pan: If you desire a truly professional look with perfectly formed edges and easy release, use a special mini cheesecake pan that comes with removable bottoms. Lightly spray each cavity with non-stick cooking spray. This type of pan makes unmolding incredibly simple.
2. Crafting the Perfect Graham Cracker Crust
The crust is the flavorful base that holds everything together. Don’t skip this important step!
- In a medium-sized bowl, combine the finely crushed graham crackers, granulated sugar, and melted salted butter. Mix these ingredients thoroughly until the crumbs are evenly moistened and resemble wet sand.
- Divide the mixture evenly among the prepared muffin tin liners or mini cheesecake pan cavities.
- Using the back of a spoon or a small shot glass (which fits perfectly and helps press the mixture up the sides), firmly press the graham cracker mixture down into an even layer, ensuring it extends slightly up the sides of each cavity. This creates a neat and sturdy crust.
- Bake the crusts for 5 minutes. This brief baking time helps set the crust, preventing it from becoming soggy once the filling is added. Remove the pan from the oven and set it aside while you prepare the cheesecake filling.
3. Mixing the Silky Cheesecake Filling
Achieving a smooth, lump-free filling is key to a superior mini cheesecake. Pay attention to ingredient temperature and mixing technique.
- In a large mixing bowl, combine the softened cream cheese and granulated sugar. Using an electric mixer on low speed, beat until the mixture is completely smooth and creamy. Ensure there are no lumps of cream cheese, as this can affect the final texture.
- Add the all-purpose flour and mix again on low speed until just combined. Be careful not to overmix.
- Crack in the eggs, adding them one at a time. Mix each egg just until it is incorporated into the batter. Over-beating the eggs can incorporate too much air, which can lead to cracks in your cheesecakes as they cool, so mix gently and briefly.
- Stir in the vanilla extract, sour cream (or Greek yogurt), and heavy cream. Mix until all ingredients are just combined and the batter is uniform. Again, avoid over-mixing.
- To release any trapped air bubbles from the batter, gently tap the bowl on the counter 10-15 times. This helps prevent cracks during baking.
4. Baking Your Mini Cheesecakes to Perfection
Baking times vary slightly depending on your pan choice. Watch for the characteristic slight jiggle in the center.
- If using a mini cheesecake pan: Carefully fill each cavity with the cheesecake batter, filling them almost to the top. An ice cream scoop or a large spoon works well for this. Bake for 15 to 18 minutes, or until the centers are slightly jiggly when gently shaken. The cheesecakes will continue to set as they cool.
- If using a muffin pan: Divide the batter evenly among the cavities, filling them to about two-thirds full. You may have a small amount of extra batter. Bake for 20 to 23 minutes, checking for the slight jiggle in the center.
- Once baked, remove the pan from the oven and let the mini cheesecakes cool at room temperature for at least an hour. This gradual cooling helps prevent cracks.
- After cooling, transfer the cheesecakes to the refrigerator. Cover them loosely with plastic wrap or place them in an airtight container. Chill for a minimum of 2-3 hours, or preferably overnight, to allow them to fully set and develop their rich flavor. They can be stored in the refrigerator for up to 3 days. These mini cheesecakes also freeze beautifully after chilling for up to 2 weeks.
- Before serving, top your chilled mini cheesecakes with your favorite toppings! If adding fresh fruit or delicate toppings, it’s best to serve them within one day for optimal freshness.
Crafting the Perfect Chocolate Ganache for Topping and More
This rich, glossy chocolate ganache is versatile – perfect for drizzling over your mini cheesecakes or even for dipping fresh strawberries!
- Place the semi-sweet chocolate chips in a medium heatproof bowl.
- In a separate microwave-safe container, heat the heavy cream until it just begins to simmer. This usually takes about 45 seconds to 1 minute in the microwave. Keep a close eye on it to prevent it from bubbling over. Alternatively, you can heat the cream gently on the stovetop until simmering.
- Pour the hot cream over the chocolate chips. Let the mixture sit undisturbed for 3 minutes to allow the heat from the cream to melt the chocolate.
- After 3 minutes, start whisking slowly from the center of the bowl, gradually expanding your circles. Continue whisking in one direction until the mixture becomes completely smooth, glossy, and well combined.
- Allow the ganache to cool and thicken slightly before using. It will become thicker as it cools.
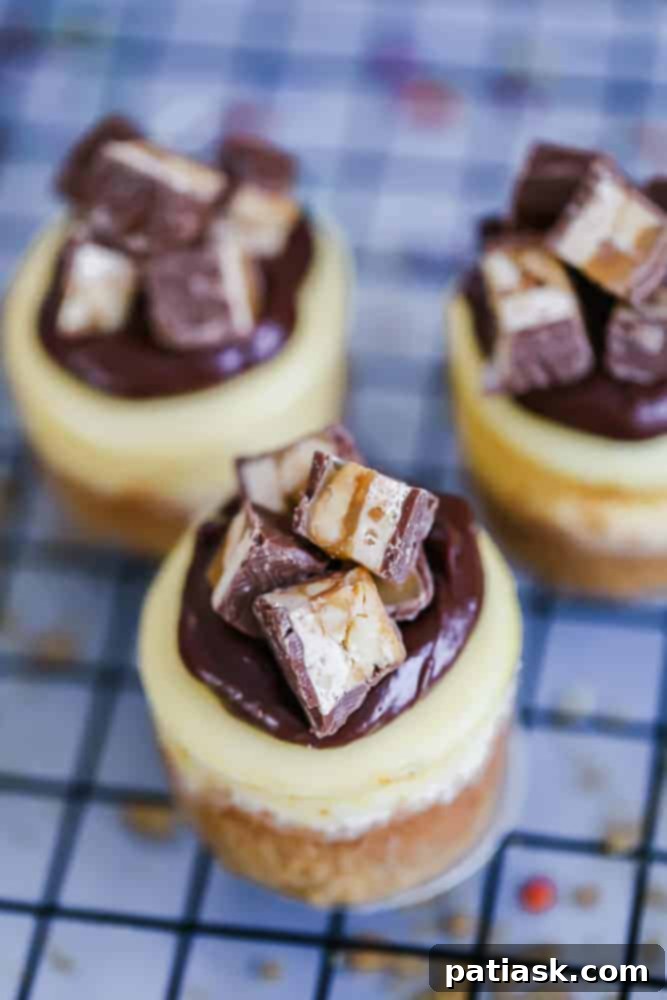
- Once the ganache has cooled to a pourable consistency, drizzle it over your mini cheesecakes. For an extra touch of elegance, you can also dip fresh strawberries into the remaining ganache and chill them in the refrigerator until set. (Note: If you plan to both top cheesecakes generously AND cover strawberries, you may need to double the ganache recipe.)
Beyond mini cheesecakes, explore more delightful strawberry desserts such as these Easy Chocolate Covered Strawberry Brownies and a collection of 20 Irresistible Strawberry Desserts That Are Sure To Impress!
How to Elevate Your Mini Cheesecakes: Creative Topping Ideas and Crust Variations
The beauty of mini cheesecakes lies in their versatility, especially when it comes to customization. Once your creamy cheesecakes are chilled, the fun truly begins with an endless array of topping options and even crust variations!
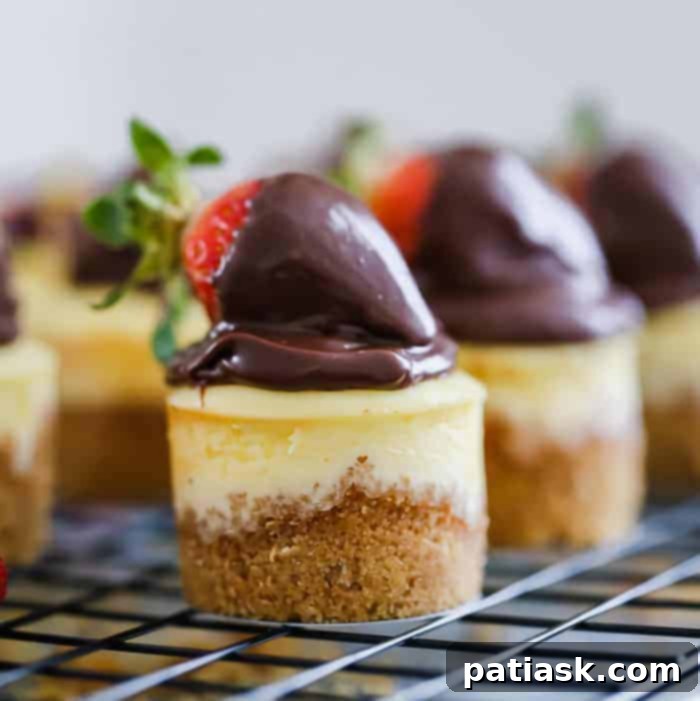
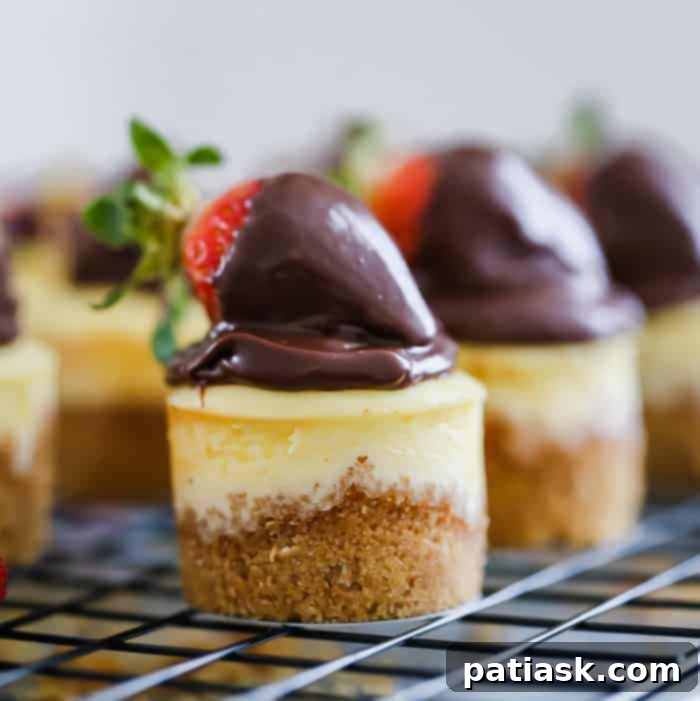
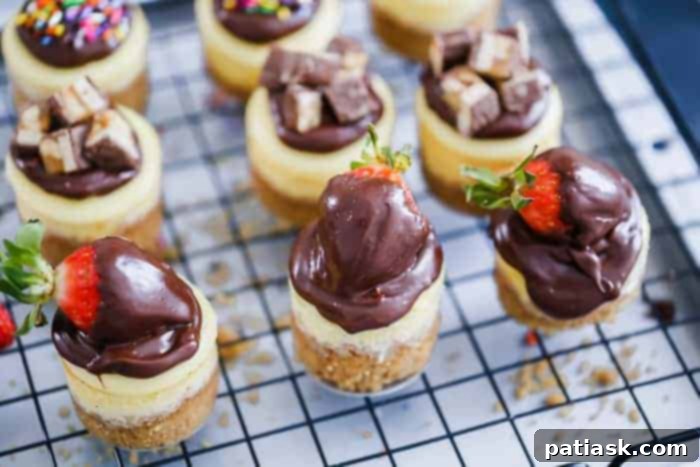
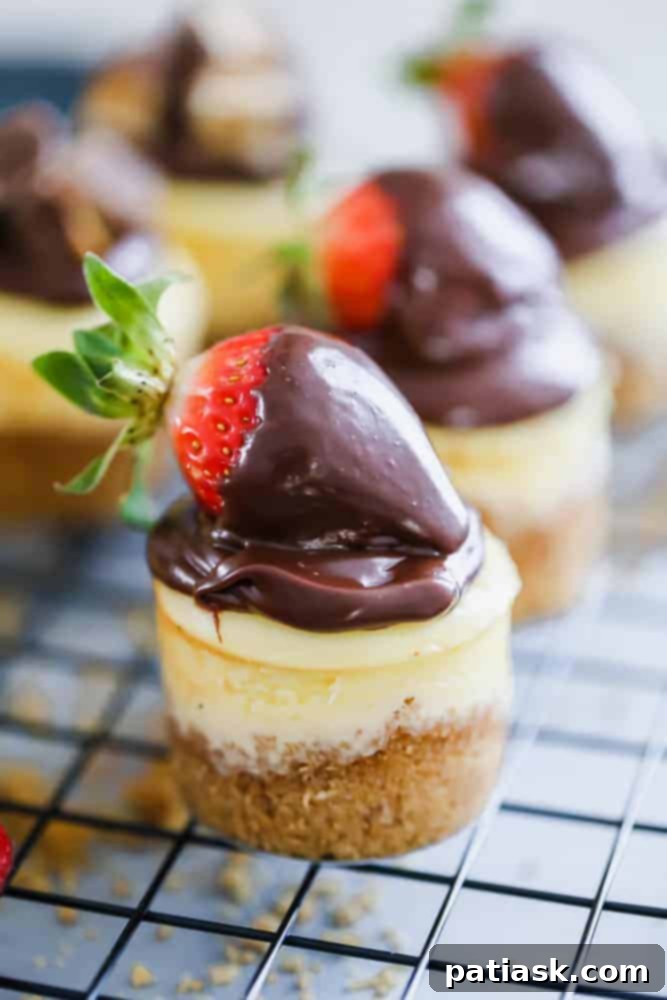
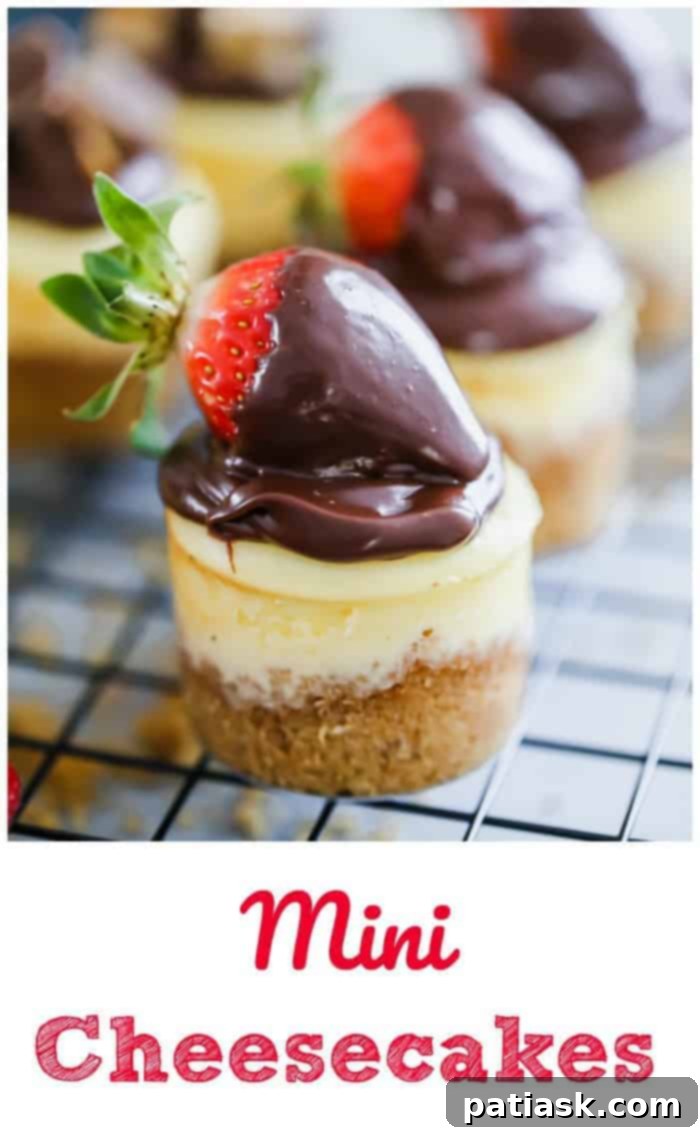
- Fresh Fruit Extravaganza: Adorn your mini cheesecakes with a burst of natural freshness. Think vibrant fresh blueberries, juicy fresh raspberries, or a mix of various fresh berries. A dollop of homemade fruit pie filling, such as cherry pie filling or strawberry sauce, adds a delightful burst of flavor and color. For a truly elegant touch, top chocolate ganache-drizzled cheesecakes with chocolate covered strawberries – it’s a classy compliment that looks as good as it tastes!
- Decadent Drizzles: Enhance the richness with luscious drizzles. Beyond the chocolate ganache, consider a warm chocolate sauce, gooey hot fudge, luxurious salted caramel sauce, or even a bright and zesty lemon curd for a contrasting flavor profile.
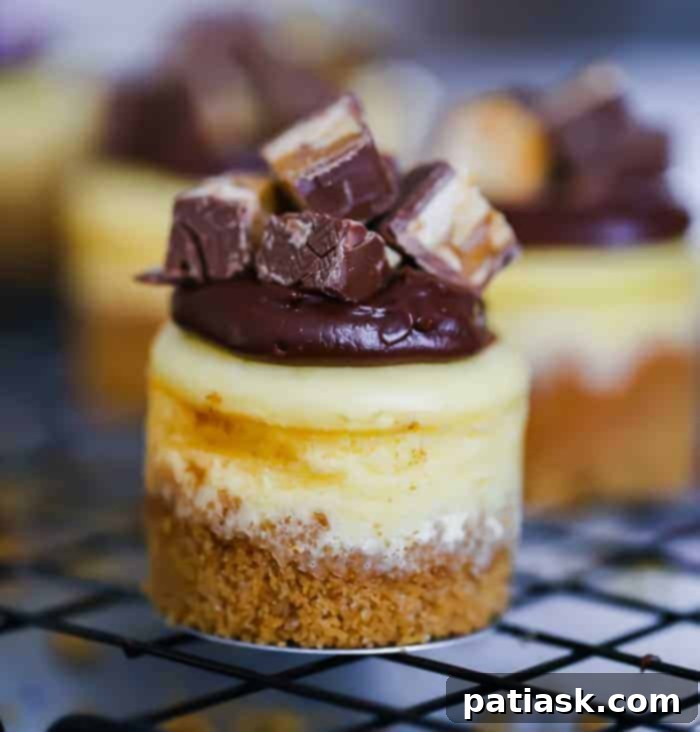
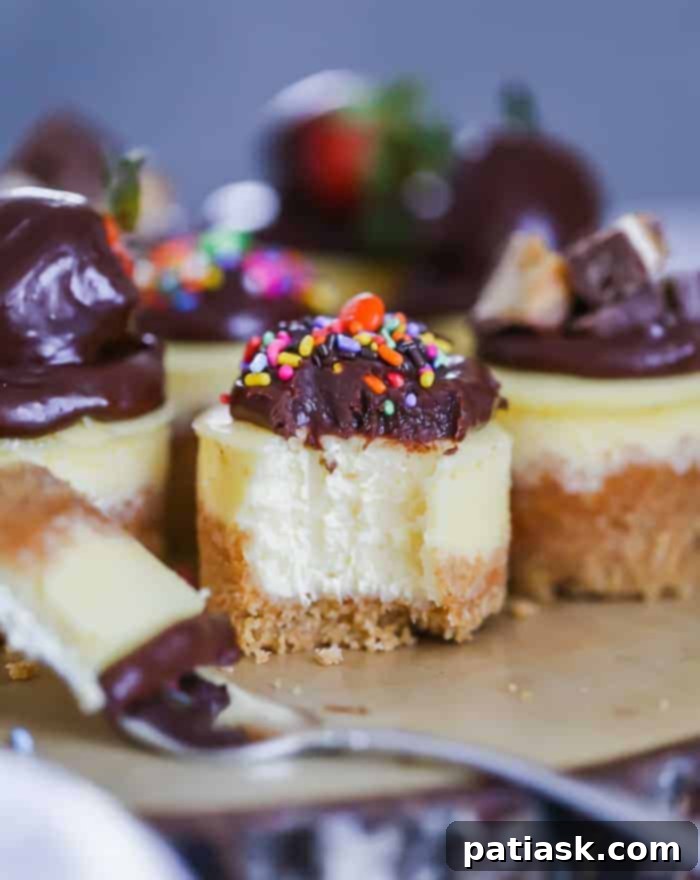
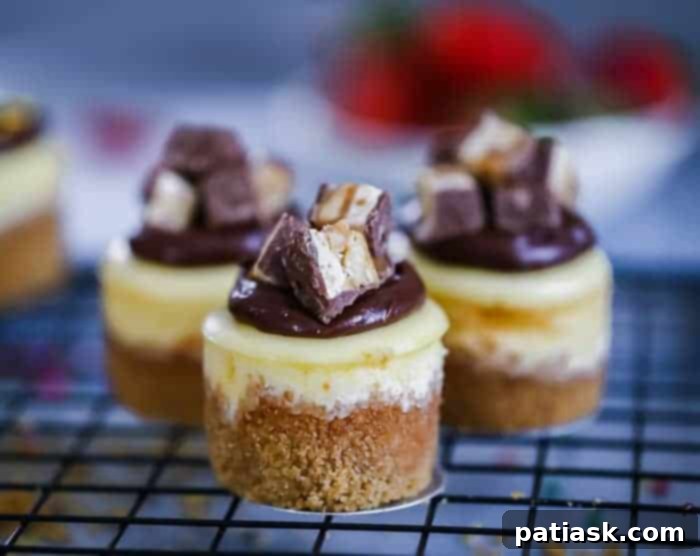
- Crunchy & Playful Additions: Add texture and visual appeal with sprinkles, nuts, and candy. Sprinkle some mini chocolate chips for extra cocoa goodness, finely chopped nuts (like pecans or walnuts) for a satisfying crunch, crushed candy bar bits for a playful twist, or colorful sprinkles for a festive look. All these additions sound absolutely delicious, and the possibilities are limited only by your imagination!
- The Cheesecake Shines: Regardless of your chosen toppings (or even if you choose to enjoy them plain!), remember that the cheesecake itself is the true star of the show. Its rich, delicious, and luxurious texture stands perfectly on its own.
- Crust Innovation: Not a fan of the traditional graham cracker crust? No problem! You can easily substitute the graham crackers with vanilla wafers for a lighter flavor, or use any flavor of crushed Oreos for a chocolatey twist. Experiment to find your favorite base!
Expert Tips for Baking the Best Mini Cheesecakes
Achieving bakery-quality mini cheesecakes is easier than you think with these professional tips:
- Room Temperature Cream Cheese is Crucial: For the smoothest, lump-free cheesecake filling, ensure your cream cheese is thoroughly softened at room temperature. This is the golden rule for any cheesecake recipe. Cold cream cheese will result in a lumpy batter, no matter how much you beat it.
- Avoid Over-Beating: When mixing the cheesecake batter, especially after adding the eggs, mix only until the ingredients are just combined. Over-beating incorporates too much air, which can cause the cheesecakes to puff up excessively in the oven and then crack or deflate dramatically as they cool. Gentle, low-speed mixing is best.
- Invest in a Mini Cheesecake Pan: While muffin tins work, a mini cheesecake pan with removable bottoms is a game-changer. These pans have individual tins with small round bases that you can easily push up from the bottom, allowing for effortless unmolding and giving your mini cheesecakes a truly professional, elegant appearance. If you don’t have one, paper-lined muffin tins are a perfectly acceptable alternative – because no one should miss out on cheesecake!
- Look for the Slight Jiggle: Your mini cheesecakes are perfectly baked when their centers are still slightly jiggly. Don’t wait until they are completely firm; they will continue to set as they cool down after being removed from the oven. This ensures a creamy, rather than dry, texture.
- Cooling and Chilling are Key: Allow your baked mini cheesecakes to cool down at room temperature for at least an hour before transferring them to the refrigerator. Once cooled, refrigerate them for a minimum of 2-3 hours, or up to 3 days, loosely covered with plastic wrap or in an airtight container. The sour cream in the recipe helps them freeze beautifully for up to 2 weeks, making them an excellent make-ahead dessert option.
Who’s ready to create some incredible mini cheesecake masterpieces? With this easy-to-follow mini cheesecake recipe and all the delicious topping variations, you’ll be baking like a pro in no time. Let’s get baking!
Frequently Asked Questions About Mini Cheesecakes
1. Can I prepare mini cheesecakes in advance?
Absolutely! Mini cheesecakes are fantastic for make-ahead convenience. You can bake them up to 3 days in advance and store them, covered, in the refrigerator. They also freeze well for up to 2 weeks. Just thaw them in the refrigerator before serving.
2. How do I prevent my mini cheesecakes from cracking?
Several factors help prevent cracks: ensure your cream cheese is at room temperature for a smooth batter, avoid over-beating the eggs to minimize air incorporation, and allow the cheesecakes to cool gradually at room temperature before chilling.
3. What if I don’t have a mini cheesecake pan?
No problem! A standard 12-cup muffin pan lined with paper liners and sprayed with nonstick spray works perfectly. The mini cheesecakes will still be delicious and beautiful, just with a slightly different shape.
4. Can I use different types of cookies for the crust?
Yes! While graham crackers are traditional, feel free to experiment. Vanilla wafers, chocolate wafers, or even crushed Oreo cookies make excellent crust alternatives, adding their own unique flavor to the base.
5. How do I know when the mini cheesecakes are done baking?
The centers of the cheesecakes should still have a slight “jiggle” when you gently shake the pan. The edges will appear set and lightly golden. They will continue to set and firm up as they cool.
6. What are some unique topping ideas for mini cheesecakes?
Beyond the classic fruit and chocolate, consider toasted coconut flakes, a drizzle of lemon curd, chopped candied nuts, a sprinkle of sea salt over caramel, or even a dollop of whipped cream with a cherry on top. Get creative!
Cheesecake Lovers Want More Cheesecake!
If these mini cheesecakes have ignited your passion for all things cheesecake, explore these other fantastic recipes:
- No Bake Mini Triple Chocolate Cheesecakes
- Oreo Chocolate Ganache Cheesecake
- Easy Creamy Lime Cheesecake Pie
- Strawberry Fluffy Lemon Cheesecake Delight
- Keto Mini Chocolate Peanut Butter Cheesecakes
- Awesome Chocolate Brownie Cheesecake Dessert
- Chocolate Covered Strawberry Cheesecake Bites
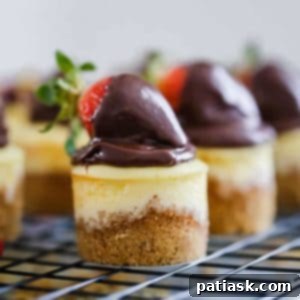
Mini Cheesecakes
Kim Lange
These minis are creamy, dense and have a lovely firm New York cheesecake texture that is to die for. It sits on a thick, buttery graham cracker crust and add whatever toppings you want for your special occasion! Oh my!
Prep Time: 20 mins
Cook Time: 14 mins
Course: Dessert
Cuisine: American
Servings: 12 Individual Servings
Ingredients
Graham Cracker Crust:
- 1 sleeve or 9 sheets of Graham crackers, crushed
- 1 ½ tablespoons sugar
- 3 ½ tablespoons salted butter, melted
Cheesecake Filling:
- 16 ounces cream cheese, room temperature & softened
- ¾ cup sugar
- 2 tablespoons all purpose flour
- 2 large eggs
- 1 tsp vanilla extract
- ¼ cup sour cream or Greek yogurt
- ⅓ cup heavy whipping cream
Chocolate Ganache:
- 1 cup heavy whipping cream
- 1 ½ cups semi-sweet chocolate chips
Instructions
General Preparation
- Preheat the oven to 350 degrees F. Line a muffin pan with 12 paper liners sprayed with nonstick cooking spray, or spray a mini cheesecake pan with non-stick cooking spray. You can also use a cheesecake pan with removable bottoms for easy release.
Graham Cracker Crust
- In a bowl, mix together the crushed graham crackers, sugar, and melted butter until well combined.
- Divide the mixture evenly into each of the tins, then press it down into an even layer, pushing some of the mixture up the sides. A shot glass works well for this task.
- Bake for 5 minutes. Remove the pan from the oven and set aside while preparing the filling.
Cheesecake Filling
- In a large bowl, using a mixer on low speed, mix the softened cream cheese and sugar until smooth. Then, mix in the flour until just combined. Ensure cream cheese is well-softened to avoid lumps.
- Add the eggs, one at a time, mixing until just combined after each addition. Then add the vanilla, sour cream/Greek yogurt, and heavy cream, mixing until combined. Avoid over-beating, as this can cause cracks.
- To release any air bubbles, gently tap the bowl on the counter 10-15 times.
- If using a mini cheesecake pan, fill each cavity to the top with cheesecake batter and bake for 15 to 18 minutes, until the centers are slightly jiggly. Cheesecakes will firm up as they cool.
- If using a muffin pan, divide the batter among the cavities to about ⅔ full. You may have extra batter. Bake for 20 to 23 minutes.
- Remove from the oven and let cool at room temperature for up to an hour. Once cooled, refrigerate, covered loosely with plastic wrap or in a sealed container, for at least 2-3 hours and up to 3 days. They can also be frozen after chilling. If you add any delicate toppings, they’re best served within 1 day.
- Top with your favorite toppings before serving!
Chocolate Ganache for Topping and/or Chocolate Covered Strawberries
- Heat the heavy cream just until simmering in the microwave for 45 seconds to 1 minute, watching closely to prevent bubbling over. This can also be done on the stovetop.
- Place the chocolate chips in a medium heatproof bowl. Pour the hot cream over the chocolate chips. Let sit for 3 minutes before stirring.
- Start whisking slowly from the middle of the bowl, continuing in one direction until the mixture is smooth and well combined. Allow to cool and thicken.
- Drizzle ganache over cheesecakes. You can also dip strawberries in the remaining chocolate and chill them in the refrigerator. (You may need to double the ganache recipe if you plan to do both topping and covering strawberries generously.)
Keyword: cheesecake, mini desserts
Tried This Recipe?
Let us know how it was by commenting below!
