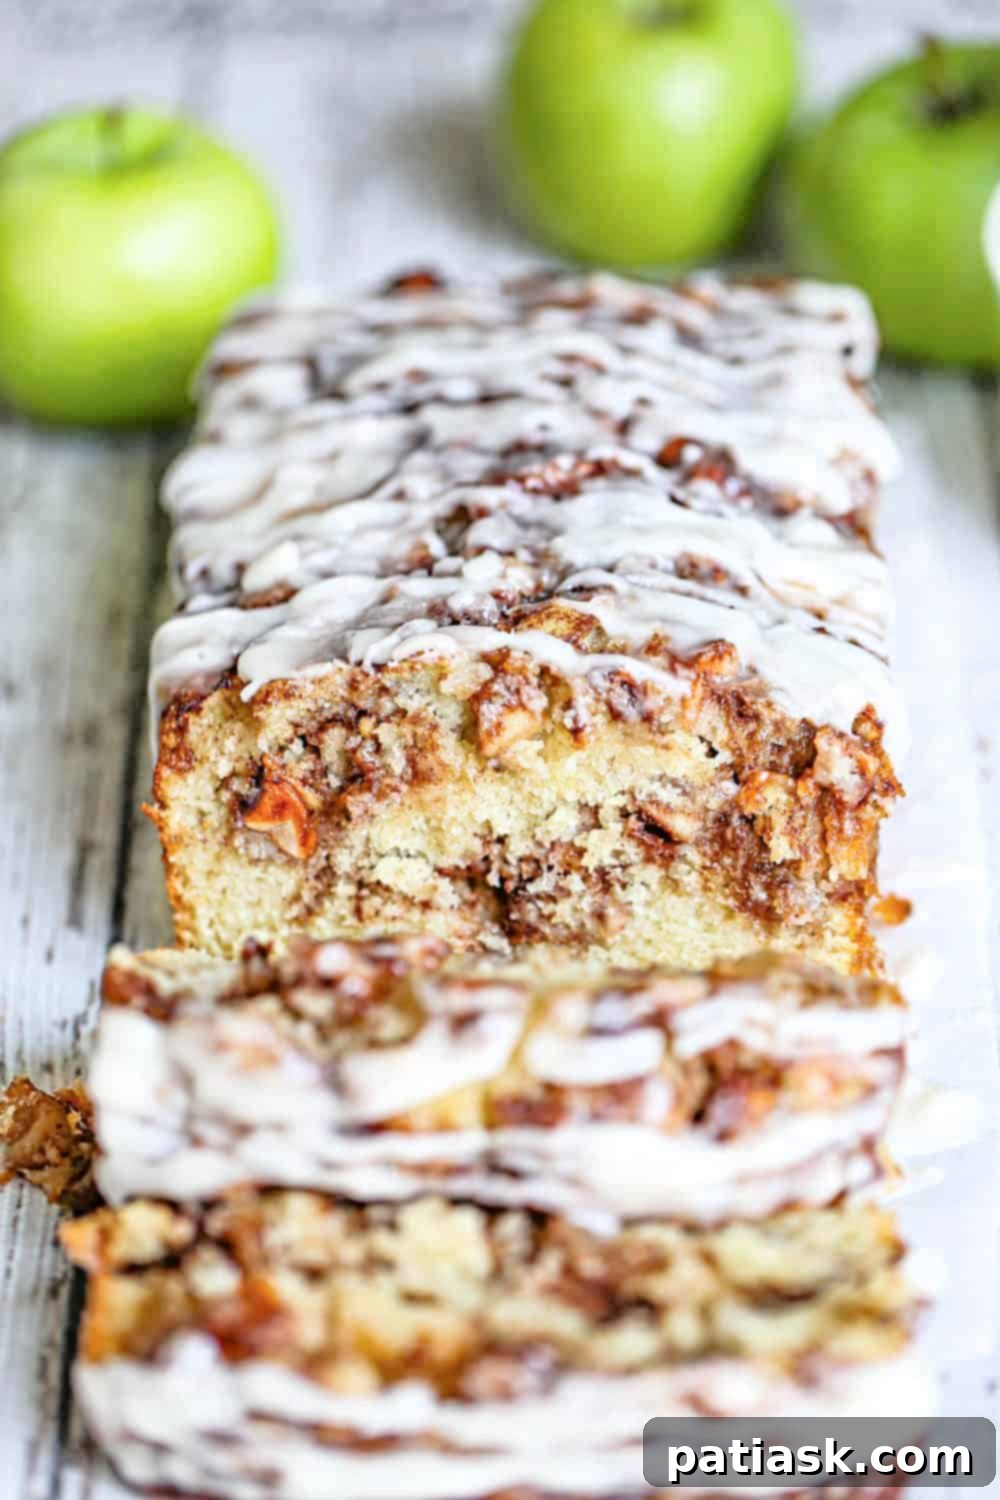
Mastering Quick Breads: The Ultimate Guide to Perfect Baking Every Time!
Are you yearning to bake quick breads that consistently turn out moist, tender, and utterly delicious? You’ve landed in the perfect spot! Whether you’re a novice baker embarking on your first loaf or a seasoned pro looking to refine your technique, this comprehensive guide is packed with expert tips and clever tricks to elevate your quick bread game.
Quick breads are a true marvel in the baking world—simple to prepare, incredibly versatile, and always satisfying. Forget the hours of waiting for yeast to rise; these delightful loaves come together with impressive speed, offering instant gratification for your baking endeavors. Get ready to transform your kitchen into a bakery and whip up delectable quick breads with confidence. Let’s dive into the secrets!
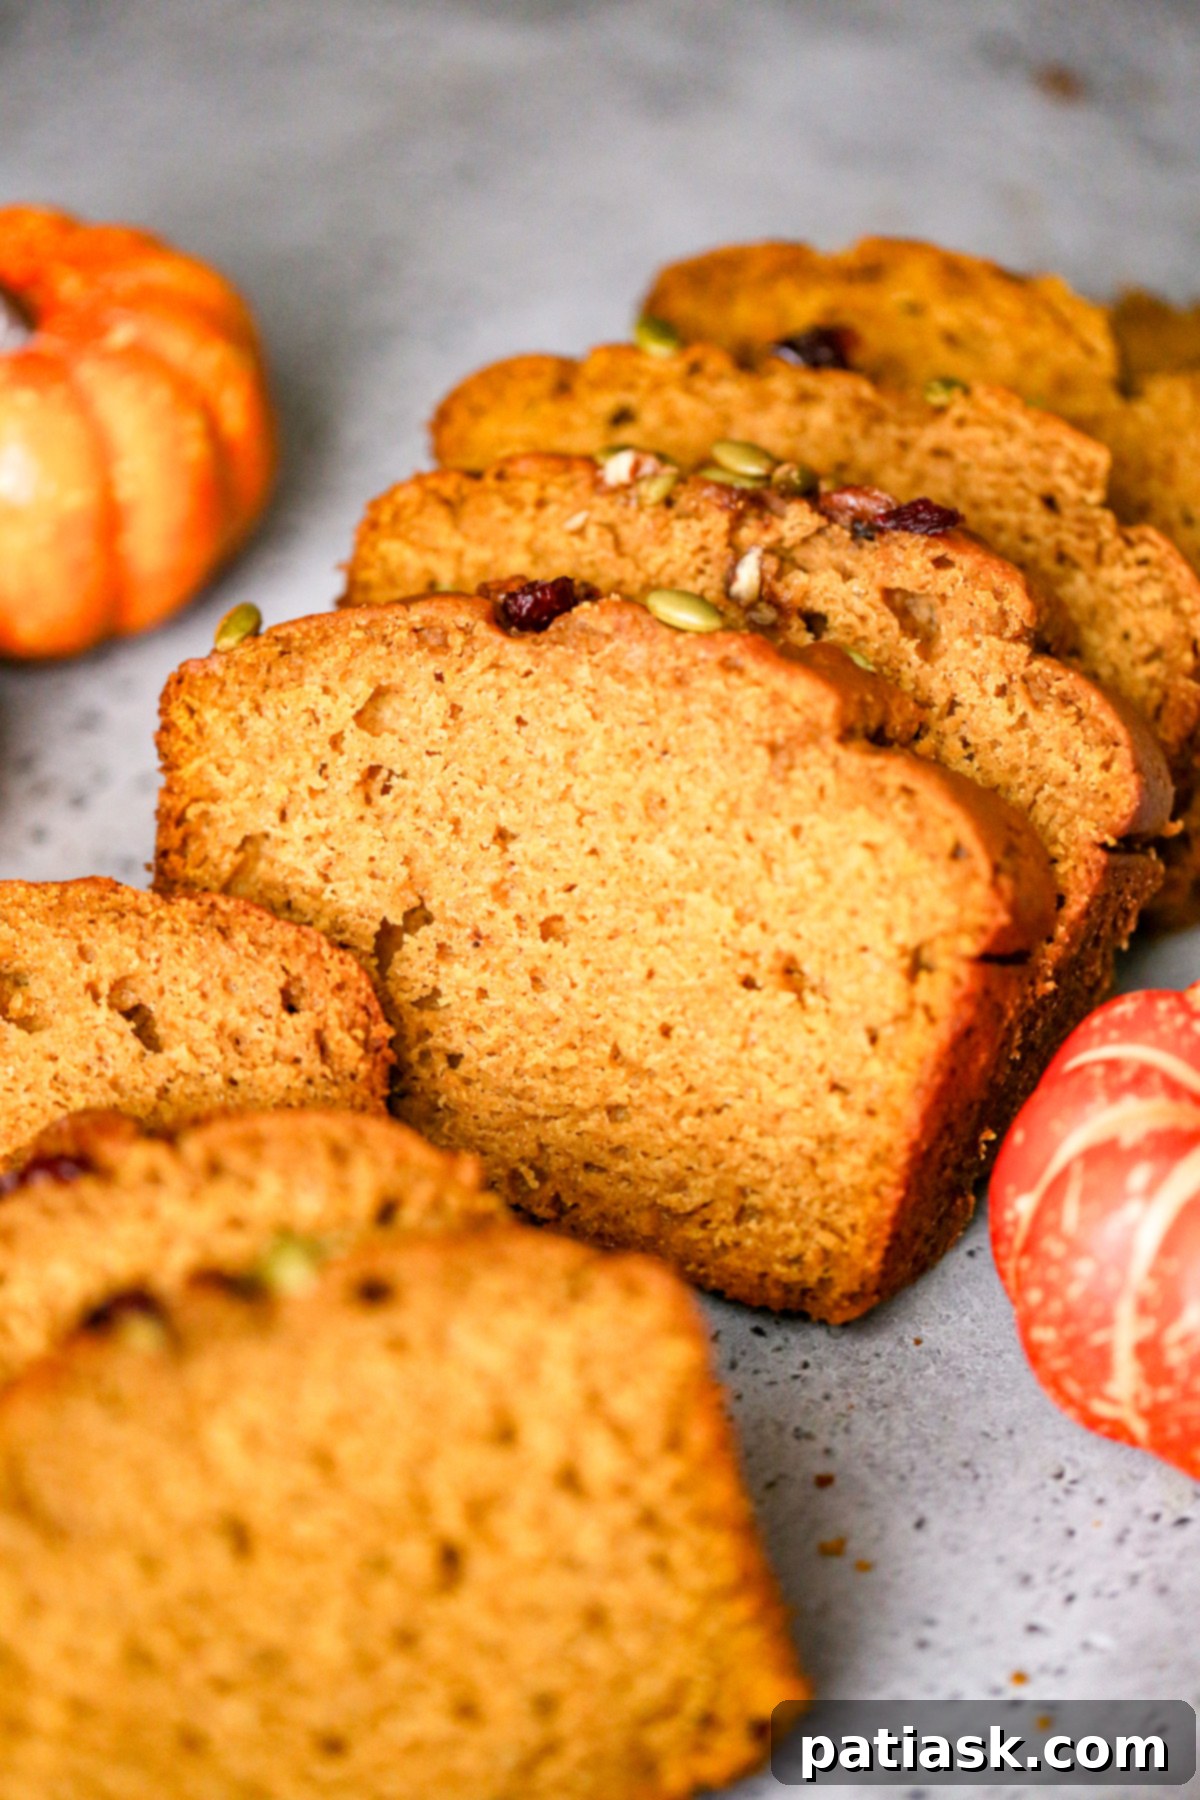
Understanding Quick Breads: The Speed and Science Behind Them
The name “quick bread” isn’t just a catchy phrase; it’s a fundamental characteristic. These breads earn their moniker because they are designed to be baked or cooked almost immediately after their ingredients are combined. The key differentiator lies in their leavening agents.
Unlike traditional yeasted breads that rely on yeast fermentation, a time-consuming process involving multiple rises, quick breads utilize chemical leaveners. These include baking powder, baking soda, and cream of tartar, which react with liquids and acids in the batter to produce carbon dioxide gas. This gas creates bubbles, causing the bread to rise quickly during mixing and baking, eliminating the need for lengthy proofing times. This chemical reaction is what makes quick breads so, well, quick to prepare and enjoy!
The Unmatched Versatility of Quick Breads
Quick breads are celebrated for their incredible adaptability, making them a staple in kitchens worldwide. Their basic structure—a unique blend of dry ingredients, wet ingredients, fats, and sugars—serves as a perfect canvas for endless culinary creativity. This adaptability makes them a fantastic go-to for both sweet and savory applications, suitable for breakfast, snacks, desserts, or even a light meal.
Beyond their convenience and ease of preparation, quick breads are remarkably accommodating to various dietary needs. With simple ingredient swaps, you can easily create delicious versions that are vegan, sugar-free, keto, dairy-free, or gluten-free. For instance, replacing dairy milk with almond milk or using a gluten-free flour blend are common adjustments that yield excellent results. The ability to customize a base recipe to suit specific tastes or health requirements is a major reason for their enduring popularity.
Imagine the possibilities: a classic banana bread, a zesty lemon loaf, a hearty zucchini bread, or a savory cheese and herb quick bread. The aroma of a freshly baked quick bread wafting through your home is truly intoxicating—it’s an experience that can make anyone’s mouth water instantly!
Expert Mixing Techniques for Perfect Quick Bread Texture
Achieving that coveted tender, moist texture in quick breads largely depends on how you mix your ingredients. This is perhaps the most critical tip for success.
The Golden Rule: Do Not Overmix Your Batter!
This cannot be emphasized enough. Overmixing is the primary culprit behind tough, dry, and crumbly quick breads. Here’s why and how to avoid it:
- Combine Dry Ingredients Thoroughly: In a large bowl, whisk together all your dry ingredients—flours, leaveners (baking powder/soda), salt, and any spices. Sifting them together is also an excellent method to ensure even distribution and aeration, preventing lumps and ensuring your leaveners are evenly dispersed.
- Prepare Wet Ingredients Separately: In another bowl, combine your wet ingredients. This usually involves creaming together fats (butter, oil) and sugar until light and fluffy, then beating in eggs one at a time. After that, incorporate any other liquid elements like milk, yogurt, fruit juices, extracts, or flavorings. Follow your recipe’s specified order for best results.
- Gently Fold Wet into Dry: Pour the wet ingredients into the dry. Now comes the crucial part: mix them gently by hand, preferably with a spatula or wooden spoon, rather than an electric mixer. Mix only until the ingredients are just combined and no dry streaks of flour remain. A few small lumps are perfectly acceptable and even desirable; they indicate you haven’t overmixed.
- The Science of Overmixing: When flour is mixed with liquid, gluten develops. Overmixing encourages excessive gluten development, which leads to a dense, chewy, and tough texture, akin to a traditional yeast bread but undesirable in a quick bread. You want just enough gluten for structure, but not so much that it becomes rubbery.
- Visual Cues of Overmixing: If you overmix, you might observe large tunnels and holes in the finished quick bread, indicating that air bubbles escaped due to a weakened structure. The texture will also be noticeably less tender.
- Incorporating Optional Add-ins: If your recipe calls for nuts, chocolate chips, fresh fruit, or dried fruit, fold them in gently at the very end, just until they are evenly distributed. Again, avoid vigorous mixing to prevent overworking the batter. Remember: a light hand is key!
*Important Reminder:* Over-mixing creates tunnels, weakens the structure, and results in a tough, unappetizing quick bread. Always aim for “just combined.”
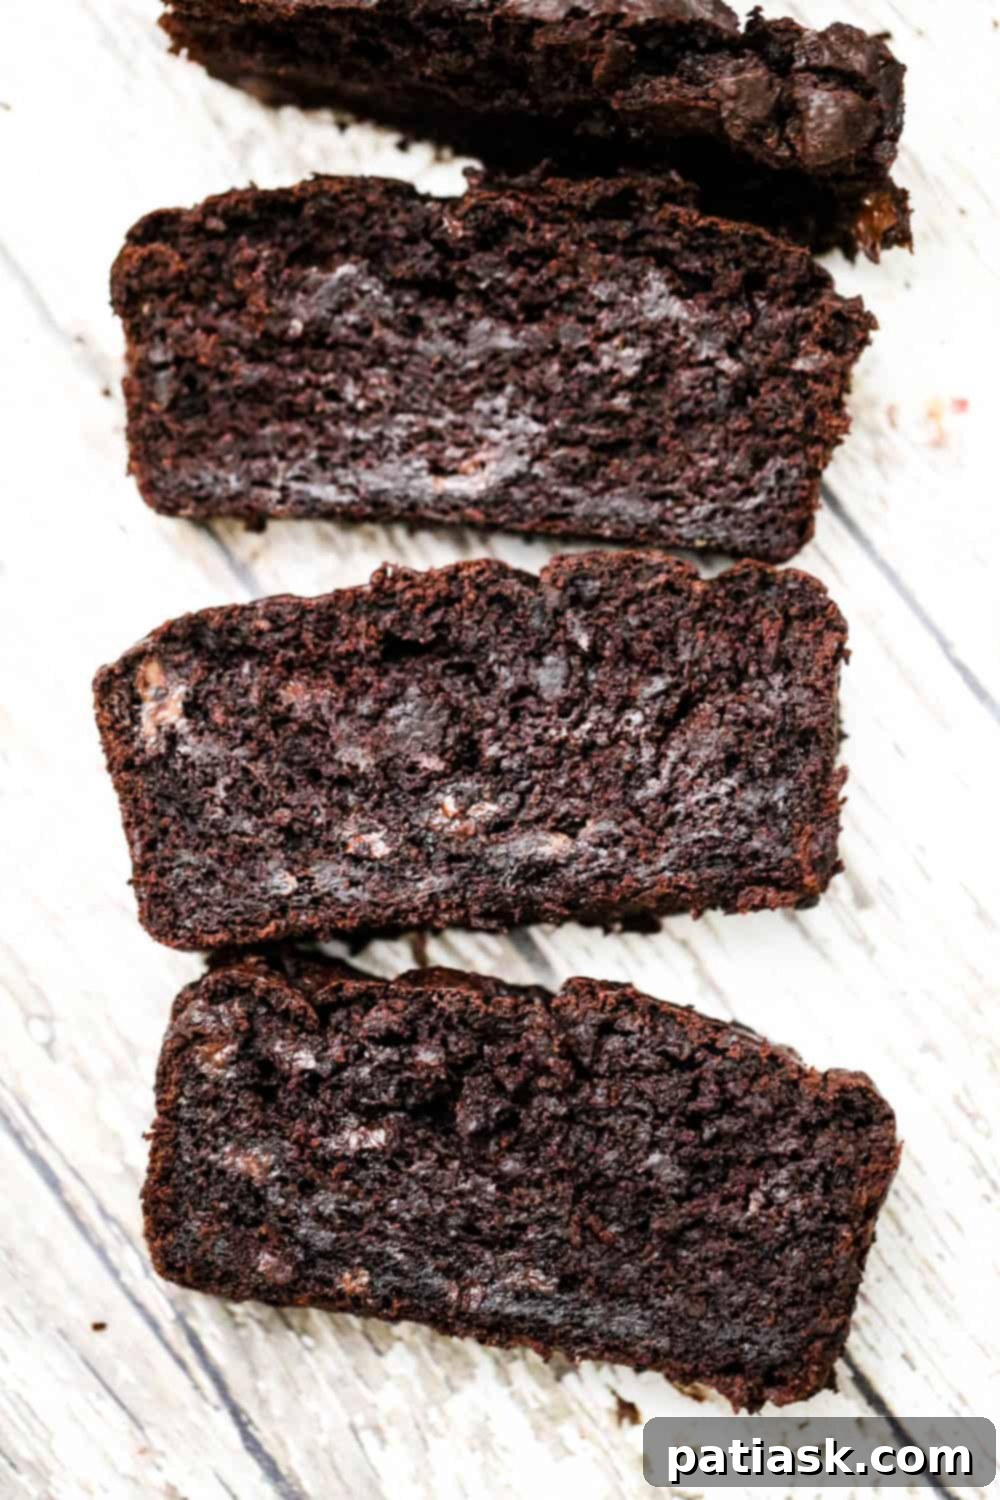
Preventing Sticky Situations: Ensuring Your Bread Releases Perfectly
There’s nothing more frustrating than a beautifully baked quick bread that refuses to release from its pan. Here’s how to ensure a clean flip every time:
- Thoroughly Grease Your Pan: This is the first line of defense. Always grease your baking pans generously before pouring in the batter. Shortening is often recommended as the best choice for greasing because its higher melting point creates a more stable “shield” between the pan and the baking bread, minimizing stickage.
- High-Quality Cooking Spray: A good quality non-stick cooking spray is also an excellent option. Look for sprays that specifically state they won’t build up or discolor your bakeware. For extra security, you can spray, then dust lightly with flour or cocoa powder (for chocolate breads) before tapping out the excess.
- Parchment Paper Power: For ultimate non-stick insurance, line your loaf pans with parchment paper. Create a “sling” by cutting a piece of parchment paper to fit the bottom and extend up the two long sides of the pan. This allows you to simply lift the baked bread out effortlessly. You can still lightly spray the exposed ends of the pan.
- Cooling is Crucial: Patience is a virtue, especially when it comes to cooling your quick bread. Removing it too soon can cause it to break apart. Allow the bread to cool in the pan for at least 15-20 minutes after taking it out of the oven. This crucial resting period allows the bread’s structure to set and firm up, making it much easier to invert and remove without sticking.
- Bundt Pan Specifics: Bundt cakes and quick breads baked in Bundt pans require a longer cooling period in the pan, typically around 30-40 minutes, before inverting. The intricate designs benefit from the extra time to set.
- Muffin Method for Muffins: Muffins, being smaller, behave differently. They should generally be removed from their tins almost immediately after baking to prevent steam from building up and making them soggy on the bottom. If you can’t remove them right away, gently prop them up in the tin to allow air circulation underneath.
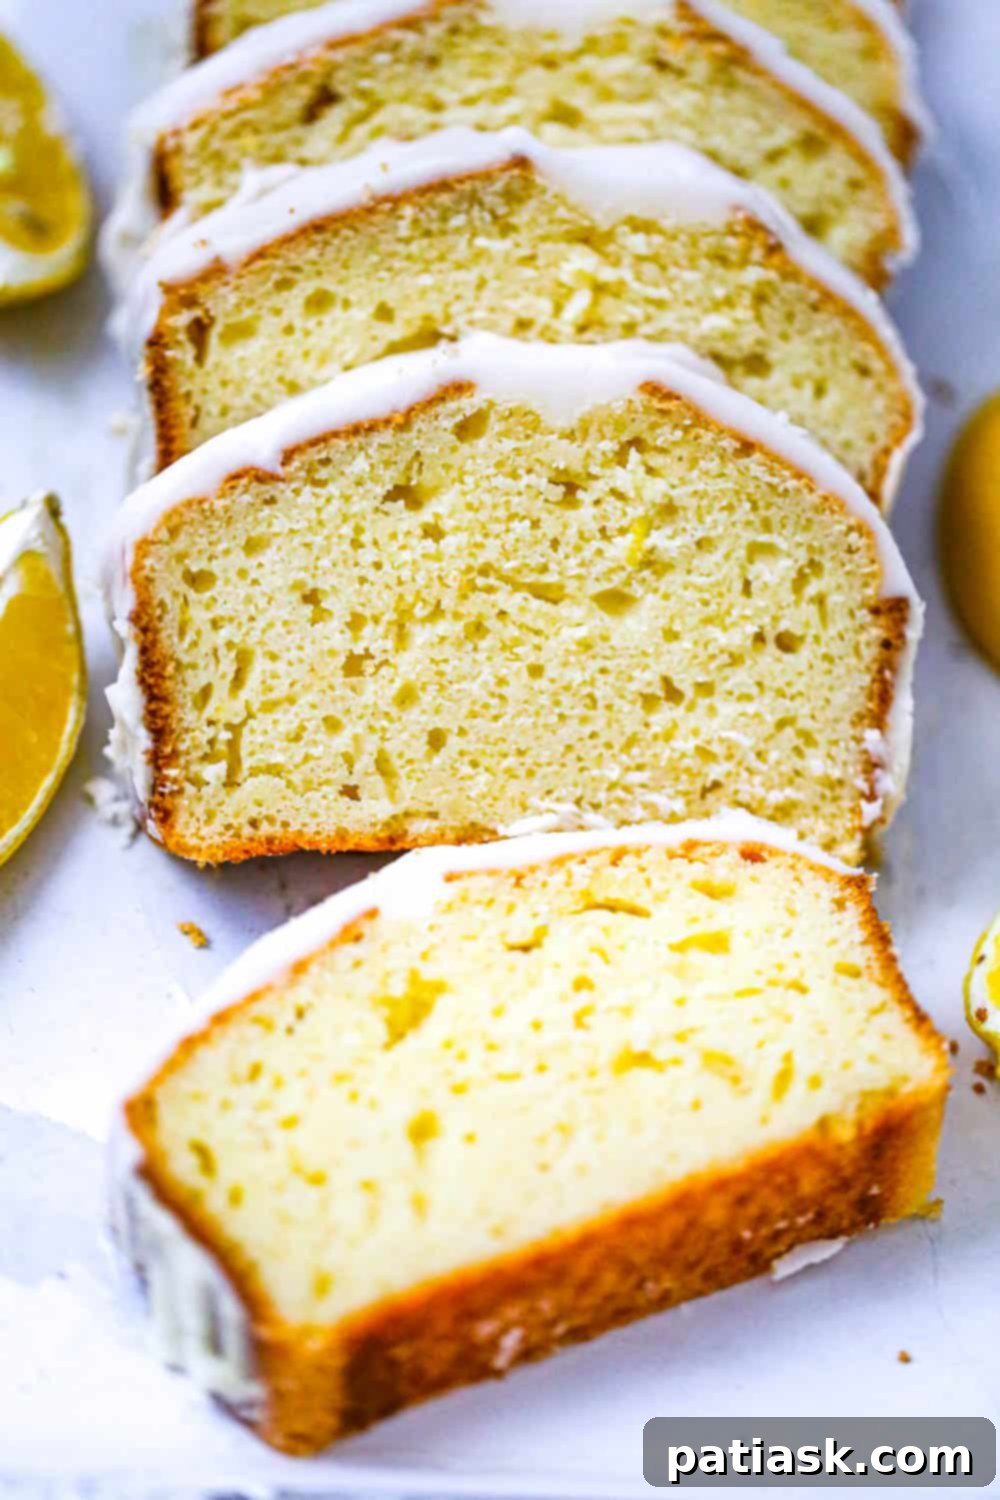
Embracing the Crack: Why a Crack on Top is a Good Sign
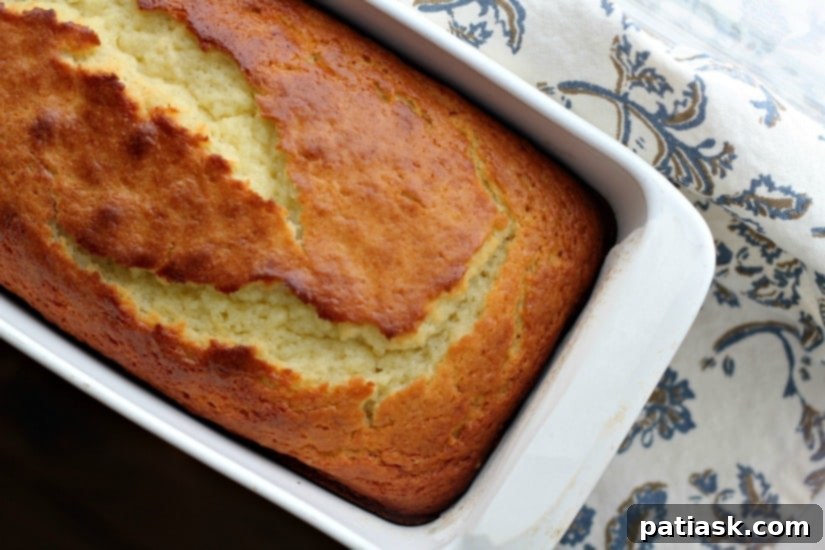
Many first-time quick bread bakers worry when they see a crack developing on the top of their loaf. Fear not! This is a completely normal and often desirable characteristic of quick breads.
- The Science Behind the Crack: The crack forms when the top crust of the loaf sets and cooks faster than the interior of the bread, which continues to rise. As the internal structure expands, the surface tension of the already-set crust breaks, creating that signature fissure.
- A Mark of Character: Rather than a flaw, consider it a badge of honor! A single, prominent crack down the center often indicates a good, strong rise. It adds a rustic, homemade charm to your quick bread.
- Decorate and Delight: If you prefer a smoother appearance or simply want to enhance its appeal, the crack provides a perfect channel for a drizzle of icing, a dusting of confectioners’ sugar, or a simple glaze. This can transform your “perfect imperfection” into an elegant finish.
Solving the Sinking Syndrome: Keeping Add-ins Suspended
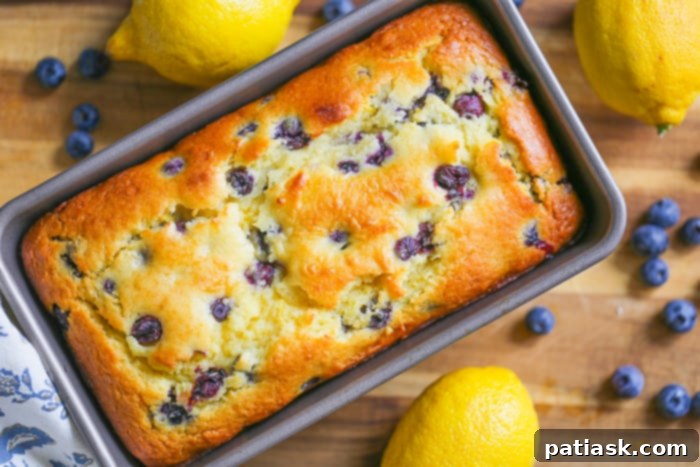
Have you ever baked a delicious berry quick bread only to find all the fruit huddled sadly at the bottom? This common issue, often called “sinking syndrome,” is usually due to the weight and moisture content of the added ingredients.
- The Flour Coating Trick: The simplest and most effective solution is to lightly toss your add-ins with a tablespoon or two of flour (taken from the total flour quantity in your recipe, not added additionally). Place the berries or other additions in a bowl or Ziploc bag, add the flour, and gently toss until they are lightly coated. This thin layer of flour creates friction and helps the add-ins adhere to the batter, preventing them from sinking to the bottom during baking.
- Handling Frozen Berries: If your recipe calls for frozen berries, do not thaw them before adding them to the batter. Thawed berries release excess moisture, which can make your batter too wet and cause the colors to “bleed” into the bread. Adding them frozen helps maintain their structure and prevents excessive bleeding, unless a swirled, marbled effect is what you desire.
- Other Add-ins: This trick also works wonderfully for chocolate chips, nuts, and larger pieces of fruit. Ensure these additions are not excessively wet. For very heavy or large pieces of fruit, consider chopping them into smaller, more manageable sizes.
Troubleshooting a Raw Center: When Your Bread Isn’t Cooked Through
One of the most disheartening quick bread problems is cutting into a beautifully browned loaf only to find a raw, gooey center. This common issue can stem from several factors:
- Inaccurate Oven Temperature: An oven that runs too hot can cook the exterior of your bread too quickly, making it look done before the inside has had a chance to bake through. Invest in an inexpensive oven thermometer to verify your oven’s actual temperature. Adjust your oven setting accordingly to match the recipe’s recommended temperature.
- Lowering Temperature & Tent with Foil: If the outside is browning too rapidly, try lowering your oven temperature by 25°F (15°C) and/or loosely tenting the top of the bread with aluminum foil. This shields the crust from direct heat, allowing the interior more time to catch up and bake evenly without burning the top.
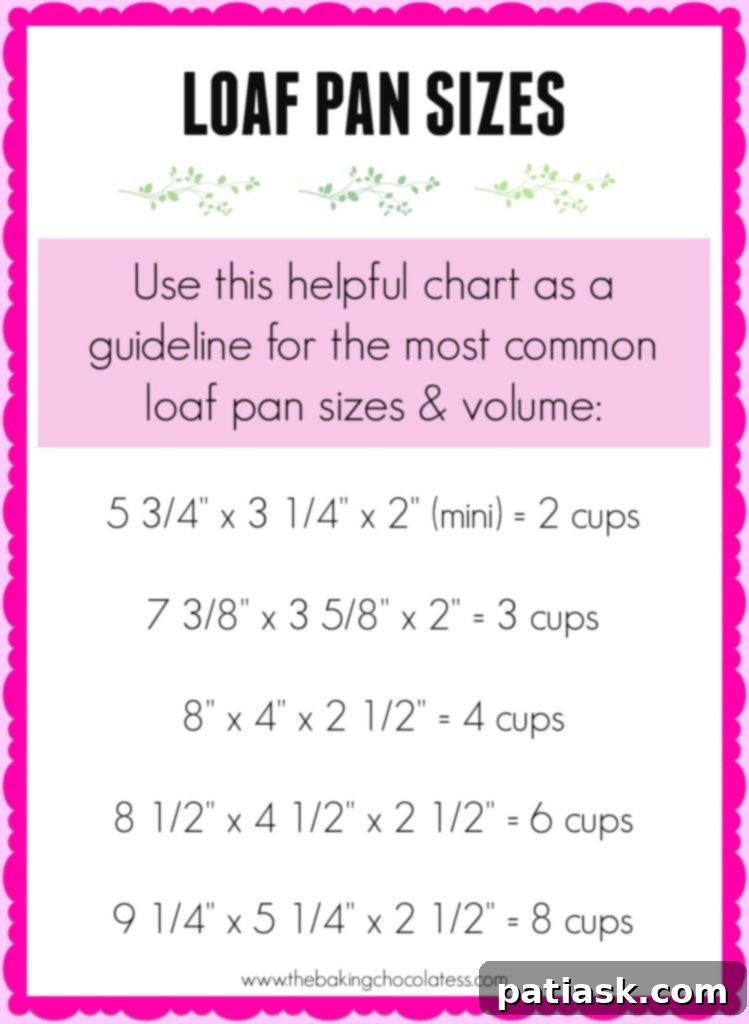
- Incorrect Pan Size or Material: Using a different size or type of pan than specified in the recipe can significantly alter baking times and sometimes temperatures.
- Pan Size: A larger or thicker loaf will naturally require a longer baking time. If you use a pan significantly different from the recipe’s recommendation, be prepared to adjust baking duration and monitor closely.
- Pan Material: Dark metal pans absorb more heat and can cause faster browning, while lighter metal pans reflect heat. Glass pans retain heat longer and conduct it differently than metal, often requiring a slight reduction in oven temperature (typically 25°F/15°C) and potentially longer baking times.
- Testing for Doneness (The Toothpick Method): The most reliable way to check for doneness is the toothpick test. Insert a wooden skewer or toothpick into the very center of the bread. If it comes out clean or with a few moist crumbs attached (but no wet batter), your bread is likely done. A deceptive golden crust can often hide an underbaked interior, so always rely on this method.
- The Springy Touch Test: Another great indicator is to gently press the top center of the bread with your index finger. If it springs back immediately, it’s done. If it leaves an indentation or feels soft and doughy, it needs more time in the oven. Even a slight deflation means it needs a few more minutes.
- Soggy or Sunken Middle: If your bread has a soggy texture and a sunken middle, it often indicates too much liquid relative to dry ingredients, insufficient leavening (perhaps old baking powder/soda), the batter sitting too long before baking (allowing leaveners to lose potency), or simply being severely underbaked.
Reviving Dry or Crumbly Quick Bread
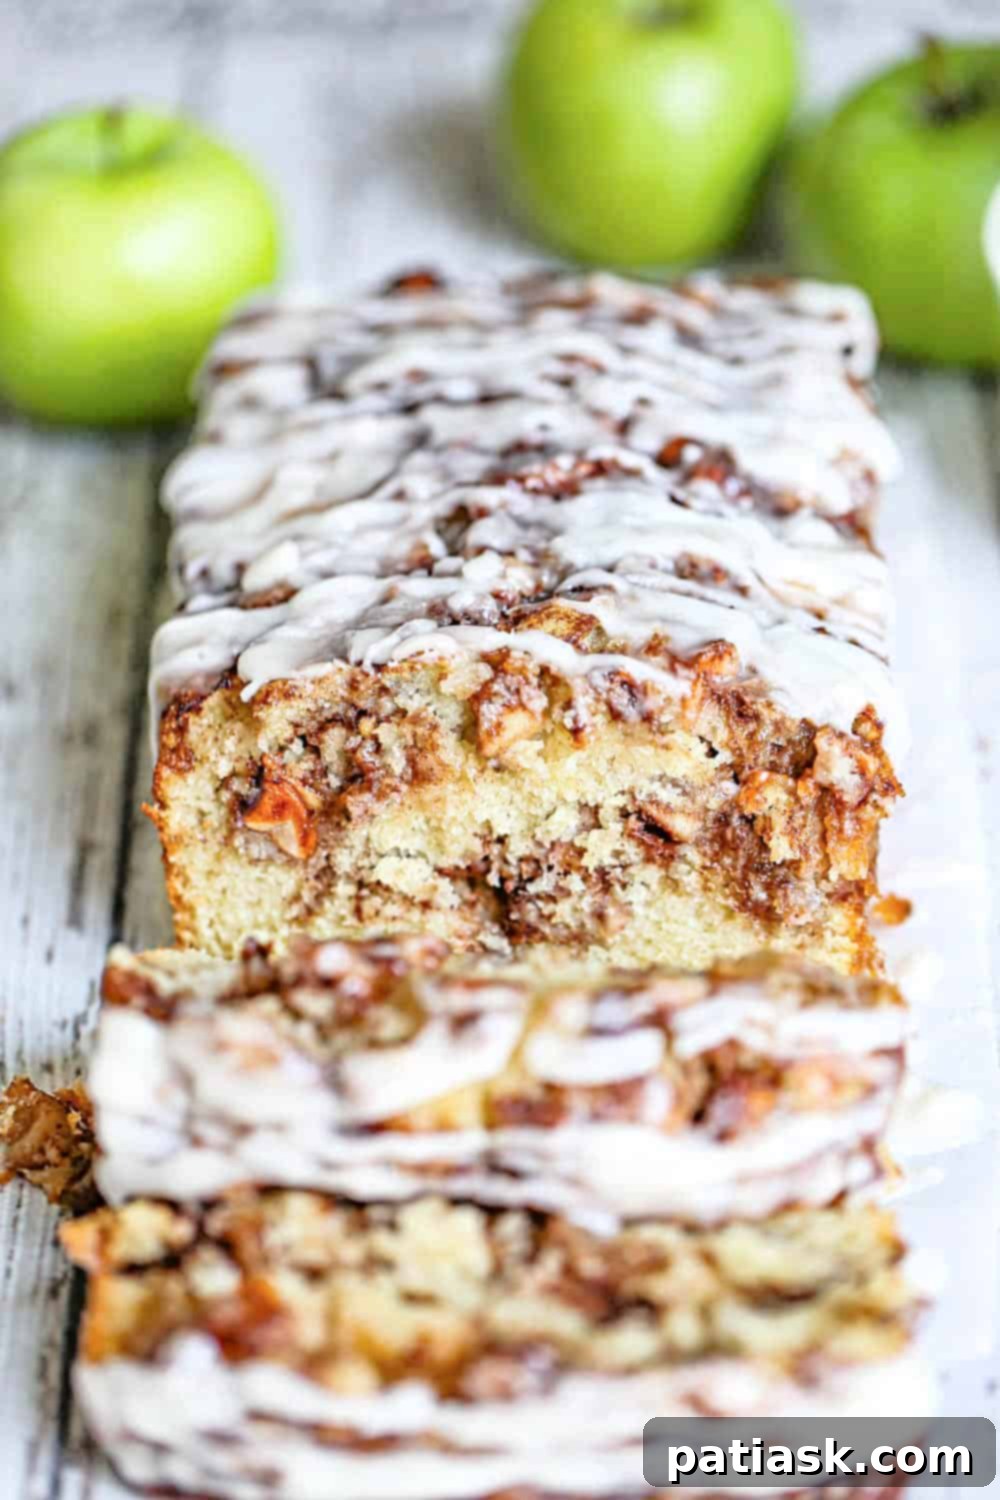
A dry or crumbly quick bread is a common disappointment, often caused by too little liquid, too much flour, over-mixing, or baking at too high a temperature. But don’t despair—there are ways to prevent and remedy this!
- Proper Ingredient Measurement: Always measure your flour correctly. Scooping flour directly with your measuring cup can pack it too densely, resulting in too much flour. Instead, spoon flour into your measuring cup and then level it off with a straight edge. This “fluff and spoon” method prevents a dry outcome.
- Airtight Storage is Key: To maintain freshness and moisture, store baked quick breads in an airtight container at room temperature for up to 3-4 days, or in the refrigerator for up to a week. For longer storage, individual slices or whole loaves can be tightly wrapped in plastic wrap, then placed in a freezer-safe zip-top bag and frozen for up to one month.
- Thawing Tips: For quick thawing, microwave individual slices for 10-30 seconds. For a whole loaf, allow it to thaw at room temperature for approximately 1.5 to 2 hours.
- Glaze for Moisture Retention: Applying a simple glaze (like a confectioners’ sugar glaze) while the bread is still slightly warm but not hot can effectively seal in moisture, creating a protective barrier against drying out.
- Rehydrating Dry Bread with Syrup: If your bread has already turned dry, a simple sugared water solution can work wonders. Combine 1 cup of sugar with 2 cups of water (a 1:2 ratio) and gently heat until the sugar dissolves. Let it cool. Transfer the syrup to a spray bottle. Poke a few holes into your baked bread with a skewer and lightly mist the cake with the sugar water mixture. Allow the mist to soak in completely before repeating as necessary. Be careful not to over-mist, or your bread will become soggy. You can also infuse this syrup with citrus zest for flavor, or even use a liquor-based syrup for an adult twist. A glaze or frosting applied generously can also help revive moisture.
- The “Freezer Shock” Hack for Ultimate Moisture: This might sound unconventional, but placing a hot quick bread or cake loaf into the freezer for 30 minutes immediately after baking can dramatically enhance its moisture and tenderness. The rapid cooling helps to condense the steam inside the bread, creating a super moist texture. To do this, remove the bread from its pan after baking. Place the hot bread (with parchment paper between it and the rack if necessary for easy removal) on a wire rack, then transfer the entire rack into the freezer for about 30 minutes. After this initial shock, you can proceed with normal cooling.
Advanced Quick Bread Baking Tips for Perfection
Beyond the basics, a few extra considerations can further refine your quick bread results:
- Coarse Texture: A quick bread with an overly coarse or open texture often indicates too much fat or too much leavening agent in the recipe. Always measure accurately and ensure your leaveners aren’t expired.
- Excessive Browning from Sugar: While sugar adds sweetness and moisture, too much can lead to a thick, dark brown, or even burnt crust on your bread. Sugar caramelizes during baking, and an excess will accelerate this process.
- Bitter or Soapy Taste: An unpleasant bitter or soapy flavor usually points to an excessive amount of leavening agents, particularly baking soda, which has a distinct alkaline taste if not fully neutralized by an acid.
- Preventing Over-browning on Top: Loaf cakes can sometimes brown too quickly on the top before the center is cooked through. To remedy this, lower your oven temperature by 25°F (15°C) and/or cover the top of the loaf with a loose tent of aluminum foil. You can also move the cake to a lower oven rack to distance it from the top heating element. Monitor it closely towards the end of baking, testing for doneness every five minutes.
- The Importance of a Properly Preheated Oven: Starting your quick bread in a cold oven is a recipe for uneven baking. The exterior will cook before the interior, leading to a gummy, undercooked center and a tough, scorched crust. Always preheat your oven for at least 10-15 minutes (or until the oven light indicates it’s ready) before placing your batter inside. This ensures even heat distribution from the start.
- Bake Immediately After Mixing: Quick breads rely on chemical leaveners that begin reacting as soon as they come into contact with wet ingredients. For the best rise and texture, get your batter into the preheated oven as quickly as possible after mixing. Delaying can cause the leavening gases to escape prematurely, resulting in a dense, less airy loaf.
- Optimal Oven Rack Positioning: For ideal heat circulation and even baking, position your oven racks in the middle of your oven, or no higher than two-thirds of the way up. This central placement allows heat to circulate uniformly around your loaf, promoting an even rise and preventing the top from burning or the bottom from becoming over-baked. Ensure there’s ample clearance between your pan and the heating elements.
The Simple Science: Mastering Basic Quick Bread Ratios
Understanding the fundamental ratios behind quick breads can empower you to confidently adapt recipes and even create your own. For a basic quick bread, a reliable starting point is this ratio:
2 parts flour, 2 parts liquid, 1 part egg, and 1 part butter or oil.
This foundational ratio provides the essential building blocks for structure, moisture, and tenderness. While simple, it accounts for the core ingredients. You might notice that not all quick bread recipes appear to follow this ratio explicitly, and here’s why:
- Leavening is Assumed: Chemical leaveners like baking powder or baking soda are crucial but aren’t typically included in the basic ratio. They are often implicitly accounted for within the flour measurement (e.g., approximately 1 teaspoon of baking powder per 4 ounces of flour, though this varies by recipe). Their presence is essential for the “quick” rise.
- Optional Extras: Ingredients such as spices (cinnamon, nutmeg), vanilla extract, or citrus zest are optional flavor enhancers and are not part of the structural ratio. They are added for taste, not for the fundamental chemistry.
- Sugar’s Role: While sugar is undeniably necessary for flavor, browning, and moisture retention in many quick breads, its quantity can vary significantly without necessarily compromising the fundamental structure. Therefore, it’s not always included as a fixed “part” in the basic structural ratio. Sugar is often mixed with wet ingredients to dissolve and prevent further gluten development, but it acts more as a flavor and texture modifier rather than a primary structural component.
Exploring Batter Ratios: {Dry : Liquid} for Different Quick Bread Textures
The ratio of dry ingredients to liquid ingredients in your batter significantly influences the final texture of your quick bread. Understanding these common ratios can help you achieve specific results:
- Drop Batter (3:1 Dry to Liquid): This batter is thick and spoonable, holding its shape when dropped from a spoon. With a higher proportion of dry ingredients, it yields a moist yet fluffy baked good. Examples include muffins, scones, and certain fruit breads.
- Pour Batter (1:1 Dry to Liquid): This type of batter is thin and easily pourable. Due to its equal parts dry and liquid, the resulting baked good will be very moist and often denser. Pancakes, waffles, and some thin quick bread batters fall into this category.
- Stiff Dough (7:1 Dry to Liquid): This batter is much thicker, almost like a traditional dough, requiring kneading or rolling. The very high ratio of dry ingredients results in a very light, flaky, and tender baked good. Biscuits and some types of shortbread are examples of stiff doughs.
These detailed quick bread baking tips have been instrumental in my baking journey, and I hope they empower you to create perfect quick breads every time. If you have any favorite tips or tricks that you swear by, please feel free to share them in the comments below; I’d love to hear them and learn from your experience!
And for those seeking the right tools, here’s a helpful resource for finding quality loaf pans to get you started!
Explore More Quick Bread Inspirations!
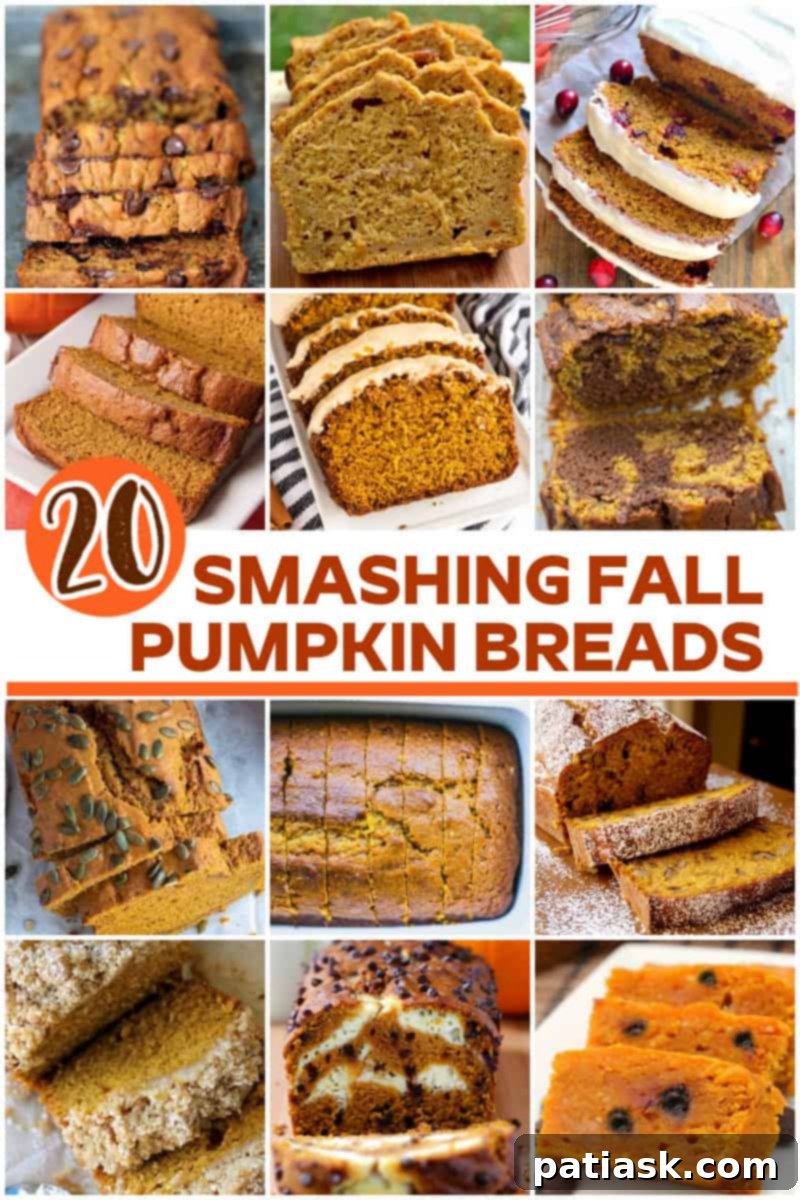
20 Smashing Pumpkin Breads for Fall!
Baking quick breads truly doesn’t have to be a daunting task! With the right understanding of ingredients, precise mixing techniques, the proper tools, and a bit of practice, you can consistently produce delicious, fluffy, and tender quick breads with remarkable ease.
Remember to always start with quality ingredients, combine your wet and dry components separately, use a gentle hand when mixing to avoid over-development of gluten, and ensure your oven is perfectly preheated. Don’t be afraid to experiment with different pan shapes, like Bundt pans for an elegant presentation, or transforming your batter into muffins for individual servings.
Quick breads offer a wonderfully fun and creative outlet for every baker. So, seize the opportunity to get imaginative, explore new recipes, and apply these expert baking methods to craft your own irresistibly delicious quick breads. Happy baking!
Discover All Our Quick Bread Recipes! YUM!
Seeking More Baking Wisdom? Explore These Baking & Tips 101 Guides!
- 9 Hacks: How to Elevate a Boxed Cake Mix
- Mastering Pie Crust: Essential Tips
- Unlock Perfection: How to Bake the Best Cookies!
