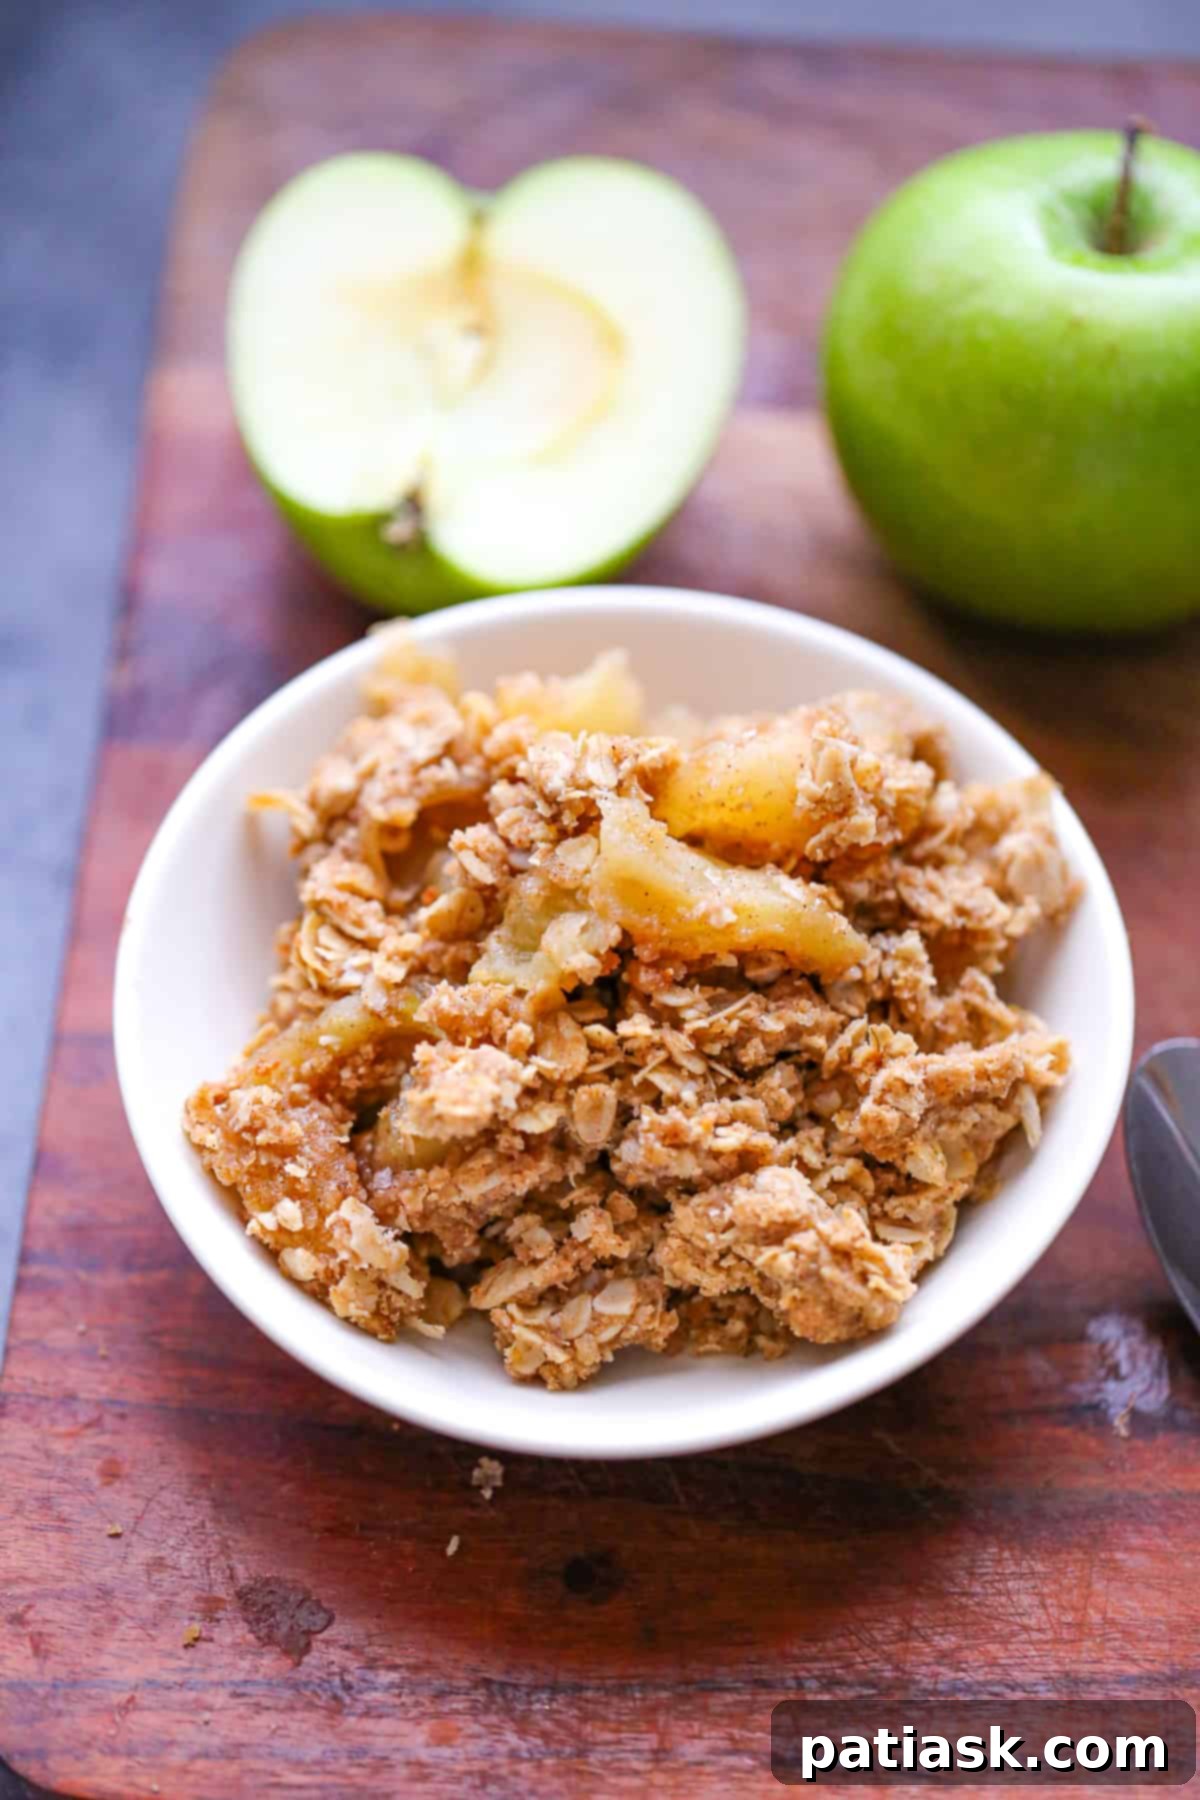
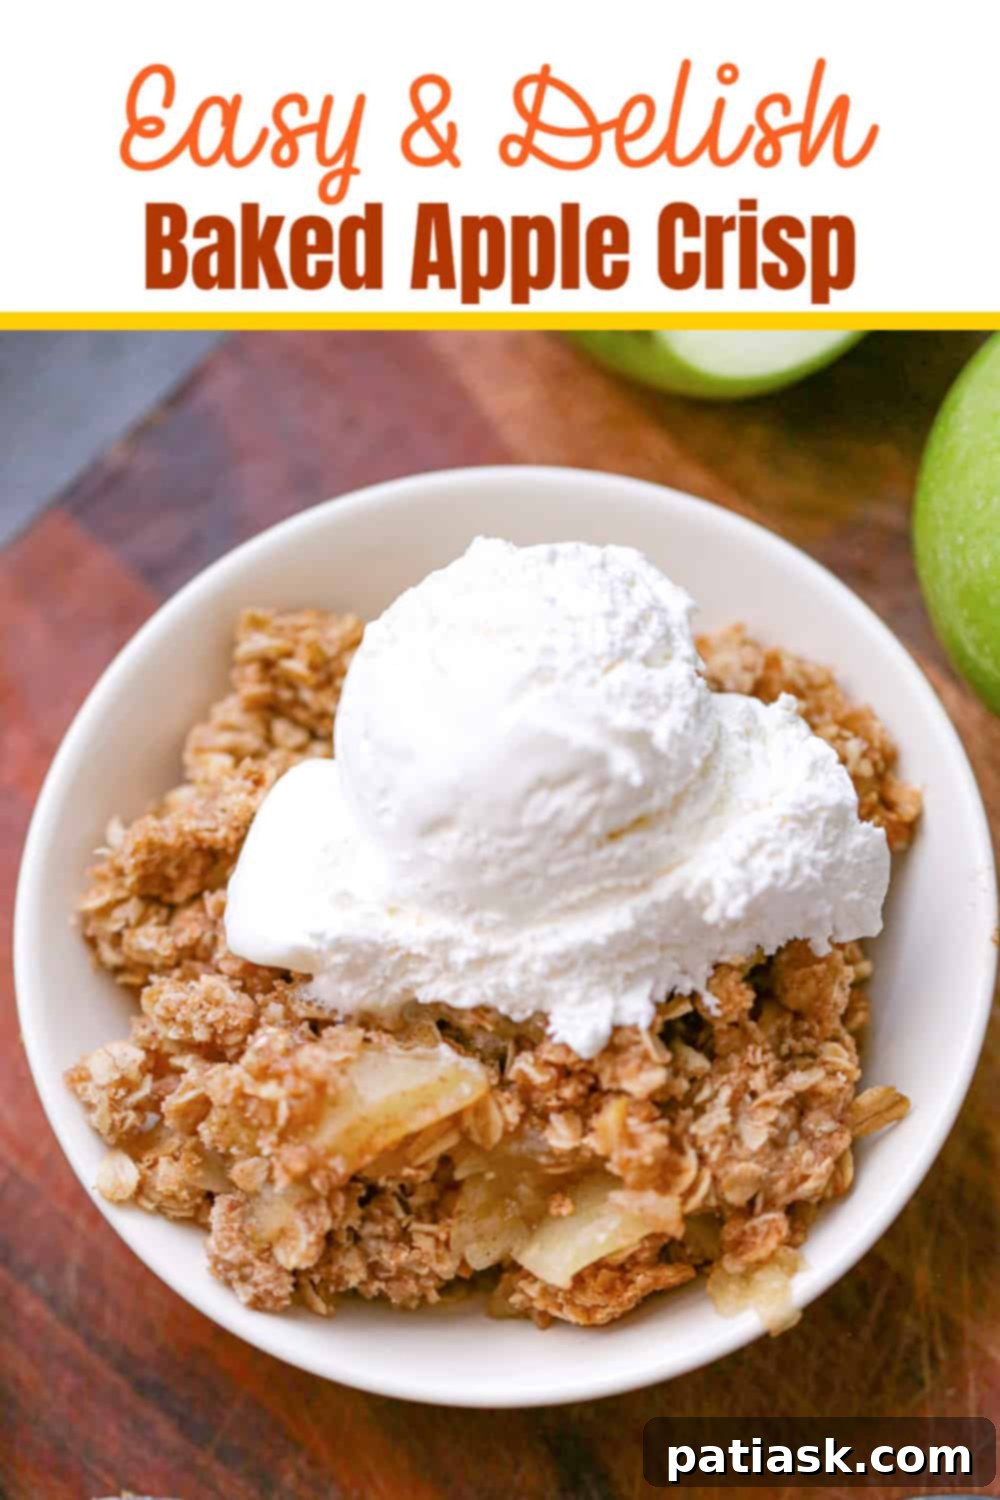
Welcome to the ultimate guide for creating the most delightful and comforting dessert of the season: Easy Homemade Baked Apple Crisp. This recipe promises a perfect balance of tender, spiced apples beneath a golden, buttery, brown sugar, and oat crumble topping. Served warm, perhaps with a generous scoop of vanilla ice cream melting into its sweet depths, this classic fall dessert is guaranteed to impress your family and friends, becoming a cherished treat for any occasion.
There’s something uniquely special about the aroma of freshly baked apple crisp wafting through your home. It’s a scent that evokes warmth, nostalgia, and pure indulgence. Forget complicated desserts; this foolproof recipe delivers incredible flavor with minimal effort, making it a go-to for both seasoned bakers and beginners alike. Prepare to transform simple ingredients into a masterpiece that will have everyone asking for seconds!
For those who love the flavors of apple crisp and are eager to explore more delightful apple creations, you might also enjoy these tempting Apple Crisp Cheesecake Bars, a GF Maple Cinnamon Apple Crisp for a gluten-free option, or even a Rhubarb Berry Crisp for a fruity variation. But for now, let’s focus on perfecting this quintessential apple crisp.
What is Apple Crisp? A Timeless Comfort Dessert
Apple crisp is a beloved American dessert featuring a baked apple filling topped with a crunchy, crumbly layer, typically made from oats, flour, butter, and sugar. Unlike apple pie, which requires a pastry crust, apple crisp offers a more rustic and often simpler approach to fruit desserts. It’s the ultimate comfort food, providing a warm, sweet, and slightly tart experience that’s both satisfying and incredibly easy to prepare. Its charm lies in its simplicity and the delightful contrast between the soft, yielding apples and the crispy, golden-brown topping.
This particular recipe elevates the classic by ensuring a perfectly balanced flavor profile and an irresistible texture. The crisp topping is designed to be wonderfully crunchy, while the apple center remains sweet, tender, and infused with aromatic spices. It’s a harmonious blend that will make your taste buds sing with every bite. The beauty of a homemade apple crisp is that you have complete control over the ingredients, allowing you to create a dessert that perfectly suits your preferences and dietary needs.
Crafting this dessert from scratch is not only rewarding but also surprisingly straightforward. You don’t need to be a gourmet chef to achieve spectacular results. With a few staple ingredients like fresh apples, brown sugar, cinnamon, nutmeg, and oats, you can whip up a dessert that tastes like it came straight from a professional bakery. This makes it an ideal choice for last-minute gatherings or simply when you’re craving a wholesome, delicious treat.
Choosing the Best Apples for Your Crisp
The foundation of an outstanding apple crisp lies in selecting the right apples. While many varieties work well, choosing apples that hold their shape during baking and offer a good balance of sweetness and tartness is key. A mix of apple types can create a more complex and delightful flavor profile. Here are some of the best apples for baking and why they shine in an apple crisp:
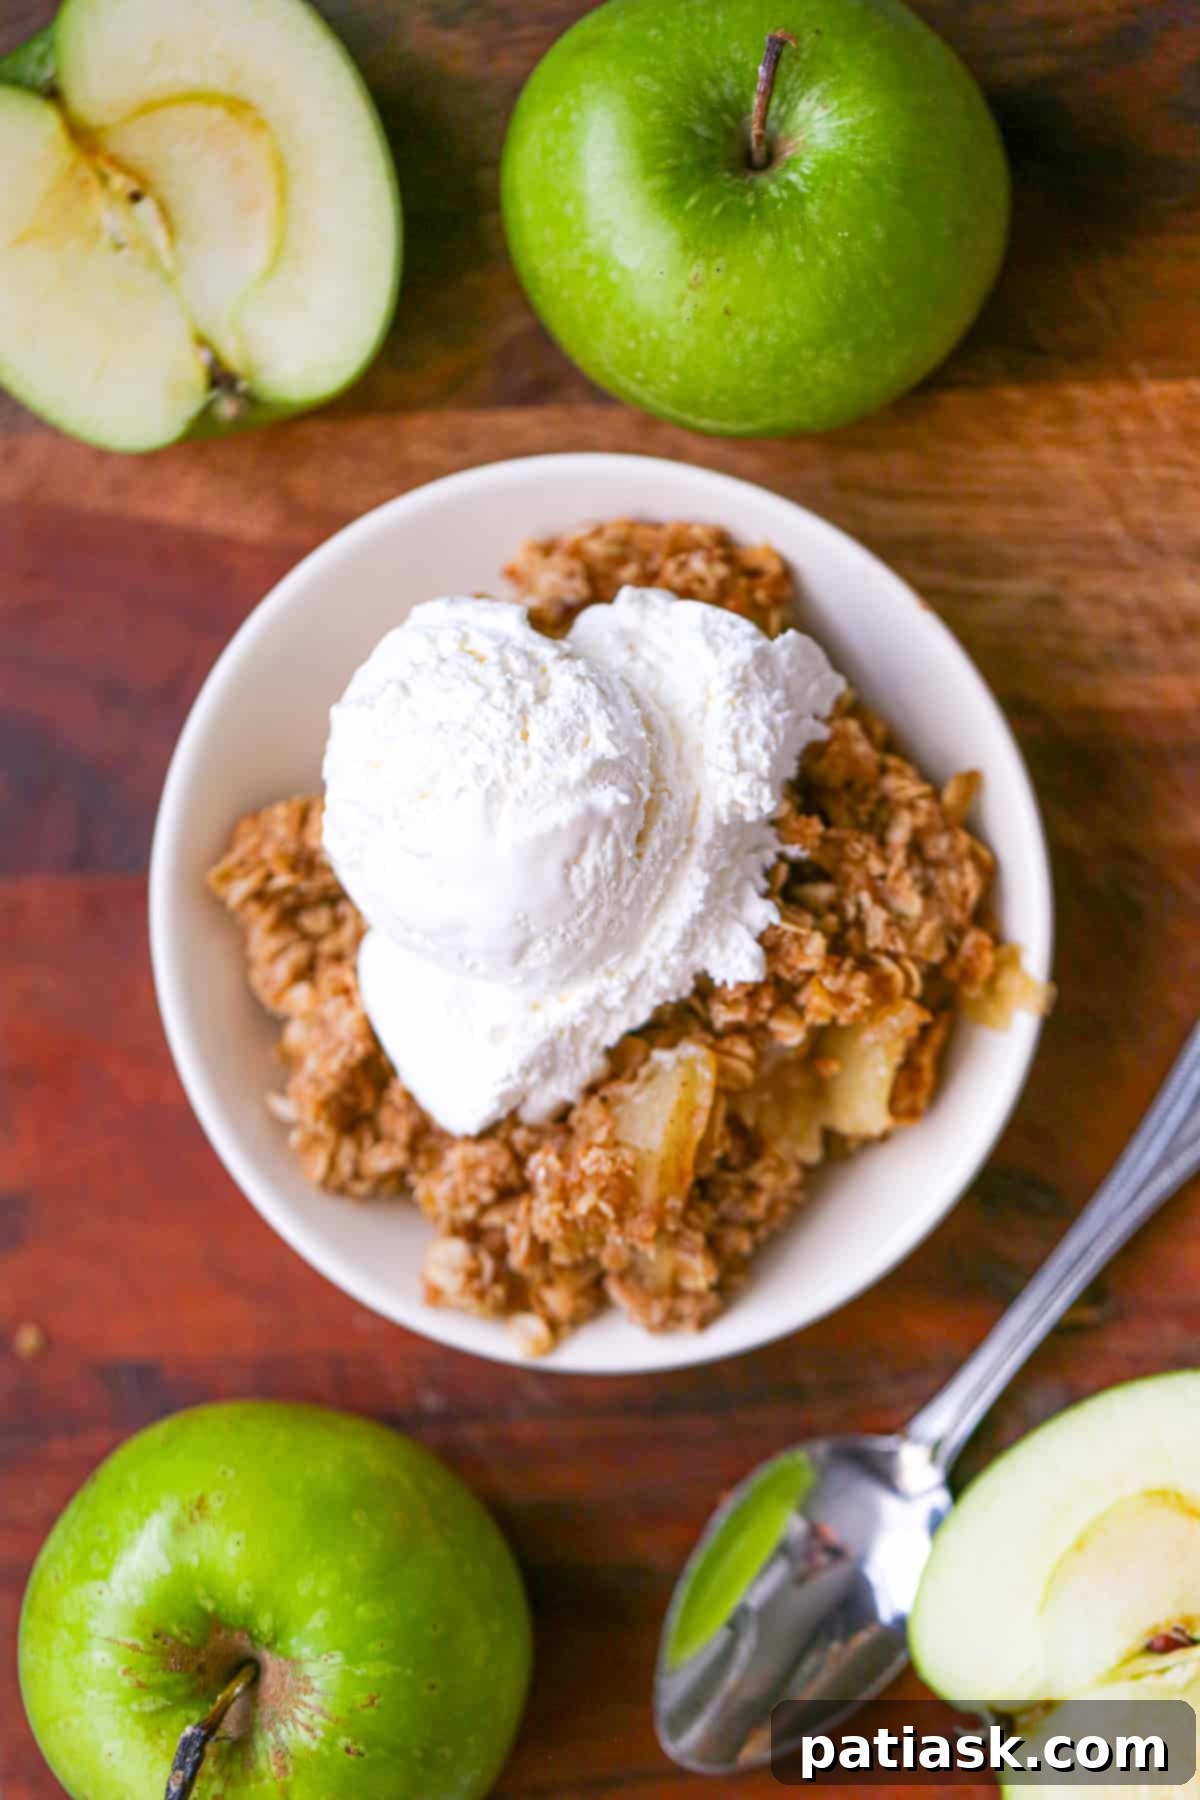
- Granny Smith: These tart apples are a classic choice for baking. Their firm texture ensures they won’t turn to mush, and their tartness provides a fantastic contrast to the sweet crumble topping.
- Honeycrisp: Known for their sweet-tart flavor and exceptionally crisp texture, Honeycrisp apples remain firm and juicy after baking. They are a popular choice for a reason!
- Fuji: Sweet and crunchy, Fuji apples offer a delightful sweetness that pairs well with other, more tart varieties. They hold their shape beautifully.
- Gala: Mildly sweet and crisp, Gala apples soften nicely without becoming too soft, contributing a subtle sweetness to the filling.
- McIntosh: While they break down a bit more, McIntosh apples become incredibly tender and release a wonderful, aromatic juice that enriches the filling. If you like a softer apple filling, these are a great addition.
For the best results, consider using a combination of 2-3 different apple varieties. For instance, a mix of Granny Smith and Honeycrisp or Fuji will give you both tartness and sweetness, along with varying textures. Aim for about 6-7 cups of sliced or chopped apples to fill an 8×8 or 2-quart baking dish generously.
Gather the Ingredients for This Easy Apple Crisp Recipe
This recipe calls for simple, wholesome ingredients you likely already have in your pantry. The magic happens when these ingredients come together to create a symphony of flavors and textures.
Apple Layer
- 4-5 large apples, sliced or chopped (about 6-7 cups of Gala, McIntosh, Fuji, Honeycrisp, or Granny Smith apples are excellent choices for baking)
- 2 tablespoons sugar of choice (granulated or brown sugar work well)
- ½ tablespoon flour of choice (all-purpose, or a gluten-free alternative like rice flour, optional, helps thicken the juices)
- ½ teaspoon cinnamon
Crumble Crisp Topping
- ⅓ cup flour of choice (all-purpose, oat flour, spelt flour, or gluten-free flour blend, or almond flour for a gluten-free apple crisp)
- 1 ¼ cup rolled oats (old-fashioned) or quick oats (ensure they are gluten-free oats if you need a gluten-free option)
- ⅓ cup pecans or walnuts, chopped (optional, but adds a wonderful crunch and nutty flavor)
- ⅔ cup brown sugar (light or dark, use ½ cup if you prefer a less sweet topping)
- 1 ½ teaspoons cinnamon
- ½ teaspoon nutmeg (optional, but enhances the warm spice profile)
- ¼ teaspoon salt (balances the sweetness)
- 8 tablespoons cold butter, cut into cubes (or use a neutral oil like coconut or vegetable oil for a dairy-free option)
Having all your ingredients measured and ready before you begin will make the assembly process even smoother and more enjoyable. This approach, known as ‘mise en place,’ is a professional tip that simplifies baking greatly.
Preparing the Apple Filling
The apple filling is the heart of your crisp, and preparing it is incredibly simple. The goal is to coat the apples evenly with sugar and spices, ensuring every bite is flavorful.
- Preheat your oven to 375°F (190°C). This ensures the oven is at the correct temperature when your crisp is ready, promoting even baking and a golden-brown topping.
- Lightly spray an 8×8 inch (20×20 cm) baking dish or a 2-quart (1.9-liter) baking dish with cooking spray. This prevents the apples from sticking and makes cleanup a breeze. Set it aside.
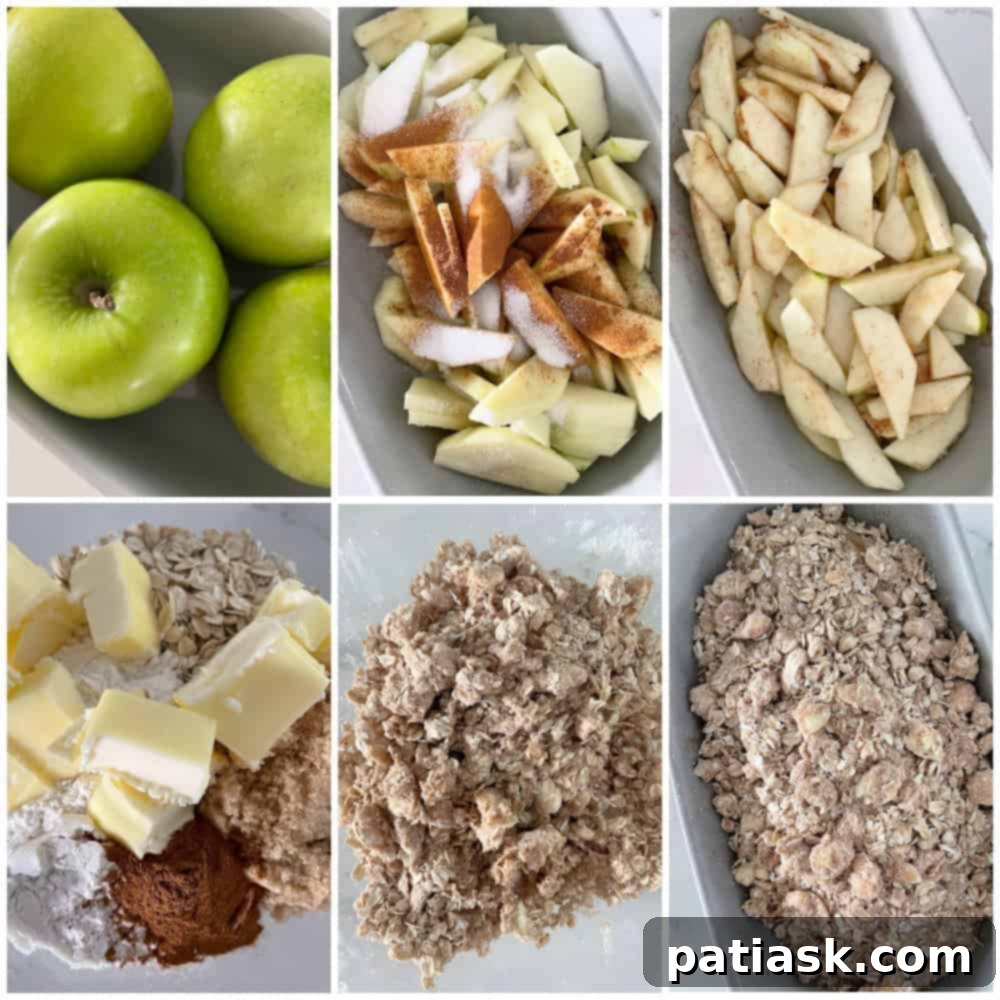
- In a large bowl, combine the sliced or chopped apples, your sugar of choice, ½ tablespoon of flour (if using, it helps absorb excess moisture from the apples and creates a slightly thicker sauce), and ½ teaspoon of cinnamon. Toss gently until the apples are thoroughly coated.
- Spread the coated apples evenly into the prepared baking dish. Ensure they are in a relatively flat layer to allow for even cooking.
Crafting the Irresistible Crumble Oat Topping
The crumble topping is what gives apple crisp its signature texture and visual appeal. This recipe guarantees a perfectly crunchy and flavorful topping that complements the tender apples beautifully.
- In a medium bowl, combine the flour, rolled oats, chopped pecans or walnuts (if using), brown sugar, 1 ½ teaspoons of cinnamon, ½ teaspoon of nutmeg (if using), and ¼ teaspoon of salt. Whisk these dry ingredients together until well combined.
- Add the cold butter cubes to the dry mixture. Using a fork, a pastry cutter, or even your fingertips, work the butter into the flour and oat mixture. The key is to break the butter into small, pea-sized crumbles. This process should be done quickly to prevent the butter from warming too much, which helps create a light and crispy topping.
- If you are using oil instead of butter, simply pour it into the dry ingredients and stir until a crumbly mixture forms. This offers a great dairy-free alternative without compromising on flavor or texture.
Assembling Your Apple Crisp Masterpiece
With both the apple filling and the crumble topping prepared, assembly is the final quick step before baking.
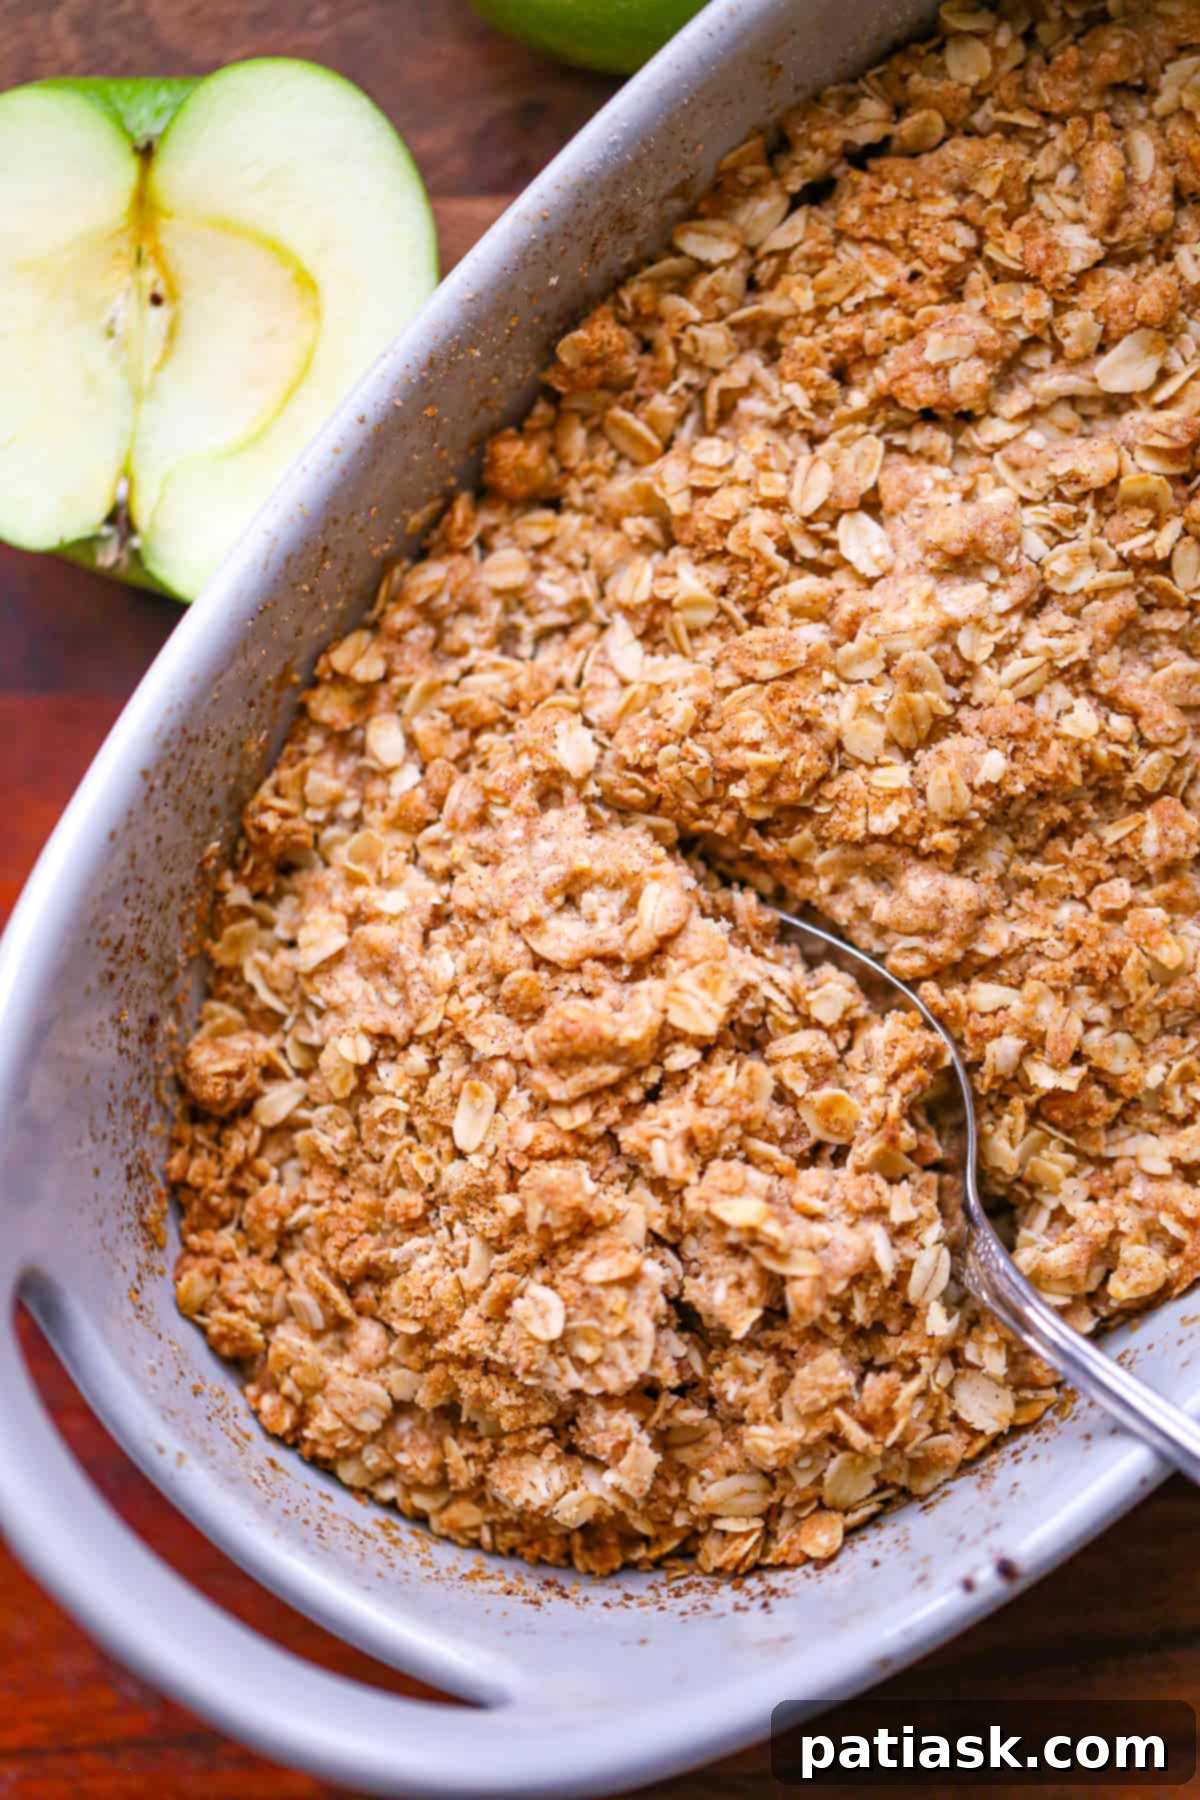
- Sprinkle the crumble mixture evenly over the prepared apples in the baking pan. Make sure to cover the apples completely, creating a uniform layer that will bake into a golden, crunchy crust. Don’t press the topping down; a loose sprinkle allows for better air circulation and a crispier result.
Baking the Apple Crisp to Golden Perfection
Now for the magical transformation! Baking brings all the flavors together, softening the apples and crisping the topping.
- Place the baking dish in your preheated 375°F (190°C) oven.
- Bake for 40-45 minutes, or until the topping is golden brown and the apple filling is bubbly around the edges. You should see the apple juices thickening and bubbling through the crumble. If the topping starts to brown too quickly, you can loosely tent the dish with aluminum foil for the last 10-15 minutes of baking.
- Once baked, carefully remove the dish from the oven. Let the apple crisp stand for a few minutes (at least 10-15 minutes) before serving. This allows the filling to set slightly and prevents it from being too runny, making it easier to serve.
Serving Your Delicious Apple Crisp
Apple crisp is best served warm, allowing the rich aromas and tender fruit to truly shine. Here are some serving suggestions to make it an extra special treat:
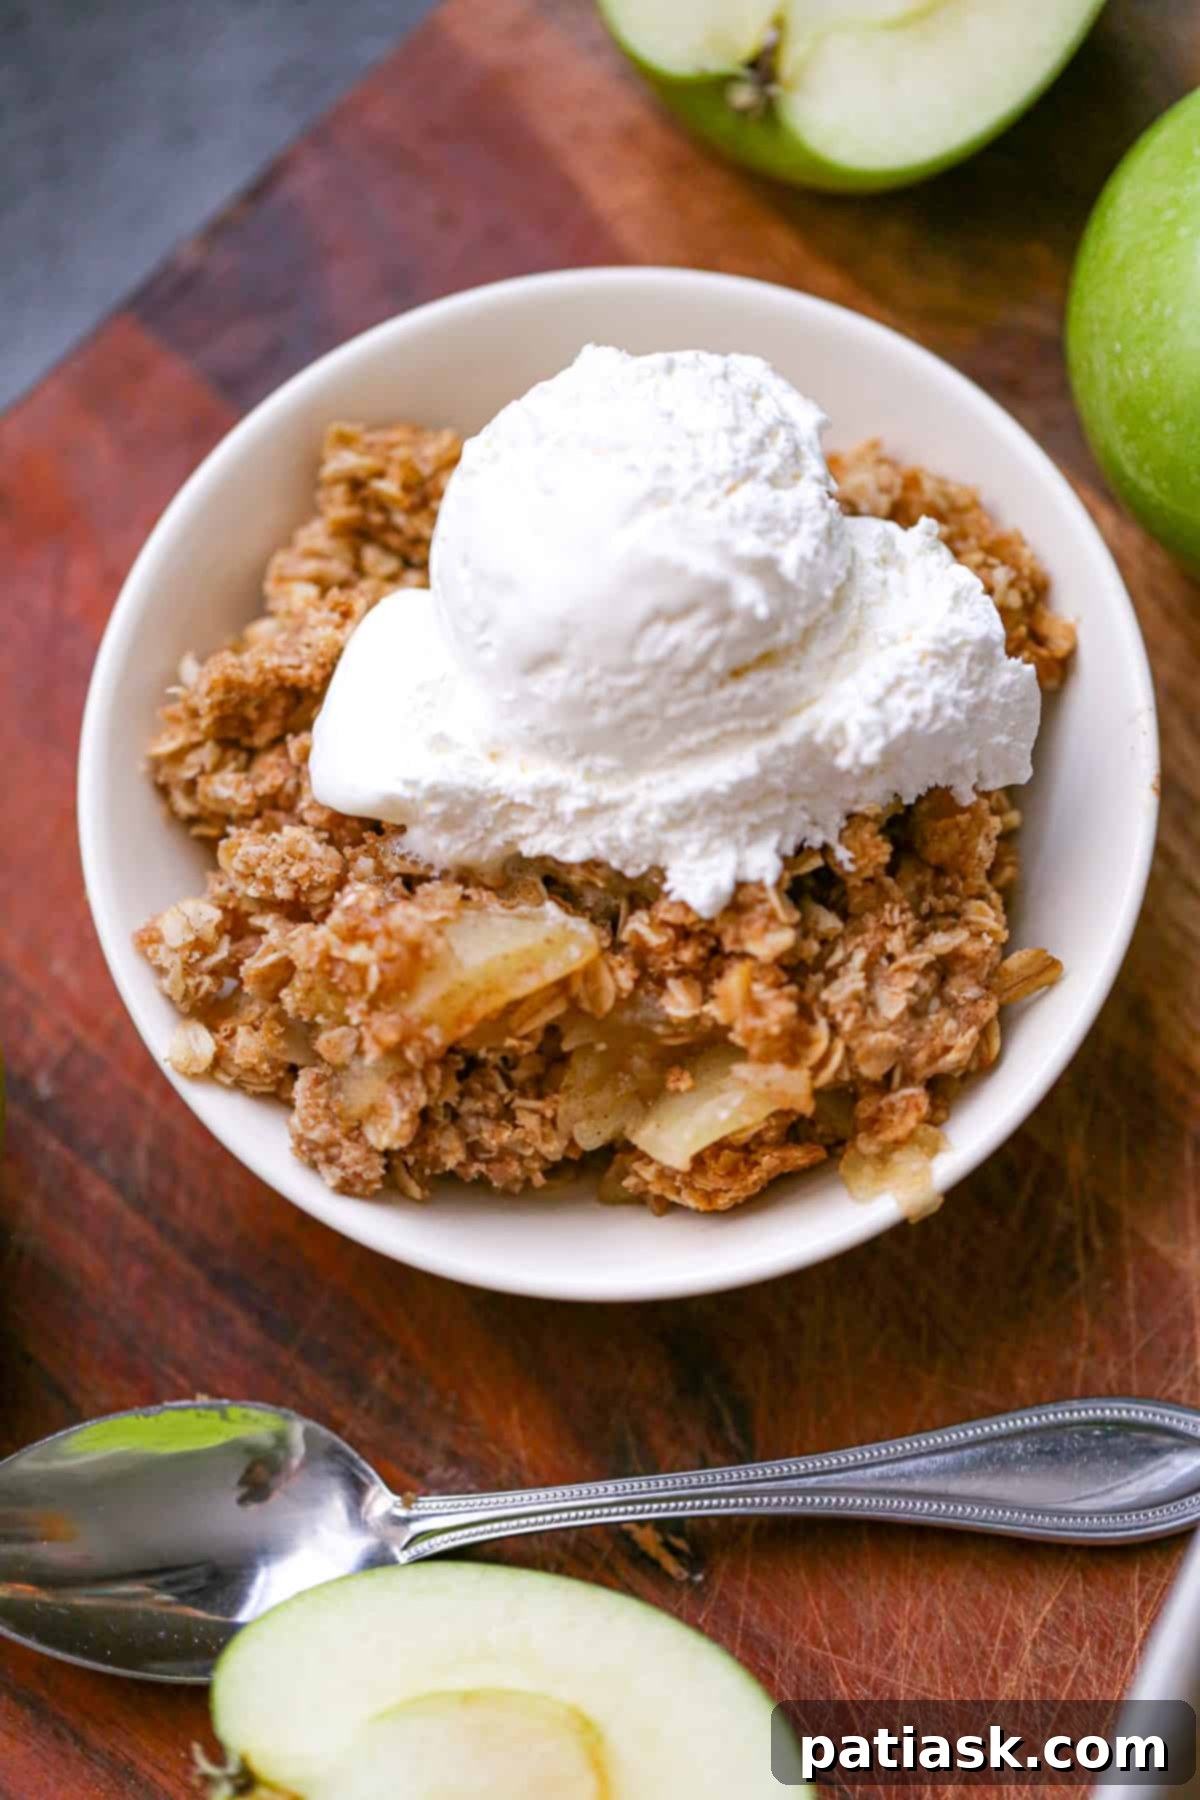
- For an unforgettable experience, serve your warm apple crisp with a generous scoop of vanilla ice cream. The cold, creamy ice cream melting over the hot, spiced apples is a classic combination that is simply divine.
- Alternatively, a dollop of fresh whipped cream adds a touch of lightness and elegance.
- To take it to the next level of indulgence, drizzle some homemade caramel sauce over the top. The salty-sweet caramel perfectly complements the apple and oat flavors.
- Enjoy it plain, straight from the dish, either hot or at room temperature. It’s delicious any way you slice it (or spoon it!).

Storing & Reheating Baked Apple Crisp
One of the many advantages of apple crisp is how well it stores and reheats, making it perfect for meal prep or enjoying leftovers.
- Storing: Once your apple crisp has cooled completely to room temperature, cover it tightly with aluminum foil or transfer it to an airtight container. Refrigerate for up to 5 days. The topping may lose some of its crispness, but the flavors will meld beautifully.
- Reheating: For individual portions, microwave in 15 to 30-second intervals until warm throughout. For a larger portion or to restore some crispness to the topping, reheat in a preheated oven at 300°F (150°C) for about 10-15 minutes, or until warmed through. Keep an eye on it to prevent over-browning.
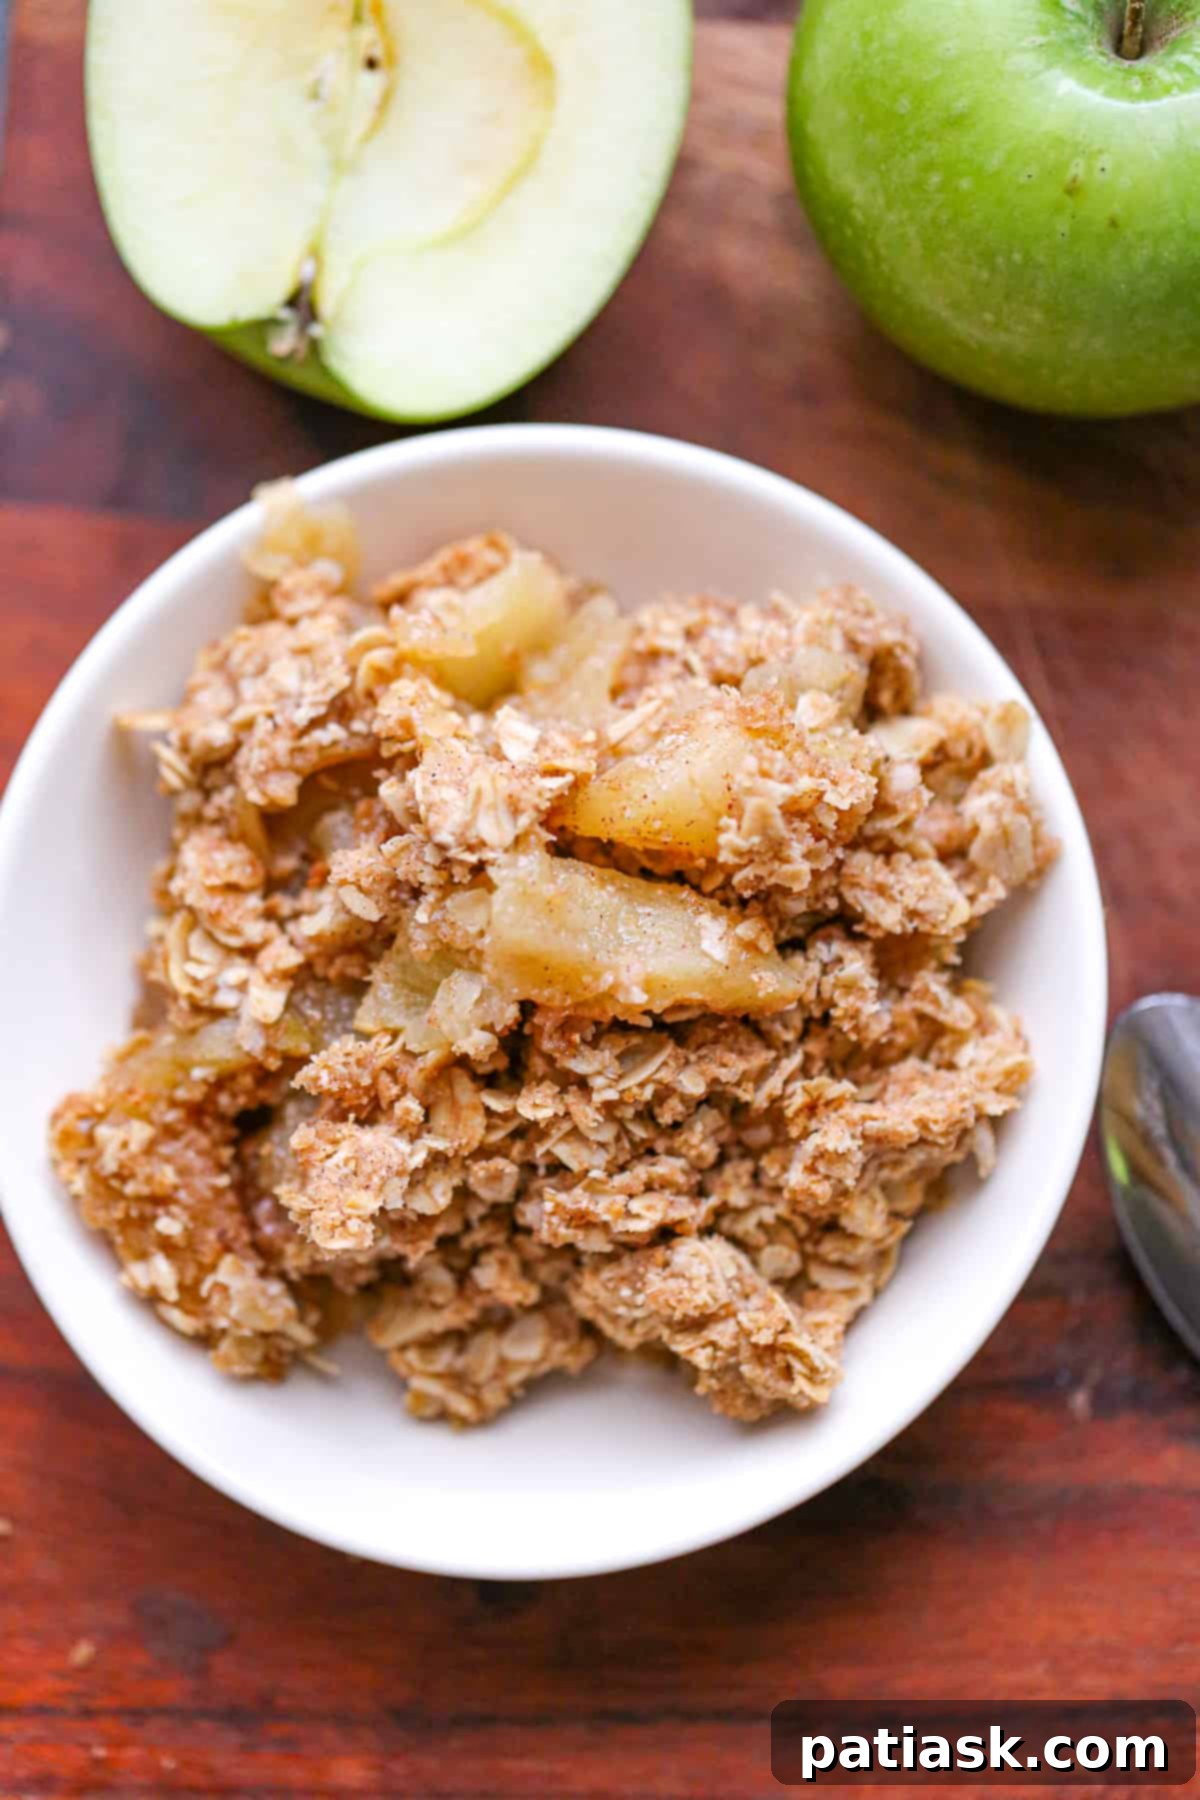
Making apple crisp at home is genuinely one of the most rewarding culinary experiences. It requires minimal ingredients, is quick and easy to prepare, and boasts a nostalgic, comforting flavor that appeals to everyone. It’s a dessert that speaks of home, warmth, and simple pleasures.
If you’re seeking a delicious, crowd-pleasing dessert that won’t strain your budget or your time, this classic and best apple crisp recipe is a must-try. You’ll be astonished by its delightful taste, and everyone will undoubtedly want your secret recipe. For even more apple-inspired culinary adventures, explore these 45 Must-Try Best Apple Dessert Recipes!
So, go ahead and treat yourself and your loved ones to this wonderful, easy-to-make dessert. Share this recipe with fellow baking enthusiasts on Pinterest, Instagram, and Facebook!
More Delish Desserts to Explore!
- Caramel Glazed Apple Crumble Coffee Cake
- Chocolate Covered Hazelnut Cheesecake Bites
- German Spiced Apple Cake
- 6 Apple Fall Baking Recipes
- Easy Baked Apple Donuts
- Apple Crumble Muffins
Easy Homemade Apple Crisp
This Easy Homemade Apple Crisp recipe with a buttery, brown sugar & oat crumble topping is so deliciously comforting, especially when served warm with ice cream on top. This fall dessert will definitely impress your family and friends!
Author: Kim Lange
Prep Time: 10 minutes
Cook Time: 40 minutes
Course: Dessert
Servings: 9 Servings
Keywords: apple, crisp, oats
Ingredients
Apple Layer
- 4-5 large apples, sliced or chopped (about 6-7 cups of Gala, McIntosh, Honeycrisp or Granny Smith apples)
- 2 tablespoons sugar of choice
- ½ tablespoon flour of choice (optional)
- ½ teaspoon cinnamon
Crumble Crisp Topping
- ⅓ cup flour of choice (such as white, spelt, or oat or use gluten-free flour or almond flour for a gluten-free option)
- 1 ¼ cup rolled or quick oats (use gluten-free oats if wanting gluten free option)
- ⅓ cup pecans or walnuts chopped, optional
- ⅔ cup brown sugar (use ½ cup if you want less sugar)
- 1 ½ teaspoons cinnamon
- ½ teaspoon nutmeg (optional)
- ¼ teaspoon salt
- 8 tablespoons cold butter, cut into cubes (or you can use oil)
Instructions
- Preheat oven to 375°F (190°C). Spray an 8×8 inch or 2-quart baking dish with cooking spray, then set aside.
Apple Layer
- Toss the sliced apples, flour (if using), cinnamon, and sugar together in a large bowl. Spread the mixture out evenly in the prepared baking pan.
Crumble Crisp Topping
- In a medium bowl, combine the flour, oats, spices, salt, and brown sugar. Add the cold butter, cut into cubes, and cut the butter into the mixture using a fork, pastry cutter, or your fingers until small crumbles form. (If using oil, simply stir it in until well combined.)
- Sprinkle the crumble mixture evenly over the apples in the pan.
- Bake for 40-45 minutes, or until the topping is golden brown and the apple filling is bubbly around the edges. If the topping starts to brown too quickly, you can loosely tent the dish with aluminum foil.
- Let stand for a few minutes (10-15 mins) before serving hot or at room temperature. This allows the filling to set.
- For an extra special treat, serve with a scoop of vanilla ice cream or fresh whipped cream and a drizzle of salted caramel sauce.
- Store any leftovers covered in the fridge.
Notes
Storing: Cool completely then cover with foil or transfer to an airtight container. Refrigerate for up to 5 days.
Reheating: Heat individual portions in the microwave in 15 to 30-second intervals until warm.
