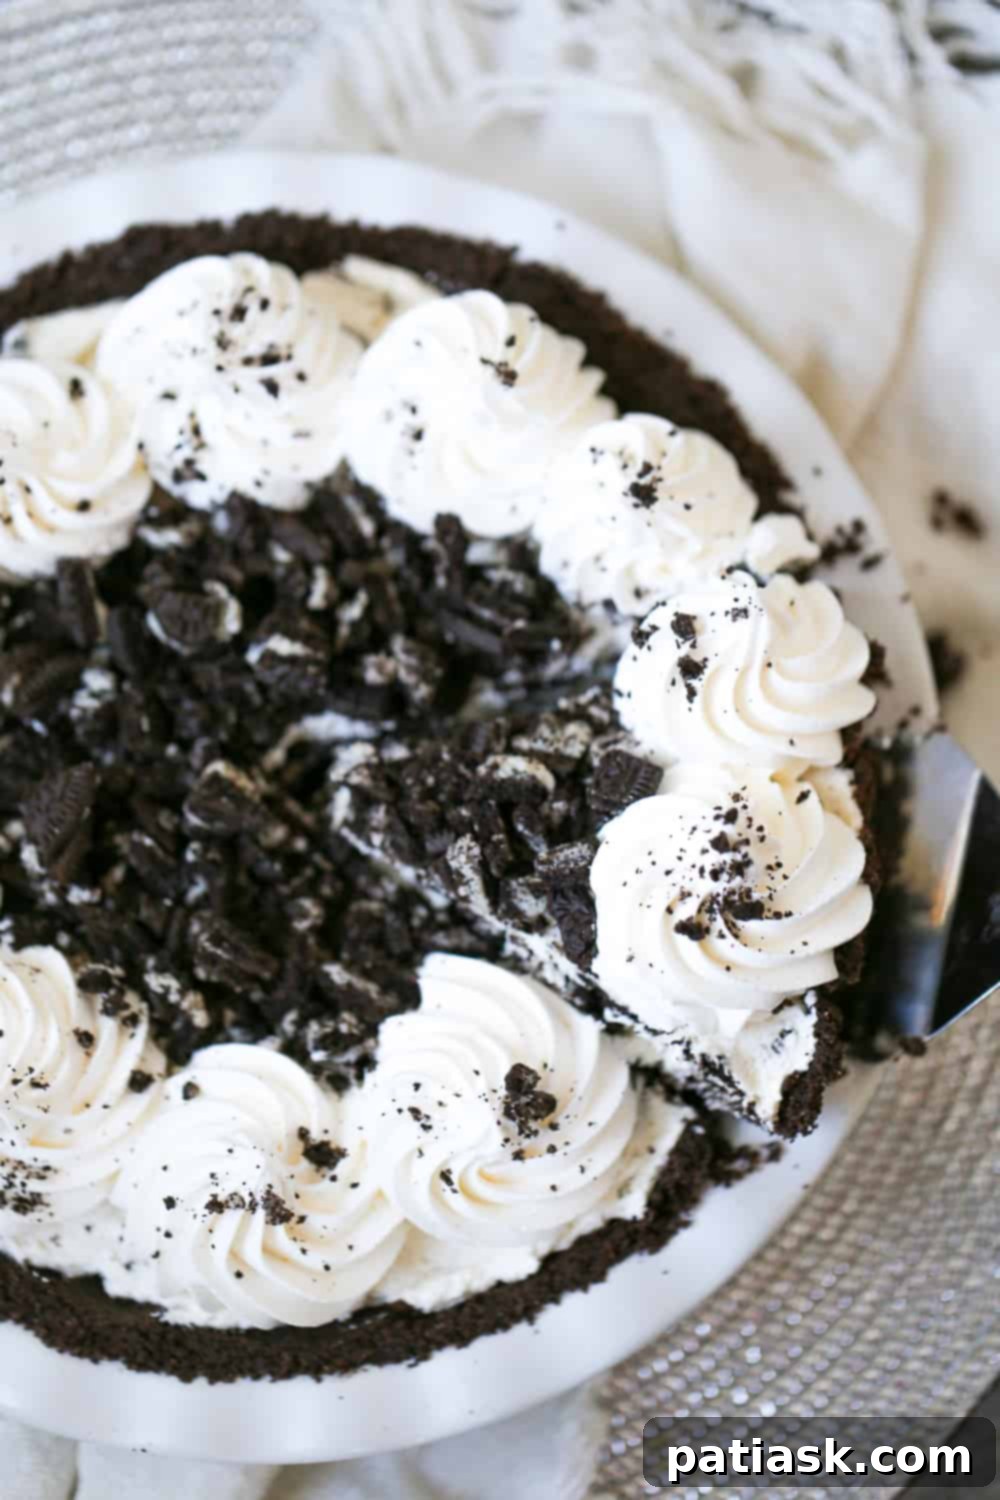
Irresistibly Easy No-Bake Oreo Pie: Your Ultimate Cookies & Cream Dream Dessert
Prepare to be amazed by this unbelievably simple and decadently creamy No-Bake Oreo Pie recipe. Requiring just 15 minutes of active preparation time, this dessert comes together effortlessly before chilling to perfection in your refrigerator. It’s the quintessential light, fluffy, and delightful cookies and cream treat, ideal for any gathering or a sweet escape on a weeknight. Everyone who tries a slice raves about its incredible flavor, proving that the magic of Oreos combined with a rich, creamy filling is simply irresistible. This pie isn’t just a dessert; it’s an Oreo lover’s dream come true, offering a heavenly experience with every spoonful.
If you adore the classic combination of chocolate and cream, this recipe will quickly become a cherished favorite. Beyond its mouthwatering taste, this no-bake marvel stands out for its sheer convenience. It’s the perfect solution for those moments when you need a show-stopping dessert but are short on time or prefer to avoid turning on the oven. Imagine the joy of serving a homemade pie that tastes like it took hours, but only required minimal effort. Its make-ahead friendly nature means you can whip it up the day before, leaving you free to enjoy your event without last-minute stress. Plus, with just five core ingredients, many of which you likely already have in your pantry, it’s as accessible as it is delicious.
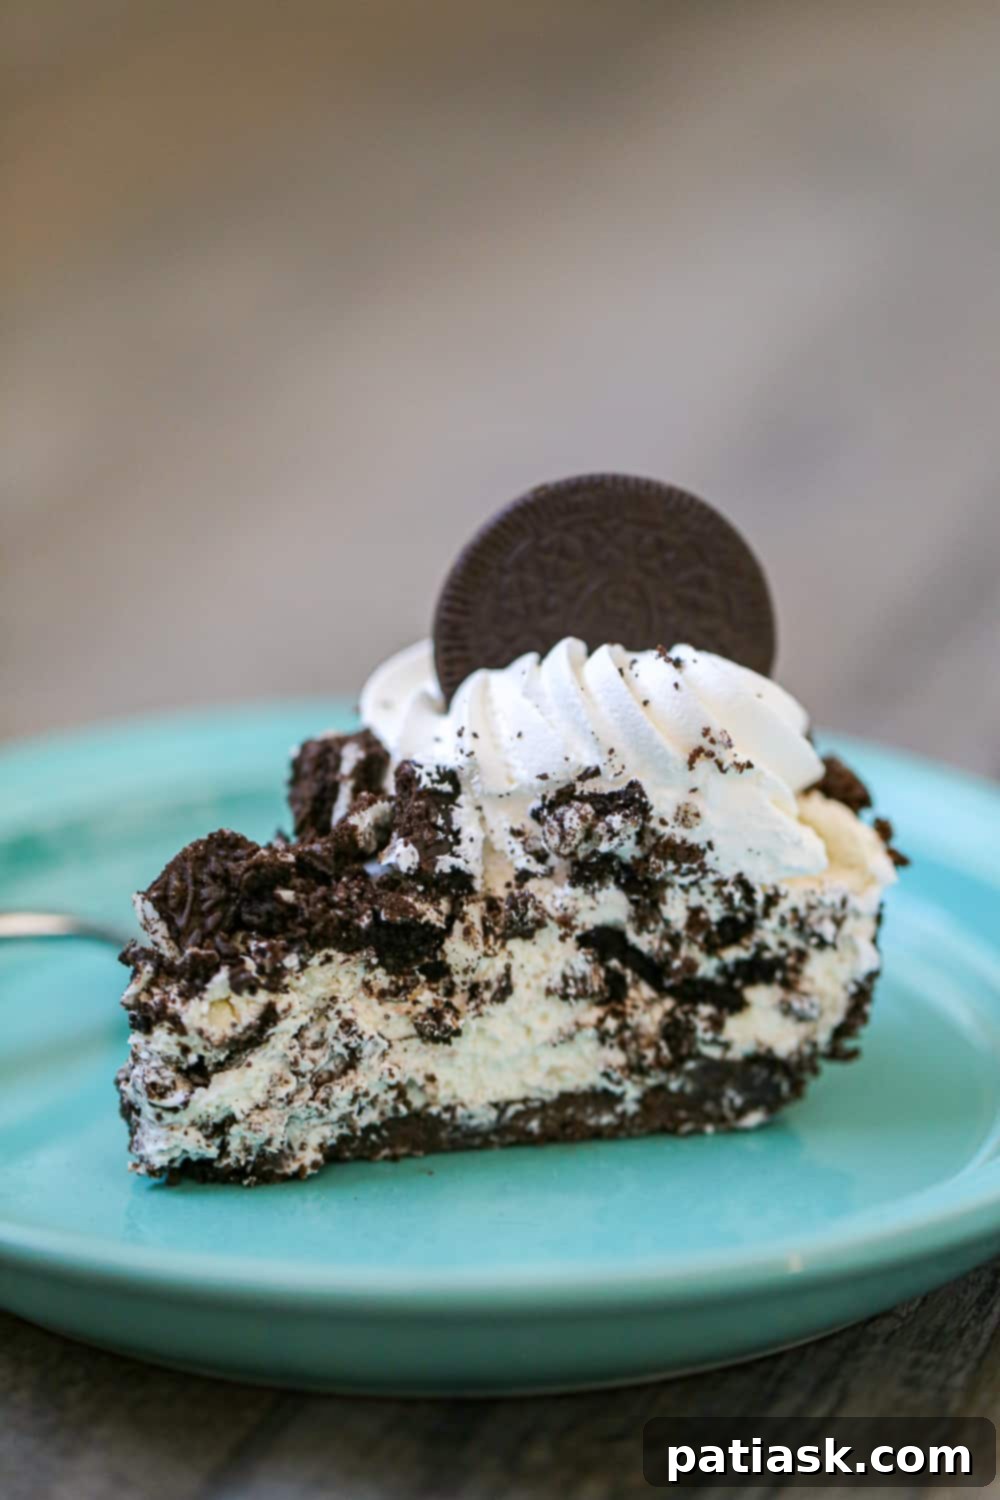
Indulge in the delightful textural contrast of a crunchy Oreo cookie crust complemented by an exquisitely fluffy and creamy filling. This filling is generously studded with chopped Oreo cookies, ensuring a burst of chocolatey goodness in every bite. To top it all off, the pie is typically adorned with even more whipped cream and additional Oreo crumbles or whole cookies, creating a dessert that is as visually appealing as it is addictively delicious. This easy no-bake Oreo pie is more than just a recipe; it’s a guaranteed crowd-pleaser that will leave everyone craving another slice.
Whether you’re celebrating a birthday, hosting a holiday feast, or simply looking for an easy yet impressive dessert, this No-Bake Oreo Pie fits the bill perfectly. Its universal appeal makes it a fantastic choice for potlucks, family dinners, or a special treat for yourself. The ease of preparation, combined with the timeless popularity of Oreos, makes this recipe a true winner in any dessert repertoire. Forget complicated baking techniques; this pie delivers maximum flavor with minimum fuss.
Essential Ingredients for Your Easy No-Bake Oreo Cream Pie
Crafting this incredible no-bake Oreo pie requires only a handful of readily available ingredients. Each component plays a crucial role in building the perfect balance of texture and flavor, from the rich chocolate crust to the light and creamy filling. Here’s what you’ll need to create this delightful dessert:
For the Irresistible Oreo Crust:
- 25 Oreo Cookies (with filling included): These are the star of our crust! Using the whole cookie, including the cream filling, adds both flavor and helps bind the crust together when combined with butter. You can use classic Oreos or experiment with different flavors for a unique twist.
- 5 tablespoons Unsalted Butter, Melted: Unsalted butter allows you to control the overall saltiness of your dessert. Melting it ensures it fully coats the crushed cookies, creating a firm and flavorful base for your pie.
For the Luxurious Oreo Pie Filling:
- 8 ounces Cream Cheese, Softened: Full-fat cream cheese is highly recommended for the richest, creamiest texture and flavor. Ensuring it’s at room temperature is absolutely crucial for a smooth, lump-free filling.
- ¾ cup Powdered Sugar (Confectioners’ Sugar): This fine sugar dissolves quickly and seamlessly into the cream cheese, contributing to the silky smooth consistency of the filling without any graininess.
- 2 cups Whipped Topping (e.g., Cool Whip): Pre-made whipped topping provides a stable, light, and airy base for the filling. It contributes to the pie’s fluffy texture and complements the richness of the cream cheese perfectly.
- 10 Oreo Cookies, Coarsely Chopped: These chopped cookies are folded into the filling, adding delightful pockets of crunchy chocolate and cream, enhancing the “cookies and cream” experience.
Optional Garnishes for a Picture-Perfect Finish:
- More Chopped Oreo Cookies or Crumbles: A sprinkle of extra Oreo pieces on top not only adds visual appeal but also reinforces the signature flavor and texture.
- 1-2 cups Additional Whipped Topping: For an extra layer of creaminess and a beautiful presentation, a generous dollop or swirl of whipped topping makes the pie even more inviting.
How to Master Your No-Bake Oreo Pie
Creating this stunning no-bake Oreo pie is remarkably straightforward. Follow these simple steps to achieve a perfectly set and delicious dessert every time. The process is divided into three main parts: preparing the crust, mixing the filling, and finally, assembling and chilling your masterpiece.
Step-by-Step Oreo Crust Preparation:
- Crush the Oreos: Begin by finely crushing your 25 Oreo cookies. You can achieve this using a food processor for a uniform, fine crumb. Alternatively, place the cookies in a sturdy zip-top bag and crush them thoroughly with a rolling pin or the bottom of a heavy glass. The goal is to have fine crumbs, but a few small pieces are perfectly fine for added texture.
- Combine and Press: In a medium bowl, combine the crushed Oreos with the 5 tablespoons of melted unsalted butter. Mix well until the crumbs are evenly moistened and resemble wet sand. Transfer this mixture to a 9-inch pie plate. Using the bottom of a measuring cup or a flat-bottomed glass, firmly press the mixture into the bottom and up the sides of the pie plate. This compaction is key to creating a solid, stable crust that won’t crumble when sliced.
- Chill or Bake (Your Choice!): For a truly no-bake experience, place the compacted crust in the refrigerator for at least 30 minutes to set while you prepare the filling. If you prefer a slightly toasted flavor and an even crunchier crust, you can bake it in a preheated oven at 350°F (175°C) for about 10 minutes until lightly set. Allow the baked crust to cool completely before adding the filling.
Crafting the Creamy Oreo Filling:
- Beat Cream Cheese and Sugar: In a large mixing bowl, using an electric mixer, beat the softened cream cheese and powdered sugar together until the mixture is completely creamy, light, and smooth. Ensure there are no lumps of cream cheese remaining. This step is essential for a velvety smooth filling.
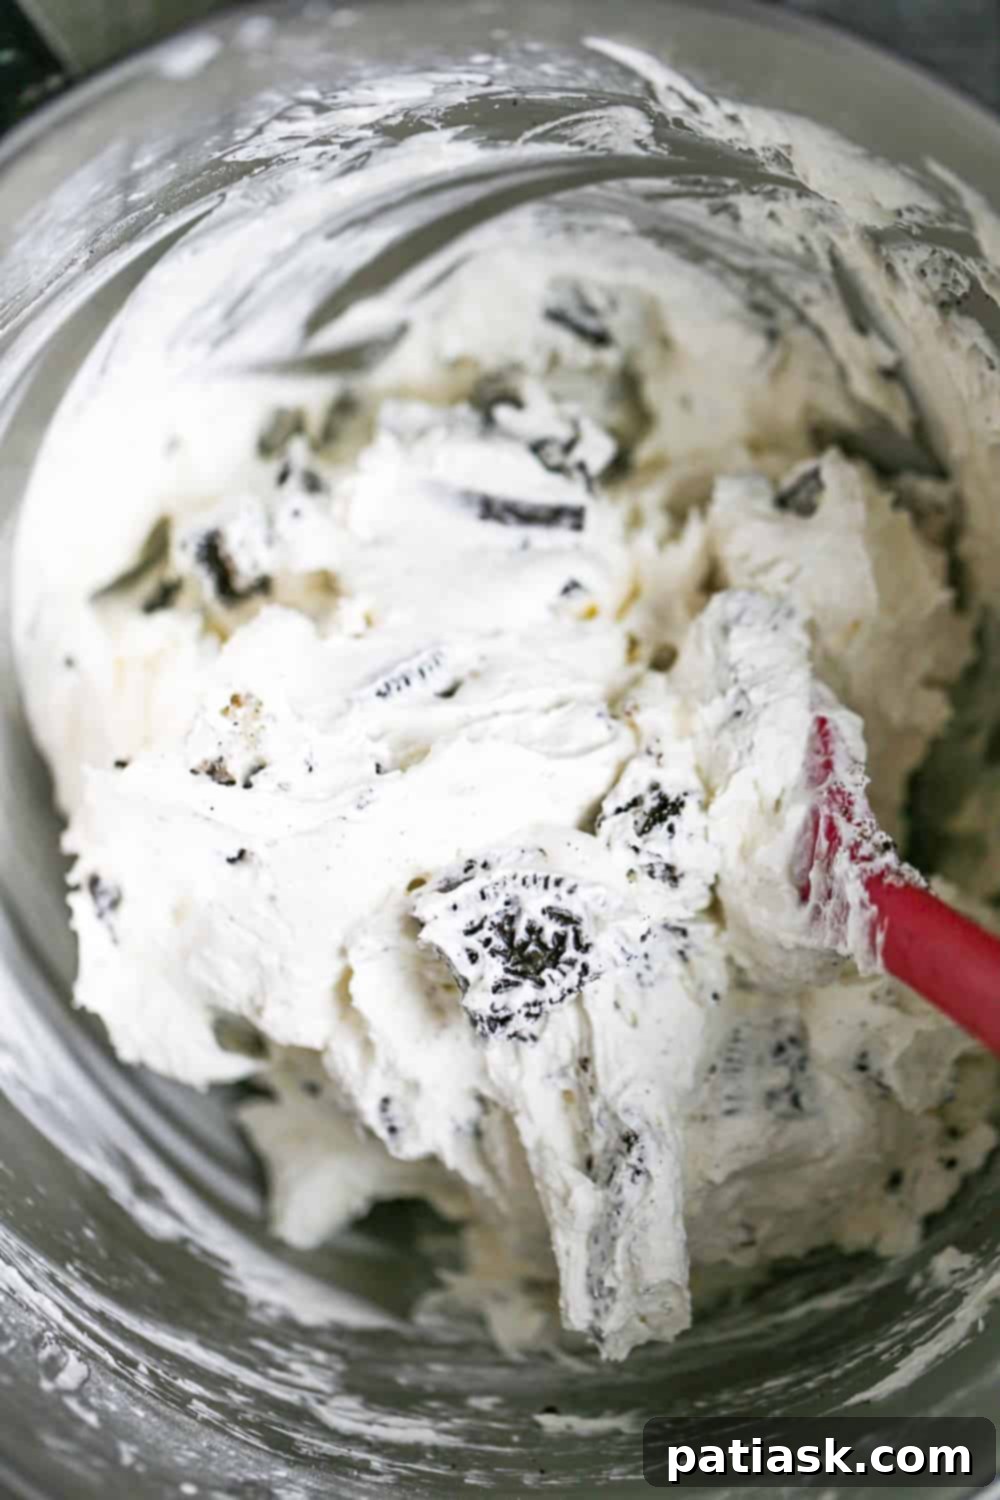
- Fold in Whipped Topping and Oreos: Gently fold in the whipped topping until just combined. Overmixing can deflate the topping, so be gentle. Then, carefully fold in the 10 coarsely chopped Oreos, distributing them evenly throughout the filling.
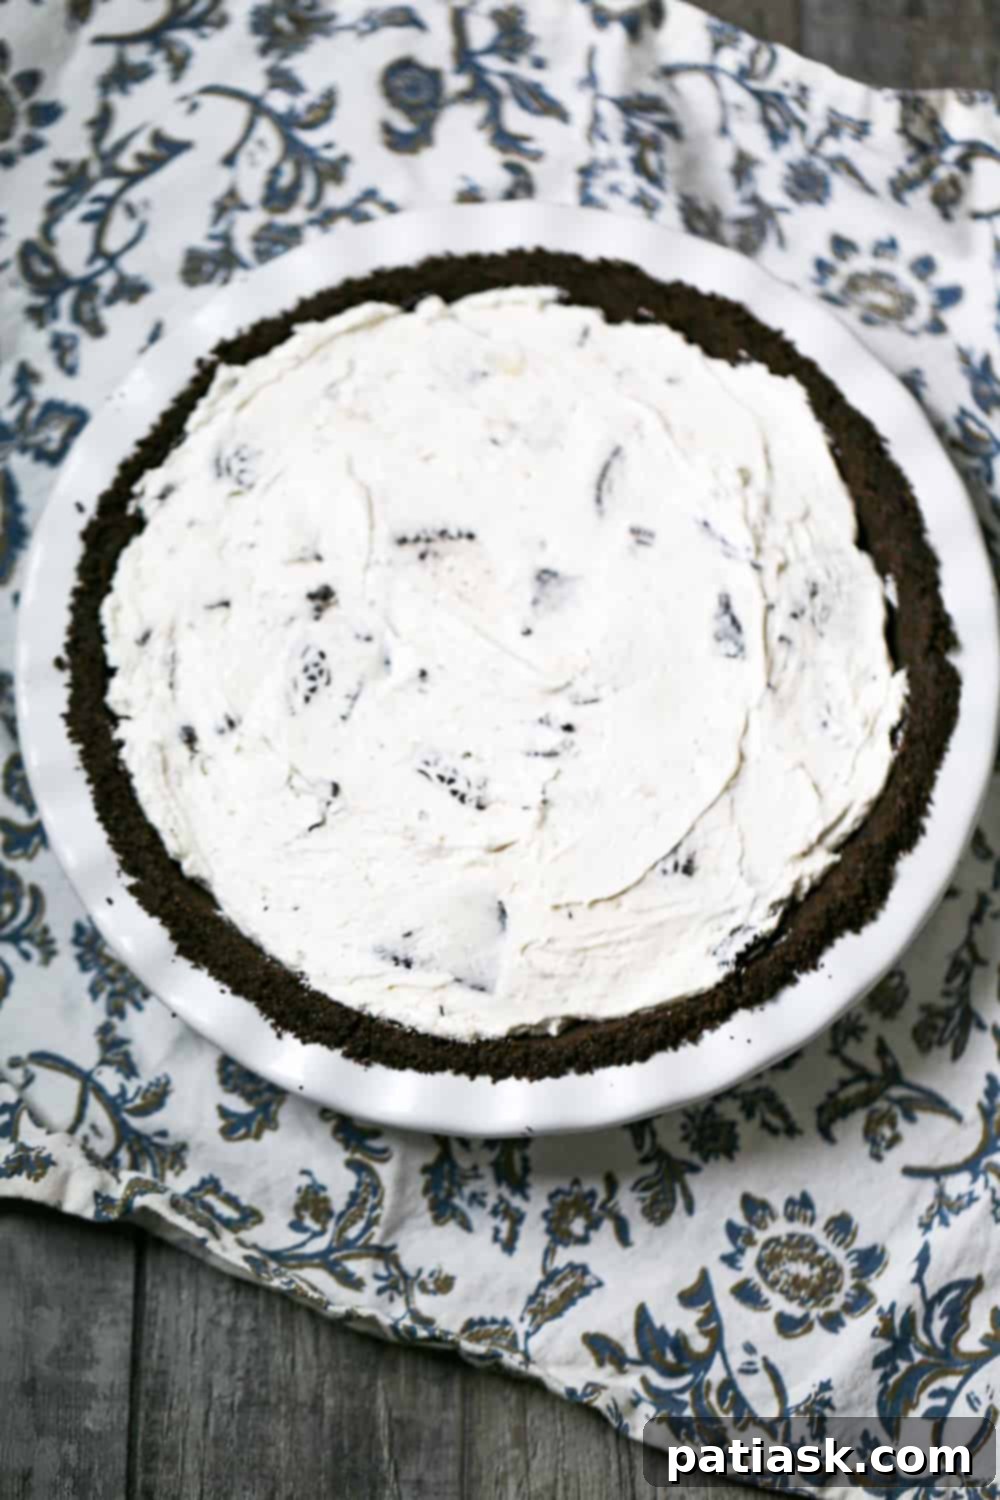
- Fill the Crust: Spoon the luscious Oreo filling into your prepared pie crust. Use a spatula to gently smooth the top, creating an even layer.
Adding Optional Garnishes and Chilling:
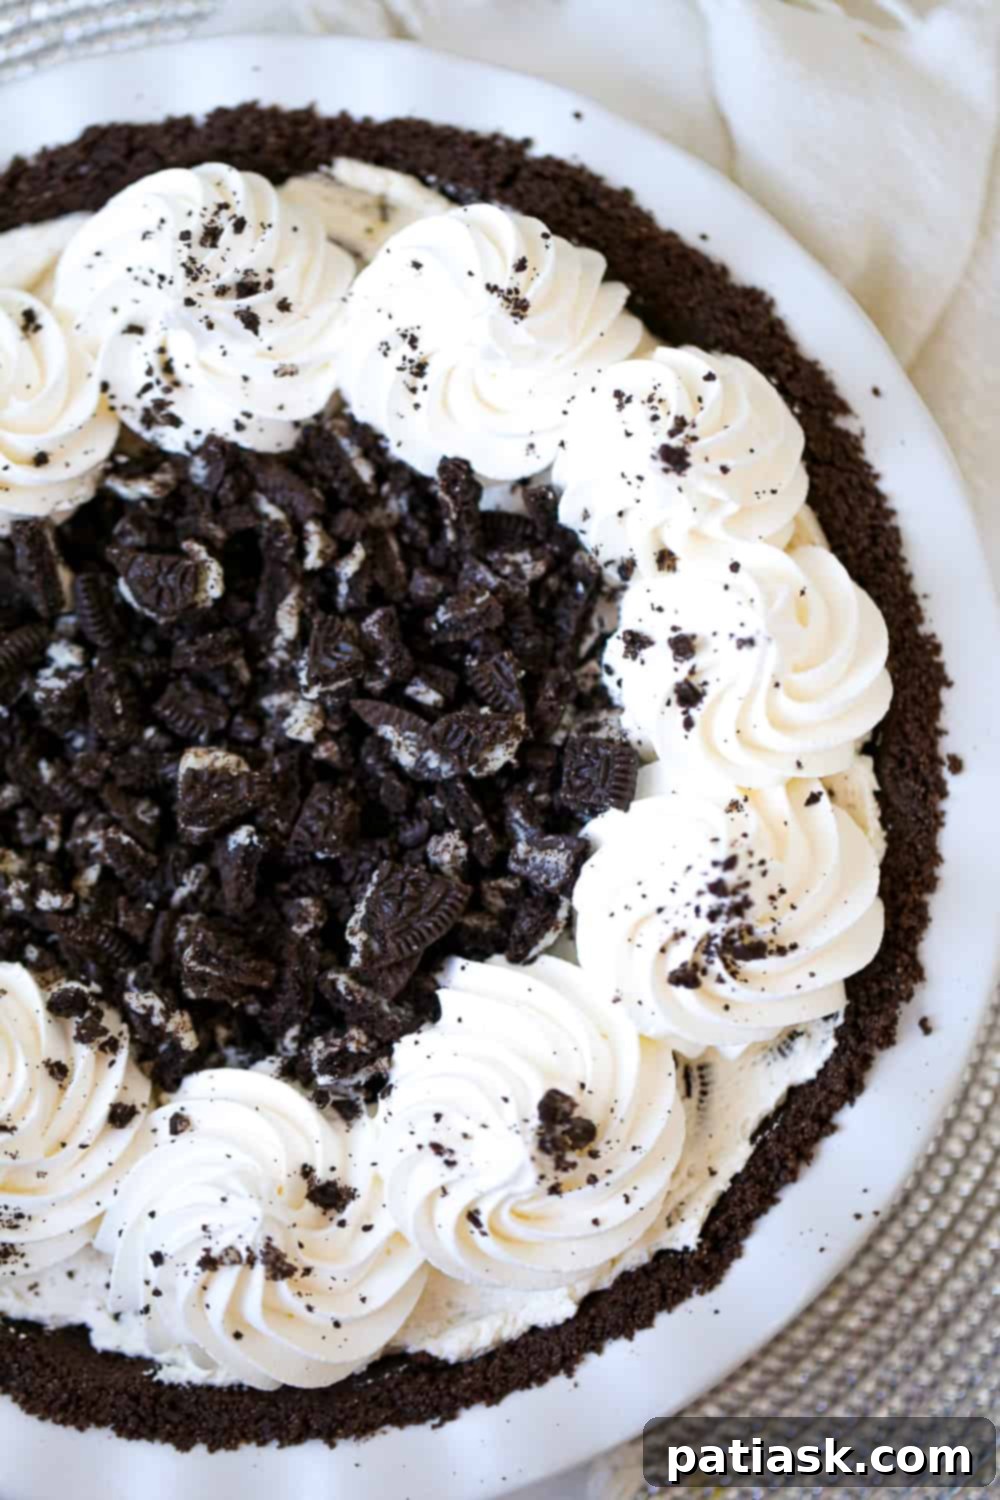
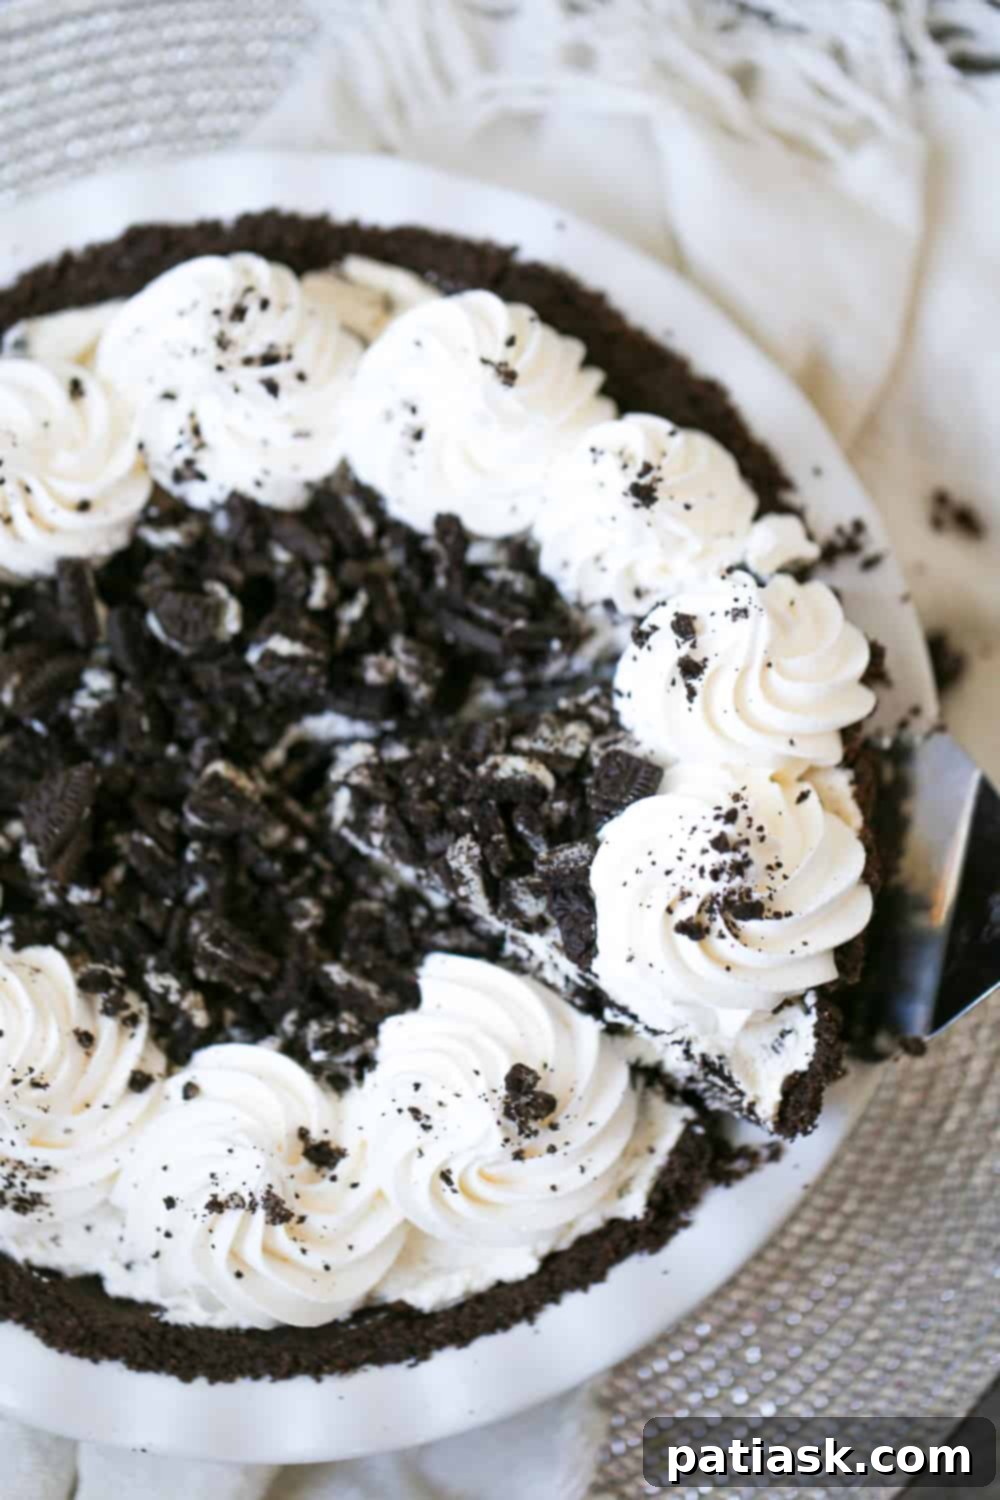
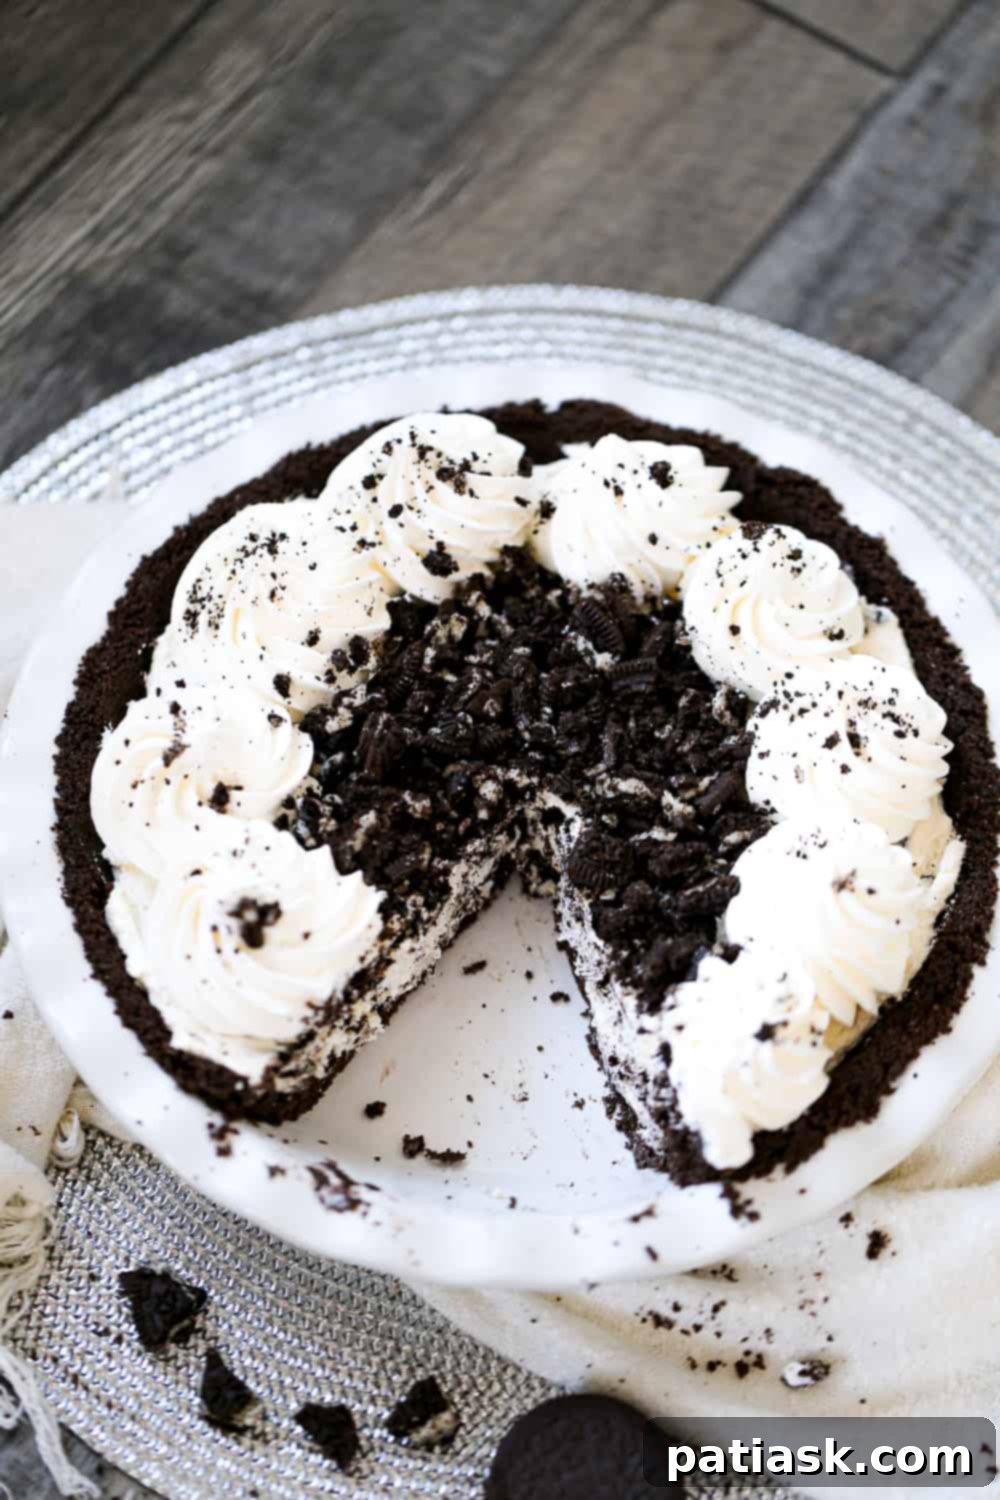
- Garnish for Perfection: If desired, add your optional garnishes at this stage. You can pipe additional whipped topping in decorative swirls around the edge or over the entire top of the pie. Sprinkle with more chopped Oreo cookies or fine Oreo crumbles for an extra touch of flavor and visual appeal.
- Chill Thoroughly: Place the finished pie in the refrigerator to chill for at least 1 hour. For best results and the cleanest slices, chilling for 2-4 hours, or even overnight, is recommended. This allows the filling to firm up completely and the flavors to meld beautifully.
Substitutions and Creative Variations for Your Oreo Pie
One of the best aspects of this no-bake Oreo pie is its versatility. Feel free to get creative with substitutions and additions to tailor it to your taste preferences or whatever ingredients you have on hand. These variations can transform the pie into an entirely new dessert experience!
- Oreo Cookie Choices Are Endless: The world of Oreos offers a fantastic playground for flavor experimentation! While classic Oreos are wonderful, don’t hesitate to use regular, thin, or double-stuffed Oreos in this recipe. Each type will impart a slightly different texture to the crust and filling. Beyond the classics, consider seasonal or special edition Oreo flavors like Mint, Peanut Butter, Birthday Cake, or Golden Oreos to truly steal the show and make your pie even more spectacular and unique. Imagine a Mint Oreo pie for the holidays or a Peanut Butter Oreo pie for an extra indulgent treat!
- Pie Crust Convenience: If you’re looking to save even more time, a pre-made Oreo pie crust is an excellent option available at most grocery stores. This eliminates the first step of crushing cookies and pressing the crust, making the recipe even quicker. Alternatively, if you want a different base, a classic graham cracker crust works beautifully, offering a slightly different flavor profile that pairs wonderfully with the creamy filling. You could also try a Nilla wafer crust for a less chocolate-intense base.
- Homemade Whipped Topping: If you don’t have store-bought whipped topping (like Cool Whip) or simply prefer the fresh taste of homemade, it’s incredibly easy to make your own. For approximately 2 cups of fresh whipped cream, you’ll need 1 cup of cold heavy whipping cream and 1-2 tablespoons of powdered sugar (adjust to your sweetness preference). Using a stand mixer with a wire whisk attachment or a hand-held mixer, beat the ingredients together. Start on low speed to prevent splattering, then gradually increase to high as the mixture begins to thicken. Continue beating for about 60-90 seconds, or until stiff peaks form. Remember to stop halfway through to scrape down the sides of the bowl to ensure everything is evenly whipped. Fresh whipped cream adds an elegant touch and a rich dairy flavor to your pie.
- Additional Mix-ins: Elevate your pie further by adding other delicious elements to the filling. Drizzles of warm chocolate ganache or caramel sauce can be swirled into the filling or layered on top. Miniature chocolate chips, toffee bits, or even a sprinkle of espresso powder can add depth and complexity. For a fruitier note, a thin layer of raspberry or strawberry sauce at the bottom of the crust before adding the filling can be a delightful surprise.
Pro Tips for a Flawless Oreo Pie Every Time
Achieving a perfectly creamy, well-set, and beautifully presented no-bake Oreo pie is easy with a few expert tips. These small details can make a big difference in the final outcome of your delicious dessert.
- Room Temperature Cream Cheese is Key: Always ensure your cream cheese is at room temperature before you begin mixing. This is perhaps the most crucial tip for a smooth filling. Cold cream cheese will result in a lumpy filling that is difficult to incorporate fully, leading to an uneven texture in your pie.
- Quick Softening Method for Cream Cheese: If you’re in a hurry and forgot to take your cream cheese out, the microwave can be your best friend – but use it carefully! Unwrap your brick of cream cheese and place it on a microwave-safe plate. Microwave on high in short increments of 10-15 seconds. Between each increment, gently press the cream cheese to check for softness. Be vigilant, as you don’t want to accidentally cook it. The goal is just softened, not melted or hot.
- Compacting the Crust for Stability: When transferring the Oreo crumb mixture to your pie plate, don’t just gently spread it. Use the bottom of a flat-bottomed measuring cup or a drinking glass to firmly press the crumbs into the bottom and up the sides of the pie pan. Apply consistent pressure to create a dense, compact layer. A well-compacted crust is less likely to fall apart when you slice and serve the pie.
- Decorating with Precision: For an elegant finish, consider using your favorite piping tip and a pastry bag to decorate the top of your Oreo pie with whipped cream. A star tip or a round tip can create beautiful swirls, dollops, or borders that elevate the presentation. This makes the pie look professionally made and even more appealing.
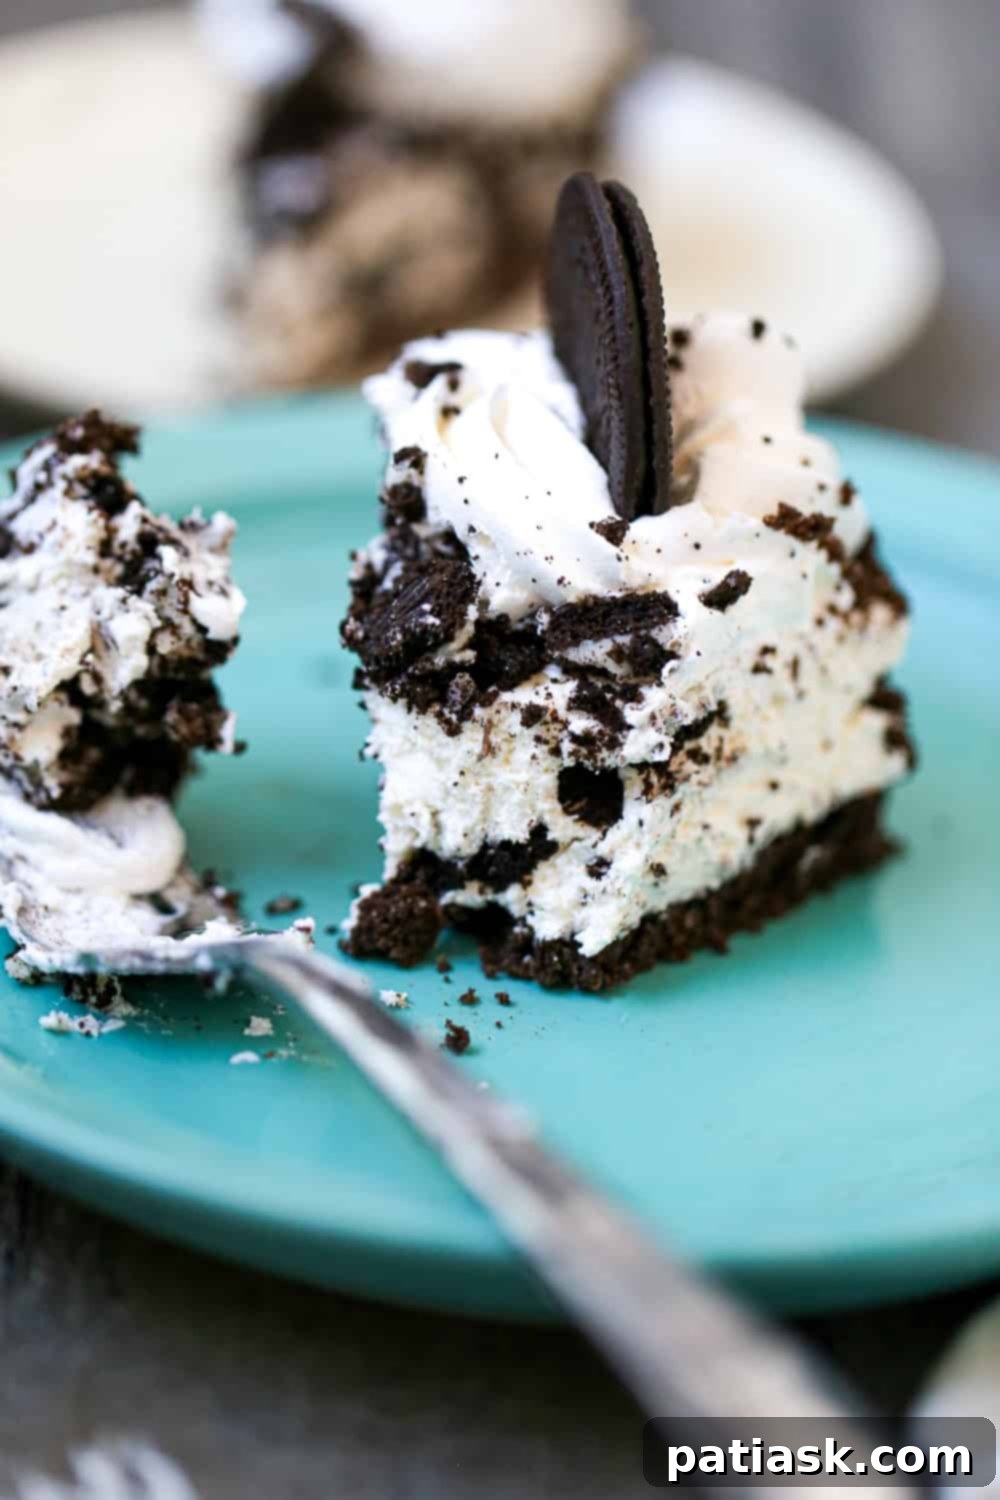
- Achieving Perfect Clean Slices: To get those Instagram-worthy, neat slices of pie, use this simple trick: run your knife under hot water for about 10-15 seconds, then wipe it dry with a clean towel before each cut. The warm blade will glide through the creamy filling and crunchy crust with ease, preventing sticking and creating clean, sharp edges. Repeat this process for every slice.
- Don’t Skimp on Chilling Time: While the recipe suggests a minimum of one hour, chilling for at least 2-4 hours, or even better, overnight, will allow the pie to fully set. This extended chill time is essential for the filling to firm up completely, ensuring that each slice holds its shape beautifully and the flavors have time to fully develop.
Storing Your Delicious Oreo Pie
Proper storage is essential to keep your no-bake Oreo pie fresh and delicious. Whether you have leftovers or are making it ahead, these tips will help maintain its quality and taste.
- Refrigeration: Any leftover Oreo pie should be covered tightly with plastic wrap or aluminum foil and stored in the refrigerator. It will remain fresh and delightful for up to 5 days. Ensure it’s well-covered to prevent it from absorbing odors from other foods in the fridge.
- Freezing: This pie is also freezer-friendly, making it a great option for meal prep or for saving a portion for later. To freeze, first cover the entire pie (or individual slices) tightly with plastic wrap, then wrap it again with a layer of aluminum foil. This double layer protects against freezer burn. The pie can be frozen for 2-3 months. When you’re ready to enjoy it, thaw the pie in the refrigerator overnight. Once thawed, you can top it with freshly whipped cream or additional Oreo crumbles before serving.
There’s truly nothing quite like a simple, homemade, and utterly delicious Oreo pie. From its rich, creamy, and delightful filling to its perfectly crunchy chocolate cookie crust, this easy no-bake Oreo pie recipe is guaranteed to please dessert lovers of all ages for years to come. It’s the kind of dessert that brings smiles and prompts requests for the recipe. So, gather your ingredients, follow these simple steps, and prepare to create a memorable treat.
We encourage you to share your love for this incredible dessert! Pin this recipe to your Pinterest boards, share your creations on Instagram, and spread the word on Facebook! You simply won’t be able to resist making this sensational no-bake Oreo Pie again and again. Dive in and make this easy Oreo no-bake pie recipe today – your taste buds will thank you!
More Delectable Oreo Delights and Other Sweet Treats!
If you’re an Oreo aficionado or simply love easy, crowd-pleasing desserts, be sure to explore these other fantastic recipes that celebrate the magic of Oreos and beyond:
- 4 Ingredient Oreo Dessert
- Oreo Chocolate Ganache Cheesecake
- Easy Oreo Fudge
- Oreo Cookie Dream Dessert
- Chocolate Peanut Butter Oreo Delight
- Oreo Dirt Pudding Cake
- Holiday Oreo Cream Cheese Cookies
- OMG Chocolate Oreo Cheesecake Brownie Trifle
- Easy Dreamy Oreo Chocolate Cream Pie
- Oreo Chocolate Cake Donuts
- Delicious Oreo Brownies with Best 3 Ingredient Oreo Frosting
- Chocolate Cherry Cheesecake – No Bake
- Best No Bake Chocolate Cheesecake Recipe
Oreo Pie
This super-easy, quick cream Oreo Pie recipe comes together beautifully in just 15 minutes, then sets up in the fridge for an hour before serving. It’s the perfect light and fluffy cookies and cream dessert for any occasion! Everyone always goes crazy over it, because it tastes so amazing, plus, who doesn’t love Oreos included in dessert?
Ingredients
Oreo Crust
- 25 Oreo cookies include the filling of the cookies
- 5 tablespoons unsalted butter melted
Oreo Pie Filling
- 8 ounces cream cheese
- ¾ cup powdered sugar
- 2 cups whipped topping
- 10 Oreo cookies chopped
Optional Garnishes
- Chopped Oreo cookies or crumbles on top
- 1 -2 cups Whipped topping
Instructions
Oreo Crust
- Crush Oreos in a food processor or place them in a zip-loc bag and crush with a rolling pin. Mix together the crushed Oreos with the melted butter and then press into a 9-inch pie plate, covering the sides and the bottom of the pan. Using the bottom of a measuring cup helps to compact the crust easier.
- Place crust in the fridge for 30 minutes to set as you make the filling, or bake for 10 minutes until set for a slightly toasted taste and crunchier baked crust. Let cool before adding in the filling.
Oreo Filling
- In a large bowl, beat the softened cream cheese and powdered sugar together until creamy and soft.
- Fold in the whipped topping, followed by the coarsely chopped Oreos.
- Spoon the filling into the pie crust then smooth the top.
Optional Garnishes
- Garnish if desired by adding more whipped topping and Oreos on top.
- Place in the fridge to chill for at least an hour before serving.
Notes
- Freezing: This pie can be frozen for 2-3 months if you first cover it tightly in plastic wrap and then wrap it again in aluminum foil. Allow it to thaw in the fridge overnight before topping with freshly whipped cream and serving.
- Storage: The pie will keep for 2-3 days in the fridge when covered.
Give these Coffee Cake Muffins and this Frozen Strawberry Cheesecake a try for more delightful baking inspiration!
