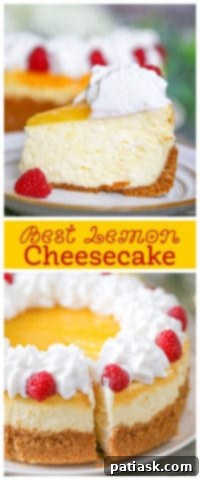
Indulge in the vibrant flavors of our Best Lemon Cheesecake, a truly authentic New York-style dessert that promises a sublime culinary experience. This cheesecake is an absolute delight – wonderfully rich, yet surprisingly light, bursting with an invigorating citrusy lemon flavor that will awaken your taste buds. It’s the ultimate treat for any occasion, combining elegance with irresistible zest.
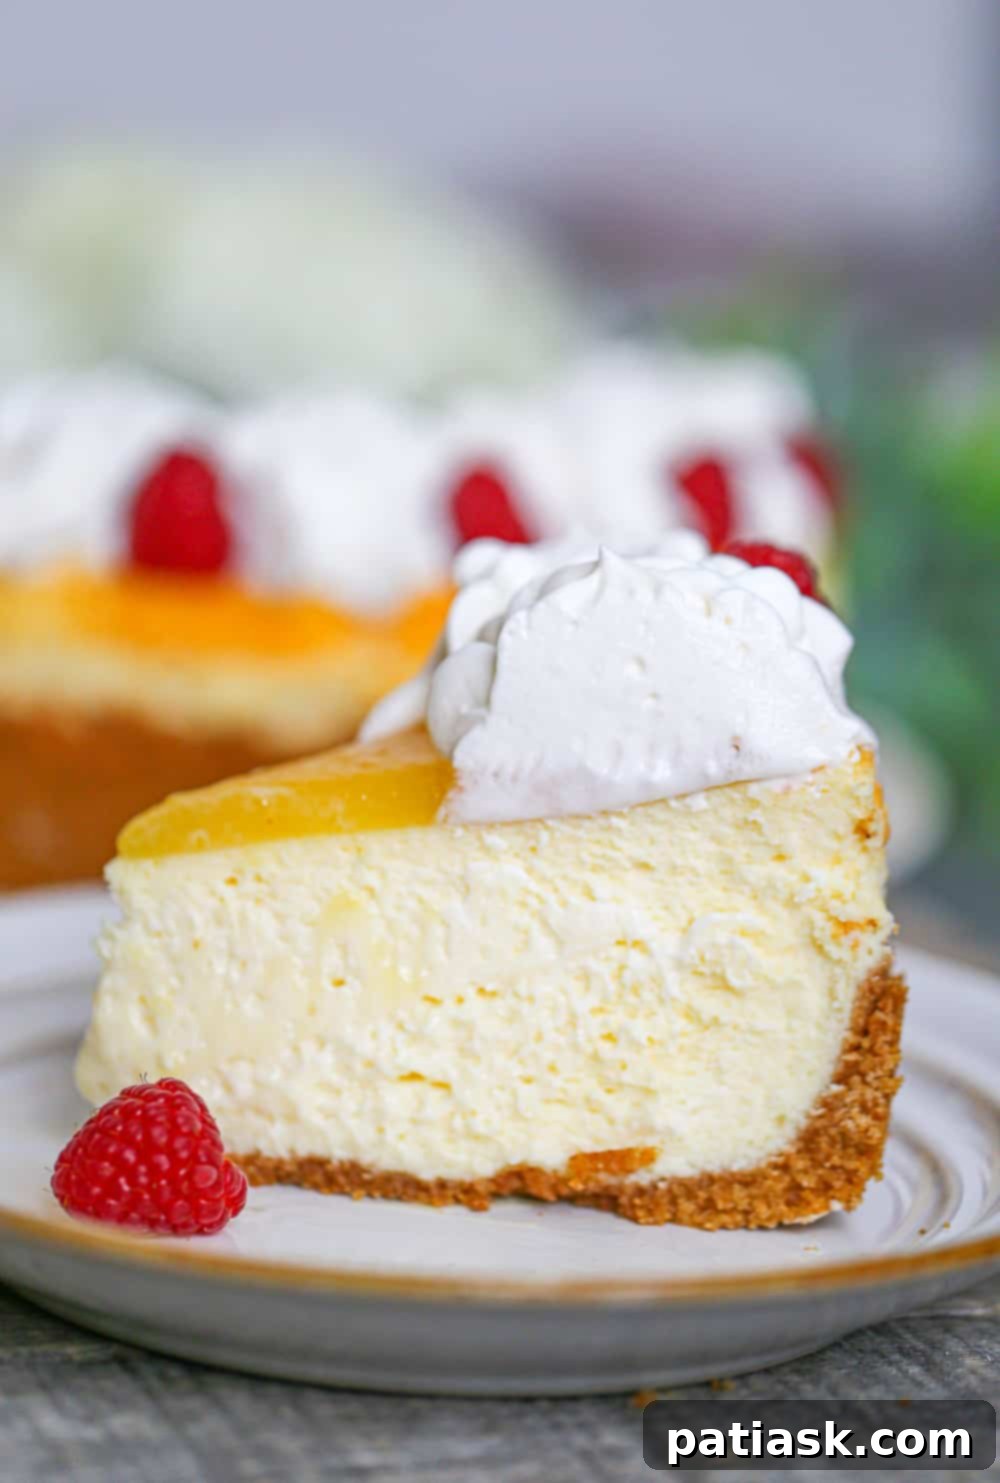
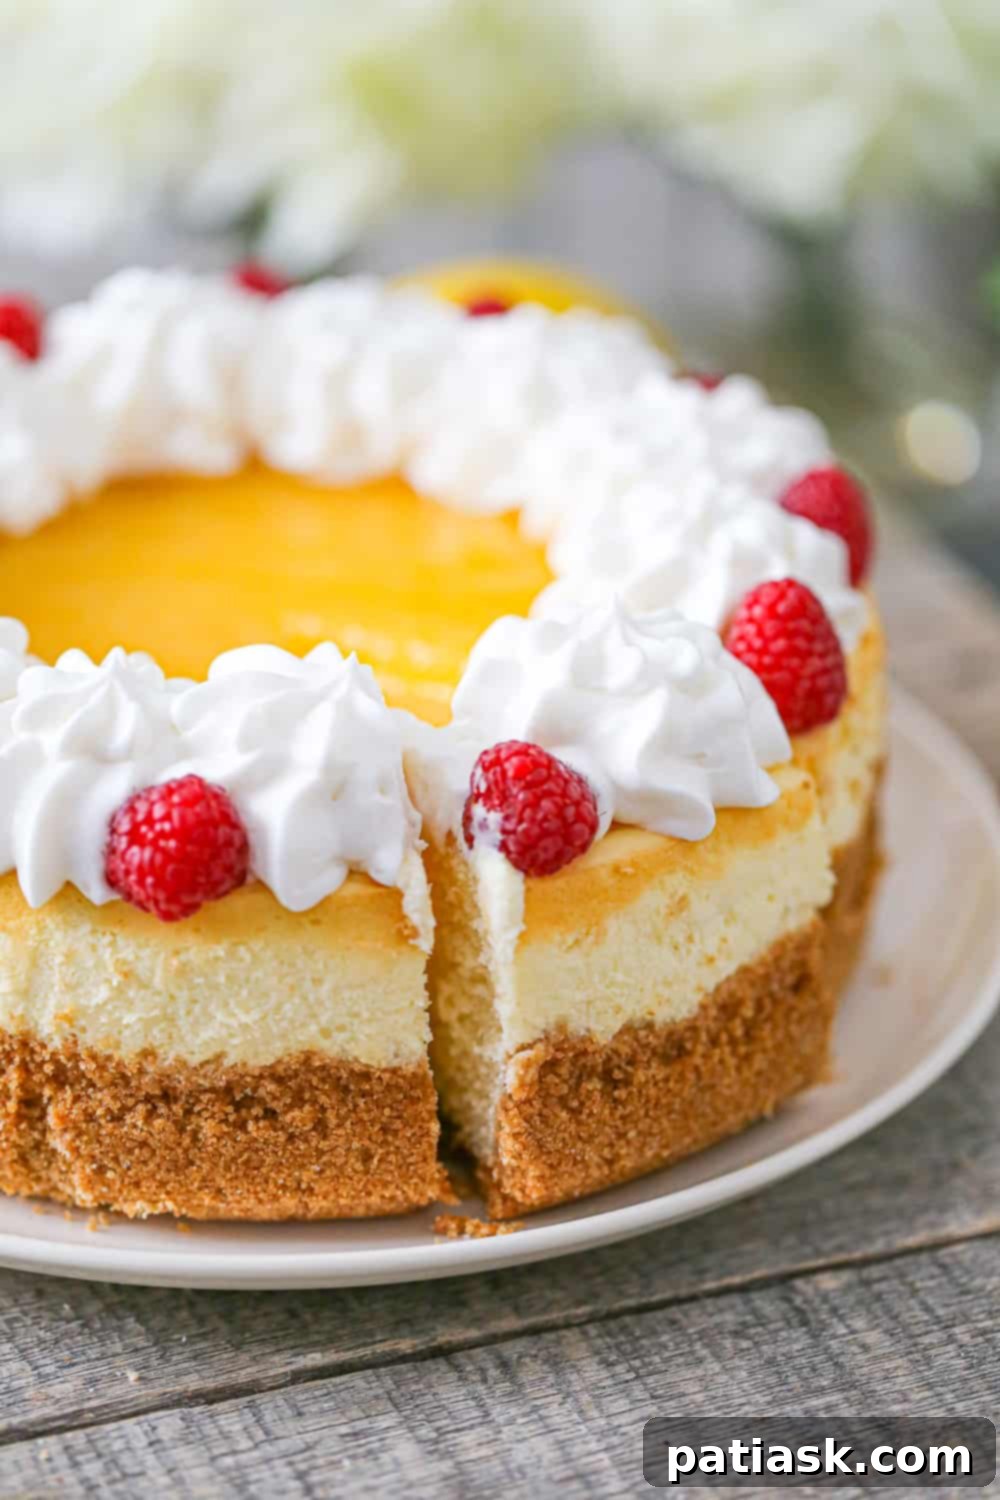
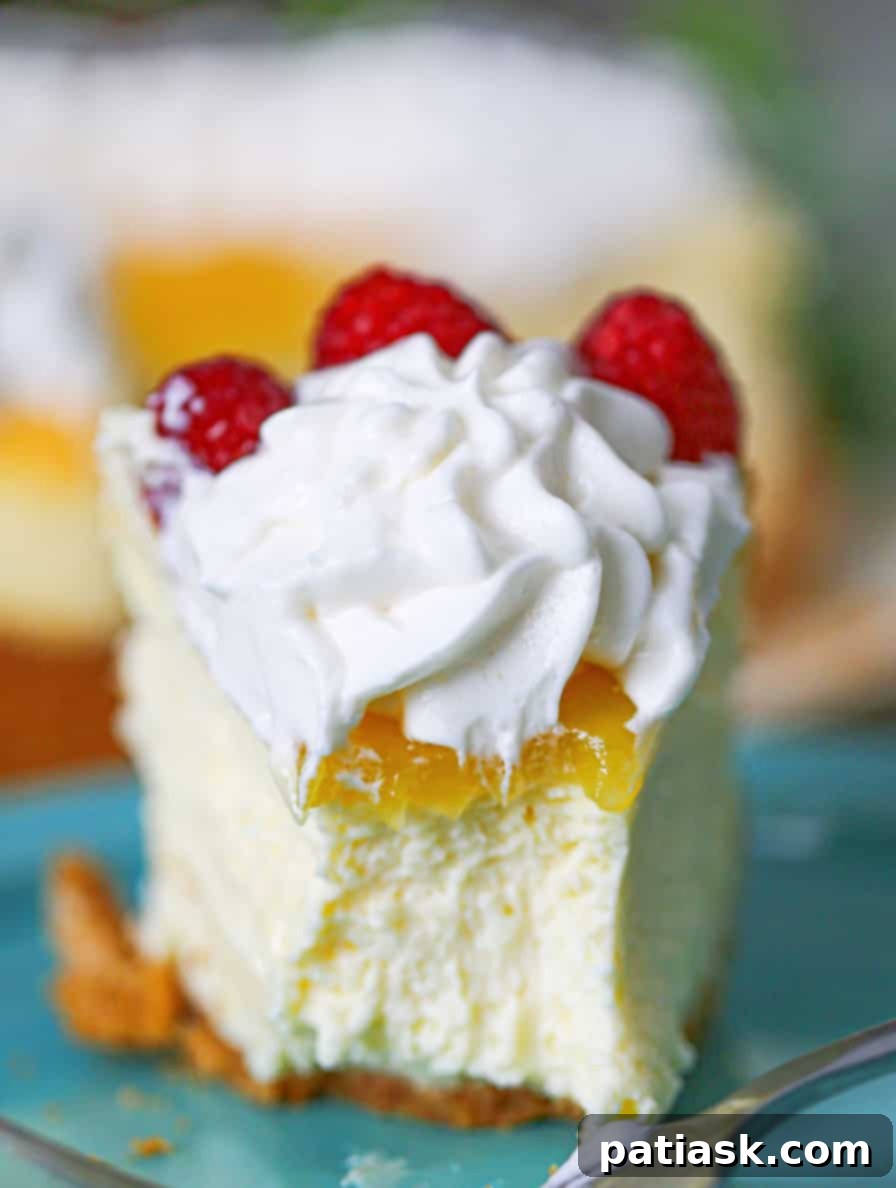
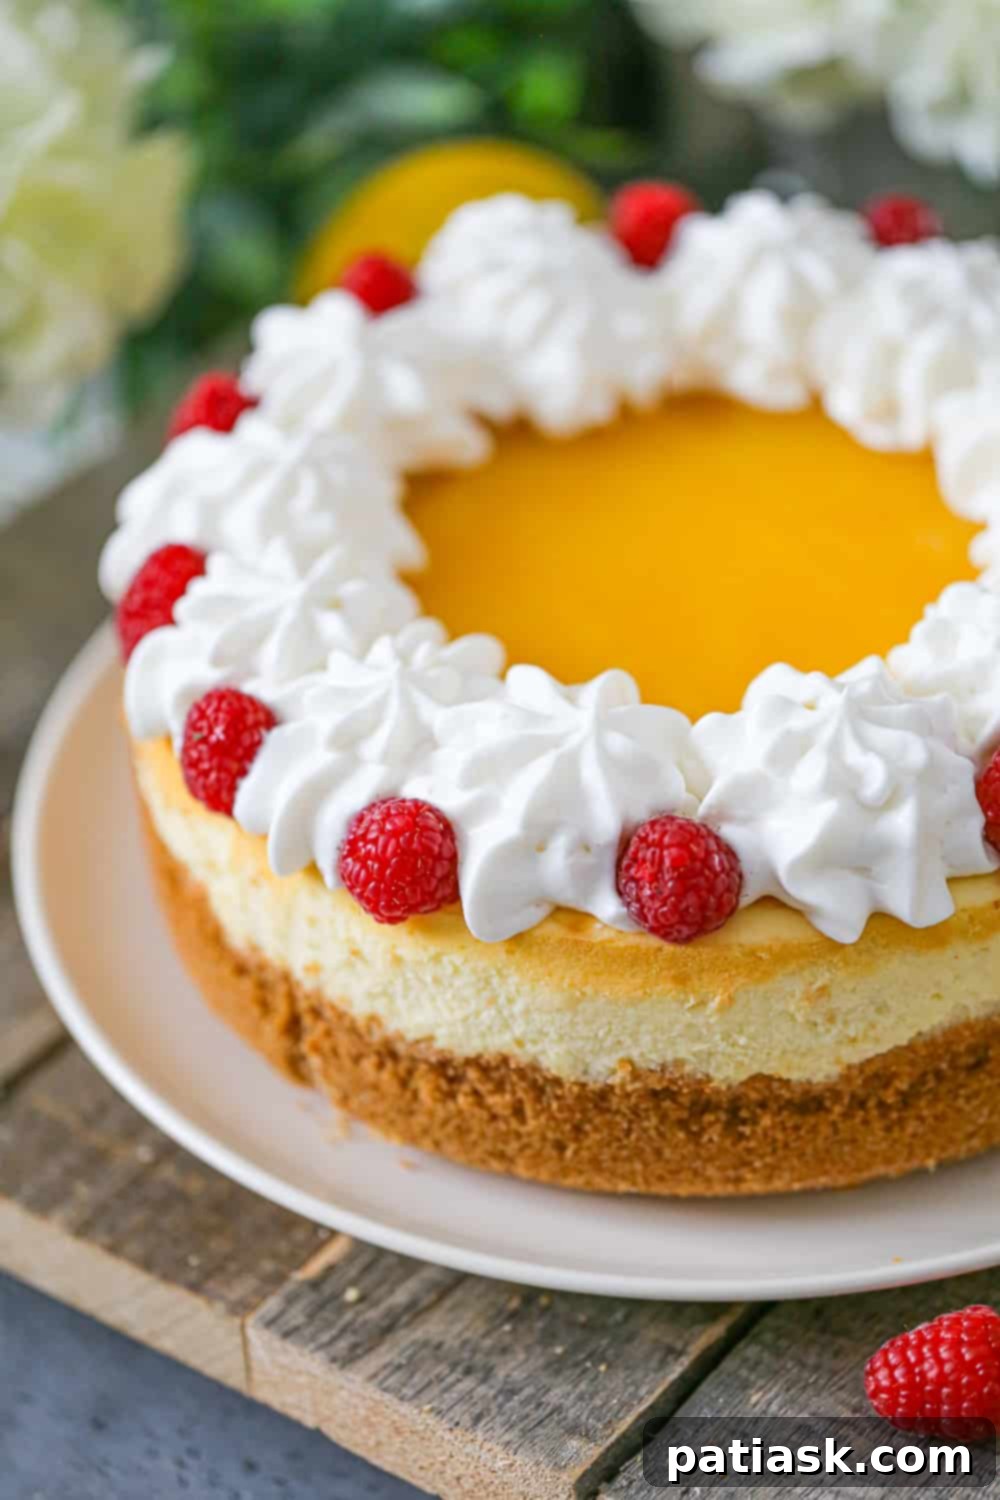
Imagine a creamy, dense cheesecake resting on a sweet, buttery graham cracker crust, generously topped with a zingy, tart lemon curd and elegant swirls of fluffy whipped cream. Who could possibly resist such a refreshing and delightful dessert, where every spoonful is a perfect balance of sweet and tangy? If you love lemon, you’ll adore this recipe, much like our Triple Lemon Cupcakes and the delightful Lemon Burst Poke Cake.

Demystifying Cheesecake: It’s Easier Than You Think!
Many home bakers find the idea of making cheesecake intimidating, often believing it to be a complex and demanding task. However, we’re here to tell you that crafting a stunning cheesecake from scratch is far more straightforward than its reputation suggests! This particular easy lemon cheesecake recipe simplifies the process without compromising on the luxurious taste and texture of a classic New York cheesecake. Forget the overwhelming myths; with a few key techniques and a bit of patience, you can achieve cheesecake perfection in your own kitchen.
One of the biggest advantages of this recipe is that it does not require a water bath. While water baths are often used to ensure even baking and prevent cracks, this recipe utilizes a specific baking temperature strategy that achieves the same incredible results with one less step, making it more accessible and less fussy. This innovative approach allows the cheesecake to bake gently, creating that coveted smooth, creamy consistency without the extra effort of handling a water bath.
The secret to a truly smooth, lump-free, and decadent cheesecake batter lies in starting with ingredients at **room temperature**. This crucial step, often overlooked, allows the cream cheese, eggs, and sour cream to blend seamlessly, creating a uniform mixture without any unsightly lumps. We recommend taking these refrigerated items out about 1.5 to 2 hours before you begin mixing. This seemingly small detail makes a significant difference in the final texture of your lemon cheesecake, ensuring it’s as creamy and flawless as any professional bakery’s offering.
Essential Ingredients for Your Zesty Lemon Cheesecake
Crafting the perfect Lemon Cheesecake begins with selecting quality ingredients. Each component plays a vital role in achieving that rich texture and bright, tangy flavor profile. Here’s what you’ll need to gather:
For the Buttery Graham Cracker Crust:
- Graham cracker crumbs: The foundation of our cheesecake, providing a delightful crunch and a hint of honeyed sweetness.
- Unsalted butter, melted: Binds the crumbs together and adds richness.
- Granulated sugar: A touch of sweetness to complement the graham crackers.
- Pinch of salt: Enhances all the flavors in the crust.
For the Rich New York Lemon Cheesecake Filling:
- Full-fat cream cheese, room temperature: This is the star ingredient. Using full-fat ensures a truly rich and dense texture. Room temperature is crucial for a smooth batter.
- Granulated sugar: Sweetens the filling, balancing the tart lemon.
- All-purpose flour: Helps stabilize the cheesecake and prevents cracking.
- Sour cream, room temperature: Adds a subtle tang and contributes to the creamy texture. Greek yogurt can be a good substitute for a slightly different tang.
- Vanilla extract: A classic enhancer, adding depth to the flavor profile.
- Freshly grated lemon zest: Provides an intense, aromatic lemon flavor that truly makes this cheesecake sing. Don’t skip this for the brightest citrus notes!
- Large eggs, room temperature: Act as a binder and contribute to the cheesecake’s structure and richness. Beaten together before adding prevents overmixing.
For the Zesty Lemon Curd Topping & Garnish:
- Lemon Curd: The crowning glory of this cheesecake! You can use your favorite store-bought brand for convenience or make your homemade lemon curd for an extra special touch.
- Optional: Whipped cream, fresh berries, and additional lemon zest for an elegant garnish.
How to Bake Your Best Lemon Cheesecake: A Step-by-Step Guide
Follow these detailed instructions to create a flawless and incredibly delicious lemon cheesecake. Precision in each step ensures a perfect result every time.
Preparing the Perfect Graham Cracker Crust:
- Begin by preheating your oven to 325°F (160°C). Prepare a 9-inch springform pan. Line the bottom with parchment paper or aluminum foil, ensuring a tight seal to prevent any leakage. Generously grease the sides of the pan with butter or cooking spray; this is essential for easy removal and prevents the cheesecake from sticking and cracking as it cools.
- In a food processor, pulse the graham crackers until they form fine, even crumbs. Transfer the crumbs to a medium bowl. Add the granulated sugar, a pinch of salt, and the melted butter. Mix thoroughly until the crumbs are evenly moistened and resemble wet sand.
- Firmly press the graham cracker mixture into the bottom of the prepared springform pan, extending it about 1 inch up the sides. Use the bottom of a glass or your knuckles to create a compact, even crust.
- Bake the crust in the preheated oven at 375°F (190°C) for 8 minutes. This brief bake sets the crust and prevents it from becoming soggy. Remove from the oven and set aside to cool completely while you prepare the filling.
Crafting the Velvety New York Cheesecake Filling:
- Adjust your oven rack to a position just below the center. Increase the oven temperature to 450°F (230°C).
- In a large mixing bowl, combine the room temperature cream cheese, granulated sugar, and all-purpose flour. Using an electric mixer on medium speed, beat the mixture for 4-6 minutes until it is light, fluffy, and completely smooth. Be careful not to beat on high speed, as incorporating too much air can lead to cracks in the cheesecake during baking.
- Reduce the mixer speed to low. Add the room temperature sour cream, vanilla extract, and grated lemon zest. Mix until they are just combined, scraping down the sides of the bowl as needed.
- In a separate liquid measuring cup, lightly beat the eggs with a fork until just scrambled. With the mixer still on low speed, slowly pour the beaten eggs into the cream cheese mixture. Mix only until the eggs are just incorporated. Overmixing after adding the eggs can introduce too much air, which can cause cracks. Turn off the mixer and use a spatula to scrape down the sides and bottom of the bowl, ensuring all ingredients are evenly blended.
- Before pouring the batter into the cooled graham cracker crust, gently tap the bowl on the counter for 30 to 45 seconds. This helps release any trapped air bubbles, contributing to a smoother cheesecake. Pour the rich, creamy mixture into the prepared crust. The pan will be quite full.
- Place the cheesecake in the preheated 450°F (230°C) oven and bake for exactly 8 minutes. This initial high heat helps create a slight puff and sets the edges.
- Crucial Baking Step: Without opening the oven door, immediately reduce the oven temperature to 200°F (95°C) and continue to bake for 1 hour. It’s vital to keep the oven door closed to maintain a stable environment.
- After the 1 hour baking period at 200°F (95°C), turn off the oven completely. Leave the cheesecake inside the closed oven for an additional 1 hour. This slow cooling process is key to preventing cracks and achieving a silky-smooth texture.
- Once the cheesecake has finished its slow cool in the oven, remove it and let it come to room temperature on a wire rack. This could take another 1-2 hours. After it has fully cooled, transfer the cheesecake (still in the springform pan) to the refrigerator and chill for at least 6-8 hours, or ideally overnight. This allows the cheesecake to set properly, becoming firm and dense, and deepening its flavors. Only then should you carefully remove the sides of the springform pan and prepare to slice.
Finishing Touches: Lemon Curd Layer & Toppings:
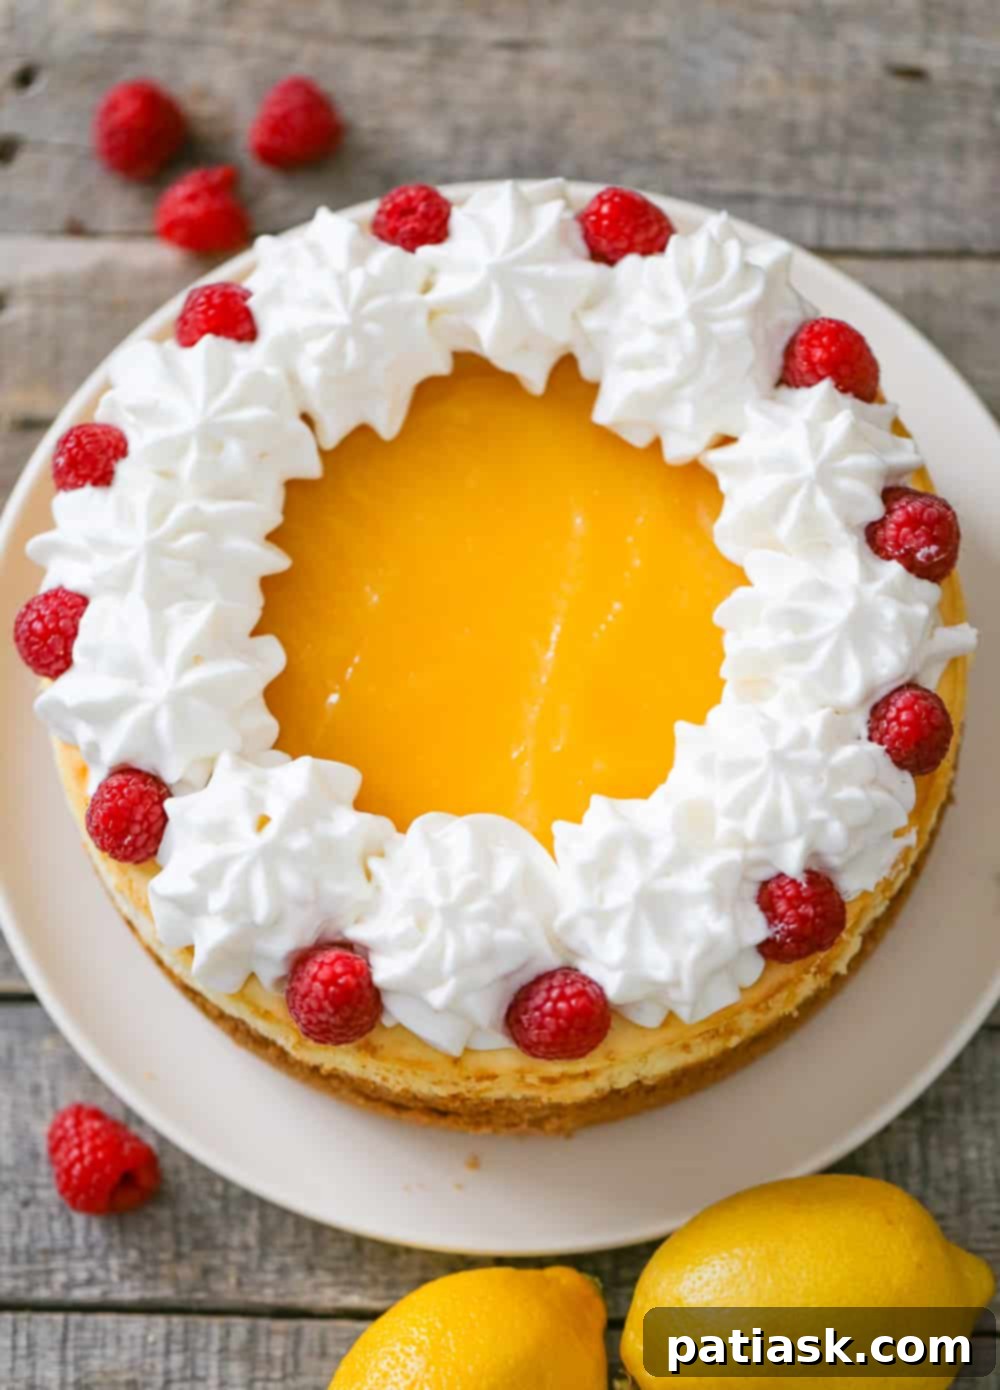
- Once the cheesecake is thoroughly chilled and ready to serve, evenly spread a generous layer of lemon curd over the top. Garnish with swirls of fresh whipped cream, a sprinkle of extra lemon zest, or fresh berries for added visual appeal and flavor. Place it back in the fridge for a final chill until you’re ready to present your masterpiece.
Expert Tips for Your Flawless Lemon Cheesecake
Achieving the perfect, crack-free, and incredibly delicious lemon cheesecake is within your reach! By following these expert tips, you’ll master the art of cheesecake baking and impress everyone with your culinary skills.
- Embrace Full-Fat Ingredients for Ultimate Richness: For this easy lemon cheesecake recipe, always opt for full-fat cream cheese and sour cream. Reduced-fat or fat-free versions contain more water and less fat, which can significantly alter the texture of your cheesecake, making it less dense and creamy. The rich, velvety texture of a classic New York cheesecake truly relies on these full-fat components.
- The Magic of Room Temperature Ingredients: This tip cannot be overstated! Using room temperature cream cheese, eggs, and sour cream is absolutely critical. Cold ingredients do not emulsify properly, leading to a lumpy batter. Room temperature ingredients blend smoothly and evenly, resulting in a wonderfully creamy and uniform cheesecake batter, free from any unwanted texture inconsistencies. Plan ahead and take your ingredients out of the refrigerator at least 1-2 hours before you begin baking.
- Prevent Overmixing for a Crack-Free Surface: Overmixing is the arch-nemesis of a smooth cheesecake surface. When you beat the batter too vigorously or for too long, especially after adding the eggs, you incorporate excessive air. This trapped air expands during baking, creating bubbles that rise to the surface. As the cheesecake cools, these bubbles burst and the structure collapses, leading to unsightly cracks. The key is to mix just until the ingredients are combined and smooth, particularly after the eggs are introduced. Switch to a low speed and stop as soon as the batter looks uniform.
- Tap Out Those Air Bubbles: After mixing the batter and before pouring it into the crust, gently tap the bowl on the counter several times for 30-45 seconds. This simple action helps coax any hidden air bubbles to the surface, where they can pop, reducing the likelihood of cracks and ensuring a truly smooth top layer.
- Always Grease Your Pan, Even if Nonstick: Even with a nonstick springform pan, greasing the sides thoroughly is a crucial step. As the cheesecake bakes and then cools, it naturally shrinks slightly. If the sides are not greased, the batter can stick to the pan, and as it cools and contracts, it can pull at the edges, causing the cheesecake to crack. A quick spray of cooking spray or a thin layer of butter ensures a clean release.
- Resist the Urge to Peek While Baking: It’s tempting to open the oven door and check on your beautiful cheesecake, but resist! Sudden temperature changes caused by opening the oven door can lead to uneven baking and, you guessed it, cracks. This is especially true during the initial 30 minutes of baking. Trust the process and your recipe’s instructions.
- Don’t Overbake Your Cheesecake: An overbaked cheesecake will be dry and more prone to cracking. The center of your cheesecake should still have a slight jiggle when it’s done baking. Remember, the residual heat in the oven during the final cooling stage (after the oven is turned off) will continue to gently cook and set the cheesecake. This gradual cooling is essential for a creamy texture and prevents the rapid temperature drop that often causes cracks.
- Embrace the Chill Time: Patience is a virtue when it comes to cheesecake. After baking and cooling to room temperature, your lemon cheesecake needs to chill in the refrigerator for at least 6-8 hours, or preferably overnight. This extended chilling time allows the cheesecake to fully set, firm up, and allows the flavors to meld and intensify. Rushing this step will result in a less firm and potentially messy slice.
- Choose Your Lemon Curd: For the bright, tangy topping, you have options! You can use a high-quality store-bought lemon curd for convenience, or elevate your dessert by making your own easy homemade lemon curd. Both options will deliver that essential burst of citrus flavor.
Storing Your Lemon Cheesecake Masterpiece
Proper storage ensures your delicious lemon cheesecake remains fresh and delightful for days. Here’s how to keep it at its best:
- Refrigerator Storage: After chilling, cover the cheesecake tightly with plastic wrap. It will keep beautifully in the refrigerator for up to 1 week. Ensure it’s well-sealed to prevent it from absorbing any odors from other foods.
- Freezer Storage: To enjoy your cheesecake for an extended period, you can freeze it. First, place the cheesecake (uncovered) in the freezer until it is completely solid. This usually takes a few hours. Once solid, wrap it thoroughly in several layers of plastic wrap, followed by a layer of aluminum foil. This double wrapping protects it from freezer burn. Store in the freezer for up to 3 months. When ready to serve, thaw it overnight in the refrigerator before garnishing and slicing.
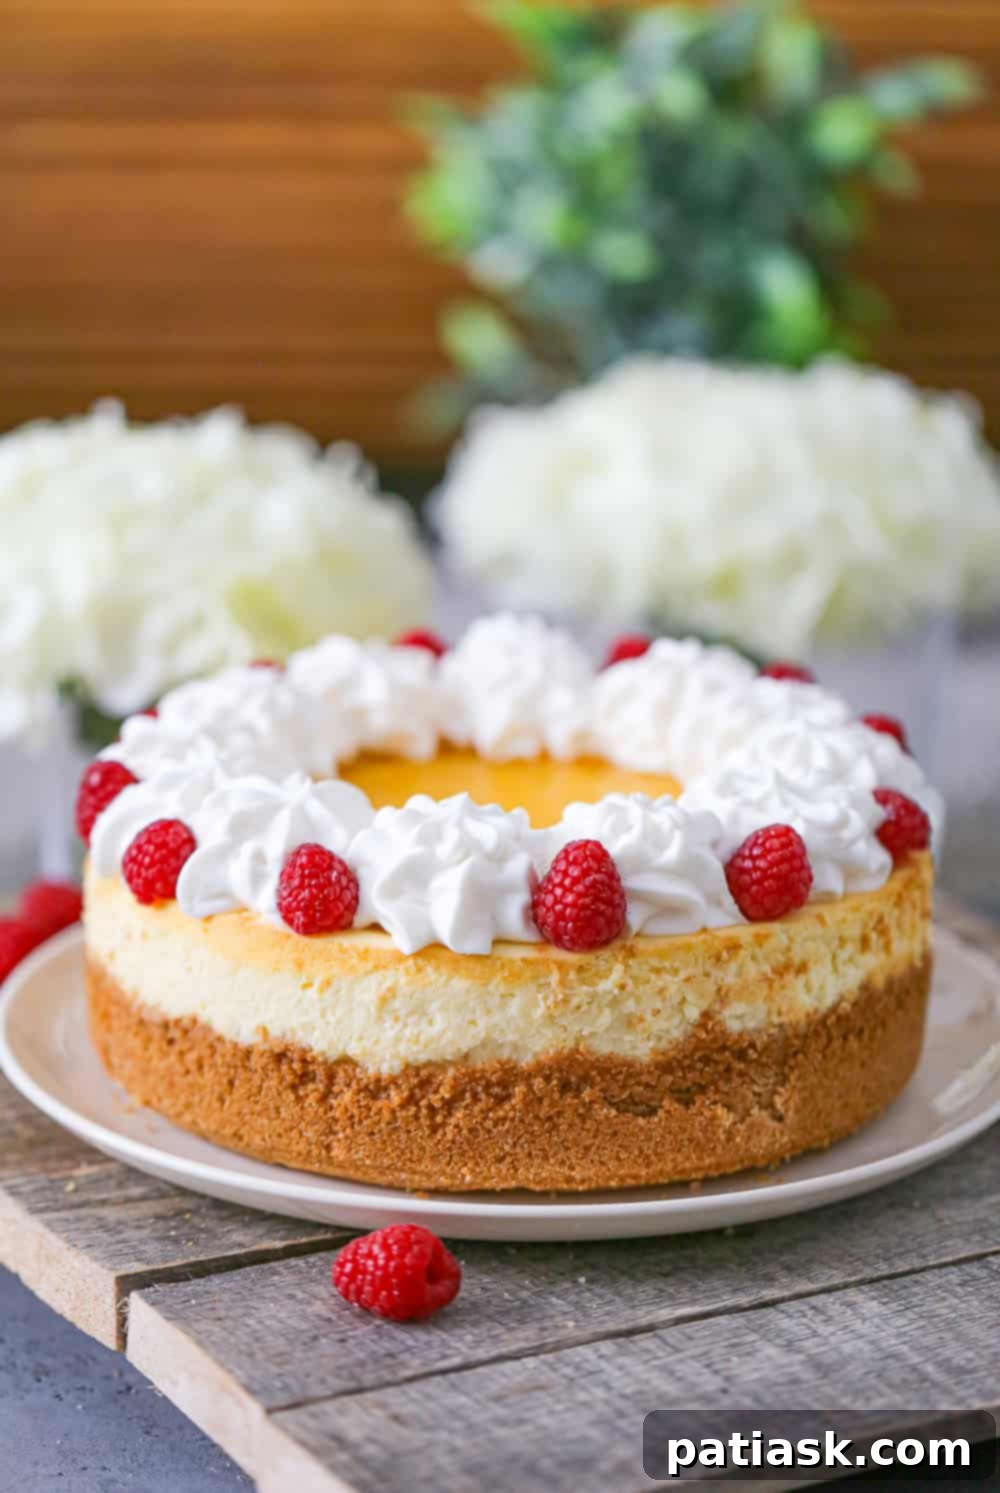
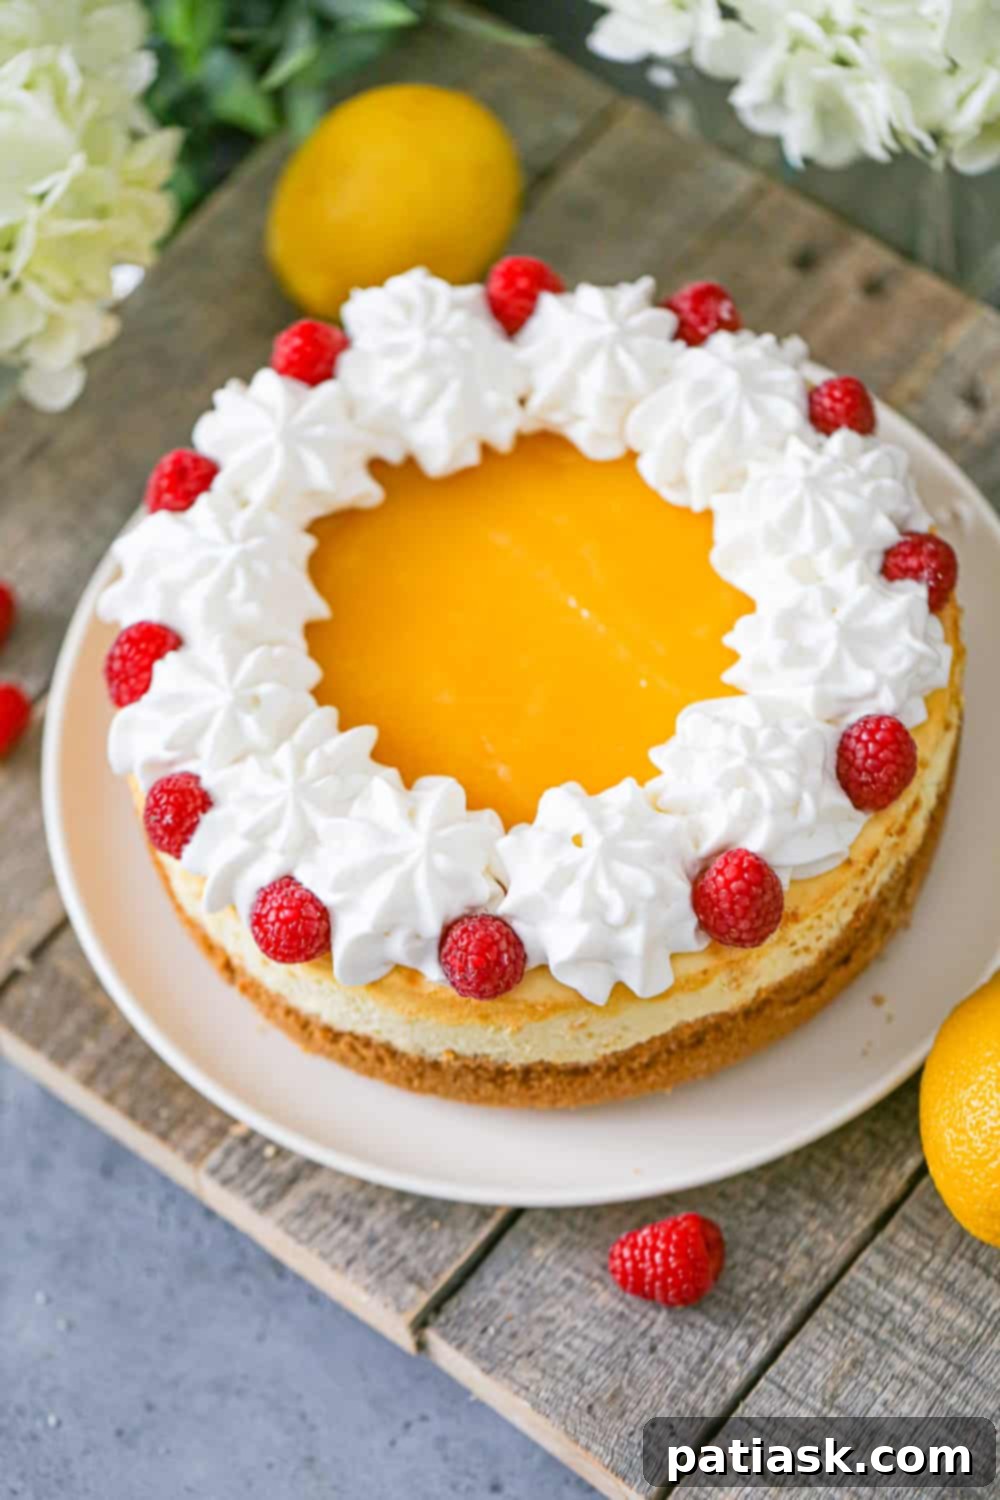
Even if you opt for a simpler finish without the homemade lemon curd topping, this easy lemon cheesecake recipe remains a fantastic go-to dessert for any special occasion. Its bright, zesty flavor pairs wonderfully with a variety of fresh fruits. For those who prefer a quicker alternative, be sure to try our No Bake Cheesecake for a delicious, effortless treat.
This lemon cheesecake is truly the perfect dessert for spring and summer gatherings, offering a refreshing and elegant conclusion to any meal. Its vibrant flavor profile makes it a standout choice that your guests will adore. Share your creations and connect with us on Pinterest, Instagram, and Facebook!
More Irresistible Cheesecakes & Desserts!
- Chocolate Covered Strawberry Cheesecake Bites
- Easy No Bake Biscoff Cheesecake
- Triple Chocolate Cheesecakes
- Reese’s Peanut Butter Pretzel Pie
- Key Lime Cheesecake Pie
- Strawberry Cheesecake Cream Pie
- Chocolate Cheesecake Stuffed Strawberries
- Easy Oreo Pie
- Keto Cheesecake
- No Bake Pumpkin Cheesecake
- Top 15 Luscious Lemon and Berry Desserts
- Awesome Chocolate Brownie Cheesecake Dessert
- Mini Cheesecakes
- 4 Ingredient No Bake Lemon Pie
Don’t forget to try our Homemade Lemon Curd – Microwave Style for an extra pop of flavor!
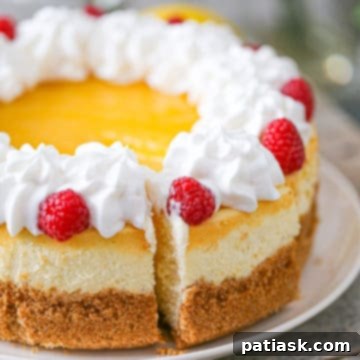
Best Lemon Cheesecake
By Kim Lange
This easy Lemon Cheesecake is an authentic New York Cheesecake that is so indulgent, yet light and it’s exploding with lemon flavor!
Prep Time: 30 mins
Cook Time: 1 hr 20 mins
Course: Dessert
Servings: 12 Servings
Keyword: cheesecake, cream cheese, lemon, lemon curd
Ingredients
Graham Cracker Crust
- 2 cups graham cracker crumbs
- ½ cup unsalted butter, melted
- 1 tablespoon granulated sugar
- Pinch salt
New York Cheesecake
- 4 (8 oz) packages full-fat cream cheese, room temperature
- 1 ½ cups granulated sugar
- 3 tablespoons all-purpose flour
- 1 cup sour cream, room temperature
- 1 teaspoon vanilla extract
- 1 teaspoon grated lemon zest
- 4 large eggs, room temperature (beaten together)
Lemon Curd Layer & Toppings
- 1 cup Lemon Curd Filling (store-bought or homemade)
- Whipped Cream
- Additional Berries, Lemon Zest (optional for garnish)
Instructions
Graham Cracker Crust
- Preheat the oven to 325°F and line a 9-inch springform pan with parchment paper & tinfoil on the bottom and grease the sides of the pan well for easy removal of your cheesecake to a plate.
- Place the graham crackers in a food processor and pulse until you have crumbs. In a medium bowl, mix with the sugar and melted butter. Mixture will be dry and sandy. Firmly press the crust into the bottom and about 1″ up the side of the springform pan.
- Preheat oven to 375°F and bake the crust for 8 minutes. Set the crust aside to completely cool before you start preparing the filling.
New York Cheesecake
- Preheat oven to 450°F and place rack just below the center rack position instead of using the center rack.
- In a large bowl using a mixer, combine the cream cheese, sugar, and flour and beat on medium speed until light and fluffy for 4-6 minutes. Do not beat on high as this could cause cracks in the cheesecake.
- Add the sour cream, vanilla, and lemon zest until just combined.
- Break eggs into a liquid measuring cup and, using a fork, beat until well scrambled. With the mixer on low, slowly pour in the eggs into the cream cheese mixture and stop stirring once egg has been incorporated. Turn off the mixer and scrape down the sides and bottom of the bowl to ensure all of the mixture is evenly combined.
- Before pouring the batter into the graham cracker crust, tap the bowl on the counter for 30 to 45 seconds to remove as many air bubbles as possible. Pour the mixture into the prepared crust. It will completely fill the springform pan.
- Keep door shut and reduce the oven temperature to 200°F for 1 hour.
- Without opening the door, turn the oven off and leave the cheesecake in oven for 1 more hour.
- Let the cheesecake cool and then refrigerate for at least 6-8 hours, before removing the sides of the pan and slicing.
Lemon Curd Layer & Toppings
- Cover the cheesecake with a lemon curd layer, topped with whipped cream. Place back in fridge until ready to serve.
Notes
To store: Cover with plastic wrap and store in the refrigerator for up to 1 week. To store the cheesecake in the freezer, freeze it uncovered until solid, then wrap it well in plastic wrap and/or foil and store in the freezer for up to 3 months.
Tried This Recipe? Let us know how it was by commenting below!
