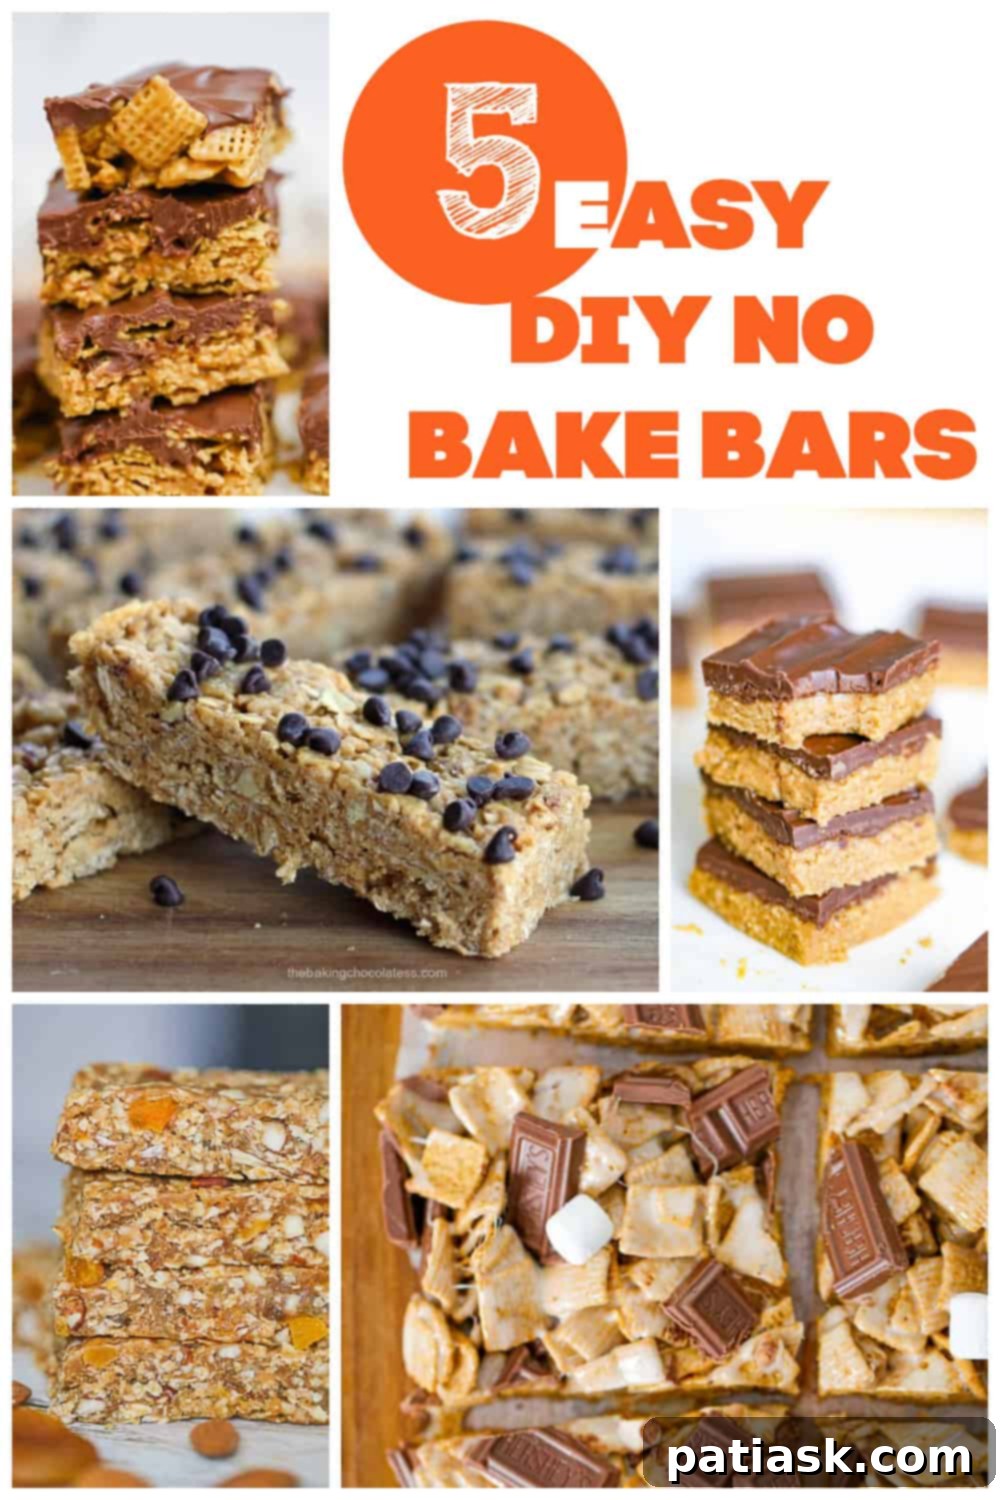
Discover the Ultimate Guide to Easy DIY No-Bake Bars: Your New Favorite Dessert & Snack Solution
Craving a delightful treat but short on time or hesitant to turn on the oven? Look no further than the wonderful world of no-bake bars! These incredibly versatile and utterly delicious creations offer a perfect solution for satisfying your sweet tooth, providing a quick energy boost, or simply enjoying a homemade snack without the fuss of baking. Requiring minimal ingredients and even less effort, DIY no-bake bar recipes are a true kitchen hero, allowing you to whip up impressive desserts and convenient snacks in a flash.
The beauty of easy no-bake desserts lies in their simplicity and adaptability. They are perfect for any occasion, from casual family gatherings to last-minute party contributions. By making them yourself, you gain complete control over the ingredients, allowing for endless customization to suit your taste preferences or dietary requirements. Whether you’re aiming for healthier options or indulgent delights, no-bake bars can be easily adapted to be gluten-free, vegan, or sugar-free, simply by swapping out certain ingredients for healthier alternatives.
The customization possibilities are truly endless, making each batch a unique culinary adventure. You can elevate your no-bake bars with fun additions like mini M&M’s or Reese’s Pieces for a playful twist, or incorporate nutritious elements like dried fruits, various nuts, seeds, shredded coconut, or even a sprinkle of sea salt to enhance the flavors. These simple modifications transform a basic recipe into a personalized masterpiece, catering to every palate and preference. Get ready to explore five incredible no-bake bar recipes that are sure to become new favorites in your household!
Indulge in Simplicity: 5 Irresistible No-Bake Bar Recipes
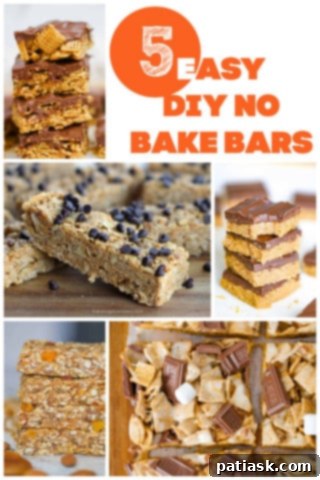
1. The Quintessential Treat: 5-Ingredient Peanut Butter Bars
Prepare your taste buds for an unforgettable experience with these sensational 5-Ingredient Peanut Butter Bars! They deliver a flavor profile so rich and satisfying, you’d swear they were a magical mashup of two beloved candy bar classics: the creamy, dreamy indulgence of Reese’s Peanut Butter Cups and the delightful crunch of a Butterfinger bar. This peanut butter bar recipe is an absolute dream come true for anyone who adores the classic chocolate-peanut butter combination. Its simplicity, requiring just a handful of ingredients, makes it incredibly accessible for even the most novice home cook.
Beyond their incredible taste, these bars are a testament to the power of no-bake desserts. You can achieve this level of decadent flavor without ever needing to preheat an oven. They set beautifully in the refrigerator, resulting in a firm, yet yielding texture that melts in your mouth. For an extra touch, consider a sprinkle of flaky sea salt on top to balance the sweetness, or a drizzle of melted dark chocolate for an even richer finish. Perfect for a quick after-dinner treat, a satisfying afternoon snack, or a delightful addition to any party platter, these peanut butter bars are guaranteed to be a major hit and a staple in your no-bake repertoire.
2. Crunchy, Chewy, and Chocolaty: OMG Honey Chex Chocolate Peanut Butter Bars
Get ready to exclaim “OMG” with these outrageously yummy and incredibly easy-to-make no-bake Honey Chex Chocolate Peanut Butter Bars! These delightful bars offer an irresistible combination of textures and flavors that will captivate your senses. Each bite delivers a satisfying crunch from the Honey Chex cereal, perfectly balanced with the gooey richness of a peanut butter and honey base.
The foundation of these delicious bars is a sweet, honey-kissed Chex cereal mixture, firmly held together by a creamy peanut butter binder. But the true star is the lavish topping: a decadent milk chocolate peanut butter ganache that adds an extra layer of indulgence. The best part? They are also naturally gluten-free, making them a fantastic option for those with dietary sensitivities. Prepare these for a delightful dessert, a unique party treat, or simply when you need a quick, sweet pick-me-up. For an even more intense flavor, try using dark chocolate for the ganache or adding a sprinkle of chopped peanuts for added texture.
3. Wholesome & Hearty: Chewy Chocolate Chip Peanut Butter Granola Bars
For those who love sweets but aim for moderation and wholesome choices, these No-Bake Chewy Chocolate Chip Peanut Butter Granola Bars are your ultimate ally! They offer the perfect balance of indulgence and nourishment, making them a fantastic option to satisfy your sweet cravings without guilt. Homemade granola bars are inherently better than many store-bought varieties, allowing you to control sugar content and ensure fresh, high-quality ingredients.
These incredibly satisfying bars are generously loaded with classic chocolate chips and creamy peanut butter, creating a chewy texture and rich flavor that tastes amazing. They are not just delicious; they’re also a smart choice for a healthy snack anytime of the day or an ideal grab-and-go breakfast when you’re rushing out the door. Consider adding a boost of nutrition by incorporating flax seeds, chia seeds, or a variety of dried fruits like cranberries or raisins. These versatile bars are a delicious way to fuel your day, proving that healthy can be incredibly tasty and easy to prepare.
4. Campfire-Free Fun: S’mores Graham Cereal Bars
Recreate the magic of a campfire favorite anytime, anywhere with these absolutely addictive S’mores Graham Cereal Bars! These bars are the perfect sweet treat for when you’re craving that classic s’mores experience but don’t have a fire pit or even an oven readily available. They capture all the beloved elements of traditional s’mores in a convenient, no-bake bar format that everyone will adore.
Each bar features crunchy Golden Graham Cereal, generously drenched in a luscious, gooey marshmallow binder, and studded with delightful bits of Hershey’s Chocolate bar. The combination creates a harmonious blend of crispiness, chewiness, and rich chocolate flavor that truly satisfies. Kids go absolutely crazy over them, and adults are equally charmed by this nostalgic, fun-filled treat. These bars are excellent for school lunches, after-school snacks, birthday parties, or simply when you want to bring a little bit of summer fun indoors. They’re a hassle-free way to enjoy the beloved taste of s’mores without any of the mess or fuss!
5. Fuel Your Day: Homemade No Bake Energy Bars
Boost your day with these fantastic Homemade No-Bake Energy Bars! These super easy, soft, and chewy do-it-yourself bars are packed with wholesome goodies, making them an ideal choice for sustained energy and healthy snacking. You’ll love how quickly these come together – they can be prepared in less than 15 minutes, making them perfect for busy mornings or when you need a fast, nutritious snack.
These energizing bars are loaded with ingredients like dried apricot bits, hearty oats, crunchy almonds, creamy peanut butter, and natural sweetness from maple syrup. This combination provides a powerful blend of fiber, healthy fats, and natural sugars to keep you feeling full and focused. They are perfectly suited for snacking, a convenient breakfast on the go, or a healthy fuel pick-me-up before or after a workout. For added variety, try incorporating other nuts like walnuts or pecans, different dried fruits such as cranberries or cherries, or even a dash of cinnamon or vanilla extract to enhance the flavor profile.
Why Choose DIY No-Bake Bars? Unlocking Convenience and Flavor
The appeal of do-it-yourself no-bake bars extends far beyond just their delicious taste. These simple recipes offer unparalleled convenience, requiring no baking skills or specialized equipment. This makes them an ideal choice for busy individuals, novice cooks, or anyone looking to create something special without the commitment of traditional baking. The ease of preparation, often taking less than 15 minutes of active time, means you can whip up a batch whenever a craving strikes or you need a quick snack solution.
Furthermore, the ability to customize ingredients provides an incredible advantage over store-bought alternatives. You have complete control over what goes into your bars, allowing you to tailor them to specific dietary needs, such as ensuring they are free from gluten, dairy, or refined sugars. This also means you can experiment with various flavor combinations, adding your favorite nuts, seeds, spices, or types of chocolate to create truly unique treats. The fresh, wholesome ingredients you choose will shine through, resulting in a taste that far surpasses most commercially produced bars.
Economically, making your own no-bake bars can lead to significant cost savings. The ingredients are typically affordable and readily available, and a single batch can yield numerous servings, making them a budget-friendly option for families. Ultimately, choosing DIY no-bake bars is about embracing simplicity, creativity, and the joy of enjoying fresh, homemade goodness that caters precisely to your preferences.
Crafting Your Perfect No-Bake Bar: Tips for Success
To ensure your no-bake bars turn out perfectly every time, here are a few simple tips that will make the process even more enjoyable and successful:
- Use Quality Ingredients: While simple, the quality of your ingredients makes a big difference. Opt for fresh, flavorful nut butters, high-quality chocolate, and fresh dried fruits for the best results.
- Proper Chilling is Key: No-bake bars rely on chilling to set and firm up. Don’t rush this step! Allow ample time (usually 1-2 hours, or more for thicker bars) in the refrigerator for them to achieve the ideal texture.
- Parchment Paper for Easy Removal: Always line your baking pan with parchment paper, leaving an overhang on the sides. This creates “handles” that make it incredibly easy to lift the entire batch out of the pan before cutting, preventing sticking and making cleanup a breeze.
- Press Firmly: When pressing the mixture into the pan, ensure you press down very firmly and evenly. This compacts the ingredients, helping the bars hold their shape beautifully once chilled and cut.
- Storage: Store your no-bake bars in an airtight container in the refrigerator. Most varieties will last for up to a week, making them perfect for meal prepping snacks or desserts for the week ahead.
- Experiment and Customize: Don’t be afraid to play around with different mix-ins and flavorings. Add a pinch of cinnamon, a splash of vanilla extract, different types of nuts or seeds, or swap out chocolate for white chocolate chips. The possibilities are endless!
Ready to Delight Your Taste Buds?
So, why wait? Any of these DIY No-Bake Bars are incredibly easy to prepare and taste so much better than any store-bought alternative. Not only will you enjoy superior flavor and texture, but you’ll also appreciate the cost savings and the satisfaction of creating something wonderful with your own hands. Give them a try the next time you have 5-15 minutes to spare for a treat that the whole family, from the youngest to the oldest, is guaranteed to love!
Share these delicious recipes and your creations on Pinterest, Instagram, and Facebook!
Explore More Fun Snacking!
- Peanutty Candy Bars
- Chocolate Peanut Butter Protein Bars – No Bake
- Chocolate Chip Cookie Dough Bars
- M&M Marshmallow Bars
- Easy Halloween Cereal Treats
- Red White & Blue Puppy Chow
- Awesome Scotcheroo Puppy Chow Bars
- Biscoff White Chocolate Cookie Bars
- Fluffy Pumpkin Dip
- Halloween Party Puppy Chow
